Adorable Crochet Baby Animal Rattle Pattern: Step-by-Step Tutorial
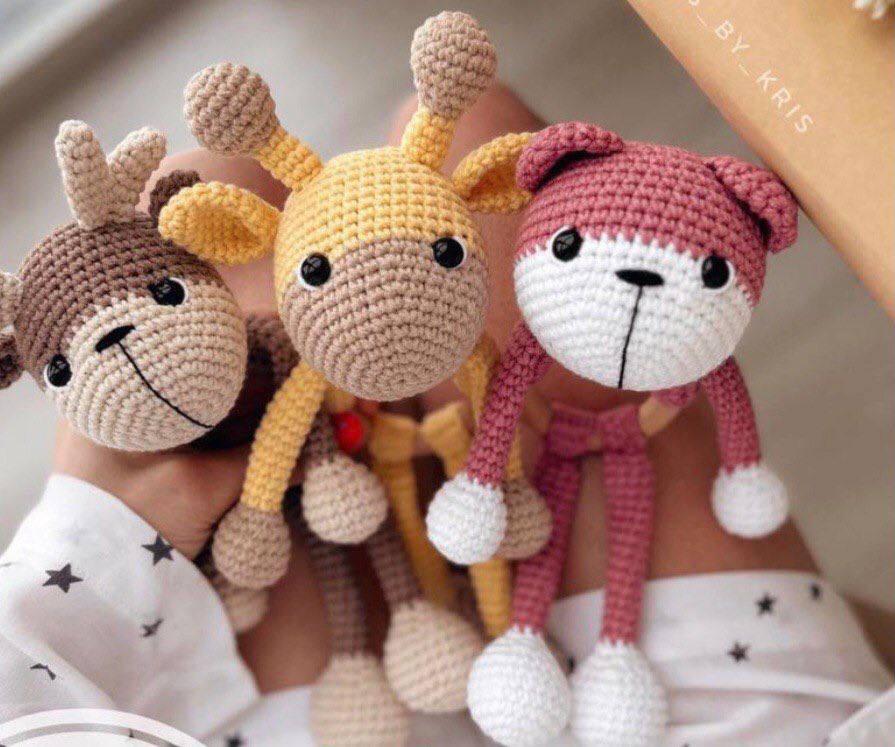
Creating a handmade toy for a newborn is one of the most rewarding projects a crocheter can undertake. Not only is it a thoughtful gift, but it also provides essential sensory stimulation for babies. Today, we are diving into a versatile and sweet crochet baby rattle pattern. This project is designed around a wooden ring, making it easy for little hands to grasp, and includes options to make a giraffe, a bear, or a little fawn.
This pattern is beginner-friendly and focuses on basic amigurumi techniques. We will incorporate a rattle bell inside the head and “crinkle” material in the legs to keep baby engaged and curious. Whether you are making a baby shower gift or adding to your own nursery, these little animals are sure to be a hit!
Materials & Abbreviations
To get started, gather the following supplies. We recommend using a cotton or cotton-blend yarn for baby toys as it is durable, washable, and hypoallergenic.
Materials Needed:
- Yarn: DK or Sport weight yarn (such as Yarn Art Jeans). You will need a main color for the animal and a contrasting color for the muzzle/paws.
- Crochet Hook: 2.0mm hook (to ensure tight stitches so stuffing doesn’t leak).
- Wooden Ring: Approximately 2.4 inches (60mm) in diameter.
- Safety Eyes: 9mm safety eyes.
- Rattle: One 28mm plastic rattle bell.
- Stuffing: High-quality polyester fiberfill.
- Extras: Yarn needle, scissors, and some clean plastic packaging (like a produce bag) to create the “crinkle” effect in the legs.
Abbreviations (US Terms):
- MR: Magic Ring
- ch: Chain
- sc: Single crochet
- inc: Increase (2 sc in one stitch)
- dec: Decrease (sc 2 stitches together)
- sl st: Slip stitch
- st: Stitch
Step-by-Step Instructions
Wrapping the Wooden Ring
Before we create the animal, we need to cover the wooden ring to make it soft and safe. You will create one wide strip for the head and two narrower strips for the legs.
Head Wrap:
Chain 25. Turning your work, starting from the 2nd chain from the hook, work 24 sc. Continue working in rows of 24 sc for a total of 7 rows. Fasten off and leave a long tail for sewing.
Leg Wraps (Make 2):
Chain 5. Turning your work, starting from the 2nd chain from the hook, work 4 sc. Continue working in rows of 4 sc for a total of 7 rows. Fasten off and leave a long tail.
Creating the Head
Depending on which animal you choose, the head shape varies slightly. Both heads are worked in continuous rounds (do not join at the end of the round).
For the Giraffe or Fawn:
- Round 1: 6 sc in MR (6)
- Round 2: inc in each st around (12)
- Round 3: (1 sc, inc) x 6 (18)
- Round 4: (2 sc, inc) x 6 (24)
- Round 5: (3 sc, inc) x 6 (30)
- Round 6: 30 sc
- Round 7: (4 sc, inc) x 6 (36)
- Round 8: 36 sc
- Round 9: (5 sc, inc) x 6 (42)
- Rounds 10-11: 42 sc. Change color to the muzzle color here.
- Rounds 12-20: 42 sc (9 rounds total).
- Eyes: Insert safety eyes between rounds 11 and 12, spaced 9 stitches apart.
- Round 21: (5 sc, dec) x 6 (36)
- Round 22: (4 sc, dec) x 6 (30)
- Stop here to begin stuffing. Insert the rattle bell and fill the head firmly with fiberfill.
- Round 23: (3 sc, dec) x 6 (24)
- Round 24: (2 sc, dec) x 6 (18)
- Round 25: (1 sc, dec) x 6 (12)
- Round 26: dec around (6)
Close the hole using a needle by sewing through the front loops only. Weave in the ends.
For the Bear:
- Round 1: 6 sc in MR (6)
- Round 2: inc in each st around (12)
- Round 3: (1 sc, inc) x 6 (18)
- Round 4: (2 sc, inc) x 6 (24)
- Round 5: (3 sc, inc) x 6 (30)
- Round 6: (4 sc, inc) x 6 (36)
- Round 7: (5 sc, inc) x 6 (42)
- Round 8: (6 sc, inc) x 6 (48)
- Rounds 9-11: 48 sc (3 rounds). Change color to the muzzle color.
- Rounds 12-18: 48 sc (7 rounds).
- Eyes: Insert safety eyes between rounds 11 and 12, spaced 9 stitches apart.
- Round 19: (6 sc, dec) x 6 (42)
- Round 20: (5 sc, dec) x 6 (36)
- Round 21: (4 sc, dec) x 6 (30)
- Stuff the head and insert the rattle bell.
- Round 22: (3 sc, dec) x 6 (24)
- Round 23: (2 sc, dec) x 6 (18)
- Round 24: (1 sc, dec) x 6 (12)
- Round 25: dec around (6)
Close the hole by sewing through the front loops only.
The Limbs (Same for all animals)
Upper Limbs (Make 2):
- Round 1: 6 sc in MR (6)
- Round 2: inc in each st around (12)
- Round 3: (1 sc, inc) x 6 (18)
- Rounds 4-6: 18 sc (3 rounds)
- Round 7: (1 sc, dec) x 6 (12)
- Round 8: (1 sc, dec) x 4 (8). Change color to the paw color.
- Crinkle Tip: Insert small pieces of plastic bag into the limb from rounds 1 to 8 to make it crinkle!
- Rounds 9-22: 8 sc (14 rounds).
Flatten the limb and sc 3 through both layers to close. Fasten off and leave a tail.
Lower Limbs (Make 2):
- Round 1: 6 sc in MR (6)
- Round 2: inc in each st around (12)
- Round 3: (1 sc, inc) x 6 (18)
- Round 4: (2 sc, inc) x 6 (24)
- Rounds 5-8: 24 sc (4 rounds)
- Round 9: (2 sc, dec) x 6 (18)
- Round 10: (1 sc, dec) x 6 (12)
- Round 11: (1 sc, dec) x 4 (8). Change color to the paw color.
- Rounds 12-26: 8 sc (15 rounds).
Flatten and sc 3 through both layers to close. Fasten off and leave a tail.
Animal-Specific Details
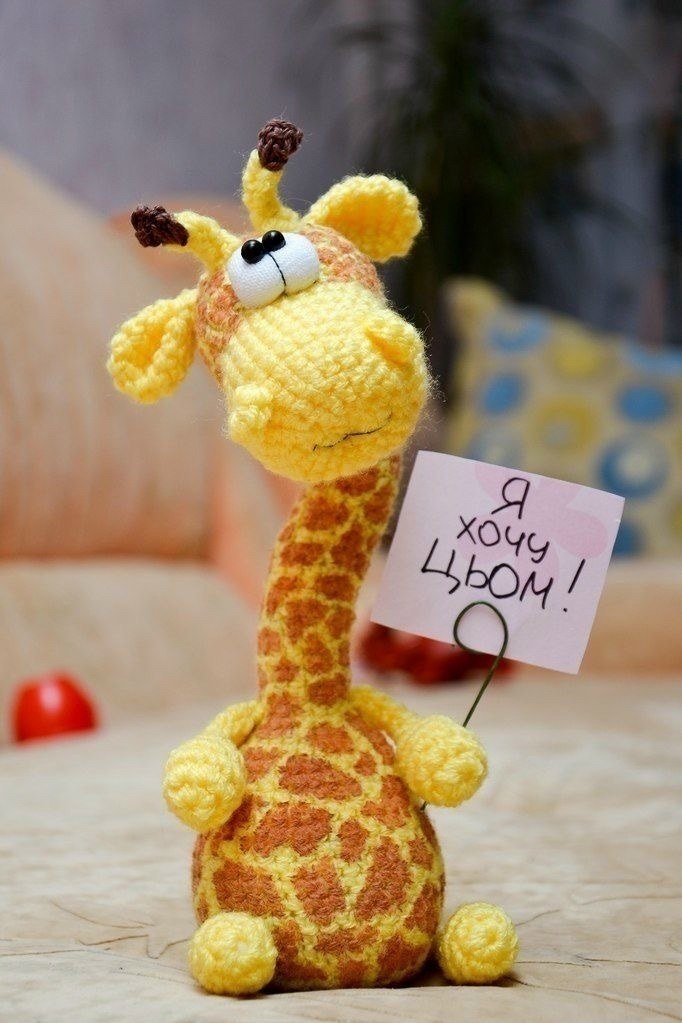
Giraffe:
- Ears (Make 2): 6 sc in MR; (1 sc, inc) x 3 (9); (2 sc, inc) x 3 (12); (3 sc, inc) x 3 (15); (4 sc, inc) x 3 (18); 18 sc for 2 rounds; (4 sc, dec) x 3 (15); (3 sc, dec) x 3 (12). Fold and sc 5 through both layers. Fold again and sew with a few stitches.
- Horns (Make 2): 6 sc in MR; inc in each st around (12); (1 sc, inc) x 6 (18); 18 sc for 3 rounds; (1 sc, dec) x 6 (12); 5 dec, then change color. 7 sc for 3 rounds. Stuff rounds 1-7 only.
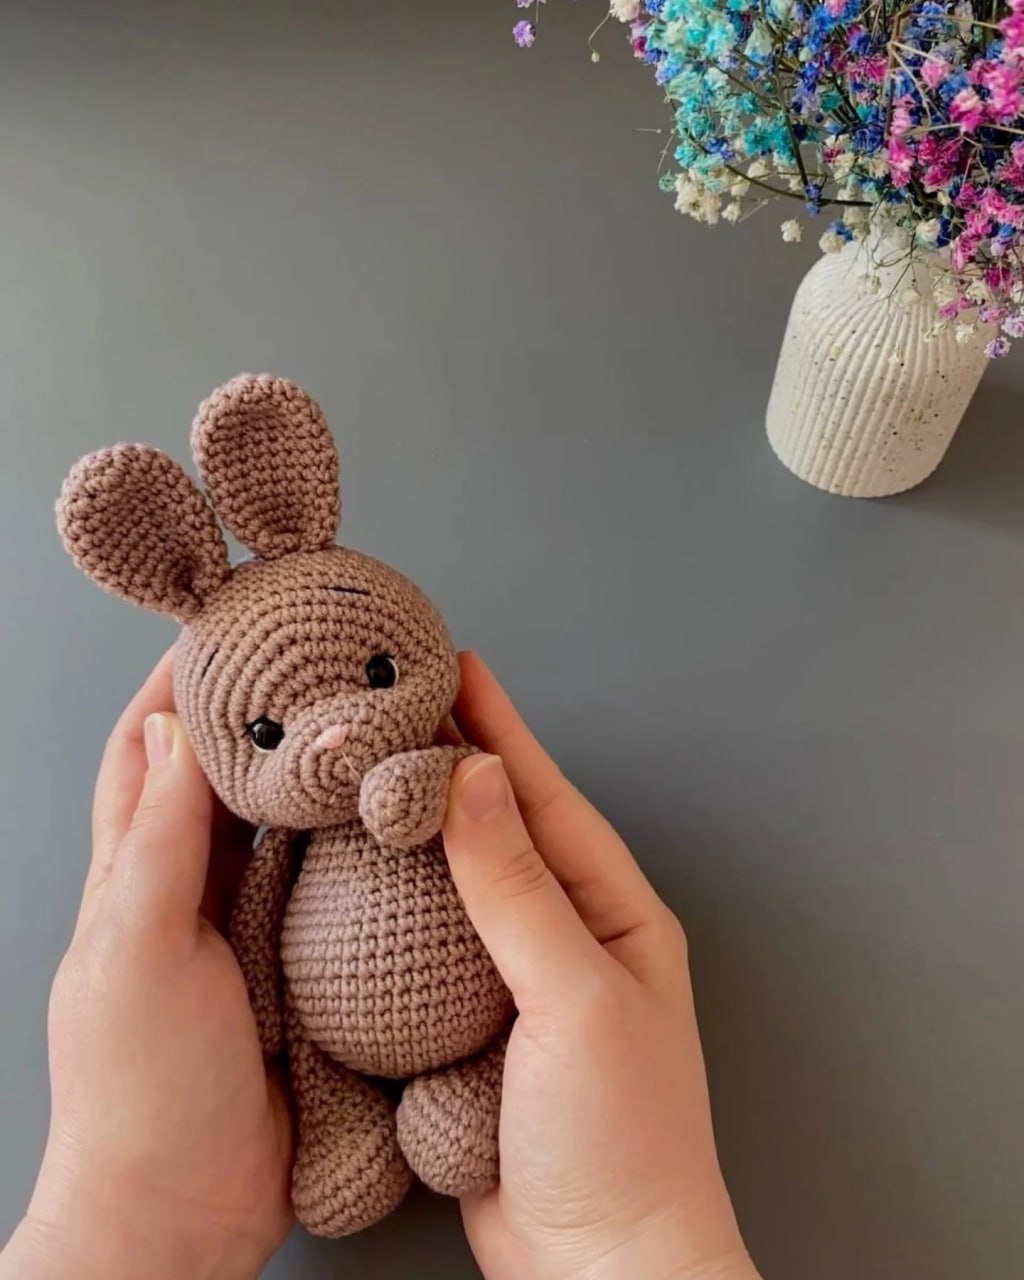
Bear:
- Ears (Make 2): 6 sc in MR; inc in each st around (12); (1 sc, inc) x 6 (18); 18 sc for 2 rounds. Fold and sc 8 through both layers.
Fawn:
- Horns (Complex): Create two parts. Part 1: 6 sc in MR; (inc, 5 sc) (7); 7 sc for 2 rounds; sl st. Part 2: 6 sc in MR; (inc, 5 sc) (7); 7 sc for 3 rounds. Do not fasten off. Insert hook into the smaller Part 1, work (5 sc, dec) around Part 1, then (5 sc, dec) around Part 2 (12). (4 sc, dec) x 2 (10); (3 sc, dec) x 2 (8); sl st.
- Ears (Make 2): 5 sc in MR; inc in each st around (10); 10 sc; (3 sc, dec) x 2 (8). Fold and sc 3 through both layers.
Finishing & Assembly
Now it is time to put everything together. Use your yarn needle and a strong stitch to ensure all parts are baby-safe.
- Head to Ring: Sew the head wrap onto the wooden ring at the point where the yarn color changes.
- Arms: Sew the upper limbs tightly against the head.
- Face Detail: If you’d like a more defined face, you can use a strand of yarn to gently pull the area between the eyes inward (eye indenting) to create a cuter expression.
- Giraffe Placement: Sew horns at rounds 19-21 of the head, about 6 stitches apart. Sew ears at rounds 17-19 (about 2 stitches away from the horns).
- Bear Placement: Sew ears at rounds 18-19 of the head.
- Fawn Placement: Use the same placement as the giraffe for ears and horns.
Tips for Success
Safety First: Since this is a baby toy, always double-check that the safety eyes are pushed in tight and the rattle is completely encased in stuffing so it cannot be reached. If the baby is very young, consider embroidering the eyes with black yarn instead of using plastic safety eyes.
Perfecting the Crinkle: When adding the plastic material to the legs, make sure you don’t overstuff. You want the plastic to be loose enough to make noise when squeezed, but not so bulky that it distorts the shape of the leg.
Yarn Choice: If you don’t have access to the specific brand mentioned, any “Baby Cotton” or “DK Cotton” yarn will work beautifully. Just ensure your hook size is small enough that you cannot see the stuffing through your stitches!