Easy Crochet Fluffy Owl Pattern: A Quick and Cute Amigurumi Tutorial
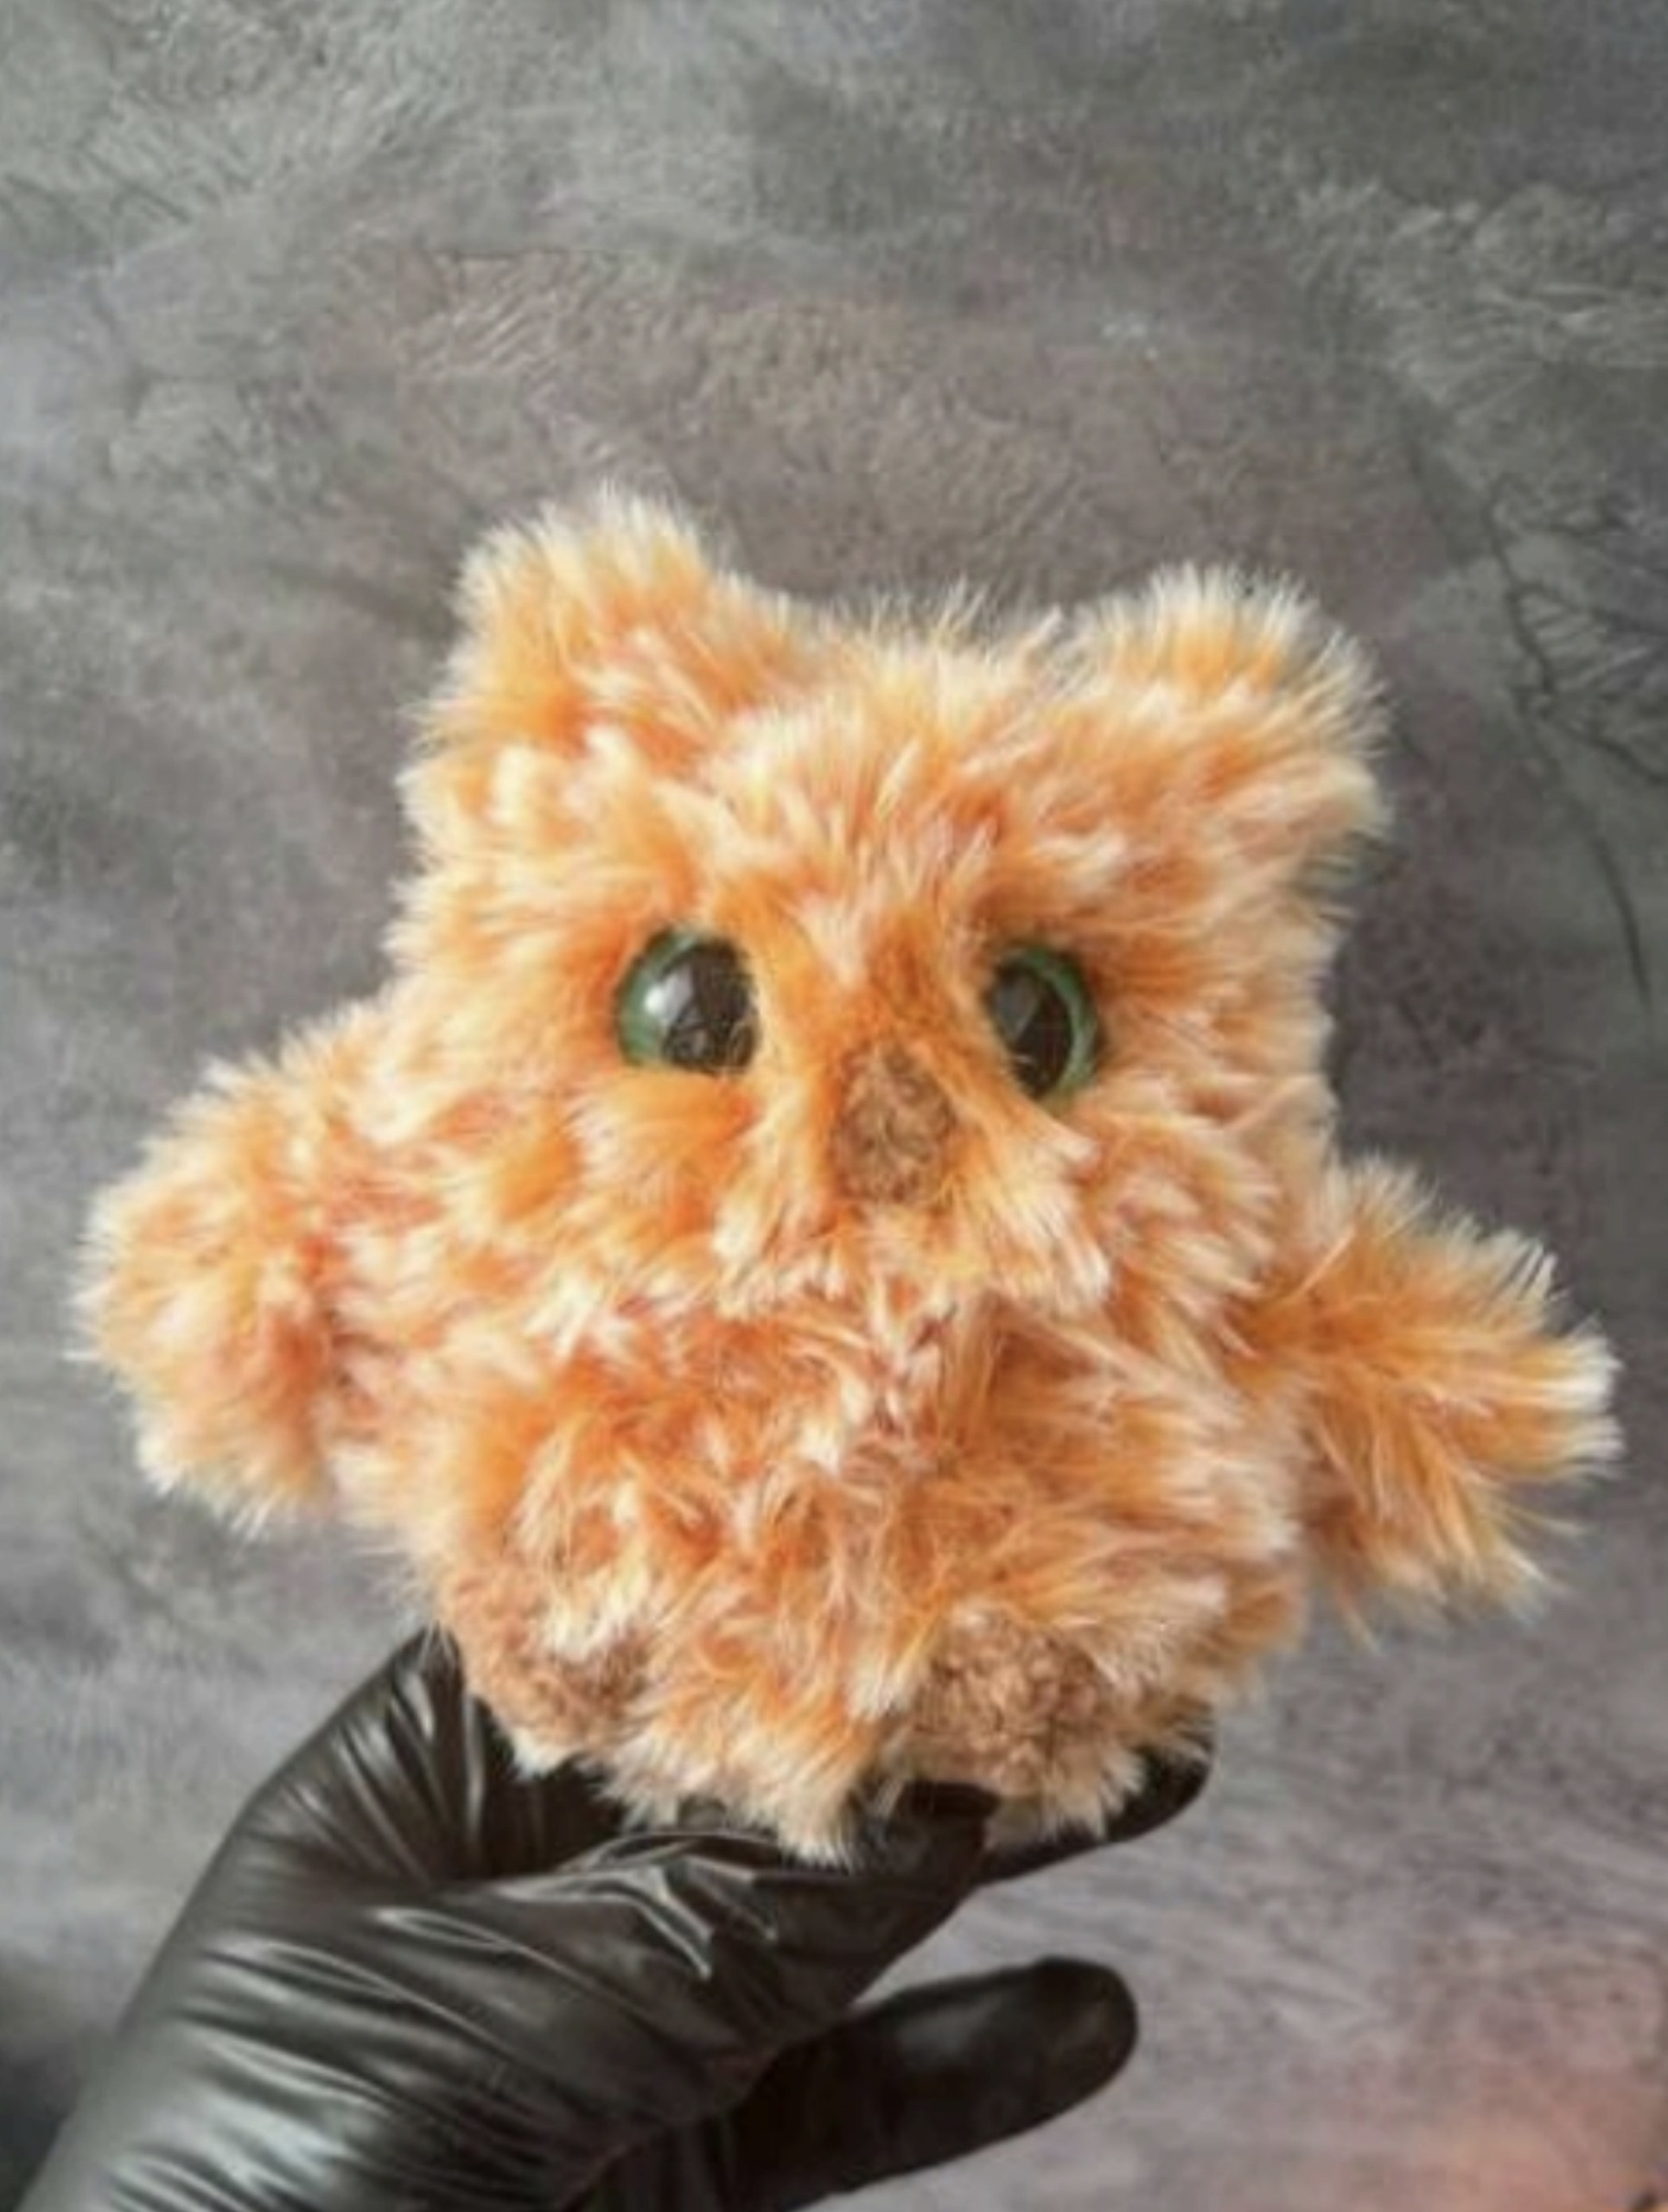
Are you looking for a quick, rewarding crochet project that you can whip up in just a few minutes? This mini fluffy owl is the perfect solution! Whether you want to make a tiny companion for your desk, a cute keychain, or a small gift for a friend, this amigurumi owl is designed to be fast, fun, and incredibly adorable. Because we use a textured, “furry” yarn, the stitches become almost invisible, resulting in a soft, magical-looking creature that looks much more complex than it actually is.
This pattern is specifically designed for beginners or anyone looking for a “one-sitting” project. The small scale makes it a great way to practice your tension or simply relax without committing to a massive project. Let’s dive into how you can create your very own little forest friend!
Materials and Abbreviations
Before you pick up your hook, make sure you have all your supplies ready. Working with specialty yarns like “fuzzy” or “furry” yarn can be a little different than standard cotton, so having the right tools is key.
What You Will Need
- Furry/Textured Yarn: A soft, long-pile yarn works best to hide the crochet stitches. (The example uses a bright orange/peach fur yarn).
- Accent Yarn: A slightly different color or texture for the legs (optional, but adds a lovely touch).
- Crochet Hook: A 4mm (approx. G/6) crochet hook. Since furry yarn can be slippery, a slightly smaller hook can sometimes help keep stitches tight.
- Safety Eyes: 14mm to 16mm (approx. 0.5 to 0.6 inches) safety eyes. These give your owl its personality!
- Yarn Needle: A large-eye needle for sewing the pieces together and weaving in ends.
- Scissors: For trimming yarn.
- Stuffing: Poly-fill or any lightweight fiberfill to make your owl plump.
US Crochet Abbreviations
This pattern uses standard US crochet terms. Please ensure you are using the US versions to avoid confusion with stitch heights!
- MR: Magic Ring (or Magic Circle)
- sc: Single crochet
- inc: Increase (2 sc in the same stitch)
- dec: Decrease (sc 2 stitches together)
- ch: Chain
- sl st: Slip stitch
- tr: Treble crochet (Used for the legs)
Step-by-Step Instructions
Because we are working with furry yarn, it can sometimes be difficult to see exactly where your hook needs to go. Don’t be discouraged! If you lose your place, simply feel for the “holes” or the gaps between the fibers rather than looking for the top of the stitch.
Making the Body
The body is worked in a continuous spiral. It is highly recommended to use a stitch marker to keep track of the start of your rounds.
Round 1: Create a Magic Ring and work 6 sc into the ring. (6 stitches)
Round 2: Work an increase in every stitch around. (12 stitches)
Round 3: [1 sc, 1 inc] repeat 6 times. (18 stitches)
Rounds 4–6: Work 18 sc in each round for a total of 3 rounds. This builds the height of the owl.
Creating the Wings
The wings are worked directly into the body in Round 7. This is what makes the owl look so seamless and cute!
The Wing Pattern: Chain 5. From the second chain from your hook, work: 1 increase (2 sc in the same chain), then 3 sc, and finish with a slip stitch back into the base of the wing. This creates a small, fan-like shape.
Round 7: We will now work the wings into the stitches of the round.
Work the “Wing Pattern” into the first stitch.
Work 9 sc.
Work the “Wing Pattern” into the next stitch.
Work the remaining stitches (7 sc) to bring your total stitch count for this round back to 18.
Note: If your wings are very large, you may need to adjust your sc count to ensure you end with 18 stitches.
Rounds 8–10: Work 18 sc in each round for 3 rounds. This rounds out the bottom of the owl.
Round 11: [1 sc, 1 dec] repeat 6 times. (12 stitches)
Round 12: Work 6 dec (decrease 6 times). (6 stitches)
Stop here and stuff the body firmly with fiberfill. Once stuffed, fasten off, leaving a long tail for sewing.
The Ears, Beak, and Legs
These small details are what bring your owl to life. You can work these separately and then sew them on, or work them directly into the body if you are feeling adventurous!
The Ears
To create the little tufts on top of the head: Chain 3, then work 1 slip stitch into the first chain. Repeat this twice on the top of the head to create two tiny points.
The Beak
The beak is very simple. Chain 2, then work 1 slip stitch into the second chain from the hook. Sew this to the center of the face between the eyes.
The Legs
For the tiny little feet, we will use a small cluster of stitches. In a single stitch at the bottom of the body, work 3 treble crochets (tr) all into that same stitch. Repeat this in a second stitch nearby to create two little feet. You can use a contrasting color here for a pop of detail!
Finishing
Now comes the best part: the assembly! Follow these steps to give your owl its final look.
- Insert Safety Eyes: Before you close the body completely, insert your 14-16mm safety eyes. Place them about 2-3 stitches apart, roughly in the middle of the head area. Ensure the washers are secure on the inside.
- Sew the Beak: Using your yarn needle and a piece of your main yarn, sew the tiny beak centered between the eyes.
- Attach Ears: If you didn’t crochet them directly onto the head, sew the small ear tufts to the very top of the head.
- Weave in Ends: Use your yarn needle to weave all remaining loose ends into the body of the owl. Since you are using furry yarn, these ends will disappear easily into the fluff!
Tips for Success
Crocheting with specialty yarns can be tricky for beginners. Here are a few professional tips to help you achieve the best results:
- Don’t Panic with Furry Yarn: It is very common to “lose” your stitches in long-pile yarn. If you find you have accidentally added or skipped a stitch, don’t be afraid to unravel (frog) that round and try again. Using a stitch marker is non-negotiable here!
- Tension Control: Try to keep your tension relatively even. If you pull too hard, the furry yarn might stretch oddly; if it’s too loose, the stuffing might show through the gaps.
- Eyes Placement: Always double-check the placement of your eyes before you finish stuffing. It is much easier to move them while the piece is soft than after it is tightly packed.
- Stuffing Technique: When stuffing, push the fiberfill into the corners and edges of the owl. This prevents “lumps” and ensures the owl has a nice, round, professional shape.