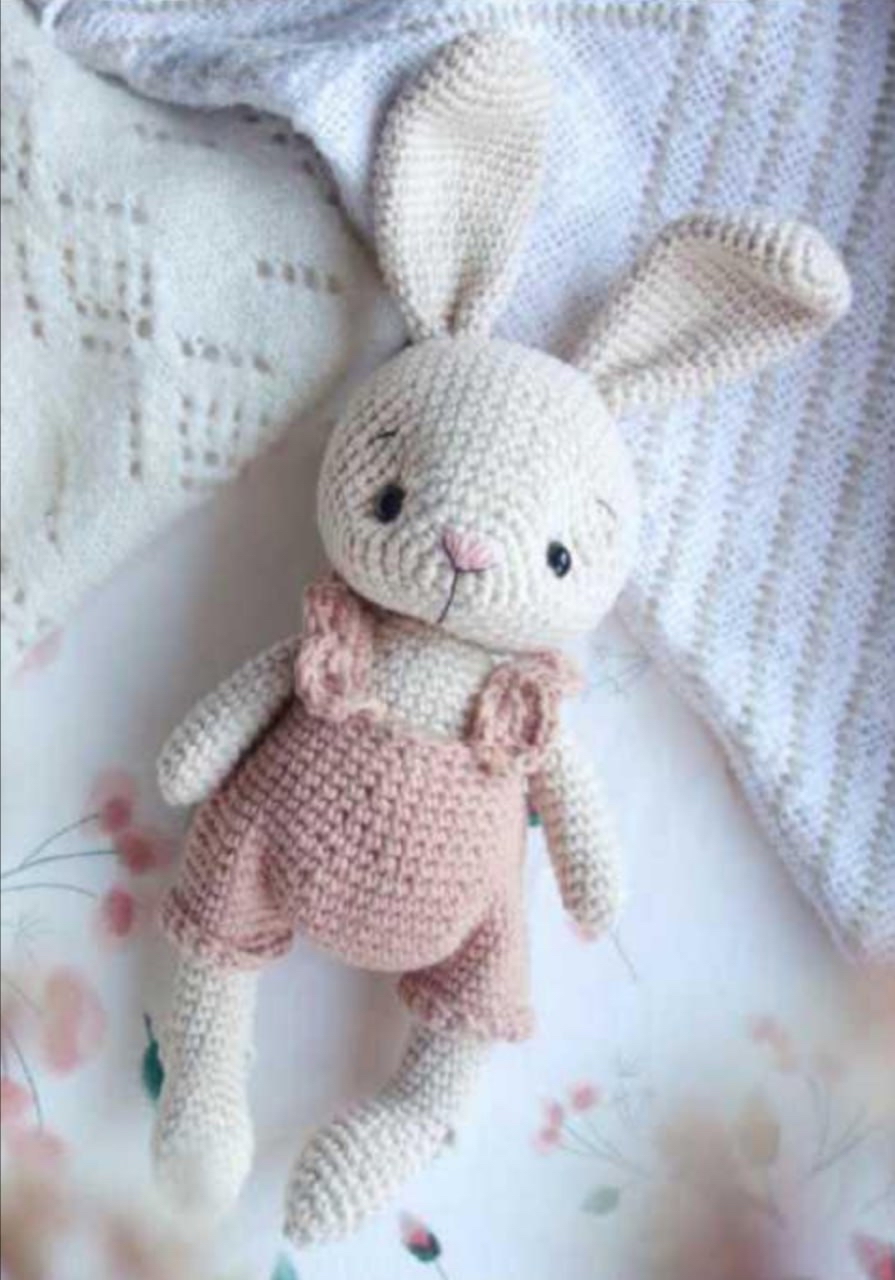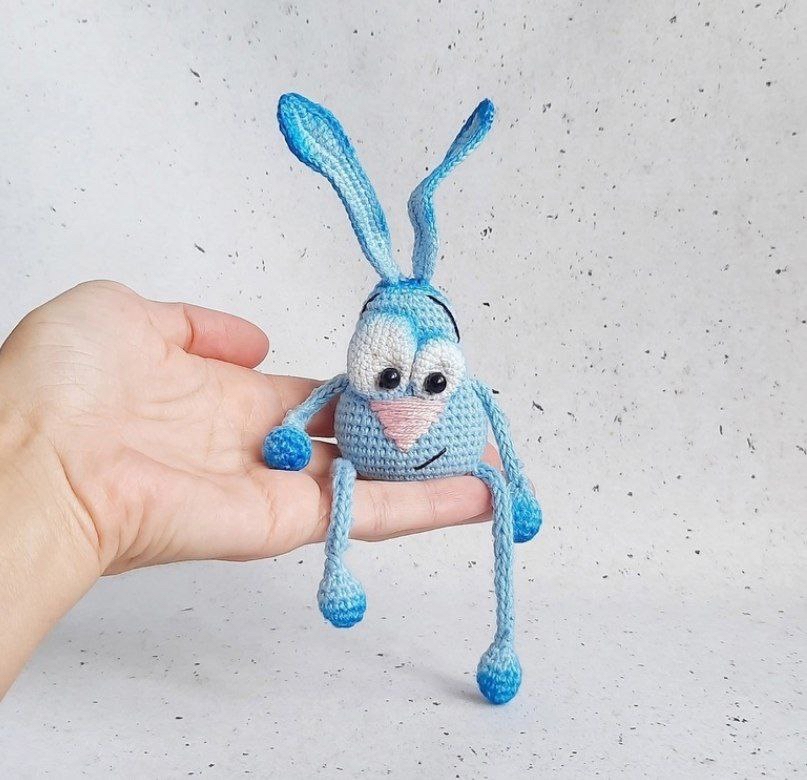
Amigurumi Googly Eye Cat and Bunny Crochet Pattern: A Fun Beginner Tutorial
Are you looking for a quick, adorable, and slightly silly project to add to your crochet collection? Look no further! These “Googly Eye” amigurumi critters are the perfect solution for anyone looking to make something charming, quirky, and incredibly fast. Whether you want to create a funny little cat, a long-eared bunny, or a unique set of bag charms, this pattern has you covered.
These little characters are designed to be small and compact, making them ideal for several uses. They work wonderfully as keychains, decorative Christmas tree ornaments, or even cute little companions to sit on your desk. Because they are so small, they are also the absolute best way to use up those leftover yarn scraps sitting in your craft bin!
In this tutorial, I will guide you through creating the body, the iconic oversized eyes, the long limbs, and the finishing touches that give these creatures their signature “bug-eyed” look. This pattern is beginner-friendly, provided you have the basic knowledge of amigurumi techniques like working in a continuous spiral.
Materials & Abbreviations
Before we pick up our hooks, let’s make sure you have everything you need. Since these are small toys, you won’t need much yarn, but choosing the right textures can make a big difference in how “fuzzy” or “smooth” your creature looks.
What You Will Need
- Yarn: Any scrap yarn will work! For the base colors (beige, pink, yellow, or blue), a cotton/acrylic blend or a mercerized cotton works beautifully. For the eyes, you will definitely need white yarn. For the facial details (nose, mouth, eyebrows), have some black and pink yarn ready.
- Crochet Hook: A 1.25 mm (approx. B-1) hook is recommended to keep the stitches tight so the stuffing doesn’t show through.
- Stuffing: Polyester fiberfill (often called Hollofiber) to give your characters shape.
- Eyes: 2 mm beads to serve as the pupils.
- Sewing Tools: A tapestry needle for assembly and embroidery.
- Optional: A keychain ring if you want to turn your creation into a bag charm.
Abbreviations (US Terms)
Please ensure you are using US crochet terminology to follow this pattern correctly:
- MR: Magic Ring (amigurumi ring)
- ch: Chain
- sc: Single crochet
- hdc: Half double crochet
- dc: Double crochet
- inc: Increase (2 sc in one stitch)
- dec: Decrease (sc2tog)
- sl st: Slip stitch
- * : Repeat the instructions within the asterisks the indicated number of times
Step-by-Step Instructions
Note: All parts of the toy are worked in a continuous spiral. I highly recommend using a stitch marker to keep track of your rounds.
Limbs (Arms, Legs, and Cat Tail)
The limbs are made of a small ball attached to a long, thin cord. We will use a special technique to create the cord.
The Ball Base
- 6 sc in MR (6)
- 6 inc (12)
- 3-5. 12 sc (12)
- 6 sc in 6 dec (6)
- Stuff the ball with fiberfill.
- 7. 3 dec (3)
Creating the Cord
To create the long, skinny limbs, we will “pick up” loops to form a cord. To start the cord, chain 3. Pull your hook through the first single crochet, leaving the loop on the hook. Then, pull through the second single crochet, also leaving the loop on the hook. You should now have three loops on your hook. Hold two of these loops firmly between your fingers so they don’t slip away! You will crochet them in this order: first the loop on the hook, then the middle loop, then the first loop. Repeat this process to grow the cord.
- For Arms: Crochet 10 rows of this cord technique.
- For Legs: Crochet 16 rows of this cord technique.
- For Cat Tail: Instead of starting with a ball, start by chaining 3. Pick up loops through the chains as described above to create the cord.
The Big Eyes
- 6 sc in MR (6)
- 6 inc (12)
- (1 inc, 1 sc) * 6 (18)
- (1 inc, 2 sc) * 6 (24)
- (1 inc, 3 sc) * 6 (30)
- 6-8. 30 sc (30)
Fasten off, leaving a long tail for sewing. Make two of these.
The Small Eyes
- 6 sc in MR (6)
- 6 inc (12)
- (1 inc, 1 sc) * 6 (18)
- 4-6. 18 sc (18)
Fasten off, leaving a long tail for sewing. Make two of these.
Bunny Ears (Make 2)
- Chain 25. Starting in the second chain from the hook: 16 sc, 2 hdc, 3 dc, 1 hdc, 1 sc, 3 sc in the last chain. Turn to work on the other side of the foundation chain: 1 sc, 1 hdc, 3 dc, 2 hdc, 16 sc.
- Finish by working a round of slip stitches around the entire edge of the ear to stabilize the shape.
- Fasten off, leaving a tail for sewing.
Cat Ears (Make 2)
- Chain 2. In the first chain, work: 1 sc, 1 hdc, 1 dc, 1 hdc, 1 sc (Total: 5 stitches).
- Turn and work a round of slip stitches around the edge.
- Fasten off, leaving a tail for sewing.
The Body
The body is the center of your character. The construction differs slightly if you are making a cat versus a bunny.
- 8 sc in MR (8)
- 8 inc (16)
- (1 inc, 1 sc) * 8 (24)
- 4 sc, 4 inc, 8 sc, 4 inc, 4 sc (32)
- 4 sc, (1 inc, 1 sc) * 4, 8 sc, (1 inc, 1 sc) * 4, 4 sc (40)
Attaching the Limbs
This is a crucial step. You will be crocheting through both the limb cord and the body at the same time to ensure they are securely attached.
For the Bunny Body:
- Round 6 (Leg Attachment): 9 sc, 2 sc simultaneously through the loops of the leg and the body, 18 sc, 2 sc simultaneously through the loops of the leg and the body, 9 sc (40).
- Round 7: 40 sc (40).
- Rounds 8-13: 40 sc (40).
- Round 14: 4 sc, (1 dec, 1 sc) * 4, 8 sc, (1 dec, 1 sc) * 4, 4 sc (32).
- Round 15 (Arm Attachment): 7 sc, 2 sc simultaneously through the loops of the arm and the body, 14 sc, 2 sc simultaneously through the loops of the arm and the body, 7 sc (32).
- Round 16: 7 sc, 1 dec, 14 sc, 1 dec, 7 sc (30).
- Rounds 17-23: 30 sc (30).
- Round 24: (1 dec, 3 sc) * 6 (24).
- Round 25: (1 dec, 2 sc) * 6 (18).
- Round 26: (1 dec, 1 sc) * 6 (12).
- Round 27: 6 dec (6).
For the Cat Body:
- Round 6 (Leg Attachment): 9 sc, 2 sc simultaneously through the loops of the leg and the body, 18 sc, 2 sc simultaneously through the loops of the leg and the body, 9 sc (40).
- Round 7 (Tail Attachment): 19 sc, 2 sc simultaneously through the loops of the tail and the body, 19 sc (40).
- Rounds 8-13: 40 sc (40).
- Round 14: 4 sc, (1 dec, 1 sc) * 4, 8 sc, (1 dec, 1 sc) * 4, 4 sc (32).
- Round 15 (Arm Attachment): 7 sc, 2 sc simultaneously through the loops of the arm and the body, 14 sc, 2 sc simultaneously through the loops of the arm and the body, 7 sc (32).
- Round 16: 7 sc, 1 dec, 14 sc, 1 dec, 7 sc (30).
- Rounds 17-23: 30 sc (30).
- Round 24: (1 dec, 3 sc) * 6 (24).
- Round 25: (1 dec, 2 sc) * 6 (18).
- Round 26: (1 dec, 1 sc) * 6 (12).
- Round 27: 6 dec (6).
Fasten off and stuff the body firmly with fiberfill.
Finishing
Now comes the best part: bringing your character to life!
Assembly Steps
- The Eyes: Take your large white eye pieces. Place your 2mm bead in the center. As you sew the eye onto the face, don’t stuff the white eye too tightly; a little bit of “squish” helps them look more expressive. Sew them on with the “wrong side” facing outward for a cleaner look.
- The Face: Use black yarn to embroider a small mouth and simple eyebrows. Use pink yarn to embroider a small nose.
- The Ears: Sew the bunny or cat ears onto the top of the head.
- Final Touches: If you’d like, you can use a little bit of fabric paint or diluted acrylic paint to add shading (toning) to the edges of the limbs or ears for a more professional, vintage look.
Tips
- Tight Stitches: When making amigurumi, always try to use a hook slightly smaller than what the yarn suggests. This prevents the stuffing from peeking through the holes.
- Stitch Markers: Since we work in a spiral, it is very easy to lose your place. Use a bright stitch marker at the start of every round.
- The “Simultaneous” Stitch: When attaching limbs, make sure you are catching both the limb and the body stitch with your hook. If the limb feels loose, you can go back and add a few more stitches around the join.
- Variation: Don’t be afraid to experiment! You can make a long-necked version, or give them extra long ears for an even sillier look.