Modern Tunisian Crochet Entrelac Blanket Pattern: Step-by-Step Tutorial
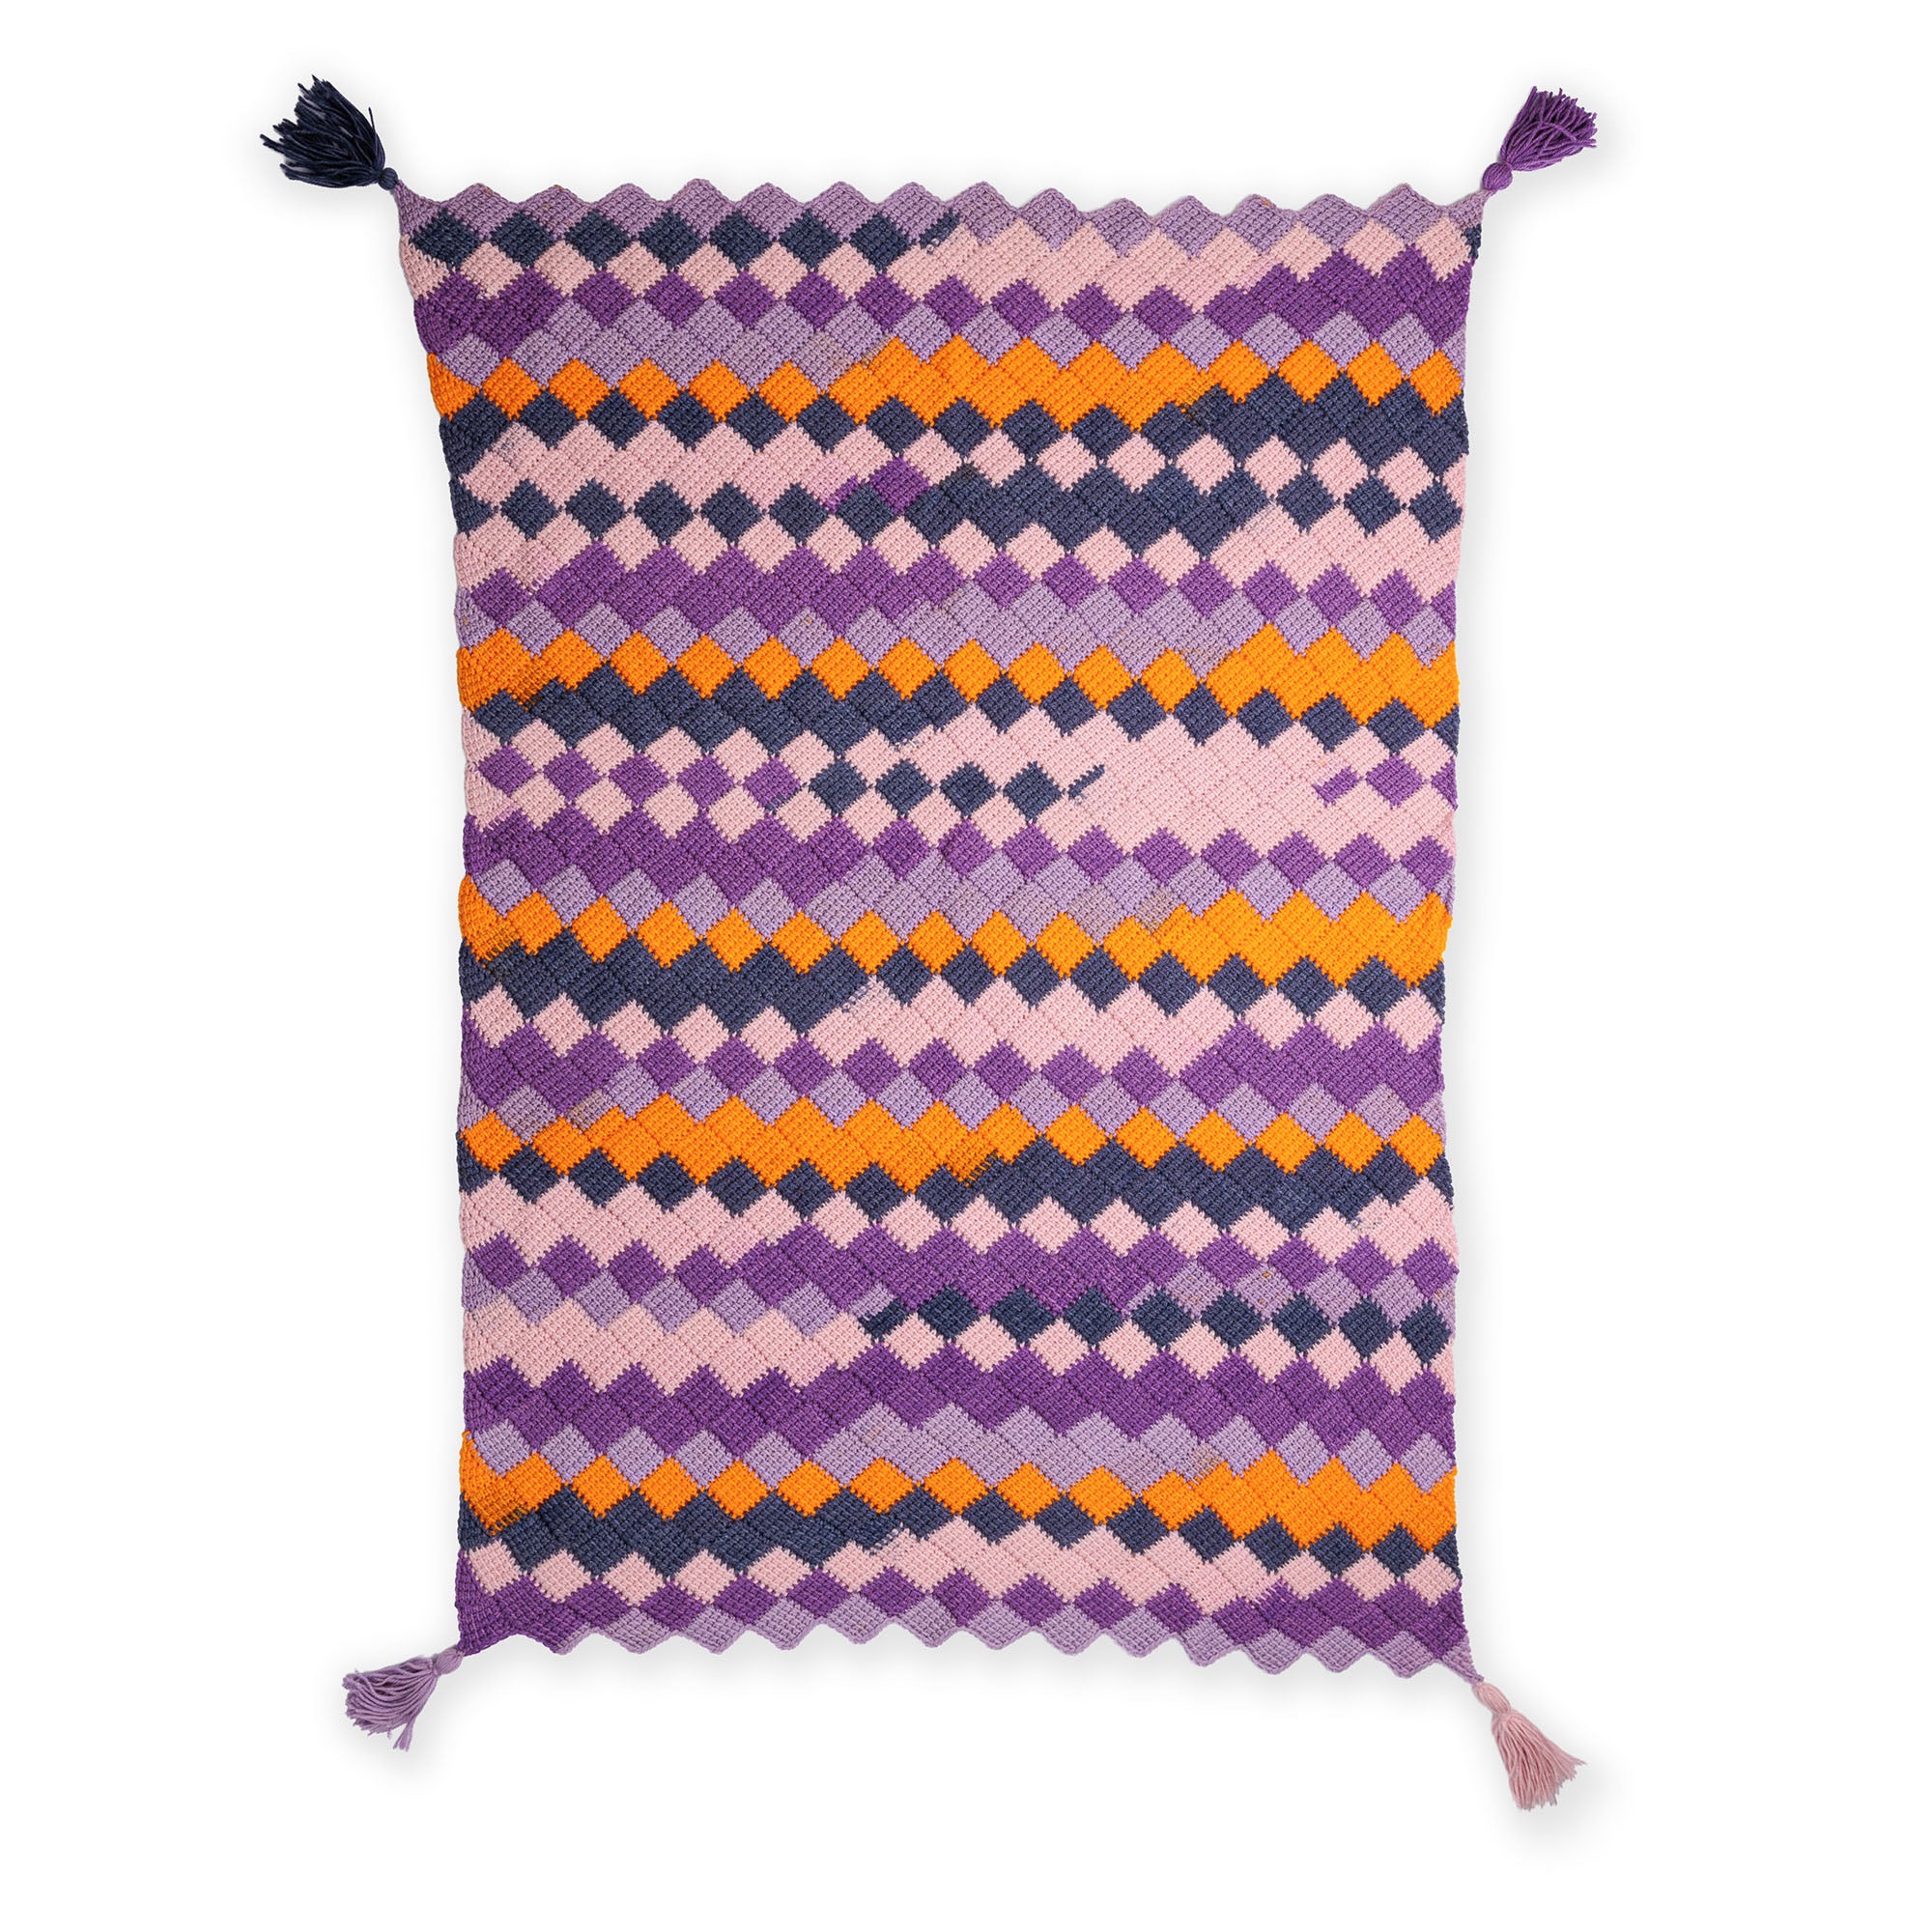
If you are looking for a project that combines the cozy feel of a traditional blanket with a sophisticated, woven appearance, this Tunisian Crochet Entrelac Blanket is the perfect choice. Entrelac crochet creates a stunning “interlocking tile” effect that looks incredibly complex but is actually quite meditative once you get into the rhythm.
This particular design uses a hybrid of standard crochet and Tunisian crochet techniques. By working in short strips and alternating directions, you’ll create a textured fabric that is denser and warmer than a standard crochet blanket. Whether you are an intermediate crocheter looking for a new challenge or a beginner eager to learn Tunisian stitches, this tutorial will guide you through every tile.
Materials & Abbreviations
Before we dive into the stitches, let’s gather all the necessary supplies. To achieve the look and size shown in this pattern, you will need the following materials:
- Yarn: Approximately 1,915 yards of Medium weight (4) yarn. A multi-colored cake yarn works beautifully for this pattern to highlight the tile effect.
- Crochet Hook: Size L/11 (8 mm). Important: You must use a hook without a wide thumb grip, or a dedicated Tunisian crochet hook, to ensure the hook can slide easily through the loops.
- Additional Tools: A yarn needle for weaving in ends and a piece of cardboard (6 inches wide) for making tassels.
Pattern Abbreviations (US Terms)
- Approx: Approximately
- Beg: Beginning
- Ch: Chain
- Cont: Continuity
- RS: Right side
- Sc: Single crochet
- Sl st: Slip stitch
- Sp(s): Space(s)
- St(s): Stitch(es)
- Tss: Tunisian Simple Stitch
- Yoh: Yarn over hook
Understanding the Tunisian Technique
This blanket relies on two main movements for every row: the Forward Pass and the Return Pass. Unlike traditional crochet, you do not turn your work between these two passes.
- Forward Pass: You work from right to left, inserting the hook and drawing up loops onto the hook, similar to knitting.
- Return Pass: You work from left to right, using the yarn over hook (Yoh) to pull the loop through the loops currently on your hook until only one remains.
Step-by-Step Instructions
The blanket is constructed in vertical strips. You will alternate between “Odd” strips (starting and ending with triangles) and “Even” strips (consisting only of squares).
Strip 1: The Foundation Strip
This strip sets the width of your blanket. Note that the first strip is worked using the back bumps of the foundation chain.
The First Triangle
Begin by chaining 153.
Row 1: Work 1 regular single crochet (sc) in the 2nd chain from the hook. Do not turn.
Row 2: Forward Pass: Insert hook from right to left through the left vertical “leg” of the first sc, then draw up a loop in the next chain. You should have 3 loops on your hook. Return Pass: Yoh and draw through 2 loops on hook. Do not turn.
Row 3: Forward Pass: Tss in the first 2 stitches, then draw up a loop in the next chain (4 loops on hook). Return Pass: Yoh and draw through 2 loops 3 times.
Rows 4-6: Continue increasing by adding one Tss to the forward pass each row and drawing up a loop in the next chain.
Row 7: Sl st loosely in each of the next 5 single vertical bars and sl st in the last worked chain. Your first triangle is complete!
The First Square
Row 1: Forward Pass: Draw up a loop in each of the next 6 chains (7 loops on hook). Return Pass: Yoh and draw through 2 loops until 1 loop remains.
Rows 2-5: Forward Pass: Tss in the first 5 stitches, then draw up a loop in the next chain. Return Pass as before.
Final Row: Sl st loosely into each of the next 5 single vertical bars and sl st in the last worked chain.
Completing the Strip
Repeat the square process for the second through twelfth squares. To finish the strip, work the Last Triangle by starting with a forward pass of 6 loops and decreasing the number of Tss in each subsequent row until only one stitch remains. Fasten off.
Strip 2: The Connecting Strip
Strip 2 is worked perpendicular to Strip 1, joining the squares together.
With the right side facing, join your yarn with a slip stitch at the top corner of the first triangle of the previous strip.
The First Square: Work the forward pass by drawing up a loop in each of the next 5 slip stitches, then draw up a loop in the first stitch of the next square from the previous strip (7 loops on hook). Perform the return pass.
Rows 2-5: Forward Pass: Tss in the first 5 stitches, then draw up a loop in the next stitch of the next square. Return Pass.
Final Row: Sl st loosely into each of the next 5 vertical bars and sl st into the top of the next square of the first strip.
Repeat this process for the second through fifteenth squares. Fasten off at the end of the last square.
Strip 3: The Mirror Strip
Strip 3 starts where Strip 1 started. Join your yarn with a slip stitch to the same space where the first square of the previous strip began.
First Triangle: Build the triangle by increasing your Tss count each row, drawing up a loop in the next stitch of the next square of the previous strip.
Squares: Work the first through fourteenth squares using the same method as in Strip 2.
Last Triangle: Decrease your Tss count each row until the triangle is closed. Fasten off.
Expanding the Blanket
To reach your desired length, simply repeat the sequences for Strip 2 and Strip 3. Continue alternating these two strips until the blanket measures approximately 52 inches long. Always end on a “Third Strip” (the odd-numbered strip) to ensure the edges are balanced. Fasten off and weave in all ends.
Finishing
To give the blanket a professional, boutique look, add four handmade tassels to the corners.
Making the Tassels:
- Wind your yarn around a 6-inch piece of cardboard approximately 20 times.
- Securely tie a piece of yarn through the loops at one end.
- Cut across the opposite end of the cardboard.
- Wrap another piece of yarn 6 times around the tassel, about 1.5 inches down from the tied end, and fasten securely.
Sew one tassel to each of the four corners of the blanket.
Tips for Success
Maintaining Tension
Because Tunisian crochet can be tighter than standard crochet, it is important to keep your loops loose, especially during the slip stitch rows. If your stitches are too tight, the “tiles” will pull and the blanket will lose its rectangular shape.
The “No-Turn” Rule
One of the most confusing parts of this pattern for beginners is the instruction “Do not turn.” Remember, in Tunisian crochet, the return pass is simply a way to “close” the row. You only turn your work after a full row (Forward + Return) is completed, or when the pattern specifically tells you to move to a new section.
Hook Choice
If you find that you are struggling to draw up loops or that the yarn is snagging, double-check your hook. A standard ergonomic hook with a thick handle often cannot fit into the Tunisian loops. A slim aluminum hook or a dedicated Tunisian hook is essential for this project.
Counting Your Squares
It is easy to lose track of which square you are on. We recommend using a stitch marker or a simple tally sheet to keep track of your squares within each strip to ensure the blanket remains symmetrical.