Adorable Crochet Sheep Keychain Pattern: A Beginner-Friendly Amigurumi Tutorial
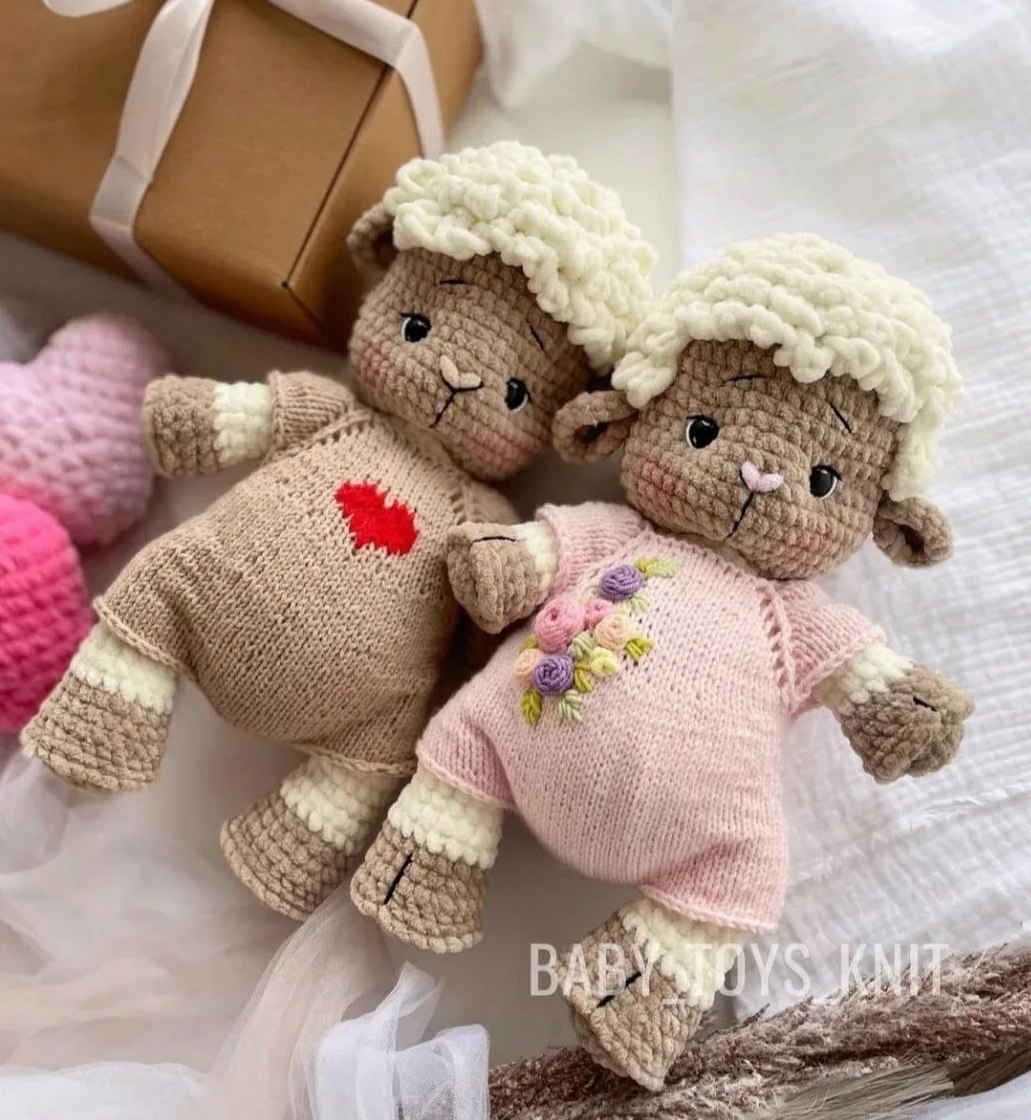
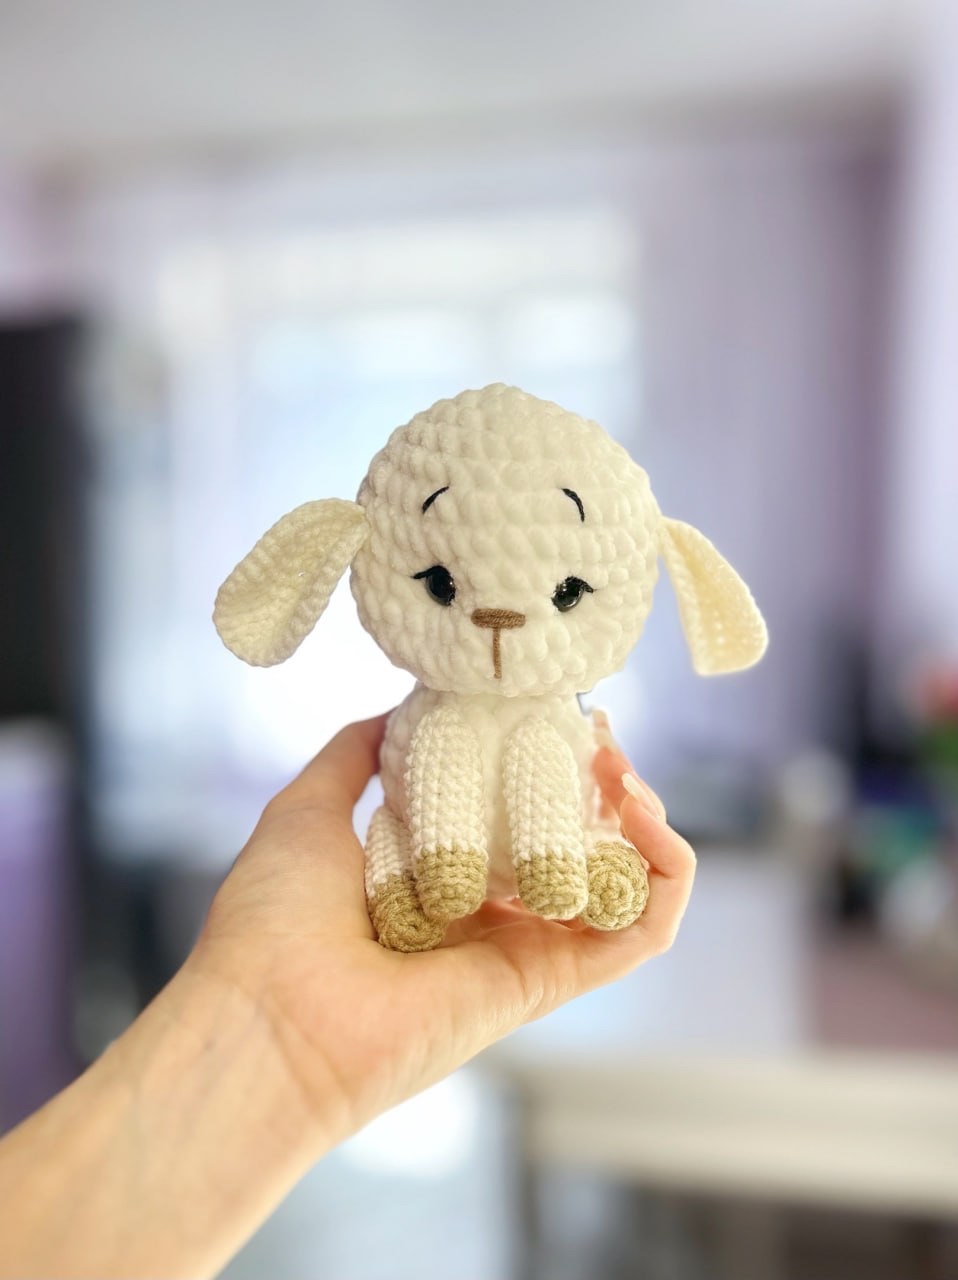
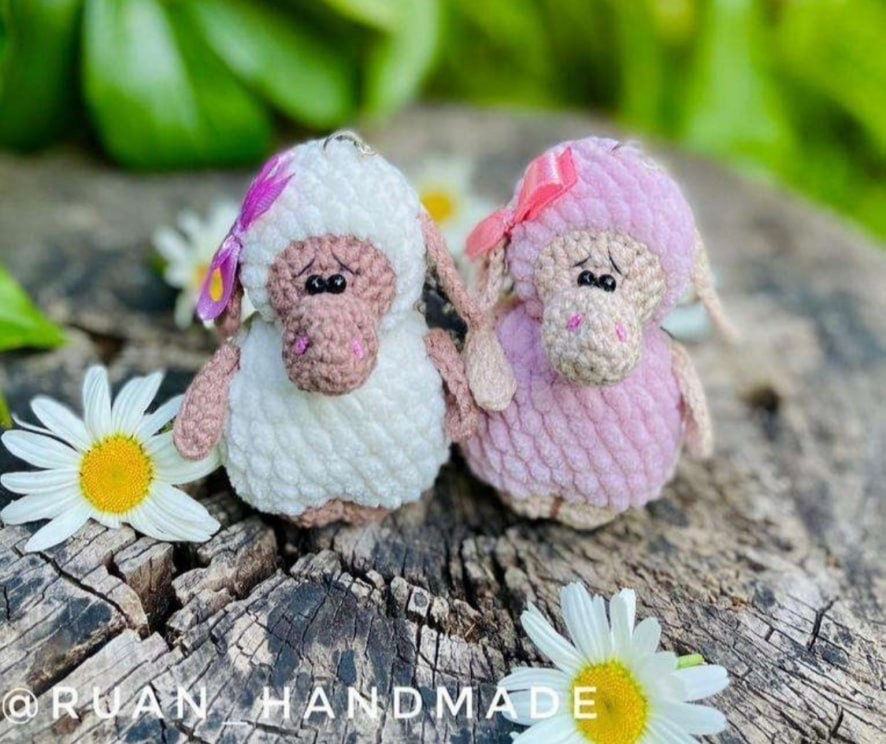
Are you looking for a quick, adorable, and highly giftable crochet project? This mini amigurumi sheep keychain is the perfect solution! These little sheep are incredibly charming, featuring a textured, fluffy body and a sweet, sculpted face. Whether you want to make a batch for a craft fair, decorate your own backpack, or give a handmade gift to a friend, this pattern is a delightful project that works up quickly.
What makes this pattern special is the combination of two different yarn weights. By using a fine cotton yarn for the face and limbs and a chunky plush yarn for the body, you create a beautiful contrast in texture that makes the sheep look extra cuddly and professional. This tutorial is designed to guide you through every step, from the first magic ring to the final facial details, ensuring a successful result even if you are relatively new to amigurumi.
Materials & Abbreviations
To achieve the specific look seen in the photos, you will need to use two different types of yarn. Using the correct hook sizes for each yarn is essential to keep your stuffing from showing through.
Materials Needed
- Fine Cotton Yarn: A weight similar to YarnArt Jeans (approx. 50g). You will need a natural color for the head/limbs and a contrasting color for the leg shaping.
- Plush/Velvet Yarn: A bulky, chenille-style yarn (such as Himalaya Dolphin Baby or Lavita Velur) for the fluffy body.
- Crochet Hooks: 1.7 mm (for the cotton yarn) and 2.5 mm (for the plush yarn).
- Eyes: 3 mm black bead eyes or safety eyes.
- Stuffing: Polyester fiberfill (polyfill).
- Sewing Supplies: Black sewing thread for the eyes and brows, pink embroidery thread for the nose/cheeks, and a needle for sewing pieces together.
- Accessories: A keychain ring and a small ribbon for decoration.
US Crochet Abbreviations
- MR: Magic Ring (Magic Circle)
- sc: Single crochet
- inc: Increase (two stitches in the same stitch)
- dec: Decrease (sc two stitches together)
- ch: Chain
- hdc: Half double crochet
- hdc inc: Half double crochet increase (two hdc in the same stitch)
- sl st: Slip stitch
- st(s): Stitch(es)
Step-by-Step Instructions
The Head
Start with the fine cotton yarn and use the 1.7 mm hook.
- R1: 6 sc in a MR (6)
- R2: 6 inc (12)
- R3: (1 sc, inc) x 6 (18)
- R4-5: 18 sc (18)
- R6: (1 sc, dec) x 6 (12)
- R7: 12 sc (12)
- R8: 4 sc, 4 hdc inc, 4 sc (16)
- R9: 4 sc, (1 hdc, hdc inc) x 4, 4 sc (20)
- R10: 20 sc (20)
Switch to the plush yarn and use the 2.5 mm hook.
- R11-14: 20 sc (20)
- R15: (2 sc, dec) x 5 (15)
- R16: (1 sc, dec) x 5 (10)
- R17: 5 dec (5)
Fasten off, leaving a long tail for sewing. Pull the ring tight and hide the yarn tail inside the head.
The Body & Legs
Start with the fine cotton yarn and use the 1.7 mm hook.
- R1: 6 sc in a MR (6)
- R2: 6 inc (12)
- R3: (1 sc, inc) x 6 (18)
- R4: (2 sc, inc) x 6 (24)
- R5-7: 24 sc (24)
Switch to the plush yarn and use the 2.5 mm hook.
- R8-12: 24 sc (24)
- R13: (2 sc, dec) x 6 (18)
- R14: (1 sc, dec) x 6 (12)
- R15: 6 dec (6)
Fasten off. If you plan to sew the body to the head with sewing thread, leave a long tail. Otherwise, leave enough tail to sew it directly to the head.
The Arms (Make 2)
Use the 1.7 mm hook and fine cotton yarn.
Ch 8. Starting in the 2nd chain from the hook: 6 sc, 3 sc in the very last chain, 6 sc, sl st into the base. Leave a long tail for sewing.
The Ears (Make 2)
Use the 1.7 mm hook and fine cotton yarn.
Ch 8. Starting in the 2nd chain from the hook: 6 sc, 3 hdc in the very last chain, 6 sc, sl st into the base. Leave a long tail for sewing.
Finishing & Assembly
Shaping the Legs
To give the sheep its little legs, we will “pull” the body. Using a contrasting color of the fine cotton yarn, thread your needle through the back of the body between rounds 8 and 9. Bring the needle out through the front, also between rounds 8 and 9. Pull the thread firmly in the center to create two distinct leg shapes. Secure the thread with 3-4 knots at the back and hide the yarn tail inside the body.
Sculpting the Muzzle
This step gives the sheep its adorable snout. Using your fine cotton yarn, insert the needle at the bottom of the face between rounds 6 and 7. Bring the needle up through the top, between rounds 3 and 4 on the left side. Make a small stitch (about the length of 1 sc). Move approximately 3-4 stitches to the right and make a second small stitch. Pull the thread back down through the body, about 1 stitch away from your second stitch. Pull tight to create a snout shape and secure with 2-3 knots. You can then use the remaining thread to embroider tiny nostrils.
Attaching the Head and Limbs
- Head Placement: Locate the eye placement at round 8, specifically at the base of the 2nd and 3rd hdc increases. Position the head in the center of the body, secure it temporarily with pins, and then sew it on firmly.
- Arms: Fold the arms in half to find the center. Sew them to the sides of the body using approximately two stitches. Hide the yarn tails inside.
- Ears: Sew the ears to the sides of the head.
Facial Details
Using double-stranded black sewing thread, we will add the eyes and brows:
- Eyes: Insert the needle from the bottom of the muzzle between rounds 9 and 10. Bring the needle up at round 8 at the base of the 3rd hdc increase. Thread your 3mm beads onto the needle, then insert the needle back into the base of the 2nd hdc increase. Bring the needle back down 1 stitch away from the first thread. Tighten, knot, and hide the tail.
- Brows: Using the same black thread, embroider small eyebrows above the eyes. Ensure there is an hdc space between the brows. Secure the thread and hide the ends.
Tips for Success
- Tension is Key: When working with plush yarn, try to maintain consistent tension. If you crochet too loosely, the white stuffing will peek through the stitches, which can look messy.
- Stuffing: When stuffing the head and body, work in small increments. Make sure to push the stuffing into the narrow parts (like the snout and the very bottom of the body) to ensure a smooth shape.
- Hiding Ends: Always weave your yarn tails through the stitches of the finished piece before cutting them. This prevents the stuffing from escaping and makes your keychain much more durable.
- Eye Placement: If you are using safety eyes instead of beads, ensure you insert the washer on the inside of the head before stuffing to lock them in place securely.