How to Crochet Adorable Spring Bunnies: A Step-by-Step Amigurumi Tutorial
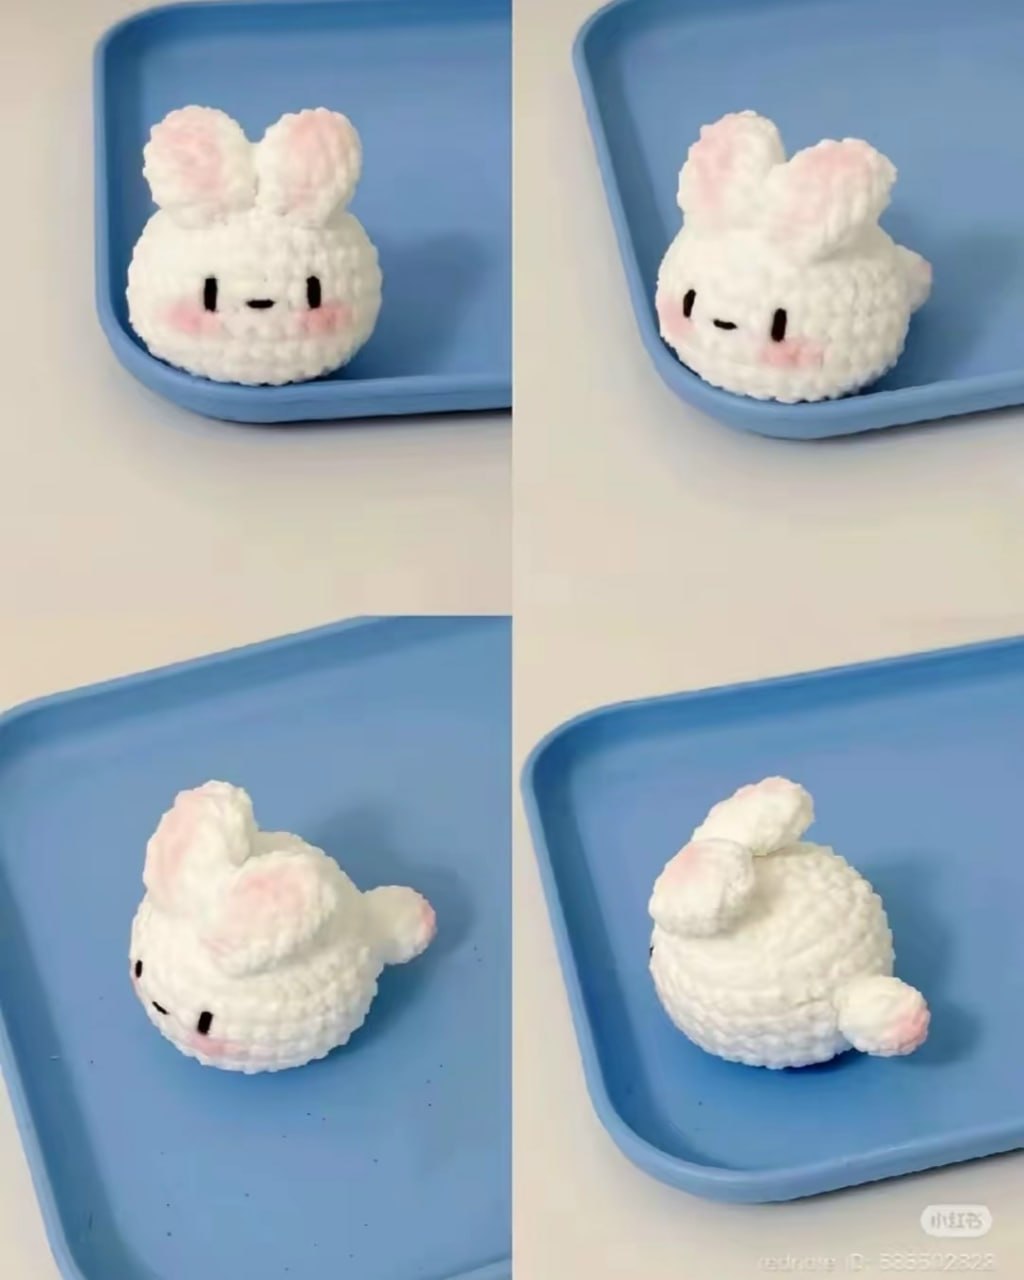
Spring is officially in the air, and what better way to celebrate the season of rebirth and blooming flowers than by making something absolutely precious? Today, I am thrilled to share this beginner-friendly pattern for these tiny, charming Spring Bunnies. Whether you are looking to create a cute Easter decoration, a nursery ornament, or a sweet little gift for a friend, these bunnies are sure to bring a smile to everyone’s face.
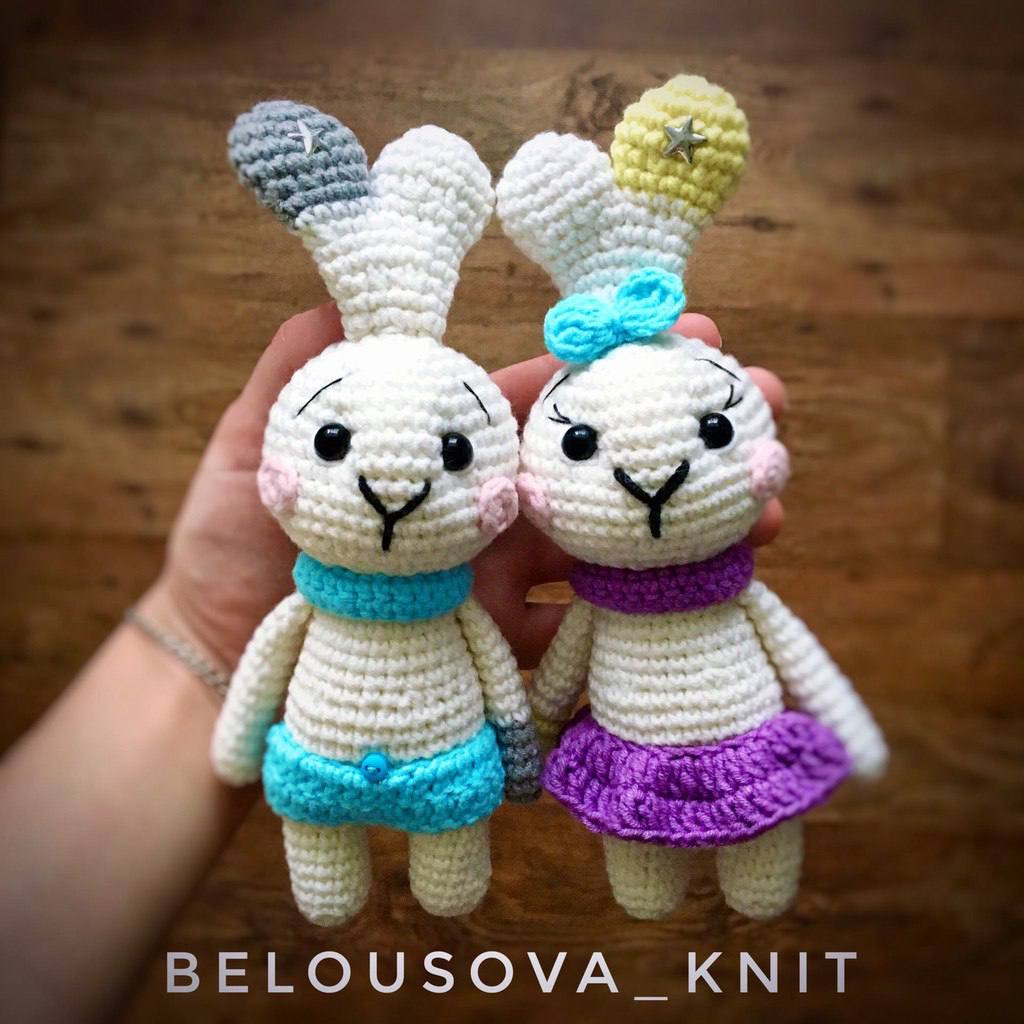
These amigurumi bunnies are designed to be versatile. You can make a little boy bunny in adorable blue shorts or a sweet girl bunny with a purple skirt and a tiny bow. The pattern is worked in small, manageable pieces, making it a wonderful project for those looking to practice their shaping and embroidery skills. Grab your favorite hook and some cozy yarn, and let’s get started on these little forest friends!
Materials & Abbreviations
Before we dive into the stitches, let’s make sure you have everything you need on your crochet table. To achieve the best results and ensure your bunny looks just like the photos, I recommend using a consistent yarn weight and a hook that provides tight, even stitches.
Materials Needed
- Yarn: Worsted weight or DK weight cotton/acrylic blend (I used YarnArt Jeans). You will need the following colors:
- White (for the main body, legs, and ears)
- Grey or Lemon Yellow (for the ear accents and arm accents)
- Purple (for the girl’s skirt)
- Blue or Lemon Yellow (for the boy’s shorts or girl’s bow)
- Pink (for the cheeks)
- Black (for the nose and eyelashes)
- Crochet Hook: A size appropriate for your yarn (typically 2.0mm to 2.5mm for this weight).
- Safety Eyes: 8mm plastic safety eyes or semi-beads.
- Stuffing: High-quality polyester fiberfill (hollofiber).
- Tapestry Needle: For sewing pieces together and embroidery.
- Sewing Needle: For attaching the safety eyes.
- Scissors: To trim your yarn ends.
- Optional: A bit of pink blush or pink yarn for the cheeks.
Note: The finished bunny will be approximately 7.5 inches tall.
US Crochet Abbreviations
This pattern uses standard US crochet terminology. Please ensure you are following the US terms to avoid confusion!
- MR: Magic Ring
- sc: Single crochet
- inc: Increase (2 sc in the same stitch)
- dec: Decrease (sc 2 together)
- ch: Chain
- dc: Double crochet
- hdc: Half double crochet
- tr: Treble crochet
- sl st: Slip stitch
- FLO: Front loop only
- (…): The number in parentheses indicates the total stitch count at the end of the row.
- (…) * N: Repeat the instructions inside the parentheses N times.
Step-by-Step Instructions
The Head
We will start with the head using white yarn. Remember to stuff the head firmly as you work your way up.
R1: 6 sc in MR (6)
R2: 6 inc (12)
R3: (1 sc, inc) * 6 (18)
R4: 1 sc, inc, (2 sc, inc) * 5, 1 sc (24)
R5: (3 sc, inc) * 6 (30)
R6: 2 sc, inc, (4 sc, inc) * 5, 2 sc (36)
R7: (5 sc, inc) * 6 (42)
R8–13: 42 sc (6 rows total)
R14: 5 sc, dec (36)
R15: 2 sc, dec, (4 sc, dec) * 5, 2 sc (30)
R16: (3 sc, dec) * 6 (24)
R17: 1 sc, dec, (2 sc, dec) * 5, 1 sc (18)
R18: (1 sc, dec) * 6 (12)
To close the head, perform 2 decreases. Then, work 1 sc in the front loop only (FLO) to create a small opening. Leave a long tail for sewing and closing the hole completely.
The Ears (Make 2)
The ears are worked in two parts and then joined together. Do not stuff the ears.
Part One (Grey or Lemon Yellow)
R1: 6 sc in MR (6)
R2: 6 inc (12)
R3: (1 sc, inc) * 6 (18)
R4–5: 18 sc (2 rows)
R6: (1 sc, dec) * 6 (12)
R7: 12 sc (12)
Fasten off and leave a tail for sewing.
Part Two (White)
R1: 6 sc in MR (6)
R2: 6 inc (12)
R3: (1 sc, inc) * 6 (18)
R4–5: 18 sc (2 rows)
R6: (1 sc, dec) * 6 (12)
Do not fasten off! We will join the parts now.
Joining the Ears
Insert your hook into the stitches of Part One and work 12 sc. Then, continue working 12 sc into the stitches of Part Two. You should have a total of 24 stitches in the round. Mark the beginning of the round.
R7: (2 sc, dec) * 6 (18)
R8–9: 18 sc (2 rows)
R10: (1 sc, dec) * 6 (12)
R11–12: 12 sc (2 rows)
Fasten off and leave a tail for sewing.
The Legs
The legs are simple cylinders. Stuff them as you go.
Right Leg (White)
R1: 6 sc in MR (6)
R2: 6 inc (12)
R3–8: 12 sc (6 rows)
Fasten off and leave a tail.
Left Leg (White)
R1: 6 sc in MR (6)
R2: 6 inc (12)
R3–9: 12 sc (7 rows)
Do not fasten off. We will join the legs to the body next.
The Body
We will join the legs using a chain to create the base of the body.
Ch 3. Work 12 sc around the Right Leg. Work 3 sc across the chain/join. Work 12 sc around the Left Leg. Work 3 sc across the remaining join.
Place a stitch marker at the beginning of the round.
R1–7: 30 sc (7 rows)
R8: (4 sc, dec) * 5 (25)
R9–11: 25 sc (3 rows)
R12: 5 sc, dec, 10 sc, dec, 6 sc (23)
R13–14: 23 sc (2 rows)
Switch to Blue or Lemon Yellow yarn for the bottom section:
R15: (3 sc, inc) * 5, 3 sc (28)
R16–17: 28 sc (2 rows)
Finish with 1 hdc in the front loops only (FLO). Fasten off and leave a tail.
The Arms (Make 2)
The arms are worked in two colors and are not stuffed.
R1: 6 sc in MR (6)
R2: (1 sc, inc) * 3 (9)
R3–5: 9 sc (3 rows)
Switch to White yarn.
R6–13: 9 sc (8 rows)
Fold the piece in half so the sides meet. Work 4 sc through both layers at once. Fasten off and leave a tail.
The Tail
Use white yarn and stuff lightly.
R1: 6 sc in MR (6)
R2: 6 inc (12)
R3: 12 sc (12)
R4: (2 sc, dec) * 3 (9)
Finish with 1 hdc in the FLO. Fasten off and leave a tail.
Clothing Options
For the Boy: Blue Shorts
Ch 30, join in a ring.
R1: 2 ch, 29 dc, sl st (29 stitches + 2 ch).
R2: 2 ch, 29 dc, sl st.
Gusset: Ch 1, 3 sc, turn; Ch 1, 3 sc, turn; 3 sc, sl st.
Sew the shorts onto the body between rows 4 and 5.
For the Girl: Purple Skirt & Bow
Skirt: Ch 30, join in a ring.
R1: 2 ch, 1 dc, 29 inc in dc, sl st.
R2: 2 ch, 59 dc, sl st.
Fasten off and leave a tail. Sew onto the body between rows 4 and 5.
Bow: In a MR, work: 3 ch, 3 tr, 3 ch, 1 sc, 3 ch, 3 tr, 3 ch, sl st. Pull the ring tight and leave small tails. Use the tails to tie a knot in the center of the bow and sew it to the ears.
Cheeks
Using pink yarn, make a small circle: MR 6, sl st. Fasten off. You can also use actual pink blush for a more realistic look!
Finishing & Assembly
The assembly phase is where your bunny truly comes to life! Take your time with the embroidery to give your bunny character.
Eyes & Eye Sockets
First, attach your 8mm safety eyes. Place them on rows 8 and 9, ensuring they are approximately 8 sc apart.
To create that adorable “recessed” look for the eyes, we will use white thread to create eye sockets. Mark four points around each eye (N1, N2, N3, and N4). Using a white thread, insert your needle into the last row of the head, come out at N1, then into N2, then N3, and finally N4. Pull the thread slightly to create a subtle indentation. Repeat this process three times, pulling the thread evenly from both sides to create a soft, deep socket look. Finally, weave the thread into the head and fasten off.
Face Details (Nose, Eyebrows, and Lashes)
- The Nose: Using black thread, mark points 1, 2, 3, and 4 on the face. Insert the needle into the last row at point 1, then through point 3, then point 2, then 3, 4, and 3 again. This creates a perfect “Y” shaped mouth/nose. Tighten and fasten off.
- Eyebrows (Optional): Mark points between rows 4 and 5, and rows 7 and 8. Using black thread (held in two strands), embroider a short line about 3 sc long.
- Eyelashes (For Girl Bunnies): Mark points between rows 5 and 6, and rows 6 and 7. Using black thread (held in two strands), embroider tiny lashes to give her a sweet, feminine look.
- Cheeks: Sew the pink cheek circles onto rows 11 and 12, about 5 sc away from the nose.
Final Assembly
- Sew the ears onto the top of the head, positioned between rows 1 and 2.
- Sew the head onto the body.
- Sew the arms onto the sides of the body between rows 12 and 13.
- Sew the tail onto the bottom of the body between rows 4 and 6.
- Finally, sew on the chosen clothing (shorts or skirt) between rows 4 and 5 of the body.
Tips
To make your amigurumi look professional, keep these tips in mind:
- Tension is Key: Try to keep your tension consistent. If your stitches are too loose, the stuffing might show through. If they are too tight, it may be hard to shape the pieces.
- Stuffing Technique: When stuffing, push the fiberfill into the corners and crevices of the head and body to ensure there are no lumps.
- Invisible Seams: When sewing pieces together, use the “weaving” method (inserting the needle through the actual stitches of both pieces) to make the seams almost invisible.
- Practice Embroidery: Don’t be afraid to practice your nose and eye socket embroidery on a scrap piece of crochet first! It’s all about getting the tension right.
Congratulations! You have just completed your very own Spring Bunny. These little creatures are full of personality and are ready to find their forever homes. Happy crocheting!