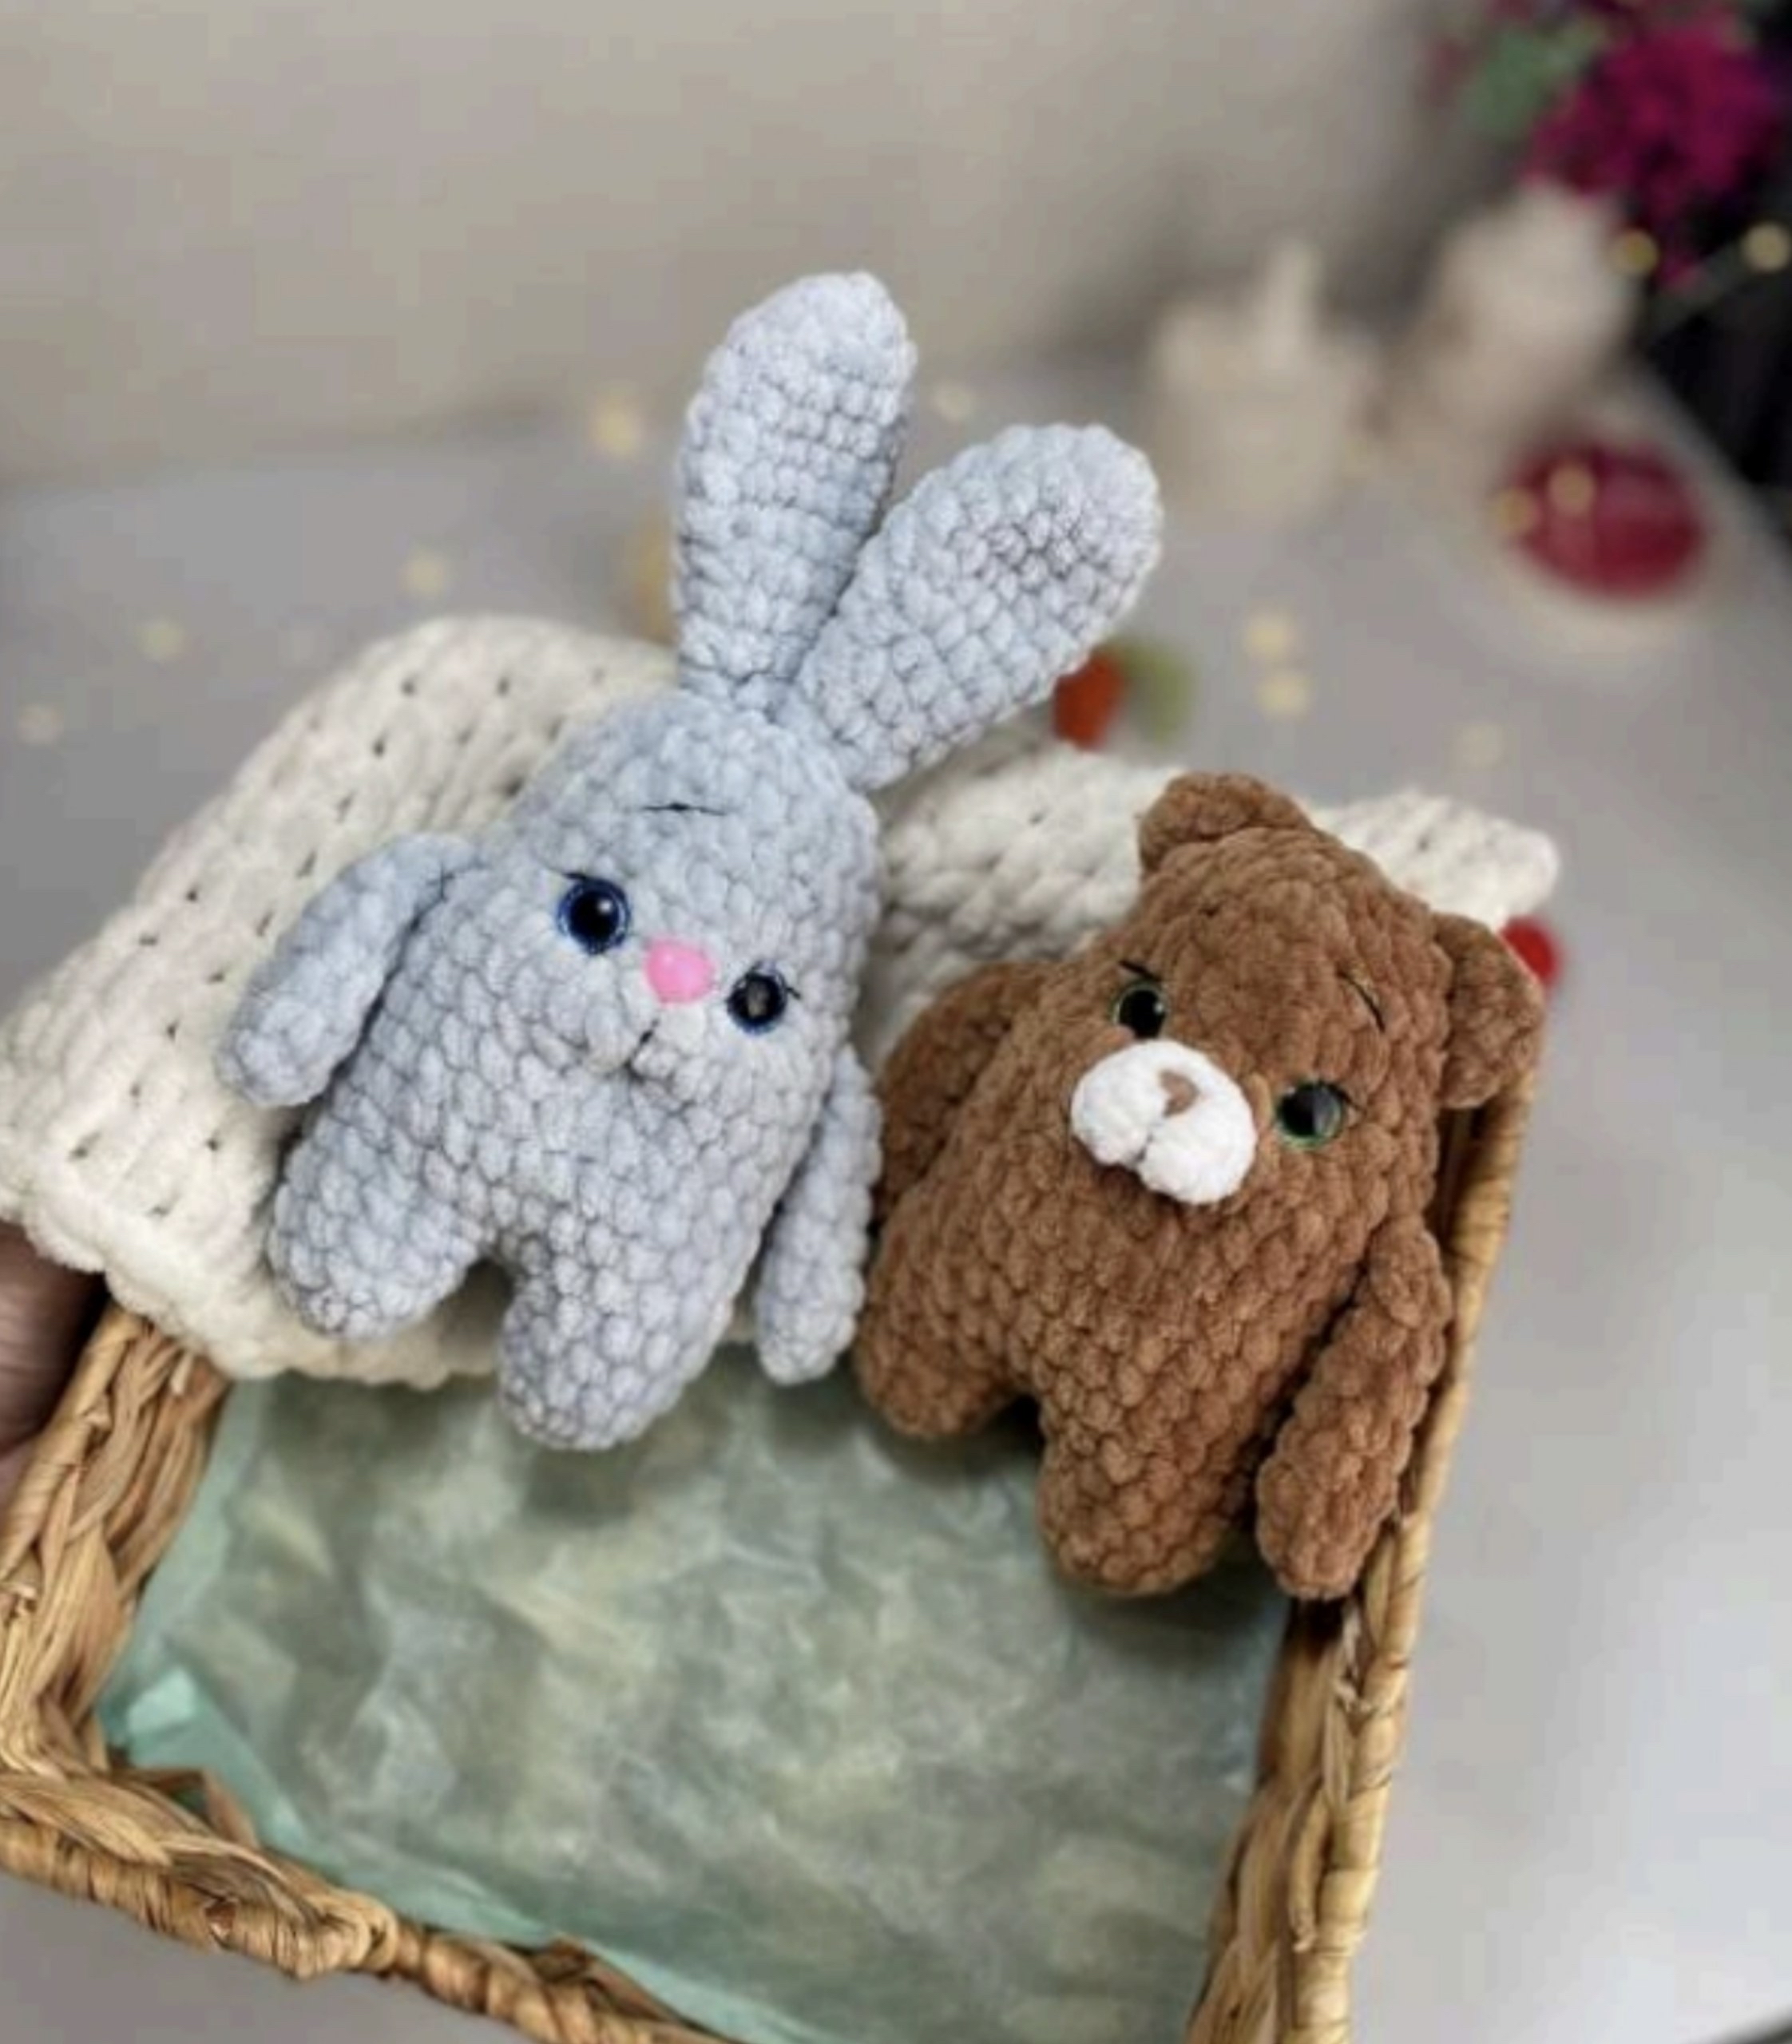
Adorable Amigurumi Bunny Lovey Crochet Pattern: A Step-by-Step Tutorial
If you are looking for the perfect handmade gift for a baby shower, or perhaps a cozy new addition to your nursery, this Amigurumi Bunny Lovey is the ultimate project. This charming creation combines the tactile comfort of a textured crochet blanket with the adorable personality of a plush bunny head. It is a “lovey”—a transitional object that provides security and comfort to little ones through soft textures and a friendly face.
This pattern is designed to be beginner-friendly, especially if you are already comfortable with basic stitches like the single crochet and the magic ring. We will be working with plush chenille-style yarn, which makes the finished product incredibly soft to the touch. Grab your favorite hook and let’s dive into this sweet project!
Materials and Abbreviations
Materials Needed
- Plush Yarn: Use a soft, chenille-style yarn. You will need an ” основной ” (main) color for the head and paws, and 2 to 4 additional contrasting colors for the blanket squares. You only need about 1/4 of a ball of each color, but having extra is always a good idea!
- Embroidery Thread or Thin Yarn: A small amount of black yarn or cotton thread for embroidering the sleepy eyes, nose, and eyebrows.
- Fiberfill Stuffing: A small handful of polyester stuffing to make the bunny head nice and plump.
- Ribbon: Approximately 20 inches of thin ribbon (about 0.25 to 0.5 inches wide) for the bunny’s neck bow.
- Safety Eyes (Optional): One pair of 3/8-inch (8-9mm) screw-on safety eyes if you prefer open eyes instead of embroidered sleepy eyes.
- Crochet Hook: A 4mm or 4.5mm hook (depending on your tension and yarn brand).
- Tapestry Needle: A large-eye needle for sewing the pieces together.
- Stitch Markers: To keep track of your rounds and corner placements.
- Other Tools: Scissors, pins (to hold pieces in place), and a lighter (to singe the ends of the ribbon if using synthetic material).
Abbreviations (US Terms)
- MR: Magic Ring
- ch: Chain
- ch-sp: Chain space (turning chain)
- sc: Single crochet
- inc: Increase (2 sc in one stitch)
- dec: Decrease (sc two stitches together)
- hdc: Half double crochet
- dc: Double crochet
- sl st: Slip stitch
- 3-sc inc: 3 single crochets in one stitch
Step-by-Step Instructions
Part 1: The Crochet Blanket Squares
You will need to make two identical squares. You can make them in different color combinations or keep them matching.
Round 1: Start with a chain of 4. In the second chain from your hook, work 3 sc. Then, work 1 ch. Turn your work. (Total: 3 sc + 1 ch-sp)
Round 2: 3 sc + 1 ch-sp. Turn.
Round 3: 3 sc. Instead of turning, we will work in a continuous round to create the square shape. To change colors, join your new color into the last sc of the row. Do not use a turning chain for this pattern. Work your stitches around the “edge” (the side) of the previous rows. In the corner, work 3 sc in one stitch. This will be our corner marker.
Round 4: 1 sc in the side edge, 3 sc in the corner, 1 sc in the next side edge, 3 sc in the corner, 1 sc in the next side edge, 3 sc in the corner, 1 sc in the original side edge, 3 sc in the corner. Change color at the end of the round.
Round 5: 2 sc, (3-sc inc, 3 sc) repeat 3 times, 3-sc inc, 1 sc. Change color.
Round 6: 3 sc, (3-sc inc, 5 sc) repeat 3 times, 3-sc inc, 2 sc. Change color.
Round 7: 4 sc, (3-sc inc, 7 sc) repeat 3 times, 3-sc inc, 3 sc. Change color.
Round 8: 5 sc, (3-sc inc, 9 sc) repeat 3 times, 3-sc inc, 4 sc. Change color.
Round 9: 6 sc, (3-sc inc, 11 sc) repeat 3 times, 3-sc inc, 5 sc. Change color.
Round 10: 7 sc, (3-sc inc, 13 sc) repeat 3 times, 3-sc inc, 6 sc. Change color.
Round 11: 8 sc, (3-sc inc, 15 sc) repeat 3 times, 3-sc inc, 7 sc. Fasten off with a slip stitch.
Part 2: Joining the Squares and Creating Popcorn Paws
Once both squares are complete, place them together with the “inner” sides facing each other. We will join them using a contrast color to create a border.
The Border and Paws: Find the three central sc stitches on the top edge of both squares. Leave these unworked for now—they will serve as the base for the bunny head. We will work the border around the entire perimeter of the joined squares. As you reach the corners, you will create “Popcorn Paws.”
How to make a Popcorn Stitch: In one stitch, work 5 dc. Instead of pulling the loop through the last stitch normally, join all 5 dc together by inserting your hook into the first dc and pulling through all loops. Finish with 1 ch to create the paw’s shape. You will repeat the border (hdc) and add these popcorn paws at the four corners of the blanket.
Part 3: The Bunny Head
The head is worked using the 6 stitches we left unworked in the center of the blanket squares. Hold the blanket so the “paws” are facing you (this is the front of the toy).
Round 1: 6 sc into the 6 center stitches. (6)
Round 2: 6 inc. (12)
Round 3: (1 sc, 1 inc) repeat 6 times. (18)
Round 4: (2 sc, 1 inc) repeat 6 times. (24)
Round 5: (3 sc, 1 inc) repeat 6 times. (30)
Rounds 6-10: sc in each stitch around for 5 rounds. (30)
Note: If using safety eyes, insert them between rounds 8 and 10. Place 5 sc between the eye stems and 3 sc between the eyes themselves.
Round 11: (3 sc, 1 dec) repeat 6 times. (24)
Round 12: (2 sc, 1 dec) repeat 6 times. (18)
Round 13: (1 sc, 1 dec) repeat 6 times. (12)
Stuffing: Stuff the head firmly with fiberfill before closing.
Round 14: 6 dec. Fasten off and use your tapestry needle to weave the tail through the remaining stitches to close the hole tightly.
Part 4: The Bunny Ears
You will need to make 4 ear pieces: 2 in your main color and 2 in a secondary color. These are worked in rows (turning your work).
Row 1: Ch 2, in the second chain from hook, work 1 inc + 1 ch-sp. (2)
Row 2: 1 sc, 1 inc + 1 ch-sp. (3)
Row 3: 2 sc, 1 inc + 1 ch-sp. (4)
Row 4: 3 sc, 1 inc + 1 ch-sp. (5)
Rows 5-7: sc in each stitch across + 1 ch-sp at the end. (5)
Row 8: 3 sc, 1 dec + 1 ch-sp. (4)
Row 9: 2 sc, 1 dec + 1 ch-sp. (3)
Row 10: 1 sc, 1 dec + sl st. (2). Leave a long tail for sewing.
Assembling the Ears: Hold two pieces together (one main color, one accent) and sc through both layers. When you reach the very tip of the ear, work 3 sc into that single corner stitch to round it off. Sew the ears to the top of the head, leaving long tails to secure them through the center of the head for extra stability.
Part 5: The Cute Bow
The bow adds that final touch of sweetness!
Bow Base: Start with a Magic Ring. Work 5 dc in the ring, then 2 dc in the first dc, then 5 dc in the fourth dc, and finally 2 dc. Leave a very long tail of yarn. Use this tail to wrap around the center of the circle to “pinch” it into a bow shape. Tie it securely and sew it to the bunny’s neck.
Finishing
To complete your bunny, use your black embroidery thread to stitch on the sleepy eyes (two simple curved lines), a small nose, and two tiny eyebrows. This gives the bunny a gentle, peaceful expression. Ensure all yarn tails are woven deep into the stitches and hidden inside the plush stuffing to prevent them from coming loose during play.
Tips for Success
- Work Tight with Plush Yarn: Plush yarn can be “gappy.” Try to keep your tension even so that the stuffing doesn’t peek through the stitches.
- Use Stitch Markers: When working in the round for the head or the squares, it is very easy to lose count. Always mark your first stitch!
- Color Changes: For a professional look when changing colors in the squares, pull the new color through the last two loops of the final stitch of the previous color.
- Safety First: If this lovey is intended for a newborn, skip the plastic safety eyes and always choose to embroider the eyes with thread to ensure there are no small parts that could be a choking hazard.