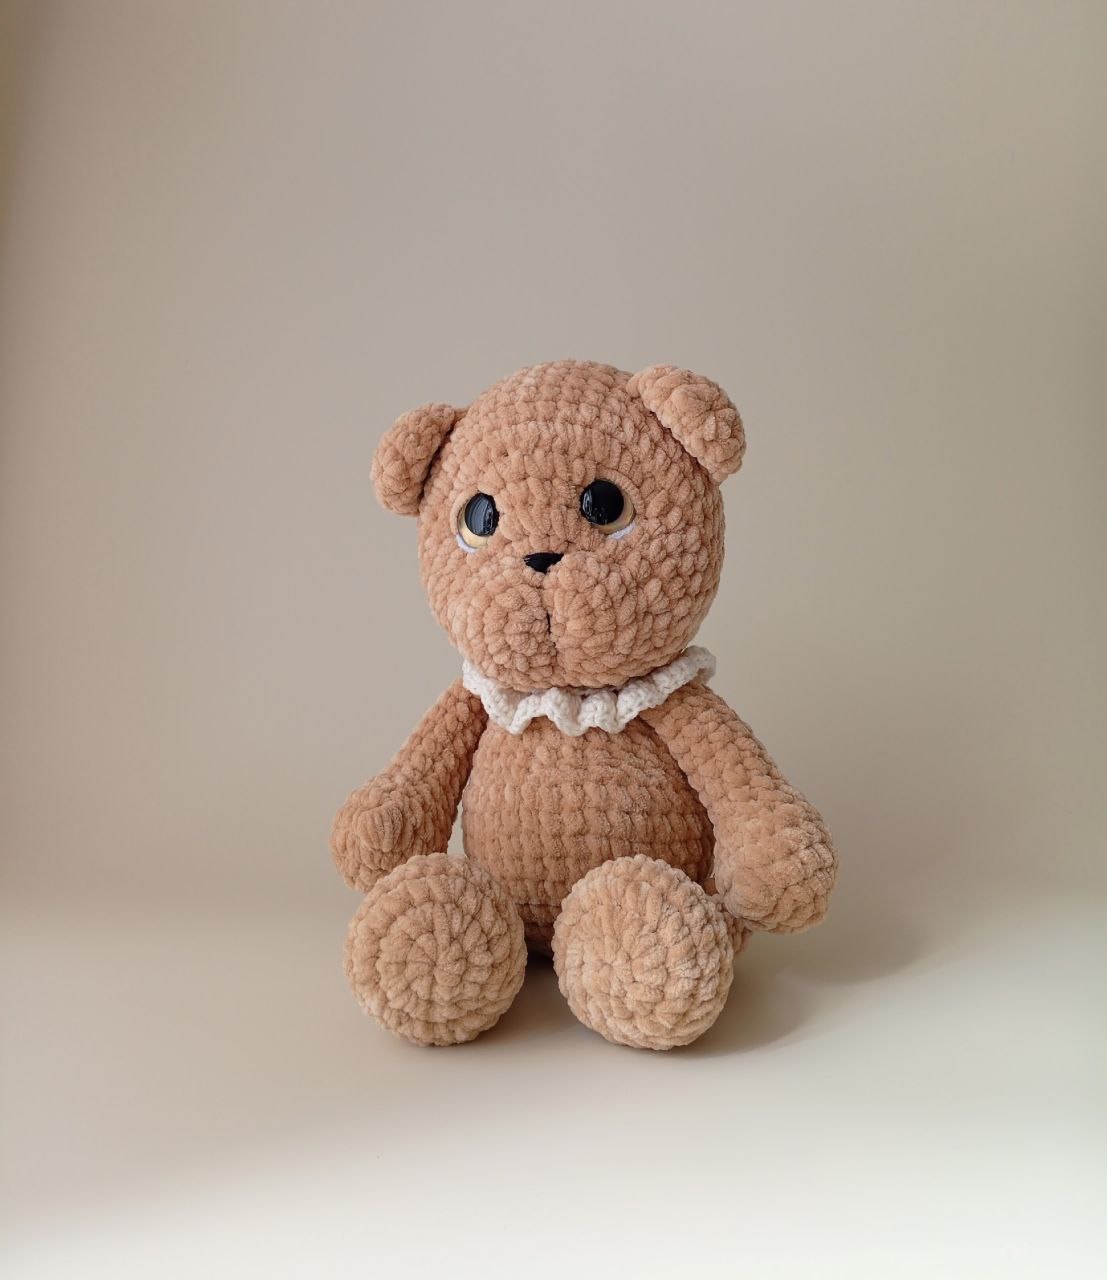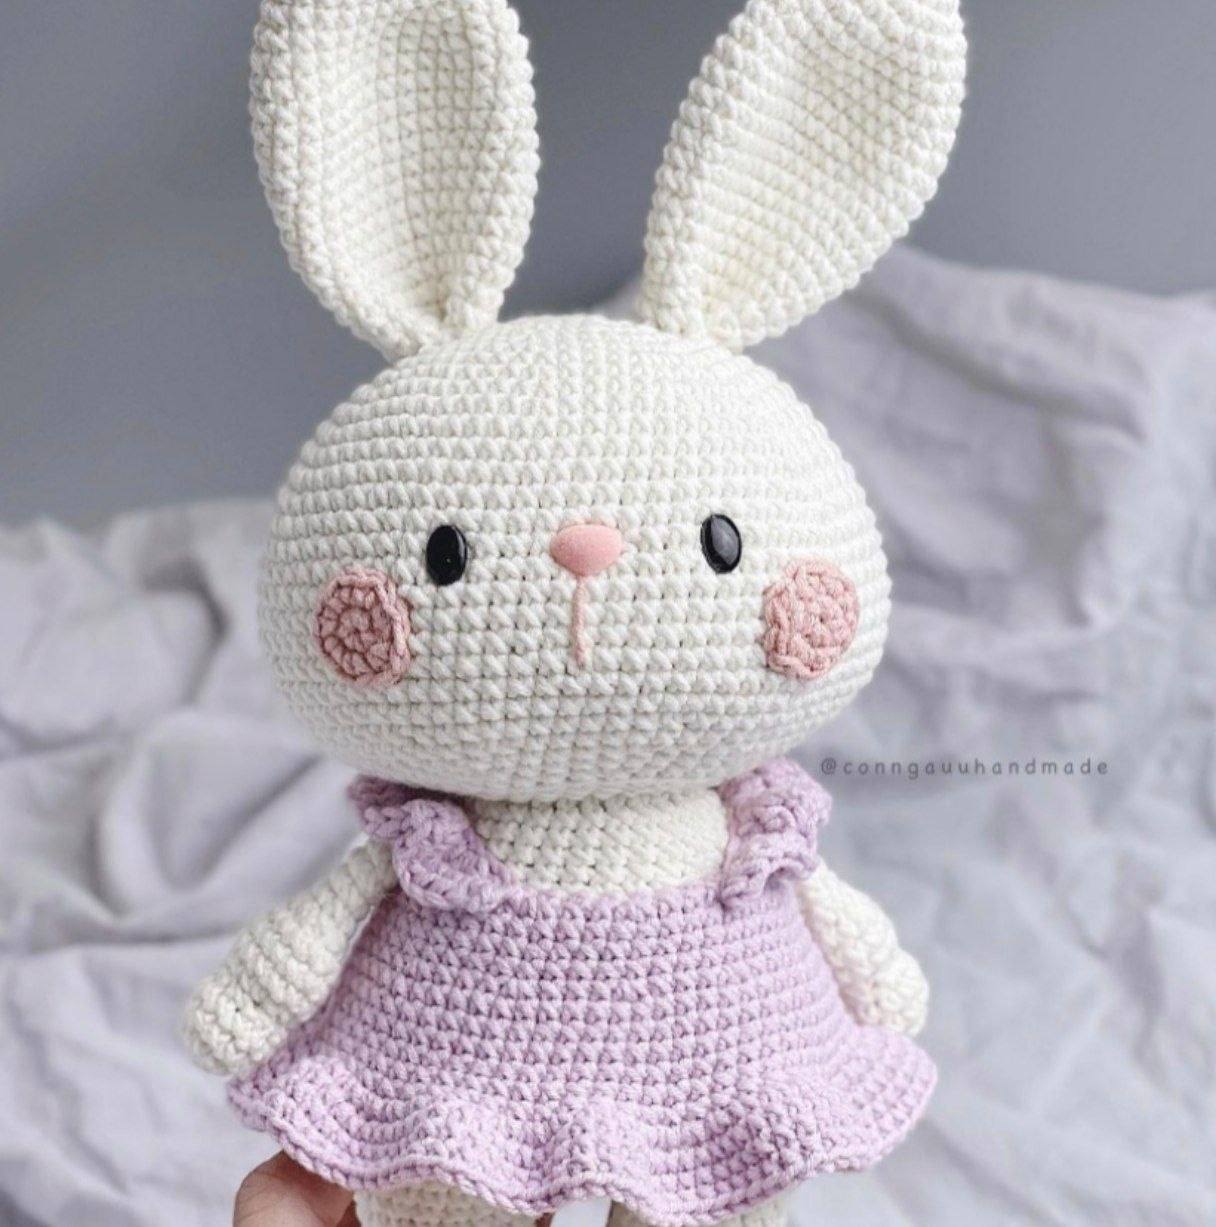
Free Plush Amigurumi Crochet Bunny Pattern: Easy Chunky Rabbit Tutorial
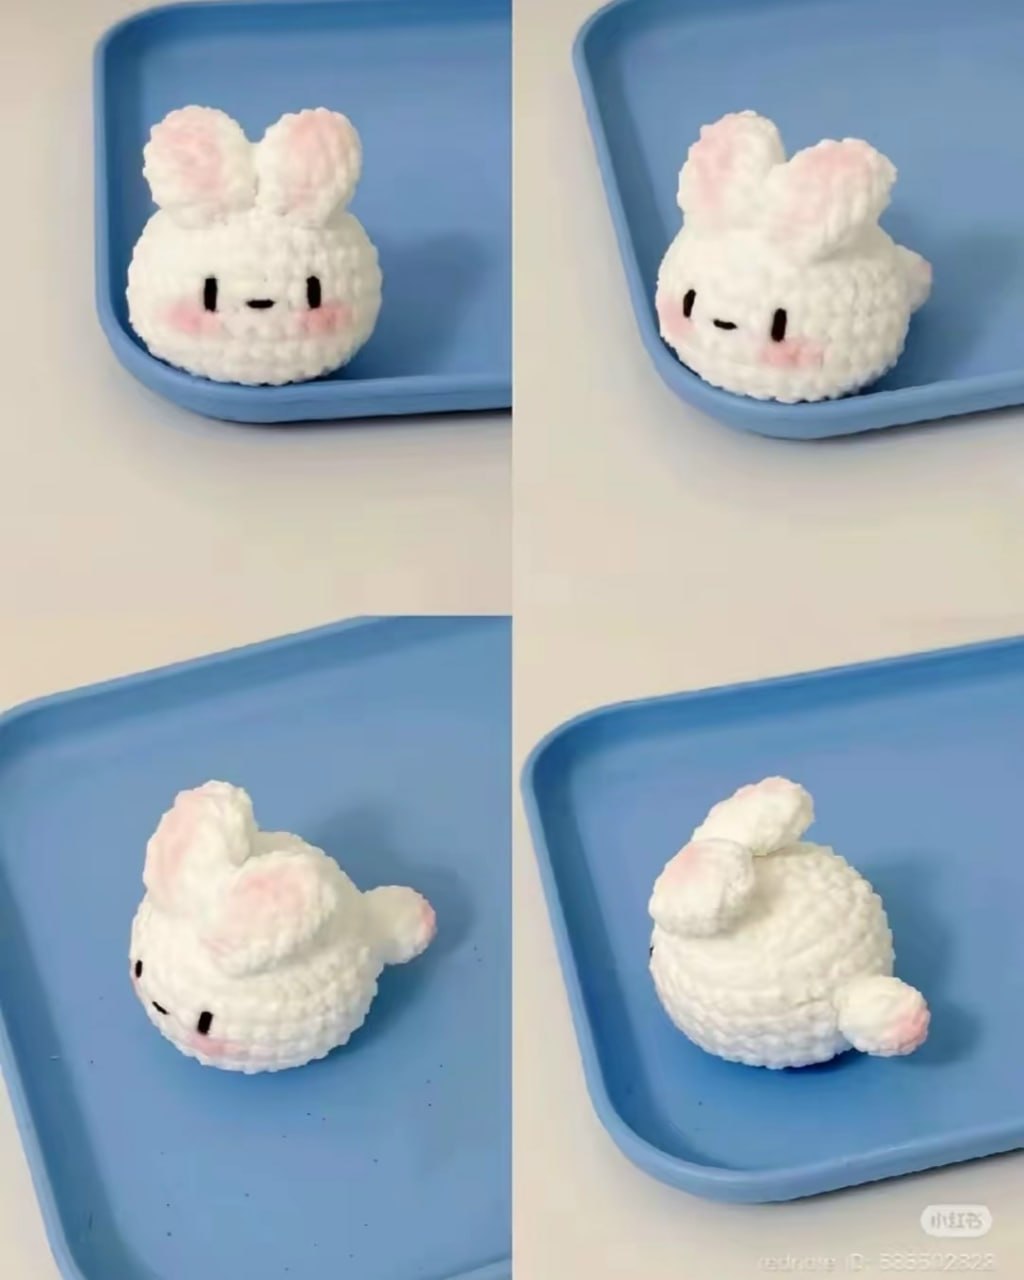
Are you looking for a quick, incredibly adorable, and beginner-friendly crochet project? This free plush amigurumi crochet bunny pattern is exactly what you need! Perfect for craft fairs, spring decorations, or as a sweet handmade gift, this squishy “mochi-style” bunny can be whipped up in under an hour.
Using super bulky chenille yarn, this tiny bunny works up to be incredibly soft and huggable. In this step-by-step tutorial, we will walk you through everything you need to know to create your own palm-sized bunny companion using simple, beginner-friendly stitches.
Materials & Abbreviations
Before you grab your hook, let’s gather the supplies needed to make this sweet little plush rabbit. Since this is an amigurumi project, we want to make sure our stitches are tight enough to keep the stuffing from peeking through.
Required Materials
- Yarn: Approximately 20 to 30 yards of Super Bulky weight (Size 6) chenille or plush yarn in White.
- Contrast Yarn/Floss: A small amount of black embroidery floss or medium-weight black yarn for the facial details.
- Hook: US Size G/6 (4.0 mm) or H/8 (5.0 mm) crochet hook (adjust hook size to match your personal tension).
- Stuffing: Polyester fiberfill stuffing.
- Notions: Yarn needle, stitch markers, scissors, and a cotton swab with pink powder blush (or pink eyeshadow) for the rosy cheeks and inner ears.
Project Specifications
- Skill Level: Easy / Advanced Beginner
- Finished Size: Approximately 3 inches tall and 3.5 inches long (depending on your yarn choice and tension).
Abbreviations (US Crochet Terms)
- MR: Magic Ring
- ch: Chain
- sc: Single crochet
- inc: Increase (work 2 single crochets into the same stitch)
- dec: Decrease (invisible single crochet decrease recommended)
- st(s): Stitch(es)
- Rnd(s): Round(s)
Step-by-Step Instructions
We will create this bunny in three separate parts: the main body (which combines the head and body in one piece), two ears, and a cute little stubby tail. Once all pieces are completed, we will sew them together and add the face.
Part 1: The Head & Body
The main body is worked in continuous rounds. Do not join at the end of each round with a slip stitch; instead, use a stitch marker to keep track of the first stitch of each round.
Rnd 1: Start with a Magic Ring (MR). Work 6 sc into the ring. Pull the yarn tail to close the ring tight. [6 sts]
Rnd 2: Work 1 inc in each of the 6 stitches around. [12 sts]
Rnd 3: Repeat [1 sc, 1 inc] 6 times. [18 sts]
Rnd 4: Repeat [1 sc, 1 inc, 1 sc] 6 times. [24 sts] (Note: Splitting the single crochets around the increases keeps your circle perfectly round instead of hexagonal!)
Rnd 5: Repeat [3 sc, 1 inc] 6 times. [30 sts]
Rnds 6–10: Work 1 sc in each stitch around. [30 sts per round for 5 rounds total]
Rnd 11: Repeat [3 sc, 1 dec] 6 times. [24 sts]
Rnd 12: Repeat [1 sc, 1 dec, 1 sc] 6 times. [18 sts]
Begin stuffing the body firmly with fiberfill. Make sure to shape it into a smooth, round ball. Continue adding more stuffing as you complete the next round.
Rnd 13: Repeat [1 sc, 1 dec] 6 times. [12 sts]
Rnd 14: Work 6 decreases around. [6 sts]
Cut your yarn, leaving a 6-inch tail for sewing. Using your yarn needle, weave the tail through the front loops of the remaining 6 stitches and pull tight to close the opening. Weave in the end and hide it inside the body.
Part 2: The Ears (Make 2)
The ears are worked in continuous rounds. Do not stuff the ears.
Rnd 1: Work 6 sc into a Magic Ring. [6 sts]
Rnd 2: Repeat [1 sc, 1 inc] 3 times. [9 sts]
Rnds 3–5: Work 1 sc in each stitch around. [9 sts per round for 3 rounds total]
Rnd 6: Repeat [1 sc, 1 dec] 3 times. [6 sts]
Fasten off, leaving a long tail on both ears for sewing them onto the head.
Part 3: The Tail
The tail is worked in continuous rounds. Do not stuff the tail.
Rnd 1: Work 4 sc into a Magic Ring. [4 sts]
Rnd 2: Repeat [1 sc, 1 inc] 2 times. [6 sts]
Rnd 3: Work 1 sc in each stitch around. [6 sts]
Rnd 4: Work 3 decreases. [3 sts]
Fasten off, leaving a long tail for sewing.
Finishing & Assembly
Now that all the pieces of your plush amigurumi bunny are complete, it is time to bring this sweet creature to life!
Step 1: Attaching the Ears
Thread your yarn needle with the long tail of one of the ears. Position the ears side-by-side on top of the head, approximately between rounds 4 and 6 of the body. Securely sew them in place. Repeat with the second ear, ensuring they are evenly aligned. Weave in your loose yarn ends and hide them inside the body.
Step 2: Attaching the Tail
Position the tail on the lower back of the bunny’s body so that it acts as a little kickstand, helping the bunny sit upright without rolling forward. Sew the tail securely to the back of the body, tie a knot, and hide the excess yarn inside the body.
Step 3: Embroidering the Face
Using a small length of black embroidery floss or worsted-weight black yarn, we will stitch the minimalist face onto the front of the bunny:
- The Eyes: Insert your needle from the bottom of the body up to the front face area. Make two simple, vertical stitch lines for the eyes, spaced about 4 to 5 stitches apart, centered below the ears.
- The Nose: Make one small horizontal stitch directly between the eyes, placed slightly lower than the eyes to create a cute, tiny expression.
Step 4: Adding Rosy Cheeks and Ear Details
To give your bunny that ultimate, cozy “blushing” look, dip a clean cotton swab into pink makeup blush or pink eyeshadow. Gently dab and swirl the swab onto the bunny’s cheeks directly underneath the eyes. You can also lightly brush the pink blush into the centers of both ears to create a realistic, warm inner-ear look.
Tips for Amigurumi Success
- Working with Chenille Yarn: Chenille and blanket yarns can sometimes break if pulled too hard when closing a Magic Ring. If you find your yarn is snapping, try starting your pieces by chaining 2, and then working the required number of single crochets directly into the second chain from your hook.
- Achieving Perfect Tension: When making stuffed toys, you want your stitches to be snug. If you notice gaps between your stitches where stuffing might leak out, try going down a hook size (e.g., from a 5.0 mm hook down to a 4.0 mm hook).
- The Invisible Decrease: To make your decreases look completely seamless, use the invisible decrease technique. Instead of inserting your hook through both loops of the stitch, insert your hook into the front loops only of the next two stitches, yarn over, and complete your single crochet as normal.