Easy Chunky Crochet Blanket Pattern for a Cozy Home
There is nothing quite like curling up under a thick, plush blanket on a chilly evening. If you are looking for a project that combines high-impact texture with a relatively quick completion time, this chunky crochet blanket is the perfect choice. Because we are using super bulky yarn, the stitches grow quickly, making this an ideal project for those who love the feeling of rapid progress.
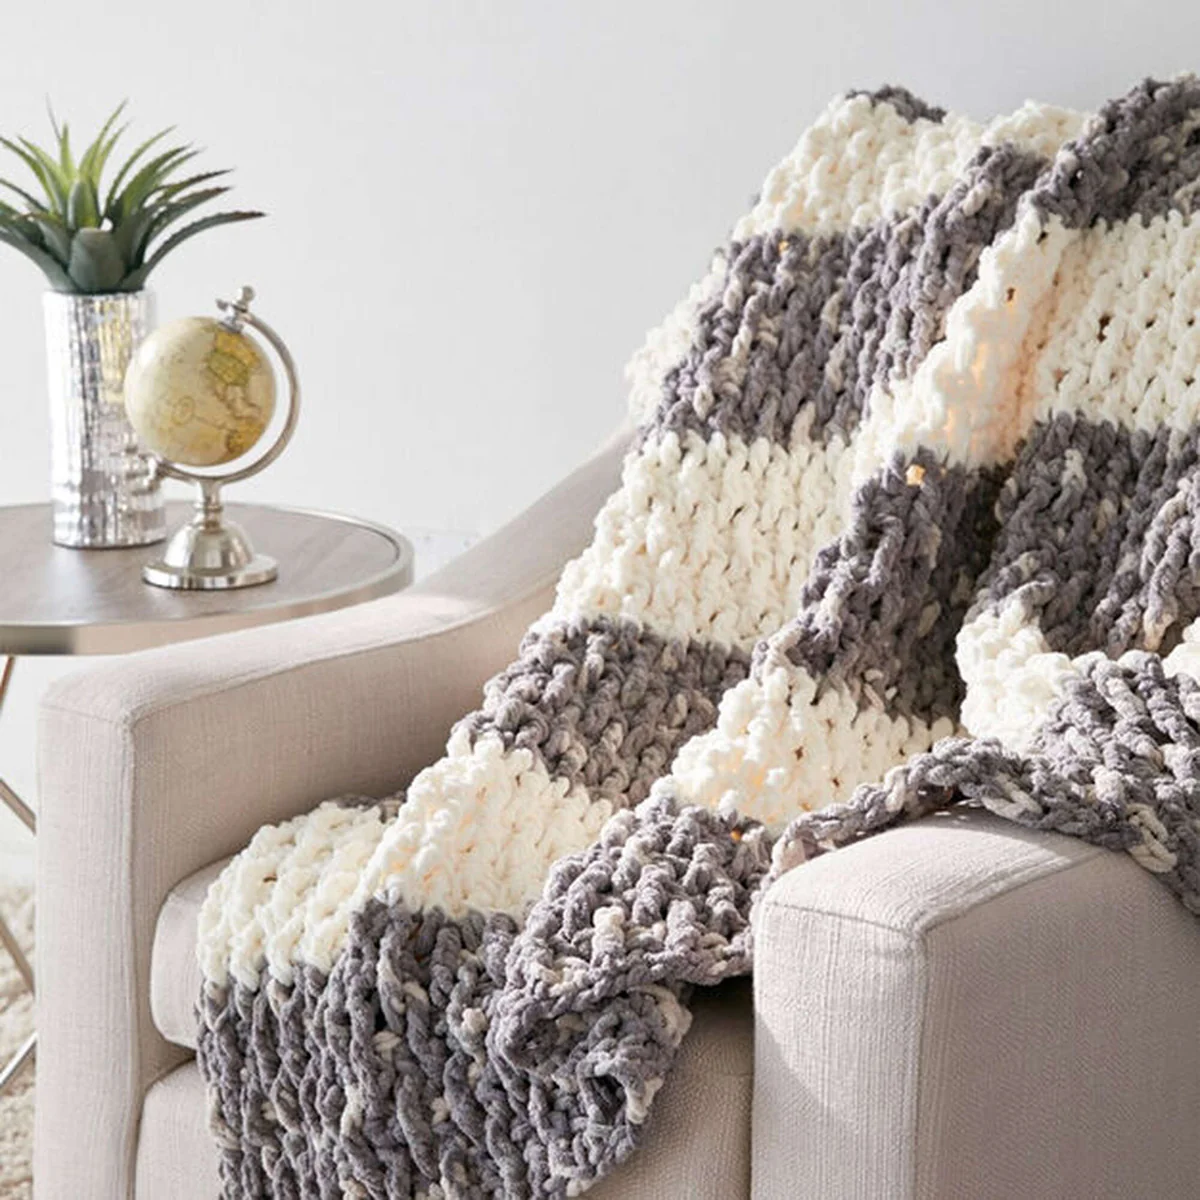
This pattern creates a sophisticated, ribbed texture using a combination of simple stitches and a specialized post stitch. The result is a heavy, warm throw that looks professional but is accessible enough for a beginner-to-intermediate crocheter. Measuring approximately 52 inches by 60 inches, it is the perfect size for a sofa throw or a cozy addition to your bedroom.
Materials & Abbreviations
To get started on this project, you will need materials that can handle the weight of a super bulky yarn. Using a larger hook ensures the blanket remains drapeable and soft rather than stiff.
Materials Needed
- Yarn: Super Bulky weight yarn (Category 6). You will need two contrasting colors. For this design, we suggest 3 balls of Color A (e.g., Silver Steel) and 3 balls of Color B (e.g., Vintage White), totaling approximately 660 yards per color.
- Crochet Hook: US size N/15 (10 mm) or the size needed to obtain the gauge.
- Additional Tools: Yarn needle for weaving in ends and a pair of scissors.
Gauge
To ensure your blanket reaches the intended dimensions, check your gauge: 5 single crochet (sc) and 6 rows = 4 inches.
Abbreviations (US Terms)
- Approx: Approximately
- Ch: Chain
- Dc: Double crochet
- Sc: Single crochet
- St(s): Stitch(es)
- Rep: Repeat
- RS: Right side
- Yoh: Yarn over hook
- Trfp: Treble Crochet Front Post (detailed below)
Step-by-Step Instructions
Understanding the Special Stitch: The Trfp
The “Lush Life” texture comes from the Treble Crochet Front Post (trfp) stitch. This stitch creates a raised ridge that pops off the fabric. To work a trfp:
- Yarn over twice.
- Insert your hook from right to left around the post of the double crochet stitch located two rows below your current row.
- Yarn over and draw a loop through the post.
- Yarn over and draw through two loops on your hook.
- Yarn over and draw through the remaining two loops.
Setting the Foundation
Color Change Note: To create a seamless transition between colors, work until you have the last two loops of the final stitch of the row on your hook. Yarn over with the new color and pull that new loop through the remaining loops to complete the stitch. This prevents gaps in the fabric.
Starting with Color A, chain 67.
The Initial Setup
Row 1 (RS): Work 1 double crochet (dc) in the 4th chain from the hook; this counts as the first two double crochets. Work 1 dc in each chain across to the end. Turn. (Total: 65 dc).
Row 2: Chain 1. Work 1 single crochet (sc) in each dc across the row. Turn.
Establishing the Texture Pattern
Now we will establish the 4-row repeat that creates the ribbed effect. Follow these steps carefully:
Row 3: Creating the First Ridge
Chain 3 (this counts as your first dc). *Work 1 trfp around the dc two rows below, then work 1 dc in the next stitch.* Repeat from * to the end of the row. Turn.
Row 4: The Stabilizing Row
Chain 1. Work 1 sc in each dc across the row, just as you did in Row 2. Turn.
Row 5: Shifting the Ridge
Chain 3 (counts as dc). *Work 1 dc in the next stitch, then work 1 trfp around the dc two rows below.* Repeat from * until you have 2 stitches left. Work 1 dc in each of the last 2 stitches. Turn.
Finishing the Blanket
The Pattern Sequence
To complete the blanket, you will repeat Rows 2 through 5. This sequence creates the alternating ridges that give the blanket its “lush” look.
- Complete Color A: Continue repeating the pattern (Rows 2-5) until you have worked 4 additional rows beyond the initial setup.
- Switch to Color B: Join Color B using the seamless method described above. Work 8 full rows of the pattern (repeat rows 2-5 twice).
- Switch back to Color A: Join Color A and work 8 full rows of the pattern.
- Final Blocks: Repeat the process of working 8 rows of Color B followed by 8 rows of Color A two more times.
Once you have completed the final block of Color A, fasten off your yarn.
Tips for Success
Maintaining Straight Edges
When working with super bulky yarn, it is easy to accidentally add or lose stitches at the ends of rows, which can cause the blanket to flare or shrink. To avoid this, place a stitch marker in the first and last stitch of every row. This ensures you are stitching into every stitch and turning at the correct spot.
Managing Yarn Tension
Because the treble crochet front post (trfp) stitch uses a lot of yarn and creates a raised loop, keep your tension consistent. If your ridges look too tight, they may pull the fabric inward; if they are too loose, the blanket may look uneven. Try to keep a relaxed grip on the bulky yarn.
Customizing Your Colors
While a high-contrast look (like silver and white) is modern and crisp, you can easily adapt this pattern for a different mood. For a more calming effect, try using two different shades of the same color (such as a navy blue and a sky blue). The texture of the trfp stitch will still be visible even with low-contrast colors.
Finishing Touches
Use a large-eyed yarn needle to weave your ends deeply into the stitches of the blanket. Because super bulky yarn is heavy, ends can sometimes slip out if they aren’t woven through several stitches in a zig-zag motion. Once woven, give the blanket a light steam or lay it flat to let the stitches settle.