Easy Amigurumi Bird Crochet Pattern: A Cute and Simple DIY Tutorial
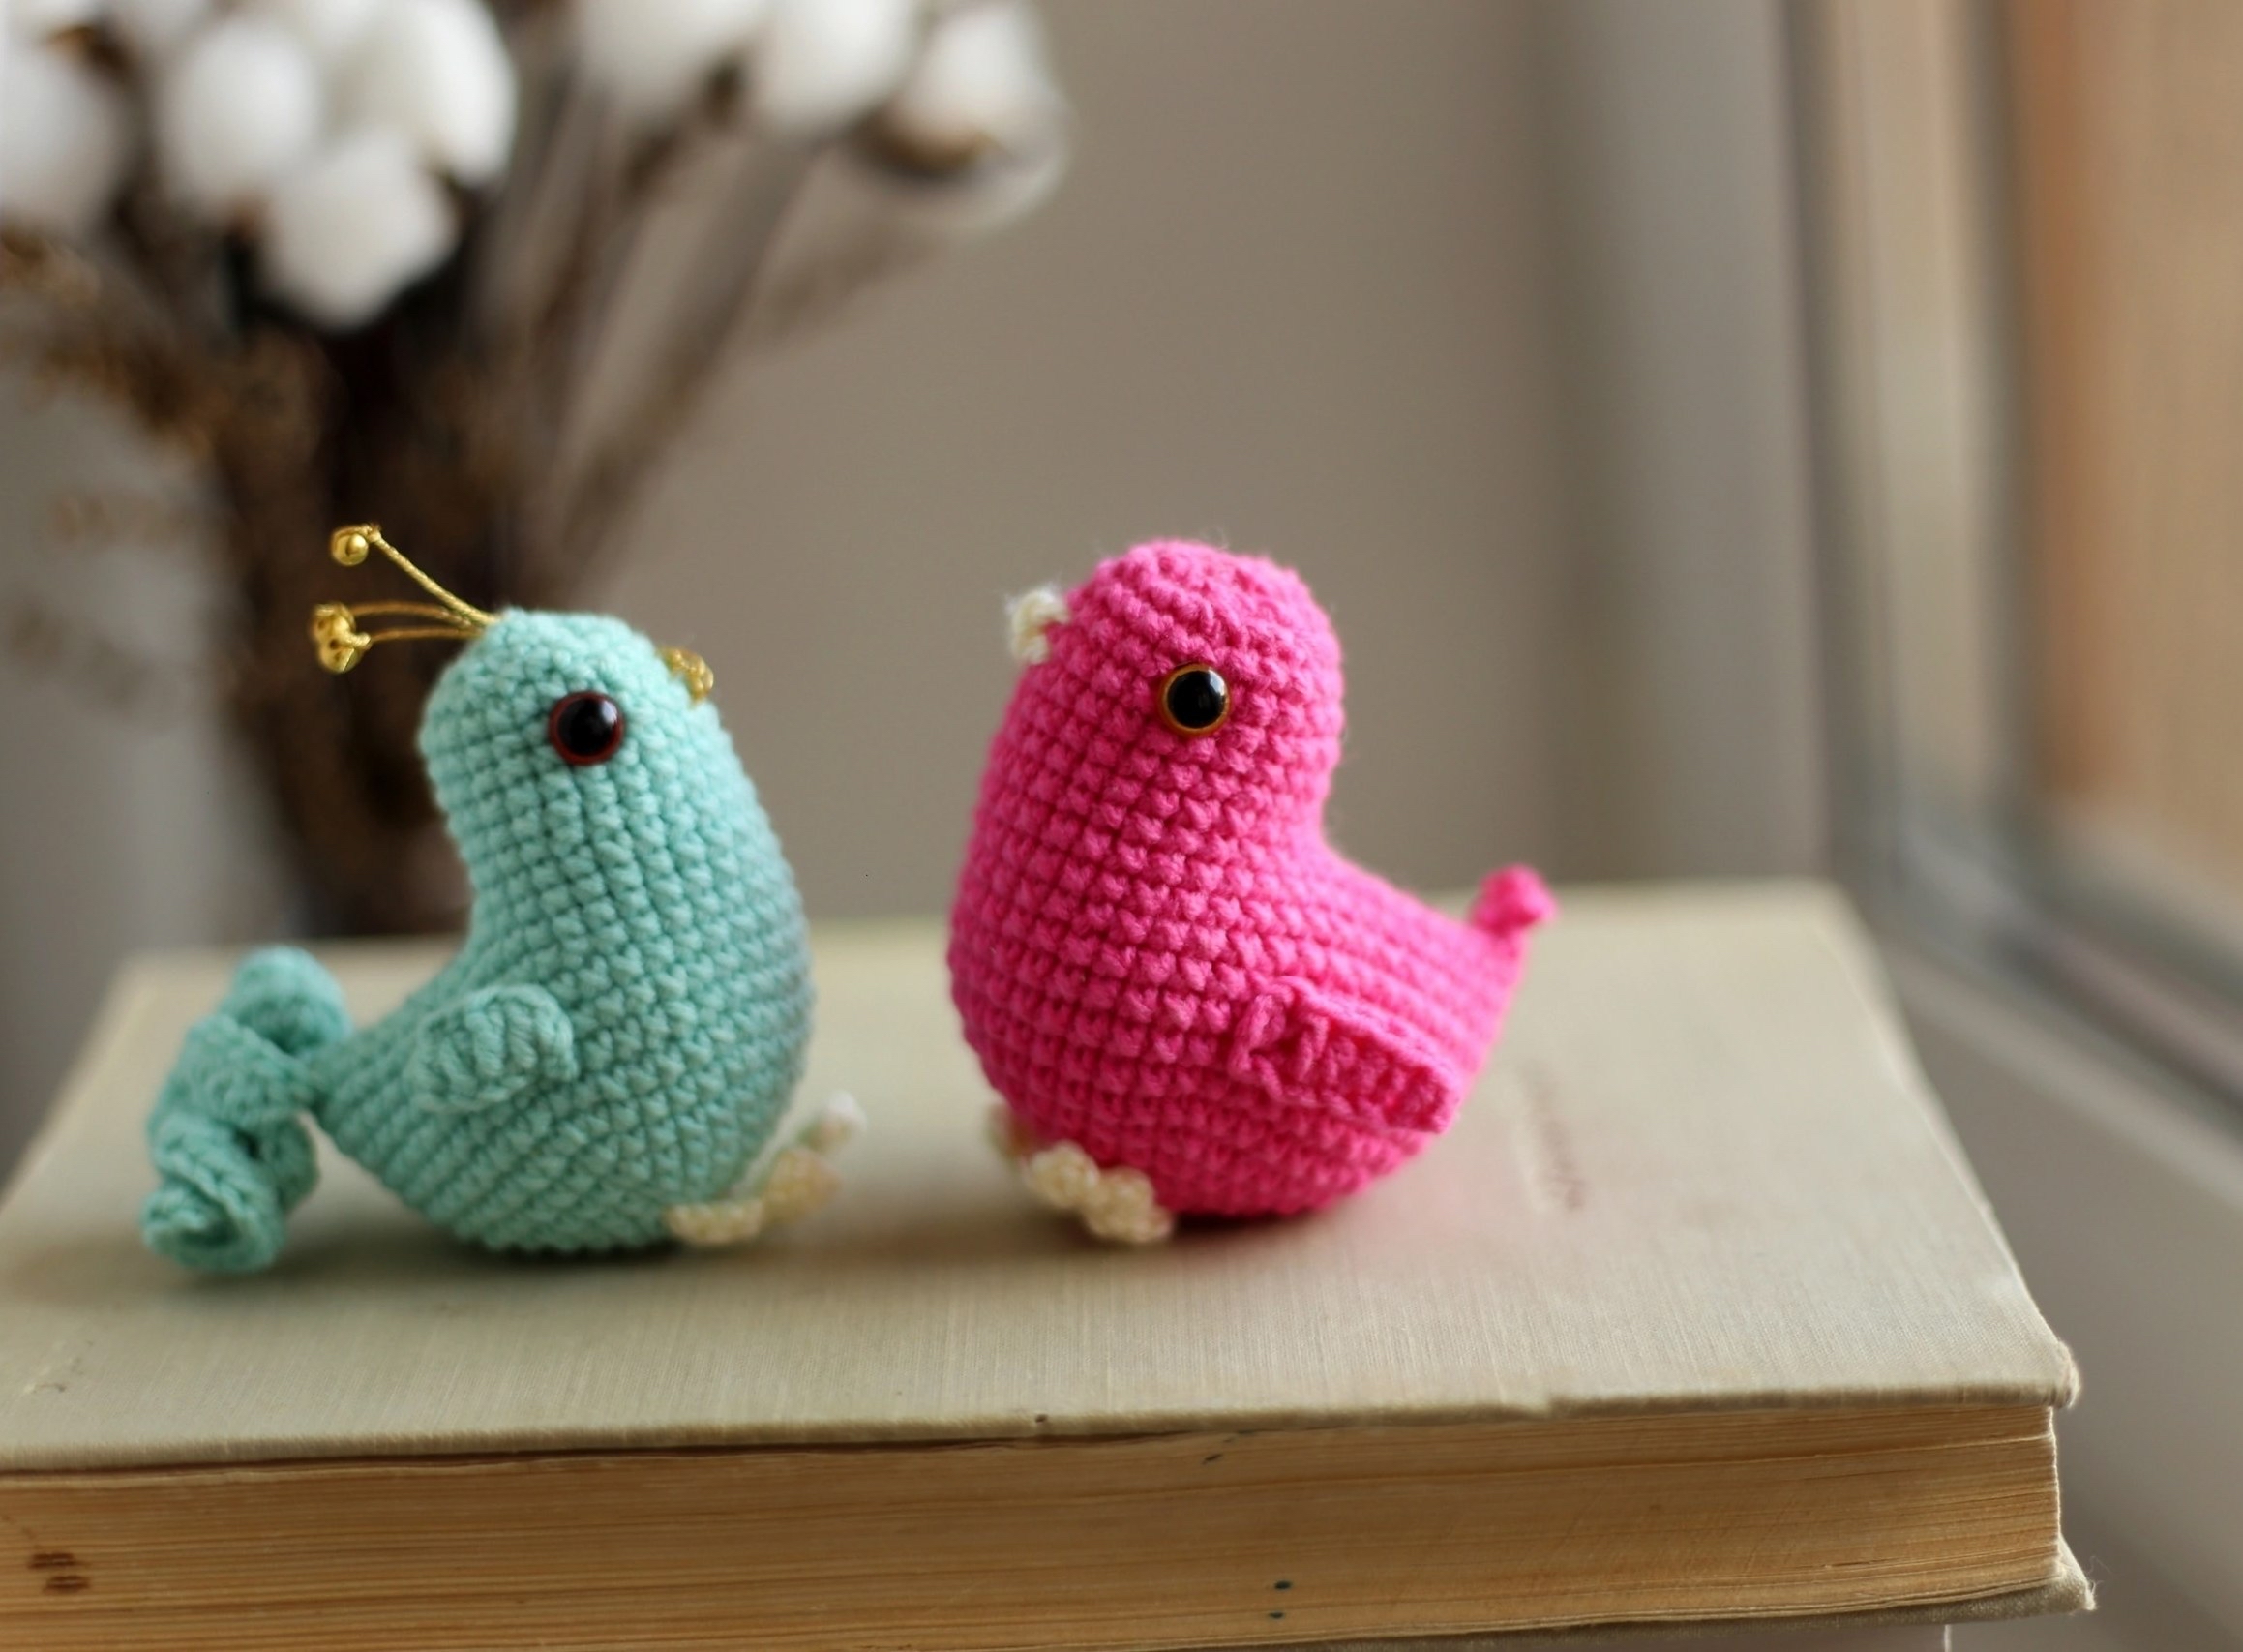
Are you looking for a quick, adorable, and rewarding crochet project? Whether you are looking to decorate a nursery, create tiny gifts for friends, or simply want to practice your amigurumi skills, these mini crochet birds are the perfect solution. These little feathered friends are small enough to fit in the palm of your hand, making them incredibly versatile decor pieces.
In this detailed tutorial, I will walk you through every step of creating these charming little birds. This pattern is designed to be beginner-friendly, focusing on basic stitches that will help you build confidence in your crochet journey. By the end of this guide, you’ll have a pair of sweet little birds ready to brighten up any space!
Materials & Abbreviations
Before we pick up our hooks, let’s make sure you have everything you need. Because these birds are quite small (approximately 2 inches in length), using a smaller hook is essential to ensure your stitches are tight and your stuffing doesn’t peek through.
What You Will Need
- Yarn: Approximately 180 yards (50g) of medium-weight cotton or acrylic yarn. You can choose any colors you like—bright pinks, soothing teals, or natural browns!
- Crochet Hook: A 2.0 mm (B/2) or 1.75 mm hook.
- Stuffing: Polyester fiberfill to give your birds their round, plump shape.
- Safety Eyes: 8 mm eyes (Note: if you are making these for very young children, consider embroidering the eyes with black yarn instead for safety).
- Accent Yarn: A small amount of yellow yarn for the tiny beaks.
- Other Tools: A tapestry needle, scissors, and stitch markers.
Abbreviations (US Terms)
This pattern uses standard US crochet terminology. Please ensure you are following the US versions to avoid confusion!
- ch: chain
- sc: single crochet
- inc: increase (2 sc in the same stitch)
- dec: decrease (sc 2 stitches together)
- hdc: half double crochet
- dc: double crochet
- sl st: slip stitch
- MR: magic ring
Step-by-Step Instructions
The Body
The body of the bird is worked in a continuous spiral. It is best to use a stitch marker to keep track of your rounds.
Round 1: Start with 6 sc in a magic ring (6).
Round 2: 6 inc (12).
Round 3: (1 sc, inc) repeat 6 times (18).
Round 4: (2 sc, inc) repeat 6 times (24).
Round 5: (3 sc, inc) repeat 6 times (30).
Round 6: (4 sc, inc) repeat 6 times (36).
Round 7: (5 sc, inc) repeat 6 times (42).
Rounds 8-15: sc in each stitch around (42).
Now, we will create the rounded “head” portion of the body. To do this, we will divide the circle.
Separate 24 stitches from your current round. We will work the “face” side separately. Insert your hook into the opposite side of the piece to begin the next section.
Rounds 16-21: sc in each of the 24 stitches (24).
Note: Before finishing the head, insert your 8mm safety eyes between rounds 20 and 21.
Round 22: (2 sc, dec) repeat 6 times (18).
Round 23: (1 sc, dec) repeat 6 times (12).
Fasten off, leaving a long tail for sewing. Now, use the remaining part of the body to sew the two halves together. As you sew the edges, begin stuffing the body firmly with your polyester fiberfill to create a nice, plump shape. Once closed, you will use the remaining yarn to work the tail.
The Tail
You can choose between two styles for your bird’s tail: a simple classic tail or a fun, curly tail.
Option 1: Simple Tail
Ch 5. Sl st into the body of the bird. Repeat this process 2 more times to create three small tail feathers. Fasten off and weave in your ends.
Option 2: Curly Tail (Feather Style)
For a more textured, whimsical look, ch 8. Starting from the 3rd chain from the hook, work 3 to 4 dc into every chain stitch. This will create a beautiful, curly feather effect. Repeat this for other tail feathers if desired. Fasten off and weave in ends.
The Wings
You will make two wings. To ensure they look slightly different and natural, we will use two slightly different stitch sequences.
Wing One
Ch 7. Starting from the 2nd chain from the hook, work the following: 2 sc, 2 hdc, 2 dc. Fasten off, leaving a tail for sewing.
Wing Two
Ch 7. Starting from the 2nd chain from the hook, work the following in reverse order: 2 dc, 2 hdc, 2 sc. Fasten off, leaving a tail for sewing.
The Beak
The beak is a tiny but vital detail! Use your yellow accent yarn for this part.
Position the yellow yarn just slightly below the eyes. Secure the yarn to the body, but leave a long tail hanging to one side. Ch 3. Work 1 sc into the head at a point slightly higher than where you first attached the yarn. Pull the yarn through, then carefully tie the long tail of the yarn to the end of your crochet chain to secure it. Hide any excess yarn inside the body.
The Feet
The feet are worked as a small chain that branches out.
Ch 8. In the 4th chain from the hook, work 1 sl st. Now, ch 3 and work 1 sl st into that same stitch. Ch 3 again and work 1 sl st into that same stitch. This creates the “toes.” To give the foot some thickness, work 4 sc along the remaining length of the chain. Fasten off and sew the feet to the bottom of the bird’s body.
Finishing
Assembly is the final magical step! Using your tapestry needle and the tails left from your various parts, sew the wings onto the sides of the body and the feet to the bottom. Ensure everything is symmetrical so your bird stands upright and looks balanced.
Once everything is attached, do a final check to make sure no stuffing is escaping. Weave in all loose ends securely inside the body so they don’t unravel over time.
Tips for Success
- Consistent Tension: Since these birds are tiny, try to keep your tension even. If your stitches are too loose, the stuffing might show through the gaps.
- Use Stitch Markers: Working in continuous spirals can be tricky. Always use a marker to identify the start of your round so you don’t lose count.
- Eyes Placement: When inserting safety eyes, make sure they are even. I find it helpful to use a piece of string to measure the distance between them before clicking them into place.
- Creative Colors: Don’t be afraid to experiment! You can make a whole flock of birds in different colors to create a beautiful, colorful display.