Chubby Amigurumi Whale Crochet Pattern: A Beginner-Friendly Tutorial
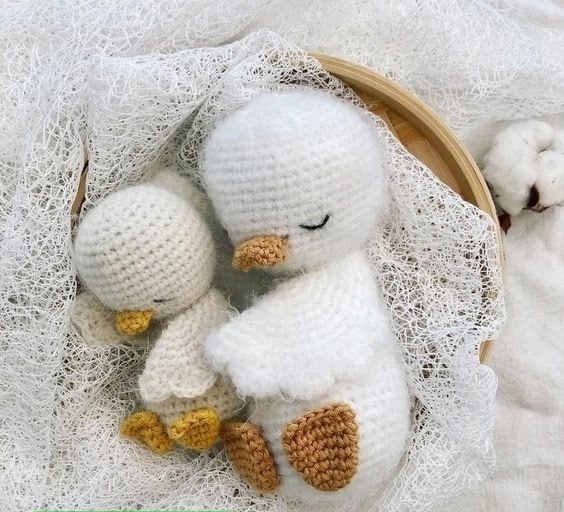
Are you looking for your next adorable crochet project? There is nothing quite as charming as a chubby, squishy amigurumi sea creature! These little whales are the perfect project for crafters looking to experiment with velvet or chenille yarns. Because of their round, soft shape, they make wonderful nursery decor, desk companions, or even a sweet handmade gift for a baby shower.
This tutorial is designed to be beginner-friendly. We will be using a simple construction method that builds the head and body as one continuous piece, making the assembly process incredibly easy. Whether you want to make a classic blue whale or a pastel rainbow collection, these little guys are endlessly customizable. Grab your favorite soft yarn and let’s dive into the wonderful world of crochet!
Materials & Abbreviations
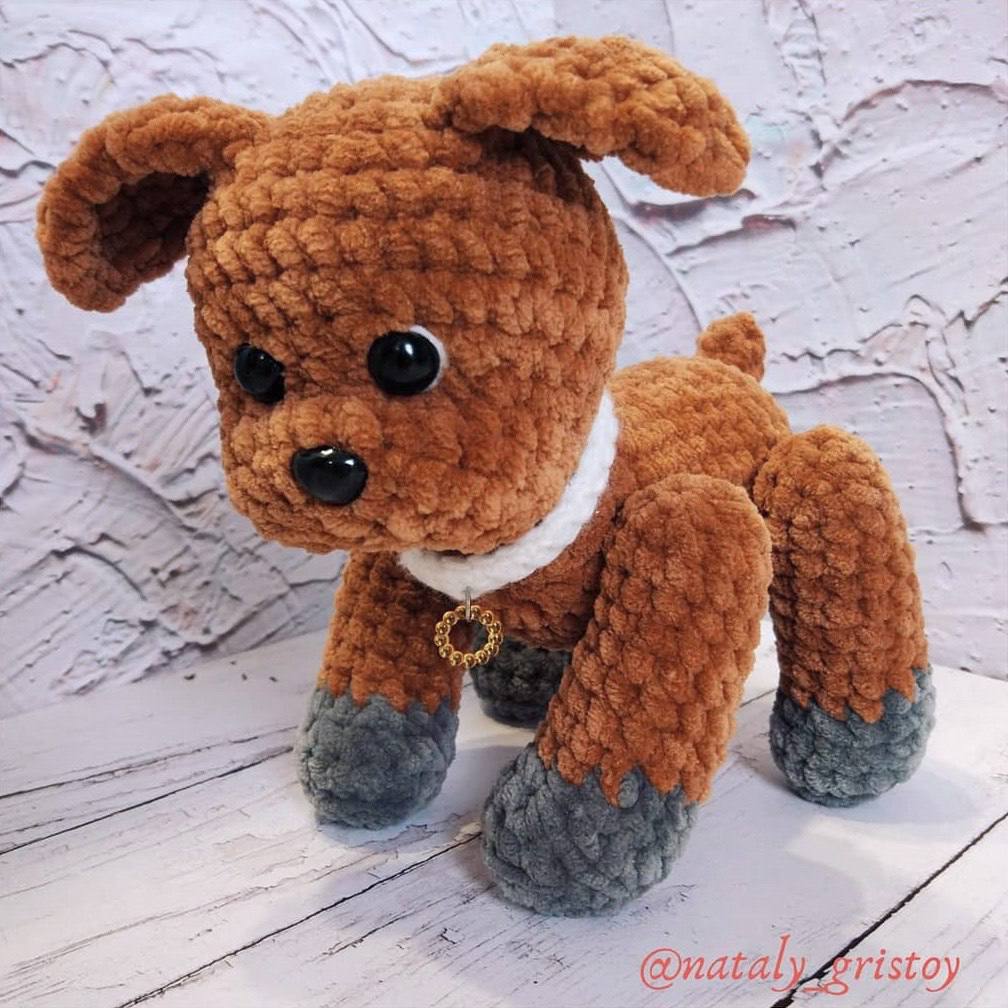
Before we pick up the hook, let’s make sure you have everything you need. To get that signature “squishy” look seen in the photos, I highly recommend using a chenille or velvet-style yarn.
Materials Needed
- Yarn: Approximately 131 yards (120m) of bulky chenille yarn (such as Himalaya Dolphin Baby or similar velvet yarn). You will need one main color for the body and one white color for the belly.
- Crochet Hook: 3.5 mm (or a size that creates a tight tension so stuffing doesn’t show through).
- Safety Eyes: 10 mm (approximately 3/8 inch) safety eyes.
- Stuffing: Polyester fiberfill.
- Other Tools: Tapestry needle, scissors, and stitch markers.
Abbreviations
This pattern uses standard US crochet terminology. Please ensure you are using US terms to follow the instructions accurately.
- ch: chain
- sc: single crochet
- dc: double crochet
- inc: increase (2 sc in the same stitch)
- dec: decrease (sc 2 stitches together)
- sl st: slip stitch
- BLO: back loops only
- st(s): stitch(es)
Step-by-Step Instructions
For amigurumi, tension is key. Since we are using soft, bulky yarn, try to keep your stitches tight to ensure the stuffing stays hidden inside the whale.
Making the Fins (Make 4)
The fins are worked as small, fan-shaped pieces that will later be attached to the body. Repeat this process four times.
- Start by creating a foundation chain of 3 ch.
- In the second chain from your hook, work the following sequence all into that single stitch: 5 dc, 2 ch, and 1 sl st.
- This will create a tiny, pointed fin. Fasten off, leaving a small tail for sewing.
Creating the Head and Body
We will work in continuous rounds. It is highly recommended to use a stitch marker to keep track of the beginning of each round.
The Main Color (Body)
- Round 1: Start with a magic ring (or chain 2 and work into the second chain from the hook) and work 6 sc into the ring. (6 stitches)
- Round 2: inc in every stitch around. (12 stitches)
- Round 3: (1 sc, inc) repeat 6 times. (18 stitches)
- Round 4: (2 sc, inc) repeat 6 times. (24 stitches)
- Round 5: (3 sc, inc) repeat 6 times. (30 stitches)
- Rounds 6-7: sc in each stitch around for 2 full rounds. (30 stitches)
- Round 8 (Fin Attachment Round): This is where we add the fins! You will work your single crochet stitches through both the body and the base of the fins. Follow this sequence carefully:
- 1 sc incorporating the first fin.
- 1 sc incorporating the second fin.
- 7 sc in the body.
- 1 sc incorporating the third fin.
- 13 sc in the body.
- 1 sc incorporating the fourth fin.
- 6 sc in the body. (30 stitches total)
The White Belly
Now, we will transition to the white color to create the whale’s underside. Note: When changing colors, pull the new color through the last two loops of your final stitch of the previous round.
- Round 9: Switch to white yarn. Work 30 sc in the BLO (back loops only). Working in the back loops only is what creates the clean line between the colored top and the white belly. (30 stitches)
Important: Before continuing, insert your 10 mm safety eyes between Rounds 8 and 9. Make sure they are centered and level with each other.
- Round 10: (3 sc, dec) repeat 6 times. (24 stitches)
- Round 11: (2 sc, dec) repeat 6 times. (18 stitches)
- Round 12: (1 sc, dec) repeat 6 times. (12 stitches)
Stop here to stuff your whale firmly with polyester fiberfill. Make sure the stuffing reaches the head area so it holds its shape.
- Round 13: dec in every stitch around. (6 stitches)
Finishing
Once the body is stuffed, fasten off your yarn, leaving a short tail. Use your tapestry needle to weave the tail through the remaining stitches of the final round. Pull the tail tight to close the hole completely, then weave the end into the body of the whale to hide it.
Use your tapestry needle to weave in any remaining ends from your fins or color changes. Give your whale a little squeeze to make sure everything is shaped perfectly!
Tips for Success
To make your amigurumi look professional, keep these beginner tips in mind:
- Tension Control: If you see gaps between your stitches where the stuffing peeks through, try using a smaller crochet hook or pulling your stitches slightly tighter.
- Stitch Markers are Essential: In amigurumi, it is very easy to lose track of your rounds. Always use a marker in the first stitch of every round.
- Working the Fins: When attaching the fins in Round 8, don’t be afraid to pull the stitches a little tight. You want the fin to look like it is part of the body, not just sitting on top of it.
- Safety First: If you are making this for a small child or a baby, instead of using plastic safety eyes, consider embroidering the eyes with black yarn to prevent any choking hazards.