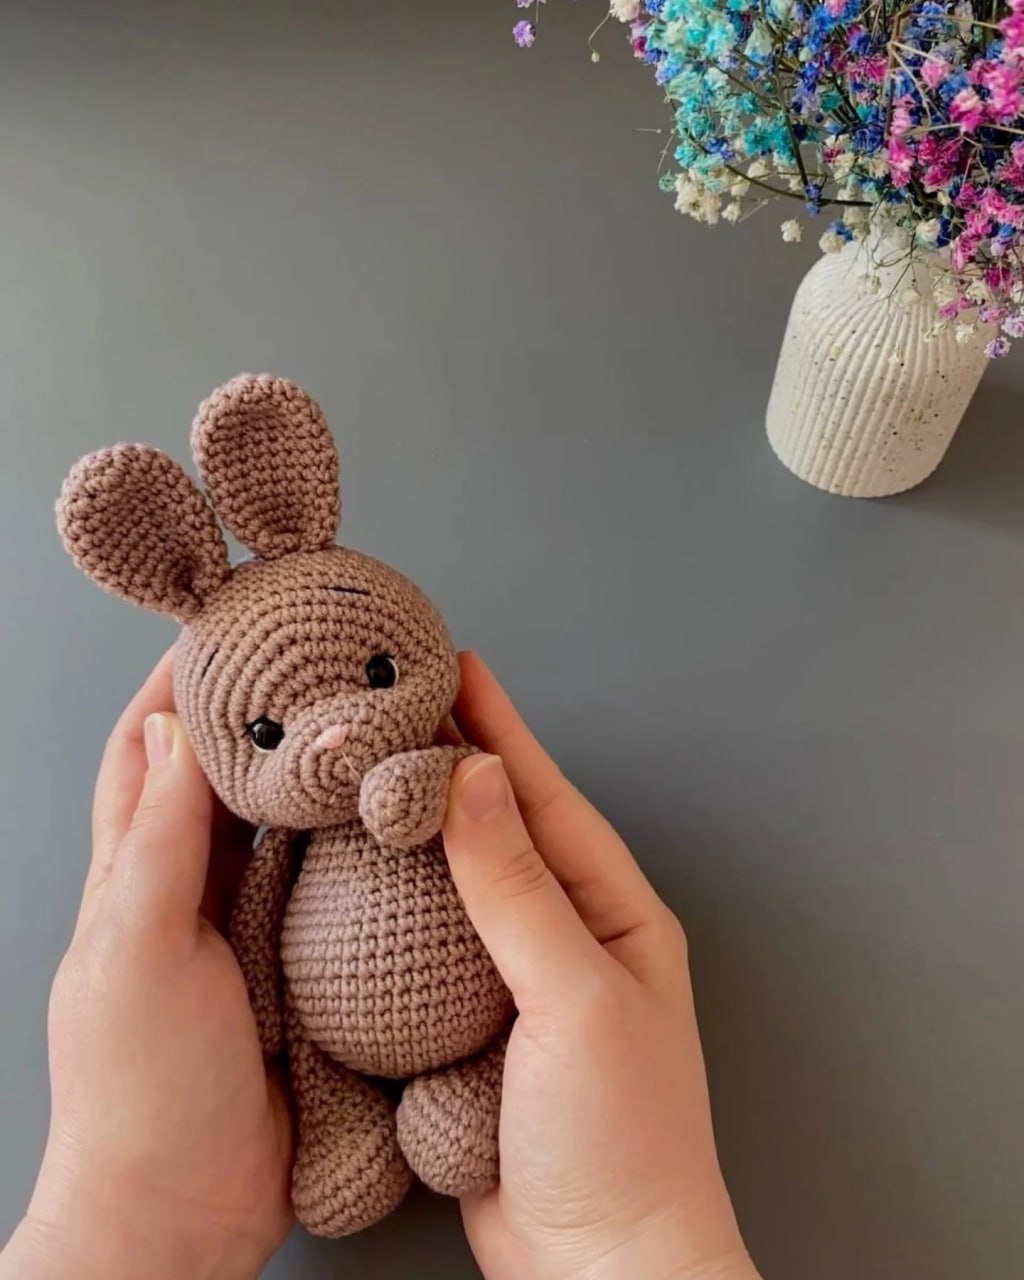
Adorable DIY Crochet Mouse: Free Amigurumi Pattern
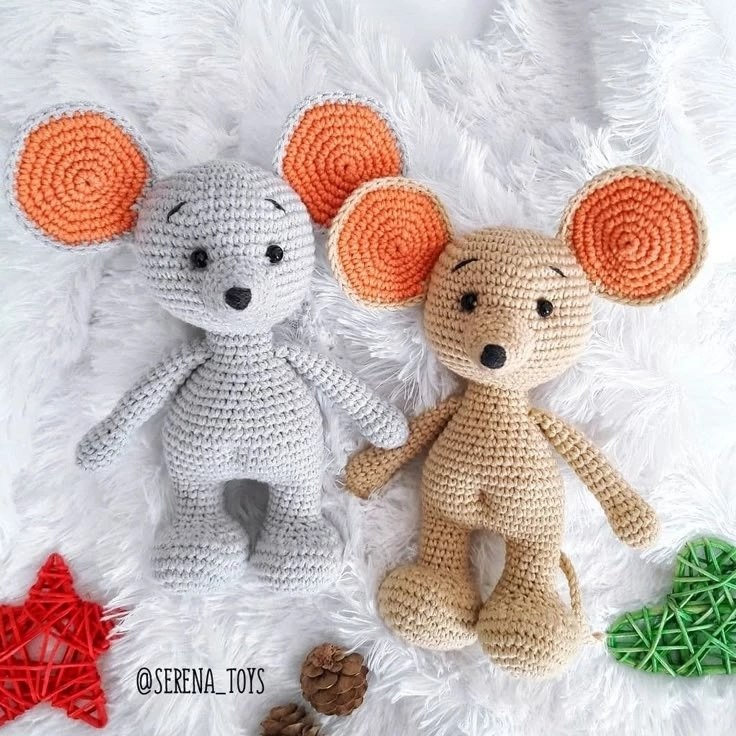
Are you looking for your next cute amigurumi project? This adorable DIY crochet mouse is the perfect pattern for crafters of all levels! With its oversized ears, sweet little snout, and huggable body, this handmade mouse makes a wonderful gift for children, a charming nursery decoration, or a delightful addition to your own amigurumi collection.
In this comprehensive, step-by-step tutorial, we will walk you through how to crochet this classic amigurumi mouse from start to finish. We use standard US crochet terminology and imperial measurements to ensure a smooth, worry-free crafting experience. Grab your hook, and let’s get crocheting!
Materials & Abbreviations
Supplies Needed
- Yarn: Sport weight semi-cotton yarn (such as YarnArt Jeans)
- Main Color (Gray or Beige): Approx. 110 yards
- Contrast Color (Pink or Orange for inner ears): Approx. 20 yards
- Hook: US size B-1 / 2.0 mm crochet hook
- Safety Eyes: One pair of 8mm or 9mm black safety eyes
- Stuffing: Premium polyester fiberfill stuffing
- Notions: Tapestry needle, stitch markers, embroidery floss (black for nose/brow details), and scissors
Abbreviations (US Terms)
- ch: chain
- sc: single crochet
- inc: increase (work 2 single crochet stitches into the same stitch)
- dec: decrease (invisible single crochet decrease recommended)
- st(s): stitch(es)
- sl st: slip stitch
- MR: magic ring (magic circle)
- [ ]: repeat instructions within brackets the specified number of times
Step-by-Step Instructions
Head
Using your Main Color (Gray or Beige) yarn. Work in continuous spiral rounds.
- Round 1: Start with 6 sc into a MR (6)
- Round 2: Work 6 inc (12)
- Round 3: [1 sc, inc] x 6 (18)
- Round 4: [2 sc, inc] x 6 (24)
- Round 5: [3 sc, inc] x 6 (30)
- Round 6: [4 sc, inc] x 6 (36)
- Round 7: [5 sc, inc] x 6 (42)
- Round 8: [6 sc, inc] x 6 (48)
- Rounds 9–17: sc in each st around (48)
- Note: If you are using safety eyes, insert them between Rounds 12 and 13, leaving approximately 8 stitches of space between them.
- Round 18: [6 sc, dec] x 6 (42)
- Round 19: [5 sc, dec] x 6 (36)
- Round 20: [4 sc, dec] x 6 (30)
- Round 21: [3 sc, dec] x 6 (24)
- Round 22: [2 sc, dec] x 6 (18)
- Begin stuffing the head firmly with polyester fiberfill. Keep adding stuffing as you finish the last rounds.
- Round 23: [1 sc, dec] x 6 (12)
- Round 24: 6 dec (6)
Fasten off, leaving a short tail. Weave the tail through the front loops of the remaining 6 stitches, pull tight to close the opening, and hide the yarn tail inside the head.
Snout (Nose)
Using your Main Color yarn.
- Round 1: Start with 6 sc into a MR (6)
- Round 2: [1 sc, inc] x 3 (9)
- Round 3: sc in each st around (9)
- Round 4: [2 sc, inc] x 3 (12)
- Round 5: sc in each st around (12)
- Round 6: [3 sc, inc] x 3 (15)
- Round 7: sc in each st around (15)
Fasten off, leaving a long tail for sewing. Stuff the snout lightly before attaching it to the head.
Ears (Make 2)
The ears are made of two flat circles joined together to create a sturdy, double-thick ear that stands up beautifully.
Inner Ear (Make 2 – Pink or Orange)
- Round 1: Start with 6 sc into a MR (6)
- Round 2: Work 6 inc (12)
- Round 3: [1 sc, inc] x 6 (18)
- Round 4: [2 sc, inc] x 6 (24)
- Round 5: [3 sc, inc] x 6 (30)
- Round 6: [4 sc, inc] x 6 (36)
Fasten off and weave in the ends.
Outer Ear (Make 2 – Main Color)
- Rounds 1–6: Repeat the instructions for the Inner Ear, but do not cut the yarn at the end of Round 6.
Joining the Ear Pieces
Place one Inner Ear piece and one Outer Ear piece wrong sides together (the pretty “right” sides should face outwards). Working through the stitches of both layers at the same time, work 36 single crochets around the edge. Finish with a slip stitch to the first stitch. Fasten off, leaving a long tail for sewing.
Arms (Make 2)
Using your Main Color yarn.
- Round 1: Start with 6 sc into a MR (6)
- Round 2: Work 6 inc (12)
- Rounds 3–5: sc in each st around (12)
- Round 6: [2 sc, dec] x 3 (9)
- Rounds 7–17: sc in each st around (9)
Stuff the lower half of the arm lightly; do not stuff the top portion. Flatten the top opening of the arm and work 4 sc across both sides to seal the arm closed. Fasten off, leaving a tail for sewing.
Legs and Body
The legs are crocheted first, then joined together to form the base of the body. This seamless technique makes your amigurumi sturdy and reduces sewing!
Legs (Make 2)
Using your Main Color yarn, start by chaining 7.
- Round 1: Starting in the 2nd chain from the hook, work 5 sc. Work 3 sc into the last chain stitch. Turn your work to crochet along the opposite side of the foundation chain: work 4 sc, then work an inc in the final chain (14)
- Round 2: 2 inc, 3 sc, 4 inc, 3 sc, 2 inc (22)
- Round 3: [1 sc, inc] x 2, 3 sc, [1 sc, inc] x 4, 3 sc, [1 sc, inc] x 2 (30)
- Round 4: [2 sc, inc] x 2, 3 sc, [2 sc, inc] x 4, 3 sc, [2 sc, inc] x 2 (38)
- Rounds 5–6: sc in each st around (38)
- Round 7: [5 sc, dec] x 5, 1 sc, dec (32)
- Round 8: 7 sc, 9 dec, 7 sc (23)
- Round 9: [6 sc, dec] x 2, 5 sc, dec (20)
- Round 10: 4 sc, 5 dec, 4 sc, dec (14)
- Rounds 11–14: sc in each st around (14)
Fasten off the first leg. When you complete the second leg, do not cut the yarn. We will now join the legs to start the body.
Body Connection
From the second leg, chain 4. Join the chain to the first leg using a single crochet stitch.
- Round 15: Work 14 sc around the first leg, 4 sc along one side of the chain, 14 sc around the second leg, and 4 sc along the opposite side of the chain (36)
- Round 16: 13 sc, 6 inc, 17 sc (42)
- Rounds 17–24: sc in each st around (42)
- Round 25: [5 sc, dec] x 6 (36)
- Round 26: sc in each st around (36)
- Round 27: [4 sc, dec] x 6 (30)
- Round 28: sc in each st around (30)
- Round 29: [3 sc, dec] x 6 (24)
- Rounds 30–31: sc in each st around (24)
- Round 32: [2 sc, dec] x 6 (18)
- Rounds 33–34: sc in each st around (18)
Fasten off, leaving a long yarn tail for sewing. Stuff the legs and body firmly, ensuring the feet are shaped well to help your mouse sit comfortably.
Tail
Using your Contrast Color yarn (or Main Color if you prefer a matching tail), chain 30.
Starting in the second chain from the hook, work 29 sc back down the chain. Fasten off, leaving a tail for sewing.
Assembly & Finishing
Step 1: The Face
Position the snout on the front of the head, centering it between the eyes. Sew it in place securely, adding a small amount of fiberfill stuffing inside right before closing. Using black embroidery thread, sew a small triangular nose on the tip of the snout, and add delicate eyebrows above the eyes for personality.
Step 2: Sew on the Ears
Pin the ears onto the head between Rounds 5 and 6 of the head. Position them symmetrically on either side of the head, then sew them in place securely using the yarn tails.
Step 3: Attach the Body and Arms
Sew the head onto the open neck of the body. Ensure you add extra stuffing to the neck area before closing to prevent the head from wobbling. Sew the flattened tops of the arms to the sides of the body, just below the neckline.
Step 4: Attach the Tail
Sew the tail to the back of the body, centering it near the bottom around Rounds 17 or 18.
Crochet Tips for Success
- Use Stitch Markers: Amigurumi is worked in continuous spiral rounds. Place a stitch marker in the first stitch of every round to keep accurate track of your progress.
- The Invisible Decrease: To avoid gaps in your stuffed toy, use the invisible decrease technique. Insert your hook into the front loops only of the next two stitches, yarn over, pull through both front loops, yarn over, and pull through the remaining two loops.
- Stuffing is Key: Stuff your mouse firmly but not to the point where the stitches stretch open and the stuffing shows through. Focus on shaping the feet and the head to maintain a rounded, cute look.