Adorable Crochet Mini Kitten Pattern: A Beginner-Friendly Amigurumi Tutorial
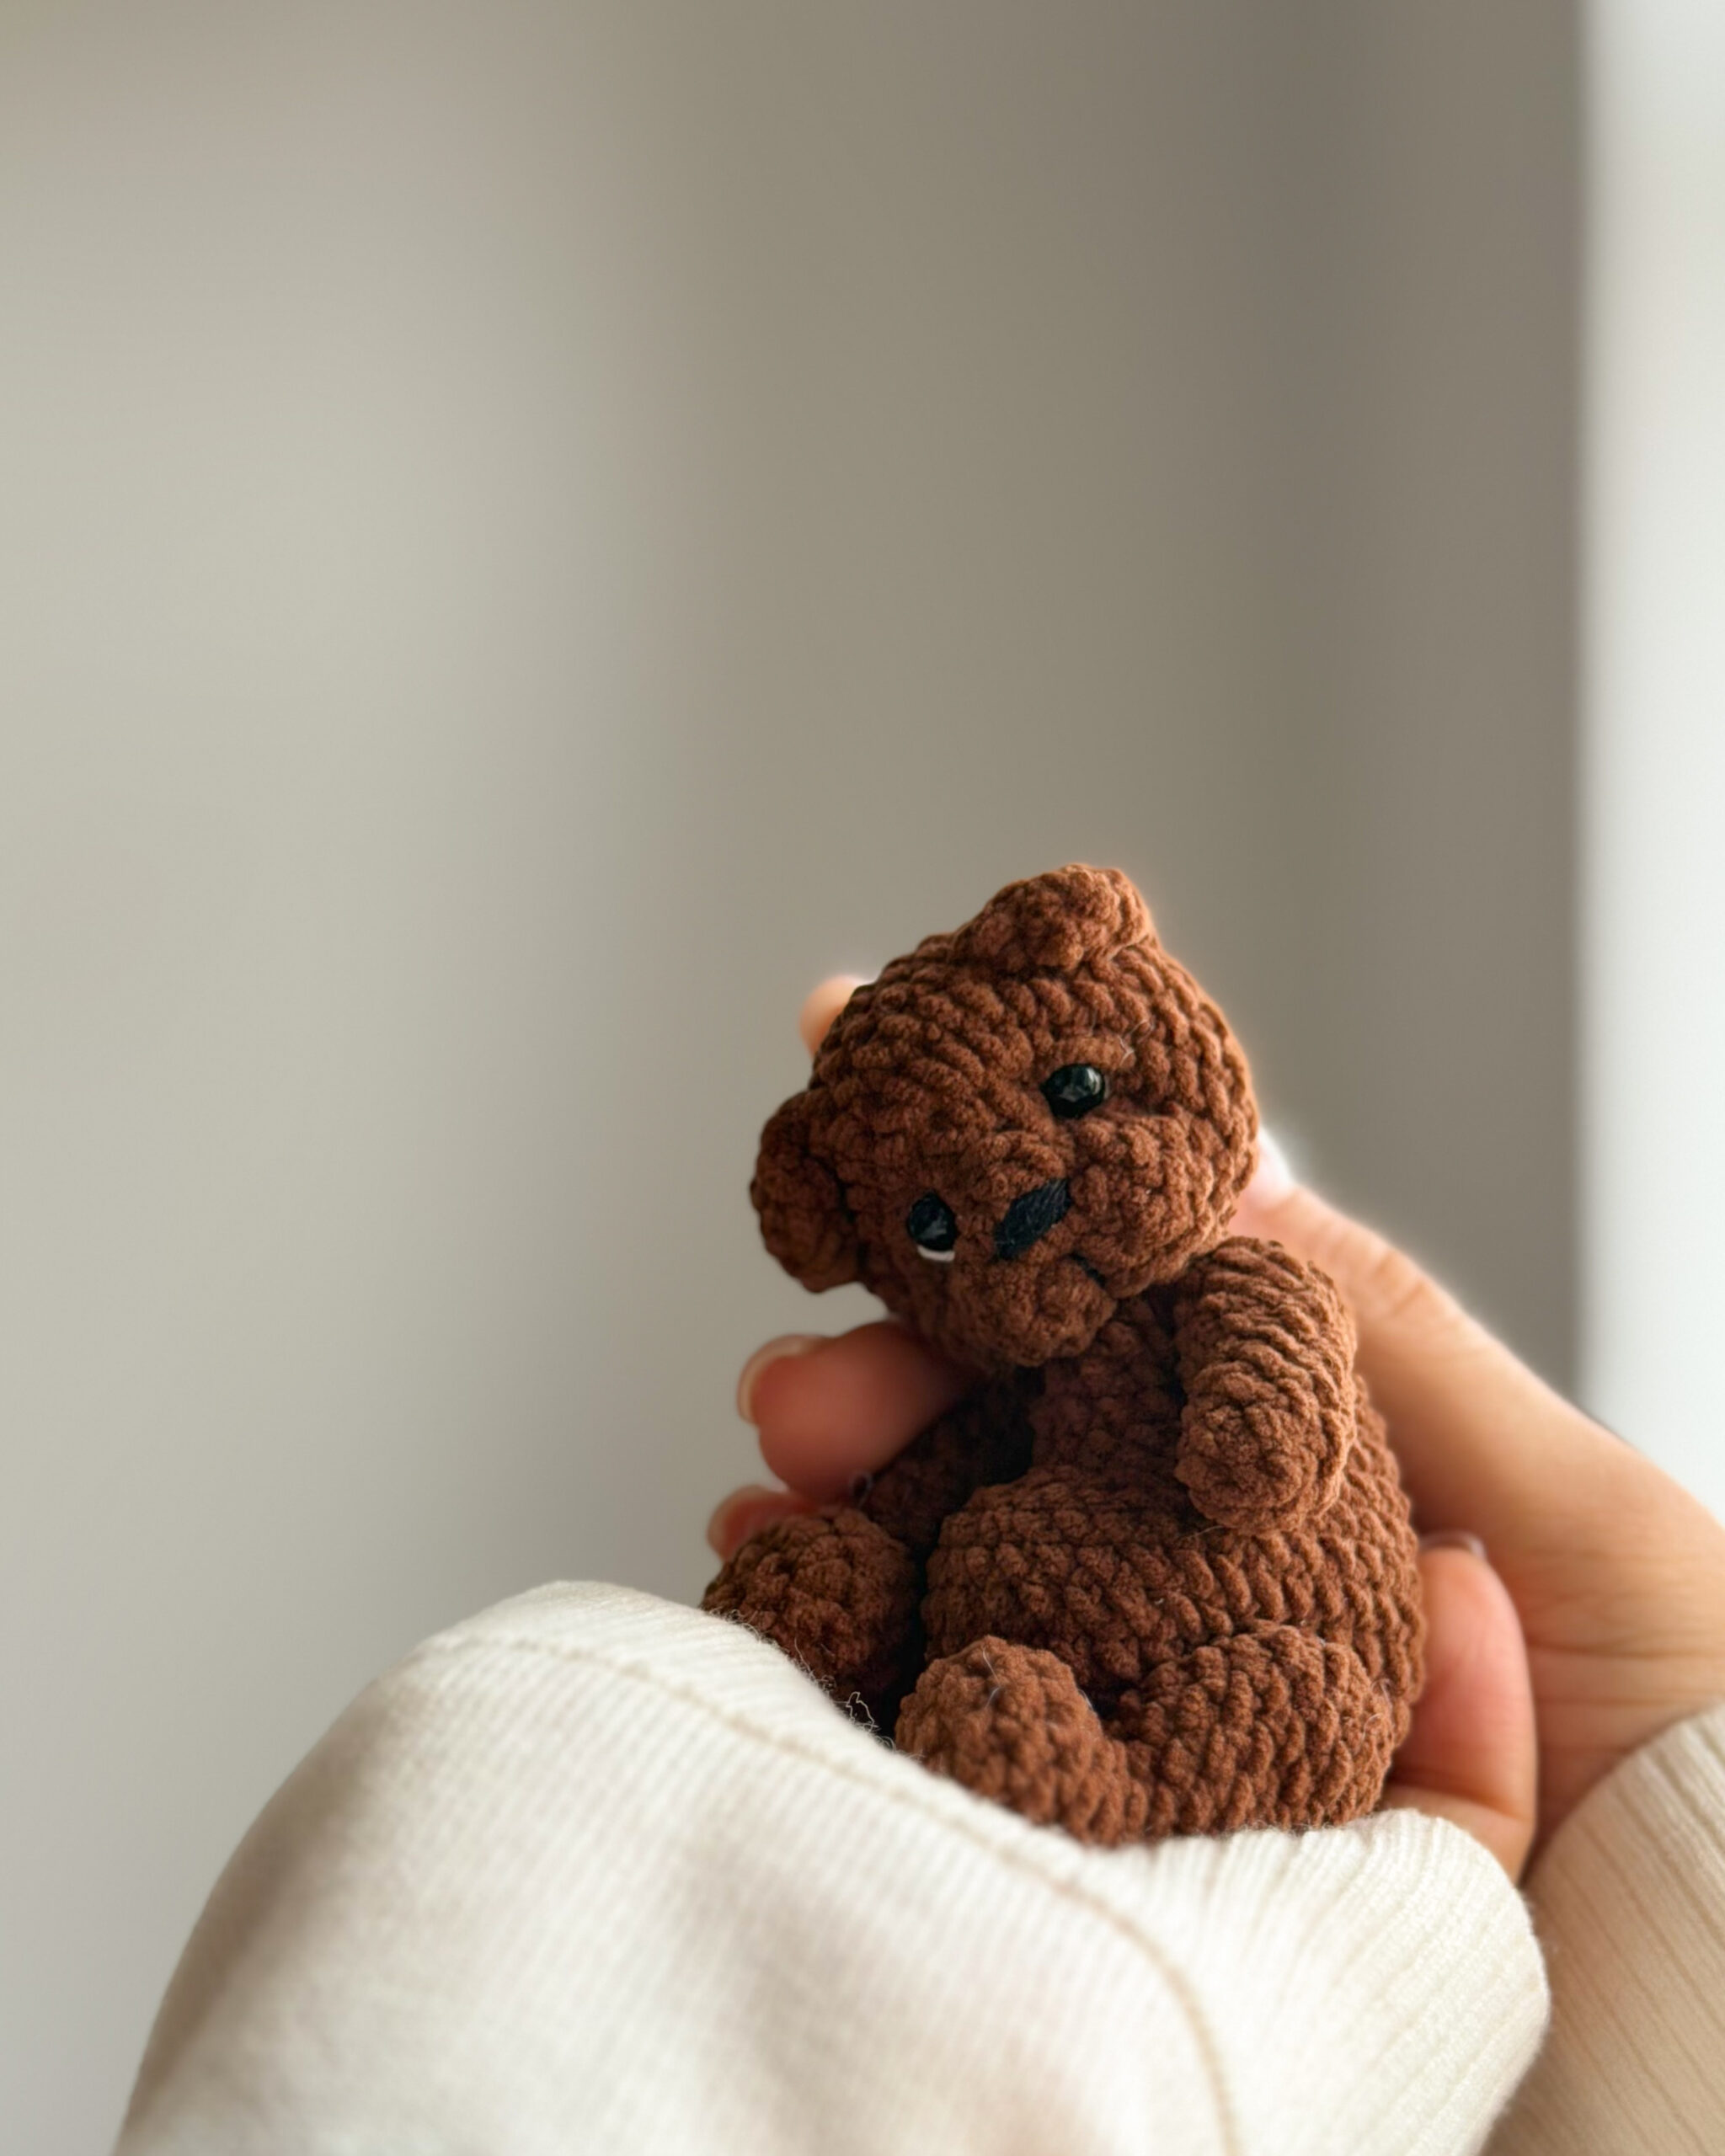
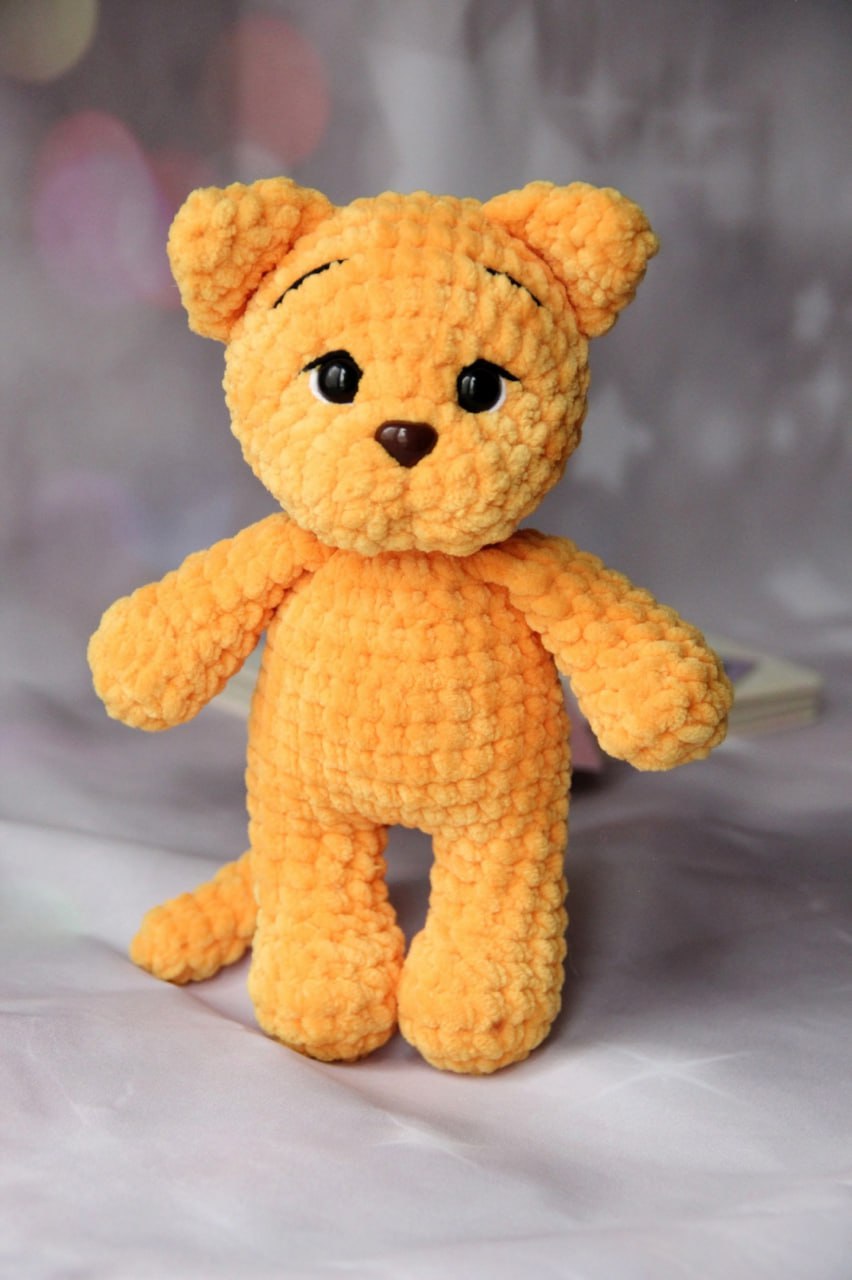
If you are looking for a quick, cuddly, and absolutely precious project, this crochet mini kitten is the perfect choice. Using chunky plush yarn, this little kitty turns out incredibly soft, “chonky,” and irresistible. Whether you are making a gift for a loved one or adding to your own amigurumi collection, this pattern is designed to be accessible for beginners while producing professional-looking results.
In this tutorial, we will walk you through every step of creating your own miniature feline friend. We will cover everything from the initial magic ring to the final facial sculpting that gives the kitten its sweet expression. Let’s grab our hooks and get started!
Materials & Abbreviations
To achieve the soft, velvety texture shown in the photos, we recommend using a “chenille” or “velvet” style plush yarn. These yarns work up quickly and hide stitches well, making them great for amigurumi.
Materials Needed:
- Plush Yarn: Approximately 130-150 yards of plush yarn (Weight 6/Super Bulky). You can use a single solid color or two contrasting colors for a Siamese-style look.
- Crochet Hook: 4.5mm (Size G/7) hook.
- Safety Eyes: 12mm screw-on safety eyes.
- Safety Nose: 14mm safety nose.
- Stuffing: High-quality polyester fiberfill.
- Embroidery Thread: A small amount of black cotton or acrylic thread for the eyebrows.
- Tools: Yarn needle, scissors, stitch markers, and a lighter (to secure yarn ends if using synthetic blends).
Abbreviations (US Terms):
- MR: Magic Ring
- ch: Chain
- sc: Single crochet
- inc: Increase (2 sc in the same stitch)
- dec: Decrease (sc 2 stitches together)
- sl st: Slip stitch
- (…) * x: Repeat the sequence inside the parentheses X times
Step-by-Step Instructions
The Arms (Make 2)
The arms are small and simple. If you are making a two-tone kitten, you will change colors during this process.
- Round 1: 6 sc in MR (6)
- Round 2: inc in each stitch around (12)
- Round 3: sc in each stitch around (12)
- Round 4: 3 sc, 3 dec, 3 sc (9)
Note: If you are using two colors, change your yarn color now.
- Rounds 5-9: sc in each stitch around (9 per round, 5 rounds total)
Stuff the arm lightly up to round 5. Close the opening by crocheting 4 sc together (or using a decrease) and fasten off, leaving a tail for sewing.
The Tail
The tail is a simple tube that does not require stuffing.
- Round 1: 6 sc in MR (6)
- Rounds 2-14: sc in each stitch around (6 per round)
Note: For a two-tone kitten, change the yarn color after Round 4.
Close the tail by crocheting 3 sc together and fasten off.
The Legs and Body
We start by making the legs and then joining them to create the body in one piece.
The Legs:
- Round 1: 6 sc in MR (6)
- Round 2: inc in each stitch around (12)
- Round 3: (3 sc, inc) * 3 (15)
- Round 4: sc in each stitch around (15)
- Round 5: 5 sc, 3 dec, 4 sc (12)
- Round 6: 4 sc, 2 dec, 4 sc (10)
Change color here if you are creating a two-tone kitten.
- Rounds 7-9: sc in each stitch around (10 per round)
For the first leg: Finish with a sl st and fasten off.
For the second leg: Do not fasten off. Crochet 4 sc (offset stitches) to reach the center of the inner part of the leg.
The Body:
Chain 2, then join to the second leg using a sc. Ensure the legs are pointing away from you.
- Round 1: 10 sc (including the joining sc), 1 sc in the joining space, 2 sc, 1 sc in the joining space, 10 sc, 2 inc across the starting chains (28)
- Round 2: 12 sc, inc, 15 sc (29)
- Round 3: sc in each stitch around (29)
- Round 4: 26 sc, dec, 1 sc (28)
- Round 5: 25 sc, 3 sc crocheted together with the tail (28)
- Round 6: 5 sc, dec, 12 sc, dec, 7 sc (26)
- Round 7: sc in each stitch around (26)
- Round 8: 11 sc, dec, 10 sc, dec, 1 sc (24)
- Round 9: sc in each stitch around (24)
- Round 10: (2 sc, dec) * 6 (18)
- Round 11: 2 sc, 4 sc joined with first arm, 5 sc, 4 sc joined with second arm, 3 sc (18)
- Round 12: (1 sc, dec) * 6 (12)
Fasten off and weave in your ends.
The Ears (Make 2)
- Round 1: 4 sc (worked in a chain or MR) (4)
- Round 2: (inc, 1 sc) * 2 (6)
Change color now if using two tones.
- Round 3: (inc, 2 sc) * 2 (8)
- Round 4: (1 sc, inc) * 4 (12)
Close the ear by crocheting 6 sc together and fasten off.
The Head
- Round 1: 6 sc in MR (6)
- Round 2: inc in each stitch around (12)
- Round 3: (1 sc, inc) * 6 (18)
Change color here.
- Round 4: 6 sc, 6 inc, 6 sc (24)
- Round 5: 5 sc, (3 sc, inc) * 3, 7 sc (27)
- Round 6: (inc, 8 sc) * 3 (30)
Change color again if making a Siamese-style kitten.
- Round 7: (4 sc, inc) * 6 (36)
- Rounds 8-10: sc in each stitch around (36 per round)
- Round 11: (4 sc, dec) * 6 (30)
Placement: Insert safety eyes between rounds 4 and 5, with 7 sc between them. Insert the safety nose between rounds 2 and 3.
- Round 12: (3 sc, dec) * 6 (24)
- Round 13: (2 sc, dec) * 6 (18)
- Round 14: (1 sc, dec) * 6 (12)
- Round 15: 6 dec. Close the hole tightly and fasten off.
Finishing & Assembly
Assembly is where the kitten really comes to life! Follow these steps to get the perfect expression:
Facial Sculpting
To give the kitten a defined muzzle, we use a technique called “sculpting” with a yarn needle. Insert your needle from the bottom center of the head, bring it up through the center of the nose, and pull slightly to create a dip. Loop the thread around the base of the nose and pull it back down to the starting point. Repeat this a few times to create a cute, pinched face.
Final Details
- Eyebrows: Using the black embroidery thread, stitch small straight lines between rounds 7 and 8 of the head to give your kitten a curious expression.
- Ears: Sew the ears securely between rounds 9 and 10 of the head.
- Head to Body: Sew the head to the top of the body, ensuring it is centered and stable.
Tips for Success
Working with Plush Yarn
Plush yarn can be slippery and make it hard to see your stitches. We highly recommend using a stitch marker in the first stitch of every round. If you lose your place, feel for the gaps between the stitches with your fingers rather than relying solely on your eyes.
Perfect Stuffing
Stuff your kitten firmly, but not so tight that the stitches stretch and reveal the stuffing inside. Pay extra attention to the head and legs—firm stuffing here helps the toy hold its shape over time.
Securing Ends
Because plush yarn can sometimes fray, use a yarn needle to weave the tails back and forth through the stitches several times. For extra security, you can use a tiny drop of fabric glue or a lighter to carefully singe the end of the yarn before weaving it in.