Crochet Llama Brooch Pattern: A Cute and Easy Amigurumi Tutorial
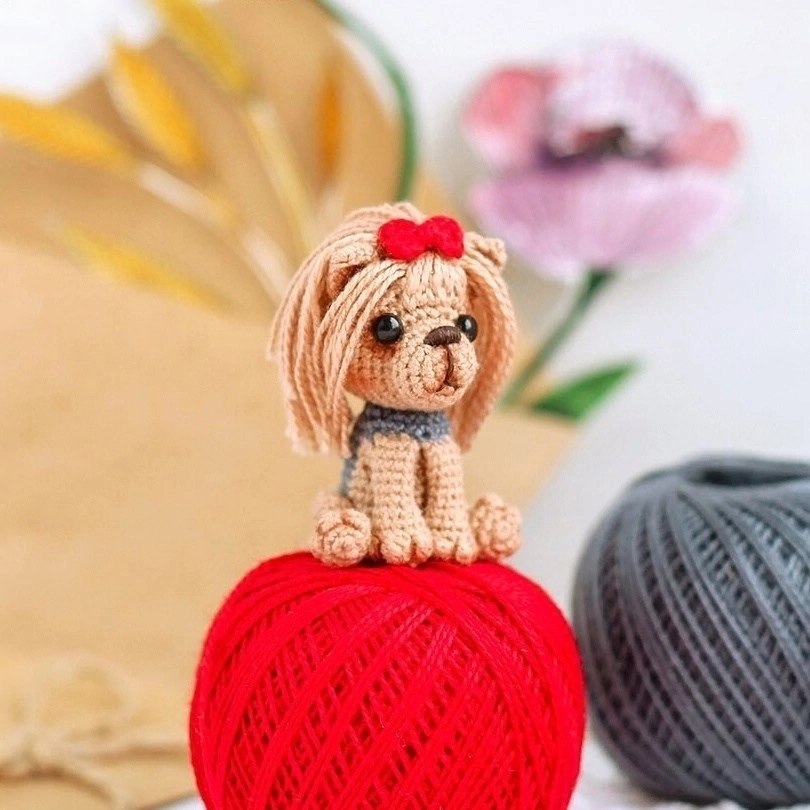
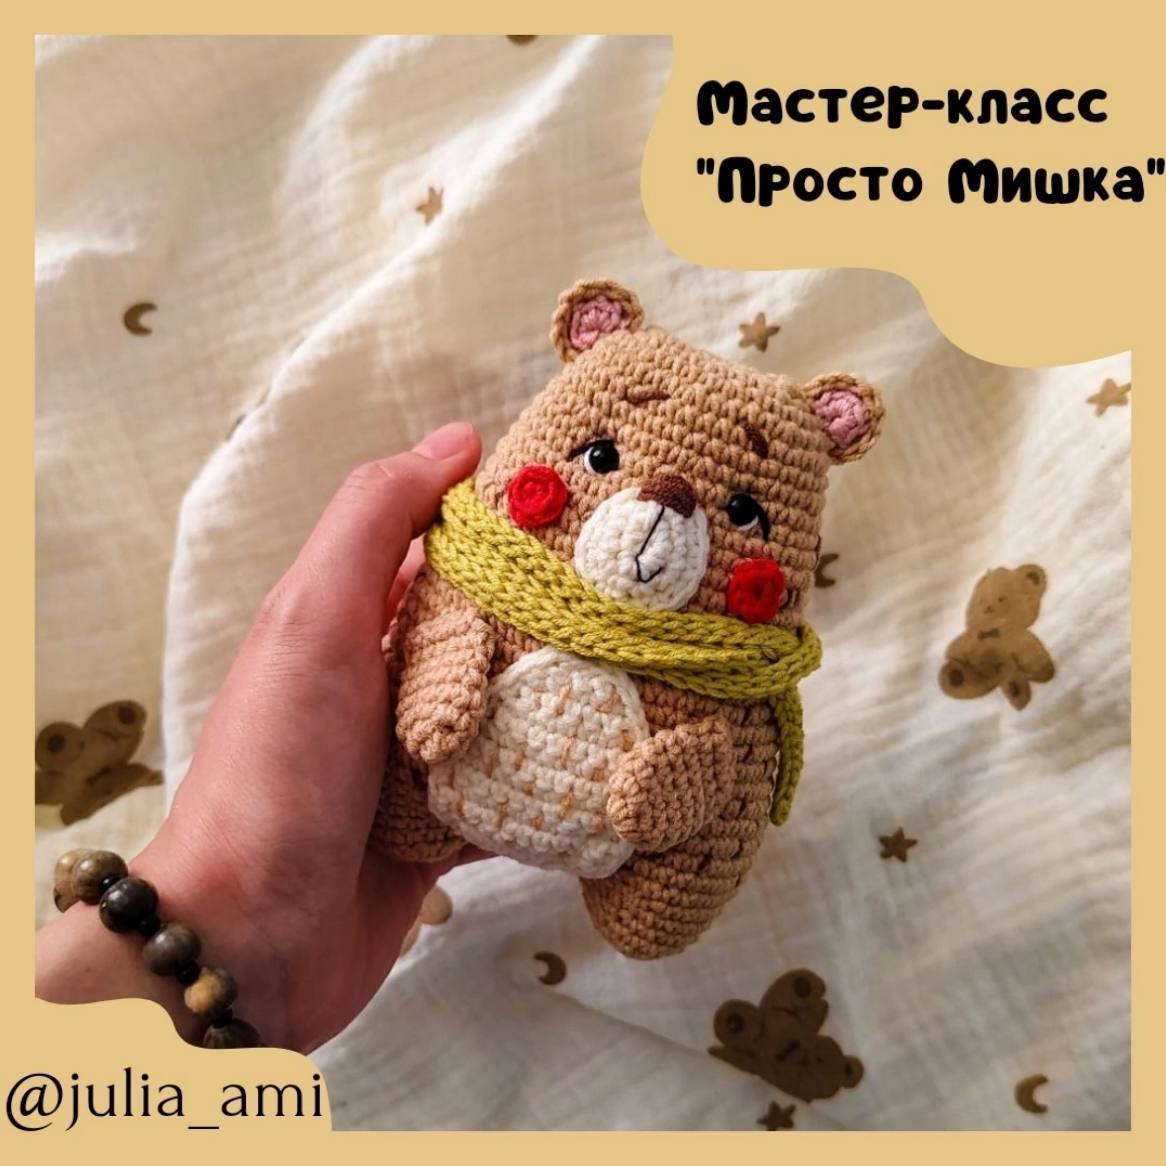
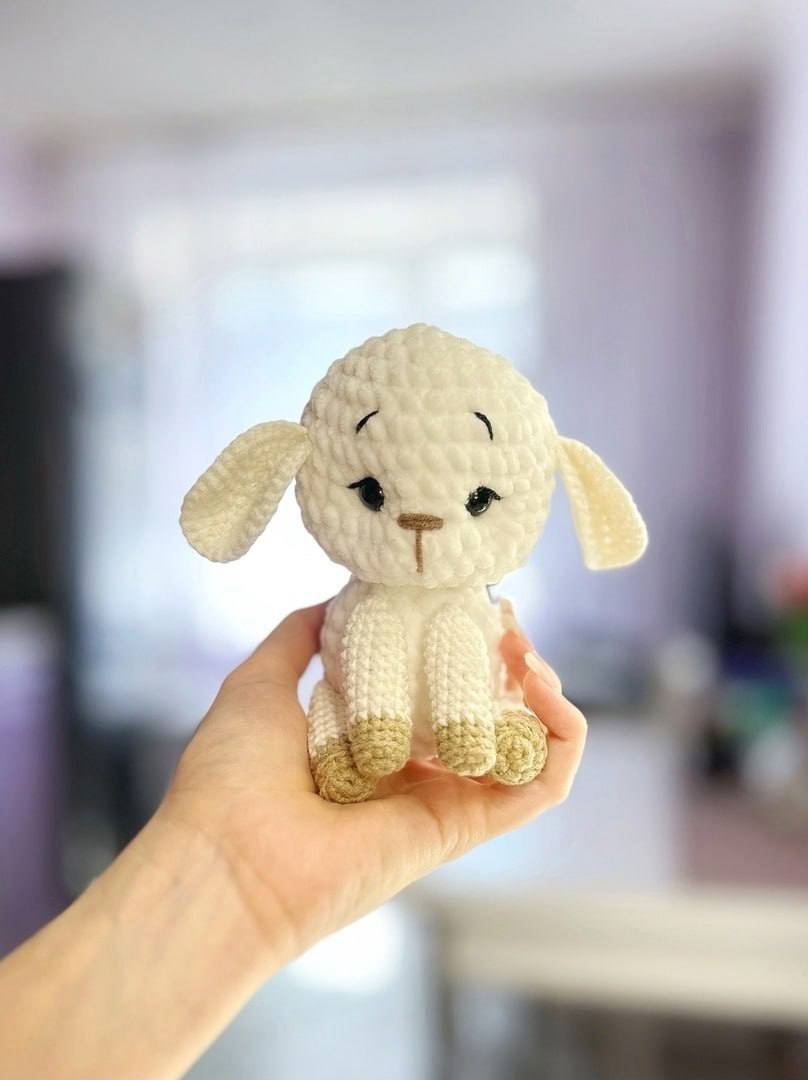
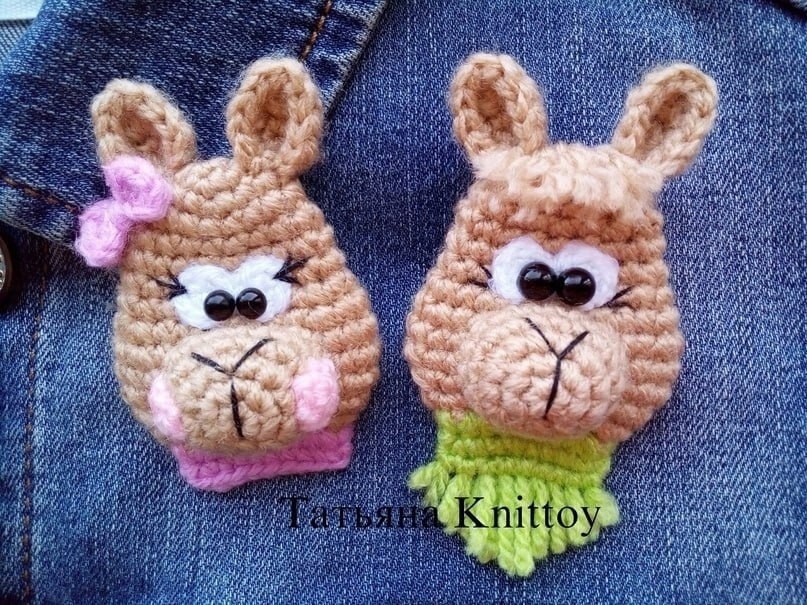
Are you looking for a quick, adorable, and versatile crochet project? Look no further! This crochet llama brooch is the perfect tiny companion for your denim jackets, backpacks, or even as a decorative accent on a nursery blanket. These little llamas come in two charming styles: a sweet “girl” version featuring a pink bow and a cool “boy” version with a fuzzy tuft of hair and a colorful scarf.
This pattern is designed with beginners in mind. While it uses amigurumi techniques, the scale is small and manageable, making it a fantastic way to practice working in the round and mastering small details. By the end of this tutorial, you will have a professional-looking, handmade accessory that is perfect for gifting or selling at your next craft fair.
Materials and Abbreviations
Before we pick up our hooks, let’s gather all the necessary supplies. Because this is a small project, you don’t need much, but having the right tools will make the process much smoother.
Supplies Needed
- Main Color Yarn: A medium-weight brown acrylic yarn (approximately 165 yards / 150m).
- Eye Color Yarn: White acrylic yarn.
- Accessory Yarn (Girl): Pink acrylic yarn for the bow and collar.
- Accessory Yarn (Boy): Green acrylic yarn for the scarf.
- Cheek Color Yarn: Light pink acrylic yarn.
- Crochet Hook: 1.5mm (or a size that creates tight, dense stitches).
- Safety Eyes: 5mm diameter safety eyes or half-beads.
- Embroidery Thread: Black thread for the nose and eyelashes.
- Stuffing: Small amount of polyester fiberfill for the muzzle.
- Brooch Pin: A pin base to attach to the back.
- Tools: A yarn needle and scissors.
Abbreviations (US Terms)
- MR: Magic Ring
- sc: Single crochet
- inc: Increase (2 sc in one stitch)
- dec: Decrease (sc 2 together)
- hdc: Half double crochet
- dc: Double crochet
- ch: Chain
- st(s): Stitch(es)
- sl st: Slip stitch
- hdc: Half double crochet
Step-by-Step Instructions
Note: All instructions are worked in a continuous spiral. Remember not to place a marker between rounds unless you prefer to count your stitches manually.
The Head
Using your main brown yarn, start by creating a magic ring and working 6 sc into the ring.
- Round 1: 12 sc (inc in every stitch).
- Round 2: 18 sc (inc in every 2nd stitch).
- Rounds 3-6: 18 sc (work 1 sc in each stitch).
- Round 7: 24 sc (inc in every 3rd stitch).
- Round 8: 30 sc (inc in every 4th stitch).
- Rounds 9-10: 30 sc (work 1 sc in each stitch).
- Round 11: 24 sc (dec in every 4th stitch).
- Round 12: 18 sc (dec in every 3rd stitch).
- Round 13: 12 sc (dec in every 2nd stitch).
Note: Do not stuff the head with fiberfill. We want to keep the head relatively flat so the brooch sits nicely against fabric.
The Collar/Necklace
For the girl version, switch to pink yarn. For the boy version, you will follow the “Scarf” instructions in the Finishing section.
- Round 14: 18 sc (inc in every 2nd stitch).
After finishing this round, fold the piece in half and sew it together through 9 stitches to create a ring-like collar around the bottom of the head.
The Muzzle
Using your main brown yarn, start with a magic ring and work 6 sc into the ring.
- Round 1: 12 sc (inc in every stitch).
- Round 2: 18 sc (inc in every 2nd stitch).
- Rounds 3-4: 18 sc (work 1 sc in each stitch).
Stuff the muzzle firmly with fiberfill. Once stuffed, sew the muzzle onto the front of the head, positioned slightly below where the eyes will go.
The Eyes
Using the white yarn, create a small circle for the eyes.
- Round 1: 6 sc in a magic ring.
Make two of these small white circles. You will sew these to the head above the muzzle and then glue the safety eyes or half-beads onto the center of the white circles.
The Ears
Using the main brown yarn, start with a magic ring and work 6 sc into the ring.
- Round 1: 2 sc in the 1st stitch, 2 hdc in the 2nd stitch, 3 dc in the 3rd stitch, 2 hdc in the 4th stitch, and 2 sc in the 5th stitch.
Fold the ears in half (bringing the edges together) and sew the sides shut. Once shaped, sew the ears to the top of the head.
The Accessories (Girl Version: Bow)
To make the pink bow, use your pink accessory yarn.
- Chain 2, then chain 2 more for height.
- In the second chain from your hook, work 2 hdc and 2 additional chains to form the loop.
- Slip stitch into the very first chain to join.
- Repeat this process to create the second loop of the bow.
Sew the finished bow onto one of the ears.
The Cheeks
Using the light pink yarn, create two small cheeks.
- Round 1: 6 sc in a magic ring.
Sew these small pink circles to the sides of the muzzle to give your llama a cute, blushing look.
Finishing
Now it is time to bring your llama to life with the final details!
Face Details
Using your black embroidery thread, carefully stitch a “Y” shape onto the muzzle to create the nose and mouth. Next, stitch a few small lines onto the white eye circles to create adorable eyelashes.
The Boy Version: Hair and Scarf
If you are making the boy llama, follow these steps instead of the bow:
- Hair (Tuft): Cut four 1-inch pieces of green yarn. Fold them in half and pull the loop through a small gap between the ears on the head. Pull the loose ends through that loop and tug to secure with a knot. Use your fingers to “fluff” the yarn out for a messy hair look.
- Scarf: Cut nine 1-inch pieces of green yarn. Using the same method as the hair, attach them to the neck area. Once attached, trim the ends into a triangle shape to create a fringed scarf effect.
Final Assembly
Once the face is embroidered and the eyes are glued, turn the llama over. Use your yarn needle to sew the brooch pin base securely to the back of the head. Your adorable llama brooch is now ready to wear!
Tips
To ensure your llama looks professional, keep these tips in mind:
- Tight Stitches: Because this is a small amigurumi project, use a smaller hook than the yarn label usually suggests. This prevents the stuffing from peeking through your stitches.
- Invisible Decreases: When working on the head, try using the “invisible decrease” method (inserting the hook into the front loops only) to avoid gaps in your work.
- Symmetry: When sewing the ears and eyes, take a moment to look at the llama from a distance to ensure everything is level and symmetrical.
- Safety First: If you are making this for a very young child, please avoid using safety eyes and instead embroider the eyes with black thread to prevent a choking hazard.