Adorable Crochet Bunny in Overalls Free Pattern & Tutorial
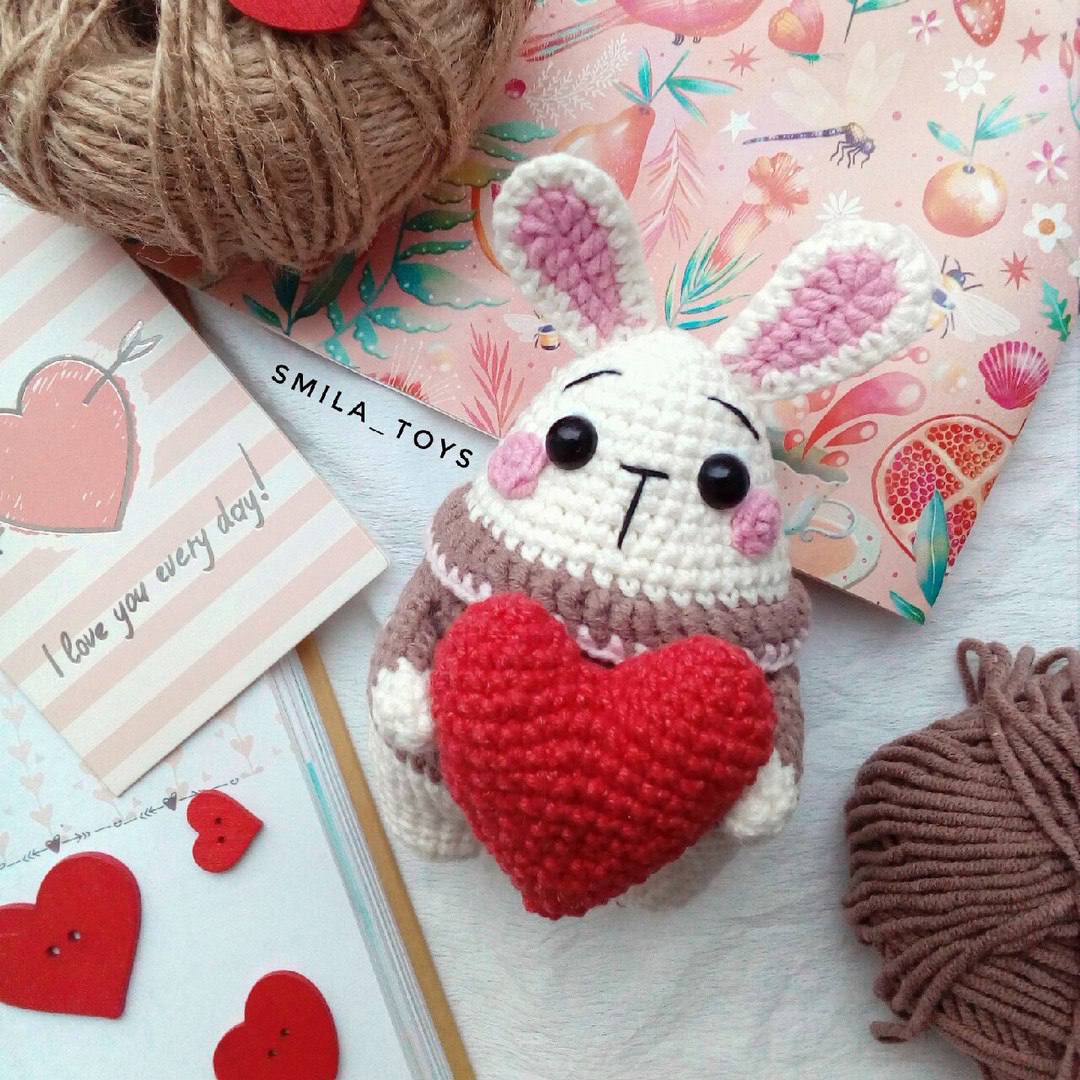
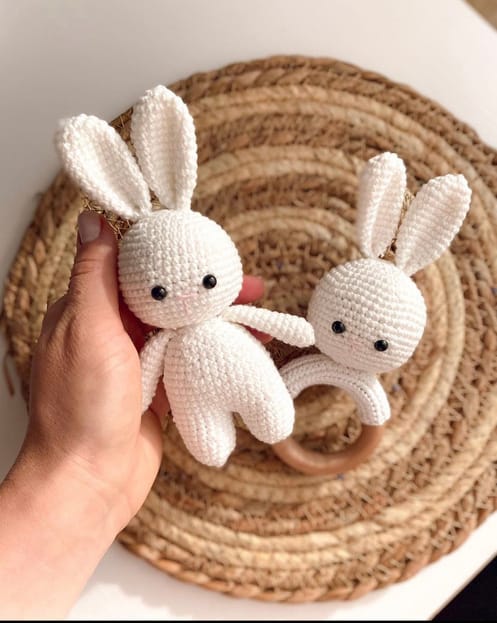
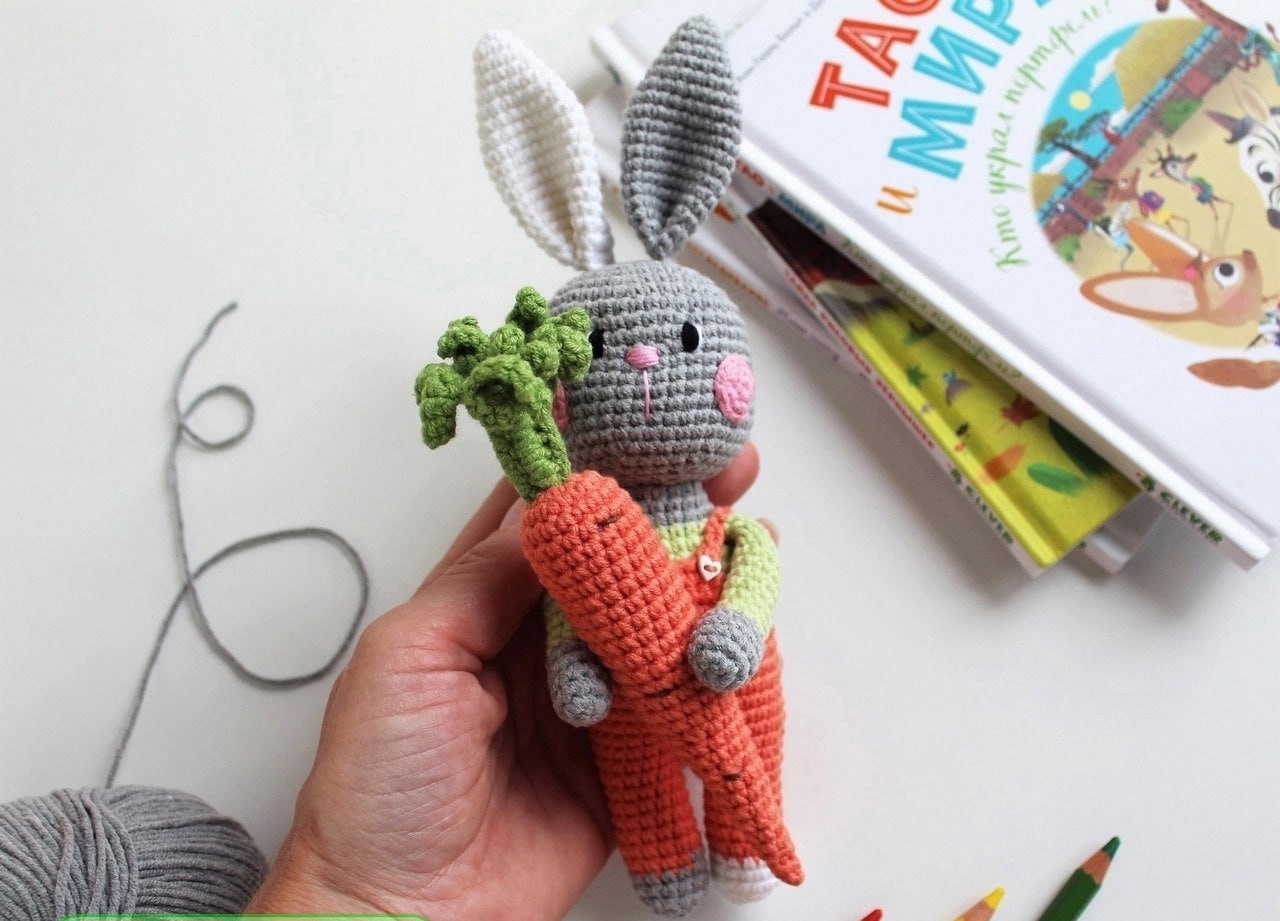
Looking for your next cozy crochet project? This sweet little bunny in orange overalls is the perfect companion for anyone who loves amigurumi. With its oversized ears and a tiny carrot accessory, this bunny is designed to be a charming addition to any nursery or a thoughtful handmade gift. This pattern is written for beginners and intermediate crocheters, using a friendly, step-by-step approach to help you create a professional-looking plushie.
Once finished, your bunny will stand approximately 8.6 inches tall. Whether you are looking to improve your shaping skills or just want to make something cute, this tutorial has you covered!
Materials & Abbreviations
To get the best results, we recommend using a cotton blend yarn. This keeps the stitches tight and prevents the stuffing from peaking through. For the USA audience, we have converted the original measurements to imperial units.
Materials Needed
- Main Yarn (DK Weight): A cotton/acrylic blend (approx. 55% cotton, 45% acrylic). You will need small amounts of Grey, White, Light Green, and Orange.
- Detail Yarn (Embroidery Thread or Mercerized Cotton): Small amounts of Black, White, and Pink for the facial features.
- Crochet Hooks: 2.0 mm (for the main body) and 2.5 mm (specifically for the top of the overalls).
- Stuffing: High-quality polyester fiberfill.
- Notions: Two small buttons (approx. 0.3 inches / 8mm) for the overalls, tapestry needle, scissors, and stitch markers.
- Assembly Tools: Tweezers or a chopstick can be very helpful for stuffing small areas.
Abbreviations (US Terms)
- ch: chain
- sc: single crochet
- sl st: slip stitch
- inc: increase (2 sc in the same stitch)
- dec: decrease (sc 2 together)
- (….)*6: repeat the instructions inside the parentheses 6 times
- st: stitch
Step-by-Step Instructions
The Head
Using the 2.0 mm hook and grey yarn. This is worked in a continuous spiral; do not join rounds with a slip stitch unless specified.
- Round 1: Ch 2, work 6 sc into the second ch from the hook. (6)
- Round 2: Inc in every stitch around. (12)
- Round 3: (1 sc, inc)*6. (18)
- Round 4: (2 sc, inc)*6. (24)
- Round 5: (3 sc, inc)*6. (30)
- Round 6: (4 sc, inc)*6. (36)
- Round 7: (5 sc, inc)*6. (42)
- Rounds 8–17: Sc in each stitch around for 10 rounds. (42)
- Round 18: (5 sc, dec)*6. (36)
- Round 19: (4 sc, dec)*6. (30)
- Round 20: (3 sc, dec)*6. (24)
- Round 21: (2 sc, dec)*6. (18)
- Round 22: (1 sc, dec)*6. (12)
Stuff the head firmly with fiberfill using your tweezers to reach the top. Finish the head by performing 6 decreases in a row (6). Cut the yarn, leave a small tail, and use your tapestry needle to weave the end through the remaining 6 stitches and pull tight to close. Hide the tail inside the head.
Facial Details
The Eyes & Nose
Using the thin black cotton yarn, embroider the eyes. Start from the neck area and come up through the face (around rounds 10 and 11). Create small vertical stitches for the eyes. You can add a tiny white stitch on top of the black for a “sparkle” effect. Repeat the process with pink yarn for the nose and a small straight line for the mouth.
The Cheeks
Using pink yarn and the 2.0 mm hook:
Round 1: Ch 2, work 6 sc into the second ch from the hook. (6)
Round 2: Inc in every stitch around. (12)
Fasten off, leaving a long tail for sewing. Make two cheeks and sew them to the sides of the head.
The Ears
Make one grey ear and one white ear. Do not stuff the ears.
- Round 1: Ch 2, work 6 sc into the second ch from the hook. (6)
- Round 2: Inc, 2 sc, inc, 2 sc. (8)
- Round 3: 1 sc, inc, 3 sc, inc, 2 sc. (10)
- Round 4: 2 sc, inc, 4 sc, inc, 2 sc. (12)
- Round 5: 3 sc, inc, 5 sc, inc, 2 sc. (14)
- Round 6: 4 sc, inc, 6 sc, inc, 2 sc. (16)
- Round 7: 5 sc, inc, 7 sc, inc, 2 sc. (18)
- Round 8: 6 sc, inc, 8 sc, inc, 2 sc. (20)
- Rounds 9–17: Sc in each stitch around for 9 rounds. (20)
- Round 18: 7 sc, dec, 8 sc, dec, 1 sc. (18)
- Round 19: 8 sc. (8)
Fold the ear in half and sc across the bottom edge, joining the two sides together (each sc should pick up about 4 loops). Fasten off, leaving a tail for sewing.
The Body & Legs
Using grey yarn for the start:
- Round 1: Ch 2, work 6 sc into the second ch from the hook. (6)
- Round 2: Inc in every stitch around. (12)
- Round 3: (1 sc, inc)*6. (18)
- Rounds 4–5: Sc in each stitch around. (18)
- Round 6: 2 sc, inc, 5 sc, inc, 5 sc, inc, 3 sc. (21)
Sew the neck to the head. Now, switch to Light Green yarn (for the shirt):
- Round 7: (6 sc, inc)*3. (24)
- Round 8: 3 sc, inc, 7 sc, inc, 7 sc, inc, 4 sc. (27)
- Round 9: (8 sc, inc)*3. (30)
- Round 10: 4 sc, inc, 9 sc, inc, 9 sc, inc, 5 sc. (33)
- Round 11: (10 sc, inc)*3. (36)
- Rounds 12–14: Sc in each stitch around. (36)
Switch to Orange yarn (for the overalls):
- Rounds 15–21: Sc in each stitch around for 7 rounds. (36)
Creating the Legs
To create the legs, we divide the body in half. You will work the first leg by joining two sides of the body with a decrease.
Leg One
- Round 1: Dec (joining the sides), 7 sc, dec, 7 sc. (16)
- Round 2: Sc in each stitch around. (16)
- Round 3: Dec, 6 sc, dec, 6 sc. (14)
- Rounds 4–9: Sc in each stitch around for 6 rounds. (14)
Leave this leg for now and move to the second leg.
Leg Two
- Round 1: Dec, 7 sc, dec, 7 sc. (16)
- Round 2: Sc in each stitch around. (16)
Using a tapestry needle, sew a few stitches between the legs to close any gaps. Continue the leg pattern:
Round 3: Dec, 6 sc, dec, 6 sc. (14)
Rounds 4–9: Sc in each stitch around. (14)
Now work both legs together from Round 10 to 14 (14 sc each). Stuff the legs and body firmly.
Round 13: (1 sc, dec, dec, dec)*2. (8)
Round 14: Dec twice. (6)
Close the legs using the same method used for the head.
The Arms
Using grey yarn:
- Round 1: Ch 2, work 6 sc into the second ch from the hook. (6)
- Round 2: Inc in every stitch around. (12)
- Rounds 3–5: Sc in each stitch around. (12)
- Round 6: Dec, 1 sc, dec, 4 sc. Switch to Light Green yarn and work 3 more sc. (10)
- Round 7: 1 sc, dec, 7 sc. (9)
- Rounds 8–15: Sc in each stitch around. (9)
Left Arm: Round 16: 9 sc. Round 17: 3 sc. Fasten off.
Right Arm: Round 16: 8 sc. Fasten off.
Stuff the arms 2/3 of the way and sew them to the body.
Finishing Touches
Overalls Detail
Using the 2.5 mm hook and orange yarn, we will create the top of the overalls by working directly into the first row of the orange section of the body.
Row 1: Ch 1, work 7 sc across the chest.
Rows 2–5: Ch 1, turn, work 7 sc.
Row 6: 7 sl st across. Fasten off.
The Straps
Attach orange yarn to the back of the bunny.
Step: Ch 1, 1 sc into the body. Turn. Ch 1, 1 sc. Repeat this back-and-forth process for about 11 rows. Fasten off and sew the strap to the top of the overalls. Repeat for the second strap. Finally, sew the two buttons to the front of the overalls.
The Tail
Using grey yarn:
Round 1: Ch 2, work 6 sc into second ch. (6)
Round 2: Inc in every stitch. (12)
Round 3: Sc in each stitch around. (12)
Fasten off and sew to the back. Stuff slightly while sewing.
The Carrot Accessory
The Root (Orange):
Round 1: Ch 2, 6 sc in 2nd ch. (6)
Round 2: Inc in every st. (12)
Round 3: (1 sc, inc)*6. (18)
Rounds 4–15: Sc in each st. (18)
Round 16: 1 sc, dec, 4 sc, dec, 4 sc, dec, 3 sc. (15)
Rounds 17–18: Sc in each st. (15)
Round 19: (3 sc, dec)*3. (12)
Rounds 20–21: Sc in each st. (12)
Round 22: (dec, 2 sc)*3. (9)
Rounds 23–25: Sc in each st. (9)
Stuff the root.
Round 26: (1 sc, dec)*3. (6)
Rounds 27–29: Sc in each st. (6)
Round 30: Dec twice and close.
Use brown yarn to embroider small horizontal stitches along the root for a realistic look.
The Leaves (Green):
Ch 13. Starting in the 2nd ch, work 5 sc down the chain. In the same st, ch 6 and work 5 sc back down the new chain. Sl st to join the leaf to the stem. Work 6 sc down the main stem.
Ch 1, turn, and work sc around the stem to thicken it. Repeat the leaf process to create a total of 6-7 leaves. Curl the finished greens into a bunch and sew them to the top of the carrot.
Tips for Success
- Tight Tension: Since this is amigurumi, keep your stitches tight so the stuffing doesn’t show through.
- Stitch Markers: Always use a stitch marker at the end of your rounds, as it’s easy to lose count in spiral crochet.
- Stuffing: Stuff the limbs before sewing them to the body to ensure they are plump and symmetrical.
- Customization: Feel free to change the colors! A blue or pink pair of overalls would look just as cute.