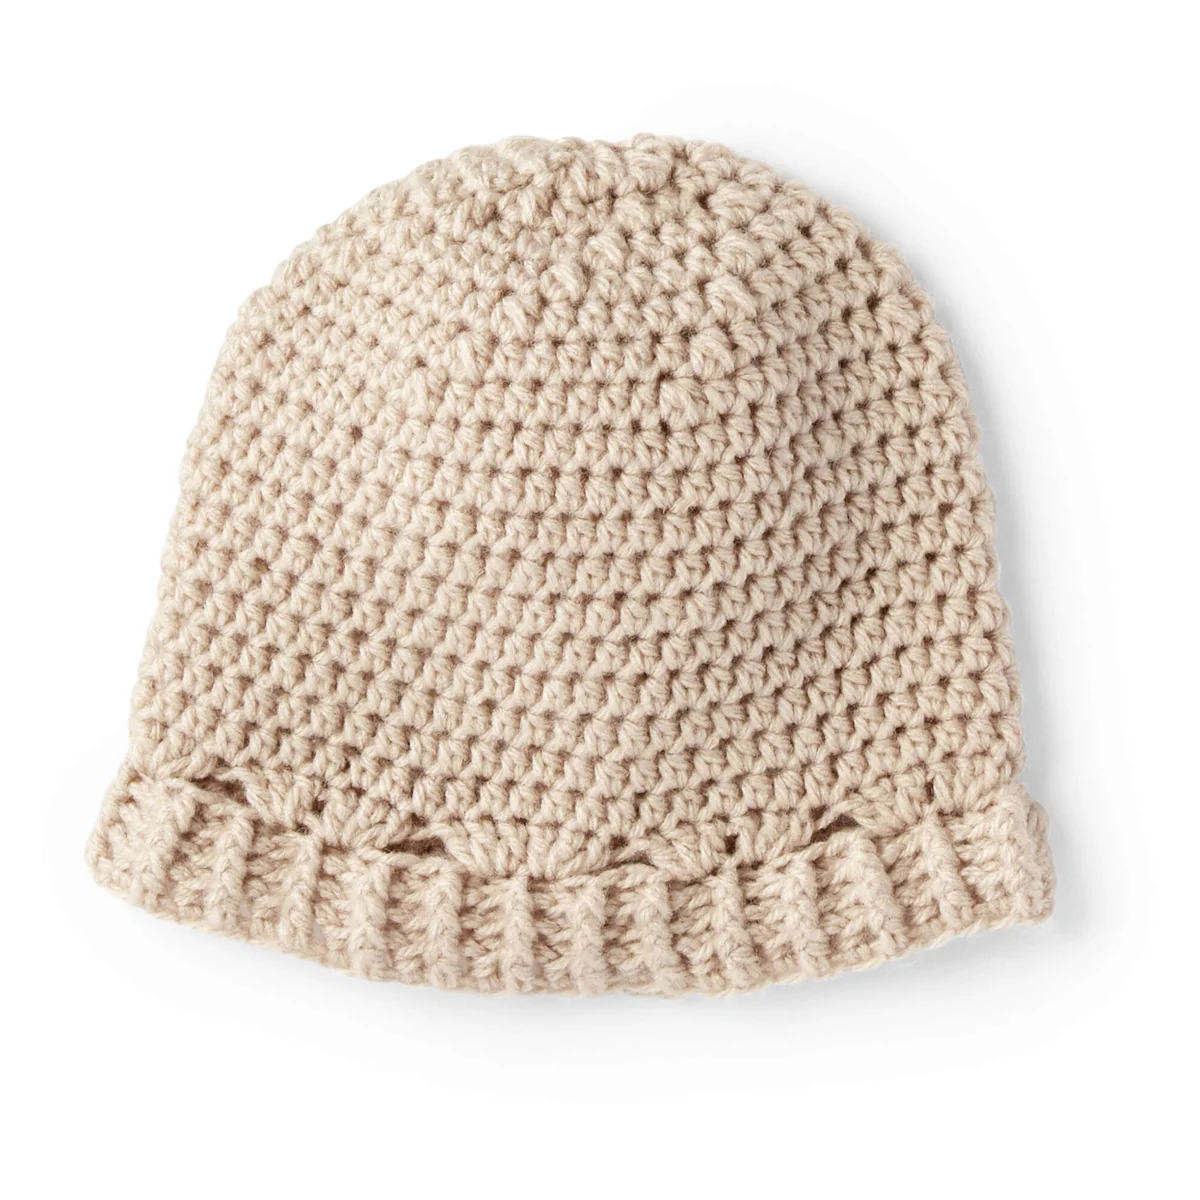
There is nothing quite as precious as a newborn baby, and nothing as cozy as a handmade crochet hat to keep them warm. Whether you are preparing for your own little one, making a gift for a baby shower, or crafting for a charity project, a classic baby beanie is a must-have in every crochet enthusiast’s repertoire.
This pattern is designed to be accessible for beginners while producing a professional, high-quality result. We have included sizing for everything from preemies to toddlers, ensuring you can grow with the baby! This hat features a lovely textured brim and a comfortable fit that stays put on a baby’s delicate head. Let’s dive into the details and get stitching.
Materials & Abbreviations
To get started, gather your supplies. For baby items, always choose a yarn that is soft, breathable, and machine-washable.
Materials Needed
- Yarn: A lightweight (Category 3) baby yarn. You will only need one ball for a single hat, but a full ball can make many hats depending on the size.
- Crochet Hook: US Size G/6 (4 mm) or a size that allows you to maintain the gauge.
- Other Tools: Yarn needle for weaving in ends and a pair of scissors.
Gauge
To ensure the hat fits correctly, your gauge should be 16 single crochet stitches and 19 rows = 4 inches. If your stitches are too loose, try a smaller hook; if they are too tight, try a larger one.
Abbreviations (US Terms)
- Beg: Beginning
- Ch: Chain
- Dc: Double crochet
- Hdc: Half double crochet
- Hdc2tog: Half double crochet two together (decrease)
- Hdcbp: Half double crochet in the back post
- Hdcfp: Half double crochet in the front post
- Rem: Remaining
- Rep: Repeat
- Rnd: Round
- Sc: Single crochet
- Sl st: Slip stitch
- St: Stitch
- Yoh: Yarn over hook
Step-by-Step Instructions
This hat is worked in the round from the bottom up. Please choose the number associated with your desired size throughout the pattern.
Sizing Guide (Head Circumference):
Preemie: 9.75″ – 10.5″ | Newborn: 11″ – 12″ | 3-6 Months: 13″ – 14″ | 6-12 Months: 15″ – 16″ | 18-24 Months: 17″ – 18″
Creating the Foundation and Brim
Starting Chain: Chain 36 (Preemie), 42 (Newborn), 54 (3-6 mos), 60 (6-12 mos), or 66 (18-24 mos). Join with a slip stitch to the first chain, making sure the chain does not twist.
Round 1: Chain 2 (this does not count as a stitch). Work 1 hdc in each chain around. Join with a slip stitch to the first hdc.
Rounds 2 through 4: Chain 2. *Work 1 hdcfp around the next stitch, then 1 hdcbp around the following stitch. Repeat from * around. Join with a slip stitch to the first hdcfp. This creates a beautiful, stretchy ribbed effect for the brim.
Round 5: Chain 1. Skip the next 2 stitches. *(Work 3 dc into the next stitch) twice. Skip the next 4 stitches. Repeat from * until 4 stitches remain. (Work 3 dc into the next stitch) twice. Skip the last 2 stitches. Join with a slip stitch to the first dc.
Building the Body of the Hat
Round 6: Chain 2. Work 1 hdc in each dc around. Join with a slip stitch to the first hdc.
Round 7: Chain 2. Work 1 hdc in each hdc around. Join with a slip stitch to the first hdc.
The Body Stretch: Repeat Round 7 until the hat measures from the beginning to the following lengths: 3″ (Preemie), 3.5″ (Newborn), 4.5″ (3-6 mos), 5.5″ (6-12 mos), or 6.5″ (18-24 mos).
Shaping the Crown
Now we will decrease the number of stitches to close the top of the hat. Each round will involve a series of hdc stitches followed by a decrease (hdc2tog).
Crown Round 1: Chain 2. *Work 1 hdc in each of the next 4 (5-7-8-9) hdc. Hdc2tog. Repeat from * around. Join with a slip stitch. You should have 30 (36-48-54-60) hdc.
Crown Round 2: Chain 2. *Work 1 hdc in each of the next 3 (4-6-7-8) hdc. Hdc2tog. Repeat from * around. Join with a slip stitch. You should have 24 (30-42-48-54) hdc.
Crown Round 3: Chain 2. *Work 1 hdc in each of the next 2 (3-5-6-7) hdc. Hdc2tog. Repeat from * around. Join with a slip stitch. You should have 18 (24-36-42-48) hdc.
Crown Round 4: Chain 2. *Work 1 hdc in each of the next 1 (2-4-5-6) hdc. Hdc2tog. Repeat from * around. Join with a slip stitch. You should have 12 (18-30-36-42) hdc.
Final Size-Specific Decreases
Depending on the size you are making, you may need a few more decrease rounds to close the top:
- Newborn, 3-6, 6-12, and 18-24 Months: Chain 2. *Work 1 hdc in each of the next 1 (3-4-5) hdc. Hdc2tog. Repeat from * around. Join with a slip stitch.
- 3-6, 6-12, and 18-24 Months ONLY: Chain 2. *Work 1 hdc in each of the next 2 (3-4) hdc. Hdc2tog. Repeat from * around. Join with a slip stitch. Follow this with another round: Chain 2. *Work 1 hdc in each of the next 1 (2-3) hdc. Hdc2tog. Repeat from * around. Join with a slip stitch.
- 6-12 and 18-24 Months ONLY: Chain 2. *Work 1 hdc in each of the next 1 (2) hdc. Hdc2tog. Repeat from * around. Join with a slip stitch.
- 18-24 Months ONLY: Chain 2. *Work 1 hdc in the next hdc. Hdc2tog. Repeat from * around. Join with a slip stitch. You should end with 12 hdc.
Finishing
Once you have completed the final round for your specific size, it is time to close the hat.
Fasten off the yarn, leaving a long tail (about 10-12 inches). Using your yarn needle, weave the tail through the remaining stitches at the top of the crown. Pull the end tightly to close the hole completely and secure it with a few small stitches. Weave in any remaining ends and give the hat a gentle block or steam to set the shape.
Tips for Success
Mastering Post Stitches
If you are new to front-post (hdcfp) and back-post (hdcbp) stitches, remember that you aren’t inserting your hook into the top “V” of the stitch. Instead, you are wrapping the hook around the vertical “post” of the stitch from the previous row. For the front post, go around the post from front to back; for the back post, go from back to front.
Choosing the Right Yarn
Since this is for a baby, look for yarns labeled “Baby” or those made from high-quality cotton or acrylic blends. Avoid yarns with “fuzzy” textures or loose fibers that could be inhaled by a newborn or get caught in their tiny fingers.
Adjusting the Fit
Crochet tension varies from person to person. If you find the hat is a bit too tight, you can easily go up a hook size (to a 4.5mm) to create a looser fabric. If the hat is too loose, try a 3.75mm hook.