How to Crochet a Tiny Amigurumi Sloth: An Easy Step-by-Step Tutorial
Are you looking for your next adorable crochet project? There is nothing quite as charming as a tiny, sleepy sloth to brighten up your desk, bookshelf, or nursery. This little amigurumi sloth is the perfect project for crocheters who want to create something quick, cute, and incredibly satisfying. Whether you want a fuzzy, textured little friend or a smooth, sleek version, this pattern is versatile enough to accommodate both!
In this tutorial, we will walk through every single step of creating your own miniature sloth. This pattern is designed to be beginner-friendly, focusing on basic stitches while teaching you how to shape small, realistic amigurumi pieces. By the end of this guide, you will have a palm-sized companion that is almost too cute to handle.
Materials & Abbreviations
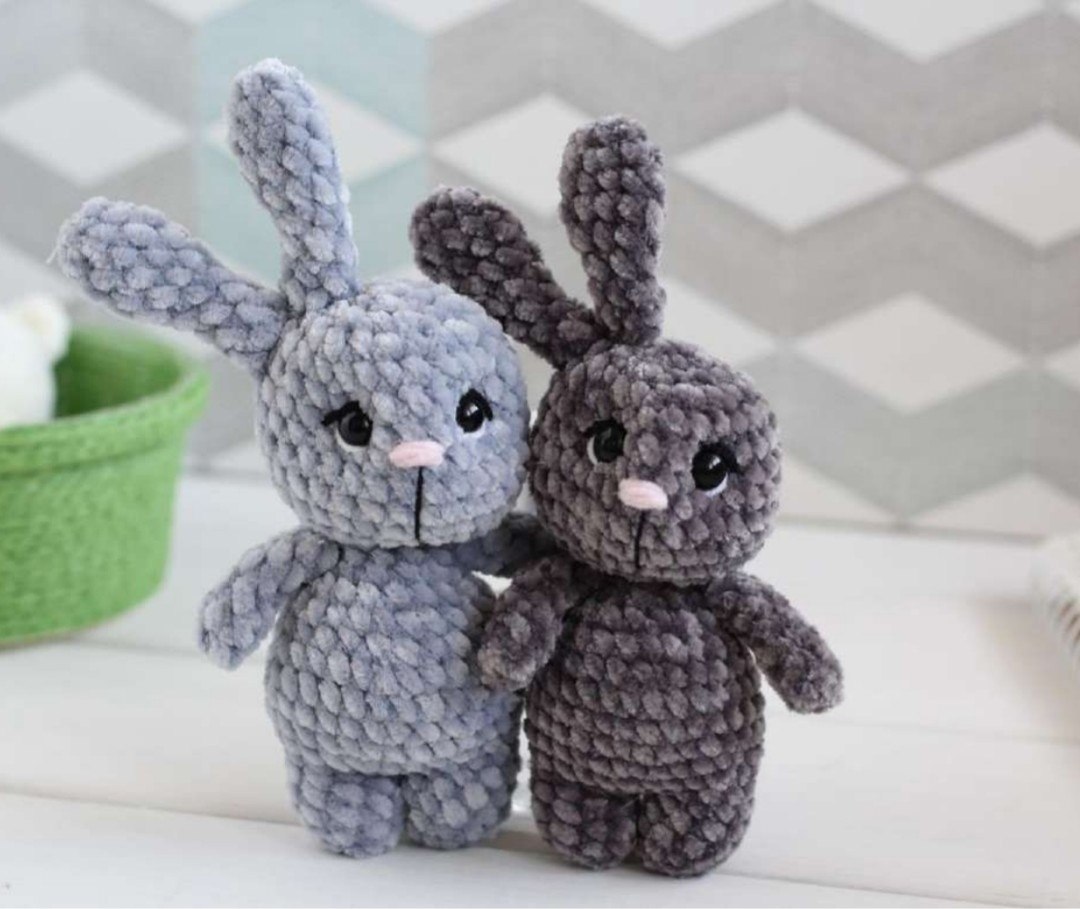
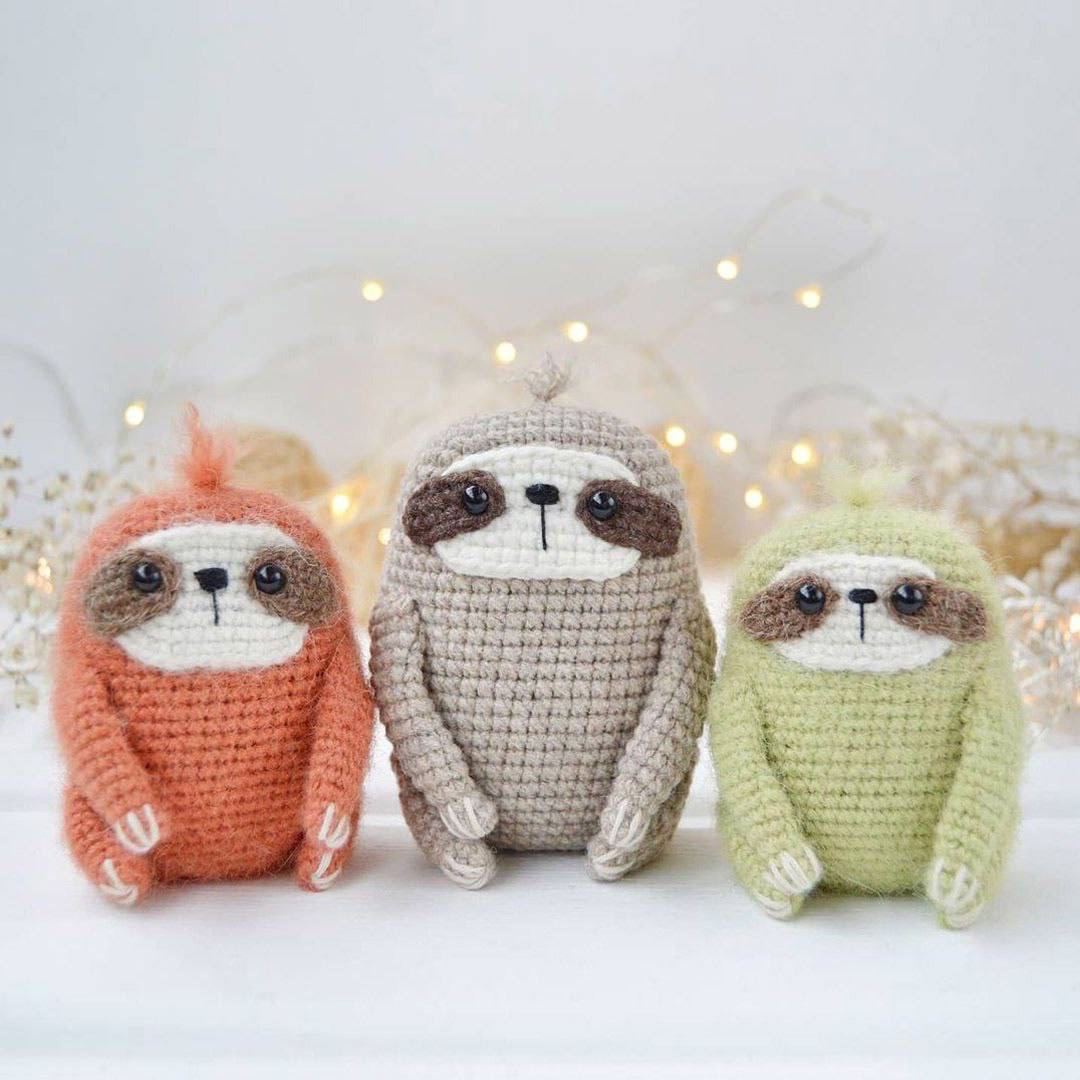
Before we pick up the hook, let’s make sure you have everything you need. To achieve the different looks shown in our inspiration photos, you can choose between “fluffy” yarn or “smooth” yarn.
Required Supplies
- Yarn: You will need three different colors.
- For a Fluffy Sloth: Use a fuzzy yarn like Drops Nord or Drops Alpaca.
- For a Smooth Sloth: Use a standard cotton or cotton-blend yarn like YarnArt Jeans, Drops Safran, or YarnArt Ideal.
- Crochet Hook: Use a hook appropriate for your yarn weight. For the fluffy yarns, a 1.5mm or 1.75mm hook works best. For smooth cotton, you may want to stay within this range to keep your stitches tight.
- Safety Eyes: 5mm black safety eyes.
- Embroidery Thread: Black thread for the nose and a creamy/milky white thread for the tiny claws.
- Stuffing: Polyfill or any standard fiberfill stuffing.
- Tools: A large-eye tapestry needle for sewing, a standard sewing needle, and a pair of tweezers or a small stick to help push stuffing into tight corners.
- Optional: A piece of Velcro tape. This is a “pro tip” for working with fluffy yarn—you can use the hook side of the Velcro to brush out the yarn and make your sloth extra fuzzy!
US Crochet Abbreviations
This pattern is written using standard US terminology. Please ensure you are using US terms to avoid confusion with UK sizing.
- MR: Magic Ring
- ch: Chain
- sc: Single crochet
- hdc: Half double crochet
- inc: Increase (2 stitches in one stitch)
- dec: Decrease (2 stitches worked together as one)
- sl st: Slip stitch
- (n): The number of stitches in the current round
- Note: All pieces are worked in a continuous spiral unless otherwise stated.
Step-by-Step Instructions
The Face
The face is an oval shape that gives our sloth its signature wide, adorable expression. We will start by working in one direction and then turning to work along the other side of the chain to create the oval base.
Round 1: Start with a chain of 9. Starting from the second chain from your hook, work: 1 inc, 6 sc, 3 sc in the very last chain. Turn your work. Now, working along the other side of the chain you just created, work 7 sc (18).
Round 2: 2 inc, 6 sc, 3 inc, 6 sc, 1 inc (24).
Round 3: (1 sc, 1 inc) repeat 2 times, 6 sc, (1 sc, 1 inc) repeat 3 times, 7 sc, 1 inc, sl st to close (30).
Fasten off, leaving a long tail for sewing the face to the body.
The Eye Patches
To give the sloth its character, we need those dark, iconic patches around the eyes. You will need to make two identical pieces in a dark brown color.
Instruction: Start with a chain of 7. Starting from the second chain from your hook, work: 1 inc, 4 sc, 3 sc in the very last chain. Turn your work. Working along the other side of the chain, work 5 sc (14).
Fasten off both pieces, leaving a long tail for sewing.
The Arms
The arms are simple, elongated pieces. It is very important to note that these are not stuffed. They should remain flat to look like little limbs.
Round 1: 6 sc in a MR (6).
Rounds 2-3: 6 sc (6).
Round 4: (1 sc, 1 inc) repeat 3 times (9).
Rounds 5-13: 9 sc (9).
Round 14: 8 sc (8).
Fasten off. To assemble, fold the piece in half and work 4 sc through both layers together to close the arm. Leave a long tail for sewing.
The Legs
Similar to the arms, the legs are not stuffed. They are slightly sturdier to help the sloth sit upright.
Round 1: 6 sc in a MR (6).
Round 2: 6 sc (6).
Round 3: (1 sc, 1 inc) repeat 3 times (9).
Rounds 4-5: 9 sc (9).
Round 6: (2 sc, 1 inc) repeat 3 times (12).
Rounds 7-9: 12 sc (12).
Round 10: 9 sc (9).
Fasten off. Fold the piece in half and work 6 sc through both layers together to close the leg. Leave a long tail for sewing.
The Body
The body is the largest part of the sloth and provides the main structure. Follow these rounds carefully to ensure the shape remains smooth.
Round 1: Chain 9. Starting from the 2nd chain from hook: 1 inc, 6 sc, 3 sc in last chain. Turn, work other side: 7 sc (18).
Round 2: 2 inc, 6 sc, 3 inc, 6 sc, 1 inc (24).
Round 3: (1 sc, 1 inc) x 2, 6 sc, (1 sc, 1 inc) x 3, 7 sc, 1 inc (30).
Round 4: (2 sc, 1 inc) x 2, 6 sc, (2 sc, 1 inc) x 3, 8 sc, 1 inc (36).
Round 5: (3 sc, 1 inc) x 2, 6 sc, (3 sc, 1 inc) x 3, 9 sc, 1 inc (42).
Rounds 6-7: 42 sc (2 rounds).
Round 8: 4 sc, 1 inc, 20 sc, 1 inc, 16 sc (44).
Rounds 9-10: 44 sc (2 rounds).
Round 11: 5 sc, 1 inc, 21 sc, 1 inc, 16 sc (46).
Round 12: 46 sc (46).
Round 13: 6 sc, 1 inc, 22 sc, 1 inc, 16 sc (48).
Round 14: 48 sc (48).
Round 15: 7 sc, 1 inc, 23 sc, 1 inc, 16 sc (50).
Rounds 16-20: 50 sc (5 rounds).
Round 21: 7 sc, 1 dec, 23 sc, 1 dec, 16 sc (48).
Rounds 22-23: 48 sc (2 rounds).
Round 24: 7 sc, 1 dec, 22 sc, 1 dec, 15 sc (46).
Round 25: 46 sc (46).
Round 26: 2 sc, (1 dec, 3 sc) x 3, 8 sc, (1 dec, 3 sc) x 3, 6 sc (40).
Rounds 27-28: 40 sc (2 rounds).
Round 29: (3 sc, 1 dec) x 8 (32).
Round 30: (2 sc, 1 dec) x 8 (24).
Round 31: (1 sc, 1 dec) x 8 (16).
Stuff the body firmly, but try not to make it too perfectly round; a slightly organic shape looks best.
Round 32: 8 dec (8).
Add a little more stuffing if needed. Fasten off, leaving a long tail. Use your tapestry needle to weave the tail through the remaining stitches to close the hole. Ensure the bottom of the sloth sits flat.
Finishing
Assembly & Decoration
Now comes the magic part—bringing your sloth to life! The order of assembly is important for a professional look.
- The Face: Sew the white face piece onto the front of the body.
- The Patches: Sew the dark eye patches onto the face. For a cute, slightly “wonky” look, sew them on at a very slight diagonal.
- The Eyes: Secure your 5mm safety eyes onto the dark eye patches.
- The Nose: Using your black embroidery thread, stitch a small nose in the center between the eyes, keeping it roughly level with the eyes.
- Limbs: Sew the arms and legs onto the body.
- Claws: Using your creamy white thread, embroider three tiny little lines (claws) onto each of the four paws.
The Hair Tuft
To add that final bit of personality, let’s give your sloth a little hair sprout on top!
Take a small piece of yarn and, using your crochet hook, pull it through the first round of the head. Create a small loop and pull both ends of the yarn through that loop. Trim the ends to your desired length and use your fingers or a small brush to fluff the yarn out.
Tips
To ensure your sloth turns out perfectly, keep these tips in mind:
- Tension is Key: For amigurumi, you want your tension to be tight so that the stuffing doesn’t peek through the stitches.
- Size Variations: If you use fluffy yarn (like Alpaca), your finished sloth will be approximately 2.75 inches tall. If you use smooth cotton, it will be slightly larger, around 3.15 inches.
- Brushing: If you chose the fluffy yarn option, don’t forget to use a Velcro strip to brush the finished toy. This makes it look incredibly soft and professional!
- Placement: When sewing the eyes and patches, take a moment to “step back” and look at the sloth. Even a tiny shift in placement can change the expression from “surprised” to “sleepy.”