Adorable Amigurumi Crochet Cat Pattern: A Beginner-Friendly Tutorial
If you are looking for your next cozy crochet project, look no further! This adorable amigurumi kitten is the perfect addition to your handmade collection. Whether you want to create a tiny companion for your desk or a squishy, plush friend for a child, this pattern is designed to be versatile and easy to follow.
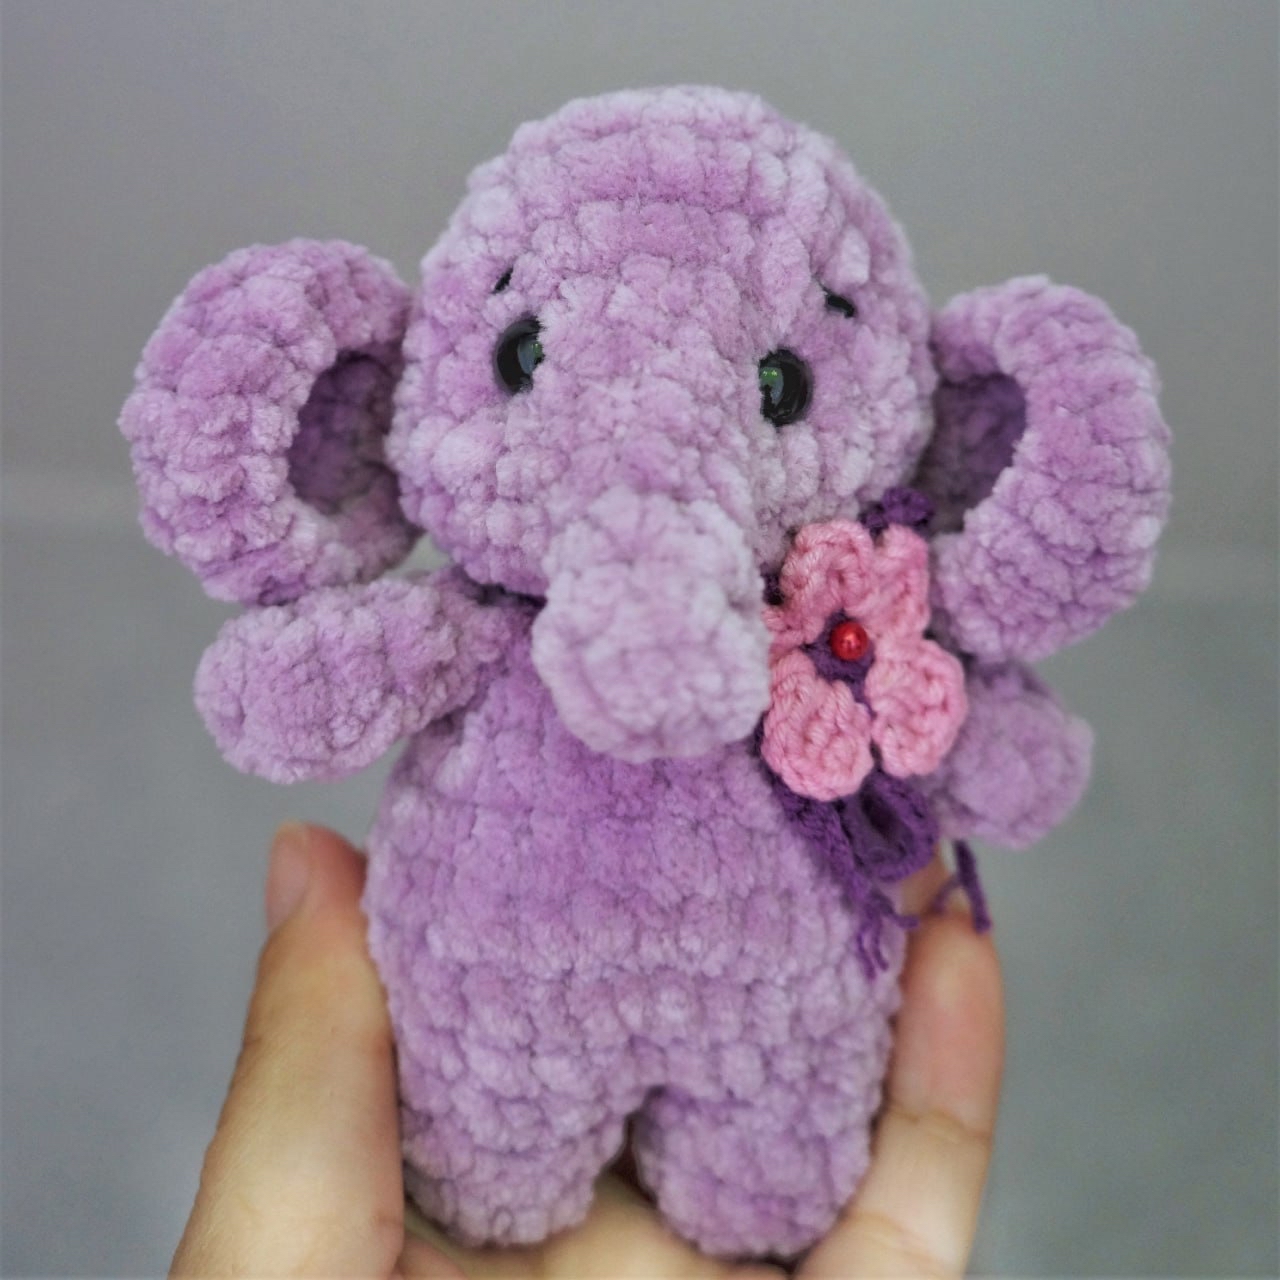
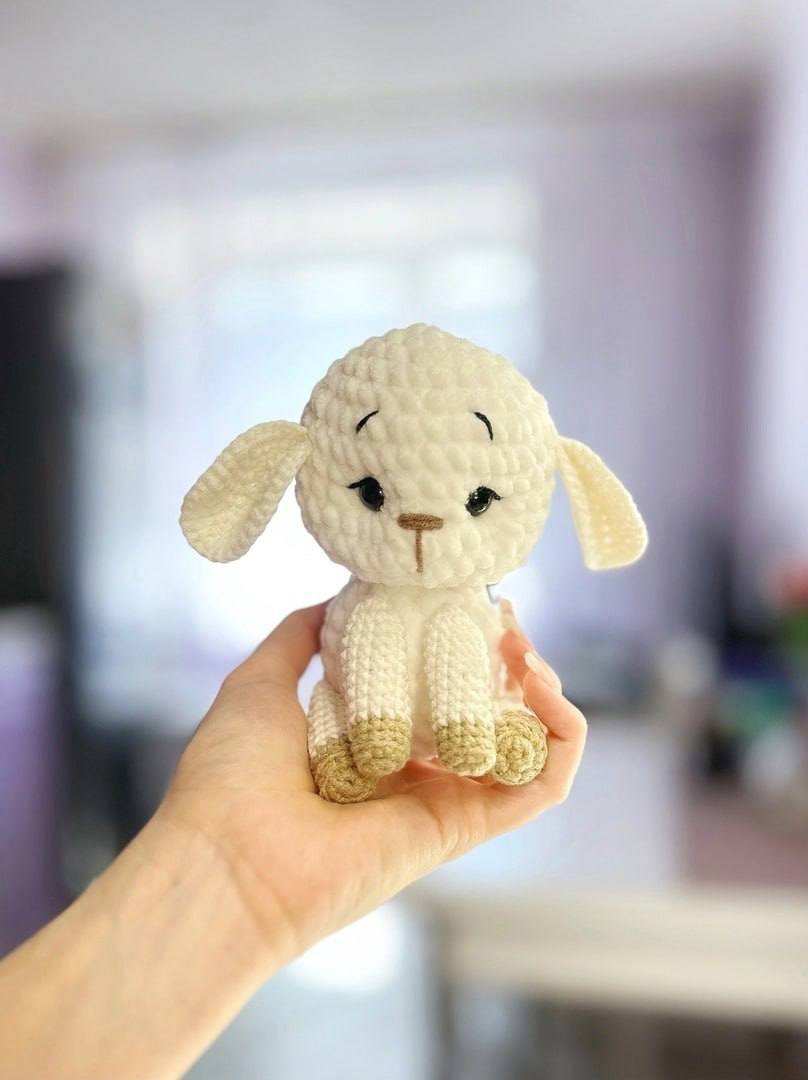
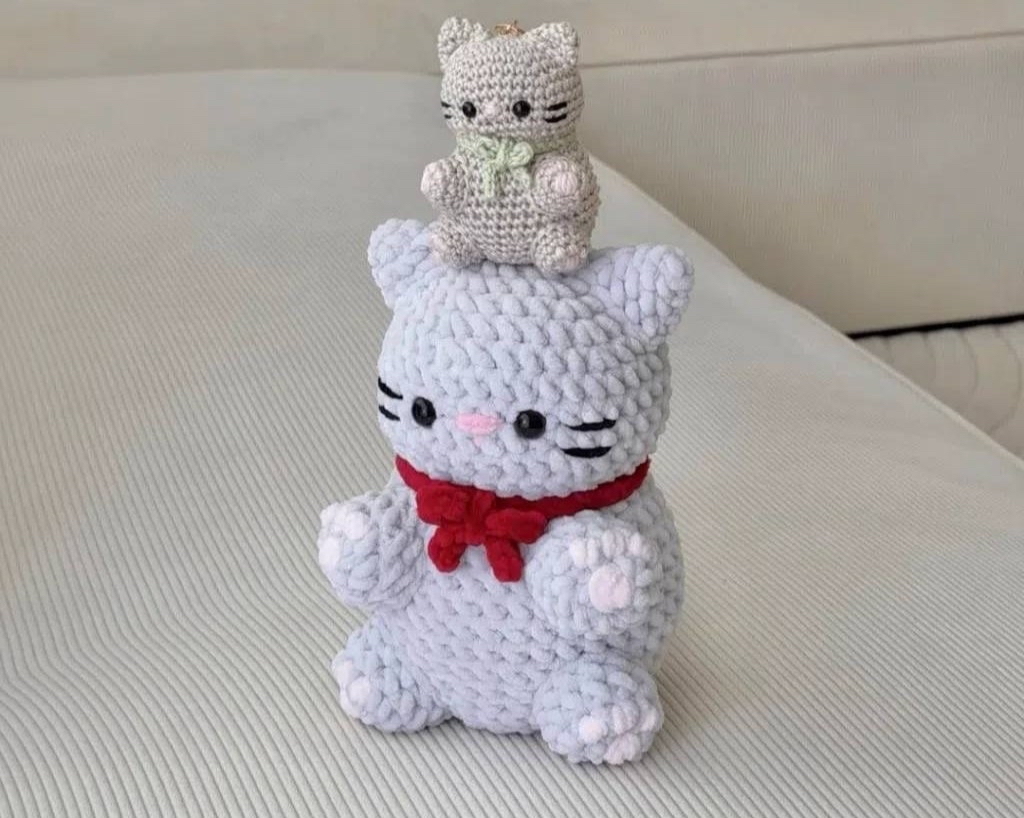
What makes this pattern particularly special is its adaptability. You can use thick, velvet-style plush yarn to create a large, huggable version (as seen in our inspiration photos), or you can use standard cotton or acrylic yarn with a smaller hook to create a delicate keychain charm. This tutorial is written with beginners in mind, guiding you through every stitch to ensure your little kitty turns out just right.
Introduction
Amigurumi, the Japanese art of knitting or crocheting small, stuffed yarn creatures, is a wonderful way to practice tension and shaping. This specific kitten pattern uses a seamless construction for the head and body, making it a great way to learn how to transition from a rounded head to a wider body without having to sew two large pieces together. Once you master the basics of increasing and decreasing, you will find that this pattern flows beautifully, resulting in a charming, chubby little kitty with expressive features.
Materials & Abbreviations
Before we dive into the stitches, let’s make sure you have everything you need on your crochet hook!
Materials Needed
- Yarn: Any weight yarn of your choice. For a large, squishy look, we recommend chenille or plush yarn. For a smaller, more detailed version, use a standard worsted or DK weight yarn.
- Crochet Hook: Choose a hook appropriate for your yarn weight. For plush yarn, a 5mm (H) hook works beautifully. For thinner, standard yarn, a 2.5mm (C) hook is ideal.
- Safety Eyes: Use eyes that match the scale of your yarn. For plush yarn, larger eyes are better.
- Stuffing: Polyfill or any soft polyester fiberfill to give your kitten its shape.
- Sewing Needle: A large-eye tapestry needle for sewing the parts together and embroidery.
- Stitch Marker: Essential for keeping track of the beginning of your rounds.
- Scissors: For neat yarn ends.
Abbreviations (US Terms)
Please ensure you are using US crochet terminology to follow this pattern correctly:
- MR: Magic Ring (or Magic Circle)
- ch: Chain
- sc: Single crochet
- inc: Increase (2 single crochets in the same stitch)
- dec: Decrease (sc two stitches together)
- sl st: Slip stitch
- FLO: Front Loop Only
Step-by-Step Instructions
Grab your yarn and hook, and let’s get started! Remember to use a stitch marker at the start of every round to avoid losing your place.
Head & Body (Worked in one piece)
This section creates the entire core of your kitten. We will start at the top of the head and work our way down to the base of the body.
The Foundation: Start by making a Magic Ring (MR). We will work into the ring from the 2nd chain from the hook.
- R1: 3 sc, 3 sc in the very last stitch, 2 sc, inc (10)
- R2: (1 sc, inc) repeat 5 times (15)
- R3: (2 sc, inc) repeat 5 times (20)
- R4: (3 sc, inc) repeat 5 times (25)
- R5: (4 sc, inc) repeat 5 times (30)
- R6: (5 sc, inc) repeat 5 times (35)
- R7–R10: sc in each stitch around (35) — work this for 4 rounds total.
Shaping the Face: Before we continue to the body, it is time to add the personality!
- Eye Placement: Insert your safety eyes between Rounds 8 and 9. Make sure they are spaced approximately 4 stitches apart to give your kitten a cute, wide-eyed look.
- Stuffing: Begin stuffing the head firmly with your fiberfill.
Transitioning to the Body: To create the “neck” and give the body more volume, we will work into the front loops only for the next round.
- R11: (5 sc, dec) repeat 5 times (30)
- R12: (4 sc, dec) repeat 5 times (25)
- R13: (3 sc, dec) repeat 5 times (20)
- R14 (FLO): Working in the Front Loops Only, (1 sc, inc) repeat 10 times (30)
- R15: (5 sc, inc) repeat 5 times (35)
- R16–R20: sc in each stitch around (35) — work this for 5 rounds total.
- R21: (5 sc, dec) repeat 5 times (30)
- R22–R23: sc in each stitch around (30) — work this for 2 rounds total.
- R24: (4 sc, dec) repeat 5 times (25)
- R25: (3 sc, dec) repeat 5 times (20)
Finalizing the Body: Continue to stuff the body firmly, ensuring it matches the firmness of the head.
- R26: (2 sc, dec) repeat 5 times (15)
- R27: (1 sc, dec) repeat 5 times (10)
Fasten off, leaving a long tail for sewing. Thread the tail through the remaining stitches to close the hole completely.
The Paws (Make 4)
These small paws add a lovely touch of detail to your kitten’s underside.
- R1: 8 sc in a Magic Ring (8)
- R2: (1 sc, inc) repeat 4 times (12)
- R3–R4: sc in each stitch around (12) — work for 2 rounds.
Fasten off, leaving a long tail for sewing. Stuff the paws very lightly before closing.
The Ears (Make 2)
Pointy ears help define that classic feline silhouette.
- R1: 3 sc in a Magic Ring (3)
- R2: inc in each stitch (6)
- R3: (1 sc, inc) repeat 3 times (9)
- R4: (2 sc, inc) repeat 3 times (12)
Fasten off, leaving a long tail for sewing. Do not stuff the ears; keep them flat.
The Tail
A little tail is essential for a complete look!
- R1: 4 sc in a Magic Ring (4)
- R2–R8: sc in each stitch around (4) — work for 7 rounds total.
Fasten off, leaving a long tail for sewing. Note: Do not stuff the tail; keep it thin and flexible.
The Collar
To add a pop of color, we will create a simple ribbon collar.
- Foundation: Chain 61.
- R1: Starting from the 2nd chain from the hook, work 60 slip stitches (sl st) into the back loops of the chain.
Leave a long tail at both ends so you can easily tie the collar around the kitten’s neck and finish it with a cute bow.
Finishing
Now comes the most rewarding part—bringing your kitten to life through assembly!
Assembly Steps
- Attach the Ears: Use your tapestry needle and the long tails from the ears to sew them onto the top of the head.
- Attach the Paws: Sew the four paws to the bottom of the body. Position them so the kitten looks like it is sitting comfortably.
- Attach the Tail: Sew the tail to the back of the body.
- Add the Collar: Wrap your slip-stitch chain around the neck area where the head meets the body. Secure it and tie it into a beautiful bow at the front.
Final Details (Embroidery)
To give your kitten its final facial expression and extra charm, use a contrasting color of yarn (like pink or black) to embroider the following:
- Nose: A small pink triangle or oval between the eyes.
- Whiskers: A few fine black lines on either side of the nose.
- Paw Pads: Small pink stitches on the front of the paws to represent toe beans.
- Tension is Key: Try to keep your stitches consistent. If your tension is too loose, the stuffing might peek through the holes. If it is too tight, it may be difficult to insert your hook.
- Use Stitch Markers: In amigurumi, you are almost always working in continuous spirals. It is very easy to lose your place without a marker!
- Stuffing Technique: When stuffing, push the fiberfill into the corners and crevices of the piece. This prevents “lumps” and ensures a smooth, professional finish.
- The Magic Ring: If you struggle with the Magic Ring, don’t be discouraged! It is one of the hardest stitches for beginners. You can always substitute it by chaining 2 and working your first round of stitches into the first chain.
- Working with Plush Yarn: If you use chunky plush yarn, use your fingers to help guide the stitches. These yarns can be slippery and thick, so a little extra tactile guidance goes a long way.
Tips for Success
Crocheting amigurumi can sometimes be tricky, but a few pro tips can make a huge difference in your final result:
Happy crocheting! We can’t wait to see your adorable new kitten creations!