How to Crochet a Cute Plush Hippo: A Step-by-Step Amigurumi Tutorial
Introduction
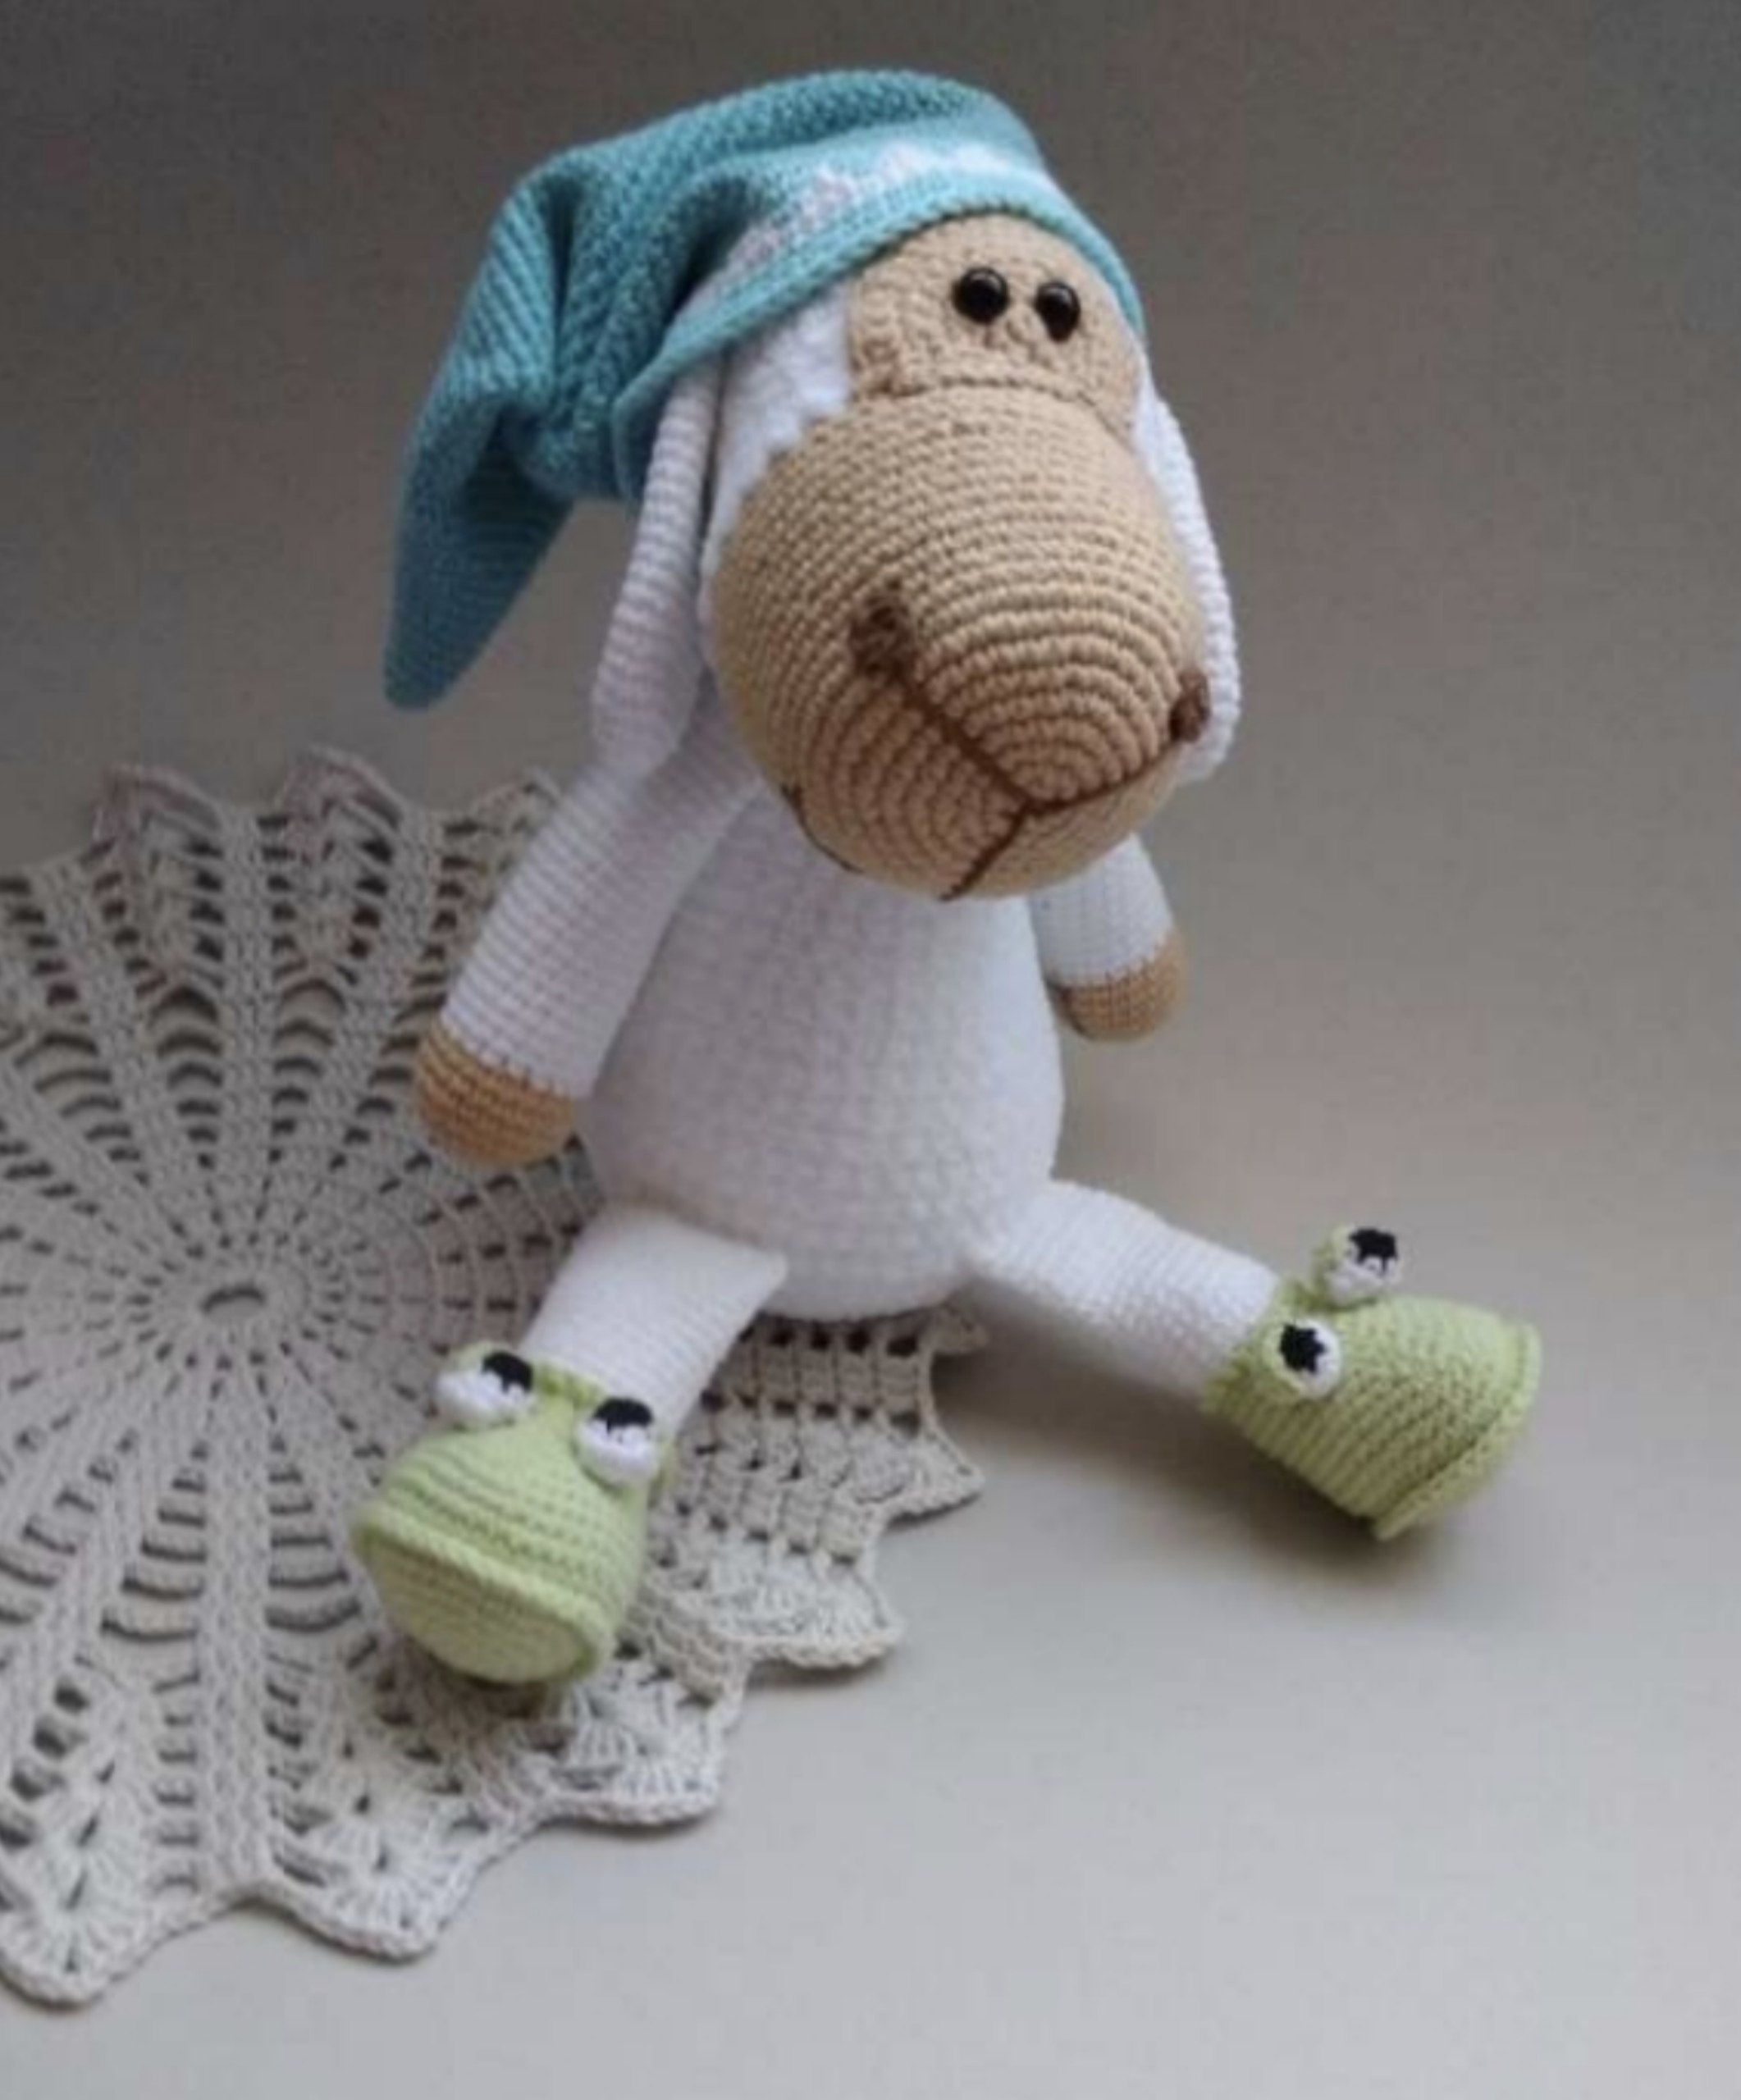
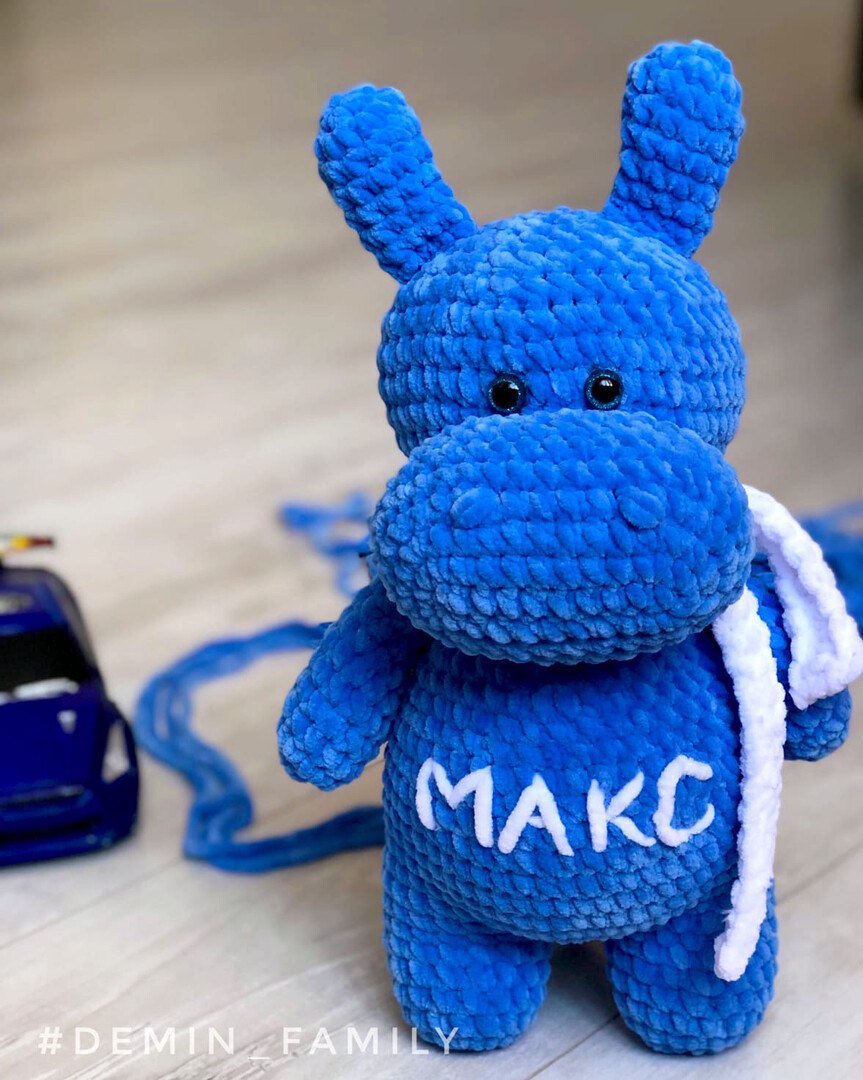
Are you looking for your next adorable amigurumi project? If you love soft, squishy, and huggable toys, then this plush hippo pattern is perfect for you! This little hippo is designed using velvet or “chenille” style yarn, making it incredibly soft to the touch—perfect for nursery decor or a gift for a little one.
While the finished toy stands approximately 16 inches tall, the process is surprisingly straightforward. This tutorial is written with beginners in mind, guiding you through every stitch to create a chunky, lovable companion. Grab your favorite plush yarn and your hook, and let’s get started on this cozy crochet adventure!
Materials & Abbreviations
Materials
- Plush Yarn: Approximately 1.5 to 2 skeins of velvet/chenille yarn (the exact amount depends on your tension). A soft yellow or cream color works beautifully for a classic look.
- Crochet Hook: 3.5mm to 4.5mm (a 4mm hook is recommended for this project).
- Stuffing: Polyester fiberfill.
- Safety Eyes: 12mm (about 1/2 inch) eyes.
- Eyelashes: Small crochet eyelashes or similar craft eyelashes.
- Glue: A hot glue gun is recommended for securing eyes and eyelashes.
- Tools: A yarn needle for sewing, stitch markers, and scissors.
Abbreviations (US Terms)
- MR: Magic Ring
- ch: Chain
- sc: Single Crochet
- inc: Increase (2 sc in one stitch)
- dec: Decrease (sc 2 stitches together)
- sl st: Slip Stitch
- (…): Indicates the number of stitches in a round or the number of repetitive rounds.
Step-by-Step Instructions
The Legs (Make 2)
We start with the legs. Note that we will be sewing these into the body later.
- MR, 7 sc (7)
- 7 inc (14)
- Rounds 3-6: 14 sc (4 rounds)
- 7. 2 dec, 10 sc (12)
- 8. 1 dec, 10 sc (11)
- 9. 1 dec, 9 sc (10)
- 10. 1 dec, 8 sc (9)
- 11. 1 dec, 7 sc (8)
- Rounds 12-14: 8 sc (3 rounds)
- 15. 1 dec, 6 sc (7)
Assembly Tip: As you work, lightly stuff the legs with fiberfill. For the last two rounds, do not add stuffing so the legs remain flexible. Fold the leg in half and sc through both sides for 4 sc to close it up.
The Tail
- MR, 6 sc (6)
- 6 inc (12)
- Rounds 3-4: 12 sc (2 rounds)
- 5. (1 dec, 4 sc) * 2 (10)
- 6. 1 dec, 8 sc (9)
- 7. 1 dec, 7 sc (8)
- 8. 8 sc (8)
Stuff the tail very lightly. Fold it in half and sc through both sides for 3 sc to close.
The Ears (Make 2)
- MR, 6 sc (6)
- 6 inc (12)
- 3. (5 sc, 1 inc) * 2 (14)
- 4. 14 sc (14)
- 5. 1 dec, 12 sc (13)
- 6. 1 dec, 11 sc (12)
- 7. 1 dec, 10 sc (11)
- 8. 1 dec, 9 sc (10)
- 9. 1 dec, 8 sc (9)
- 10. 9 sc (9)
Stuff the ears very lightly. Fold them in half and sc through both sides for 4 sc. Because the decreases are only on one side, the ears should have a natural, cute curve.
The Body
The body is worked by connecting the two legs. Start by making the first leg, then move to the second.
Connecting the Legs
Once both legs are finished, join them. On the second leg, crochet 4 ch. Then, join to the first leg by performing 1 sc into the un-tightened loop of the first leg’s magic ring. This creates the space for the belly.
Body Rounds
- 9. 46 sc (Place a marker at the start of the round)
- 10. 17 sc, 7 inc, 22 sc (53)
- 11. 1 inc, 16 sc, (1 inc, 5 sc) * 2, 1 inc, 16 sc, 1 inc, 3 sc, 1 inc, 2 sc (59)
- Rounds 12-13: 59 sc (2 rounds)
Note: Stuff the legs firmly so the hippo can stand upright. For the body, make sure the increases in Round 10 are centered between the legs to create a nice, round belly.
- 14. 55 sc, 3 sc together with the tail, 1 sc (59)
- Rounds 15-22: 59 sc (8 rounds)
- 23. 1 dec, 27 sc, 1 dec, 20 sc, 1 dec, 6 sc (56)
- 24. (12 sc, 1 dec) * 4 (52)
- 25. 5 sc, (1 dec, 11 sc) * 3, 1 dec, 6 sc (48)
- 26. (10 sc, 1 dec) * 4 (44)
- 27. 4 sc, (1 dec, 9 sc) * 3, 1 dec, 5 sc (40)
- 28. (6 sc, 1 dec) * 5 (35)
- 29. 2 sc, (1 dec, 5 sc) * 4, 1 dec, 3 sc (30)
- 30. (4 sc, 1 dec) * 5 (25)
- 31. (3 sc, 1 dec) * 5 (20)
- 32. (2 sc, 1 dec) * 5 (15)
Important: For the neck area (Round 33), stuff the neck extra firmly so the head doesn’t wobble!
- 33. 15 sc
- 34. 7 sc, 1 inc, 7 sc (16)
The Head
- 35. (1 sc, 1 inc) * 8 (24)
- 36. (2 sc, 1 inc) * 8 (32)
- 37. (3 sc, 1 inc) * 8 (40)
- 38. (4 sc, 1 inc) * 8 (48)
- 39. (5 sc, 1 inc) * 8 (56)
- 40. (7 sc, 1 inc) * 7 (63)
- Rounds 41-45: 63 sc (5 rounds)
- 46. (7 sc, 1 dec) * 7 (56)
- 47. (12 sc, 1 dec) * 4 (52)
- 48. (11 sc, 1 dec) * 4 (48)
- 49. (6 sc, 1 dec) * 6 (42)
- 50. (5 sc, 1 dec) * 6 (36)
Stuff the head thoroughly. Ensure it is evenly filled so it maintains a perfectly round shape.
- 51. (4 sc, 1 dec) * 6 (30)
- 52. (3 sc, 1 dec) * 6 (24)
- 53. (2 sc, 1 dec) * 6 (18)
- 54. (1 sc, 1 dec) * 6 (12)
- 55. 6 dec (6)
Fasten off and weave in the ends.
The Nose
- Ch 12
- 2. In the 2nd ch from hook, 1 inc. Then 9 sc in the chain, and 4 sc in the last ch. Turn the work and 9 sc, 1 inc (26)
- 3. 2 inc, 9 sc, 4 inc, 9 sc, 2 inc (34)
- 4. (3 sc, 1 inc) * 2, 11 sc, (1 sc, 1 inc) * 3, 12 sc, 1 inc (40)
- 5. (3 sc, 1 inc) * 2, 7 sc, (3 sc, 1 inc) * 3, 12 sc, 1 inc (46)
- 6. (1 dec, 21 sc) * 2 (44)
- 7. (1 dec, 20 sc) * 2 (42)
- 8. 42 sc
- 9. (1 dec, 19 sc) * 2 (40)
- 10. 2 dec, 12 sc, 4 dec, 12 sc, 2 dec (32)
- 11. 3 sc, 1 dec, (6 sc, 1 dec) * 3, 3 sc (28)
Stuff the nose firmly. Sew it onto the head between rounds 35 and 41.
Finishing
Nostrils and Eyes
To add personality, we’ll add nostrils and eyes. For the nostrils, cut two small pieces of yarn (about 6-8 inches long). Use your crochet hook to pull them through the nose where you want the nostrils to be, then secure them with a needle and thread. Hide the remaining yarn inside the nose.
For the eyes, glue the eyelashes onto your safety eyes first. To attach the eyes to the head, use a hot glue gun. Insert the nozzle of the gun deep between the stitches, squeeze out a bit of glue, and immediately press the eye in while the glue is still wet. This provides a very secure fit.
Assembly
Using a yarn needle and matching thread, sew the ears and the nose onto the head. A helpful tip for placement: use knitting needles or dressmaker pins to temporarily hold the ears and nose in place. This allows you to shift them slightly to get the perfect look before you commit to permanent sewing.
Tips
- Tension Matters: Since you are using plush yarn, your tension might vary. If your project looks too loose, try a smaller hook.
- Stuffing is Key: To prevent a “lumpy” look, add stuffing in small increments, making sure to push it into all the corners and crevices.
- Safety First: If this toy is intended for a very small child, consider sewing the safety eyes on with thread instead of using glue for extra security.
- Smooth Transitions: When working with velvet yarn, try not to pull too hard on the stitches, as it can sometimes stretch the fabric.