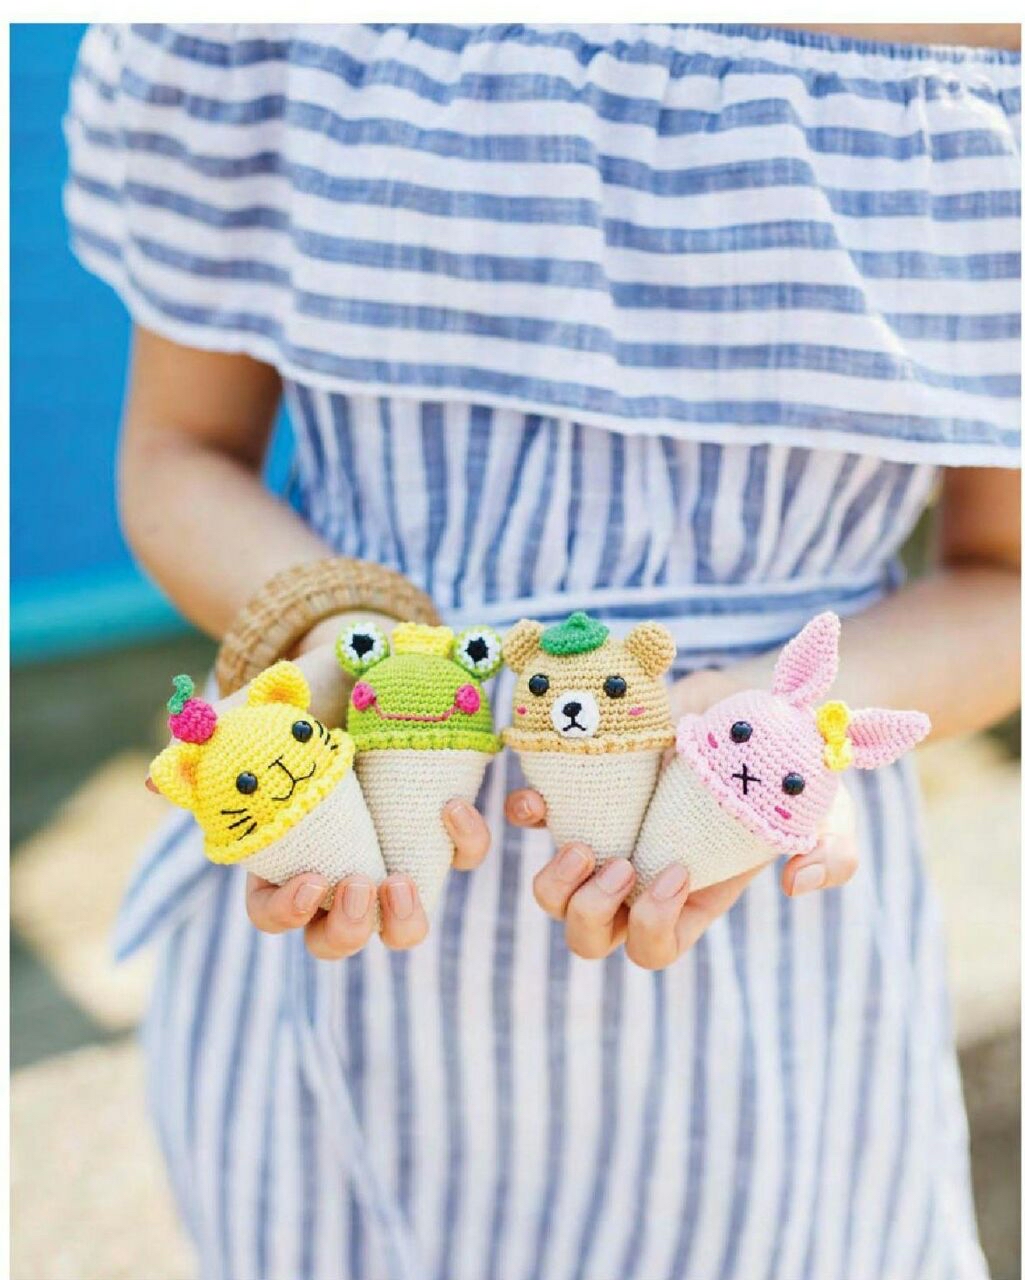
Crochet Animal Ice Cream Pattern: Easy Amigurumi Tutorial
Are you looking for a whimsical, adorable, and quick crochet project? These mini crochet animal ice cream treats are the perfect solution! Whether you want to create cute charms for your keychain, delightful nursery decor, or small gifts for friends, these amigurumi ice cream cones are bound to bring a smile to anyone’s face. In this detailed tutorial, we will walk you through making four different characters: a sweet bunny, a cuddly bear, a tiny frog, and a charming cat.
This pattern is designed to be beginner-friendly. If you know the basics of working in the round and common crochet stitches, you are ready to dive in. By the end of this guide, you’ll have a collection of little treats that are approximately 4.7 inches tall—the perfect size for snacking on with your eyes!
Materials & Abbreviations
Materials Needed
To ensure your ice cream treats turn out looking professional and neat, I recommend using a 100% cotton yarn. Cotton provides excellent stitch definition, which is vital for amigurumi.
- Yarn: Scheepjes Catona (or any similar 100% cotton yarn, approximately 50g/137 yards per color). You will need the following colors:
- Linen (Base Color/Cone): For all cones.
- Bunny Colors: Powder Pink (scoop) and Silver Green (bow).
- Bear Colors: Topaz/Beige (scoop), Parrot Green (hat), and Bridal White (muzzle).
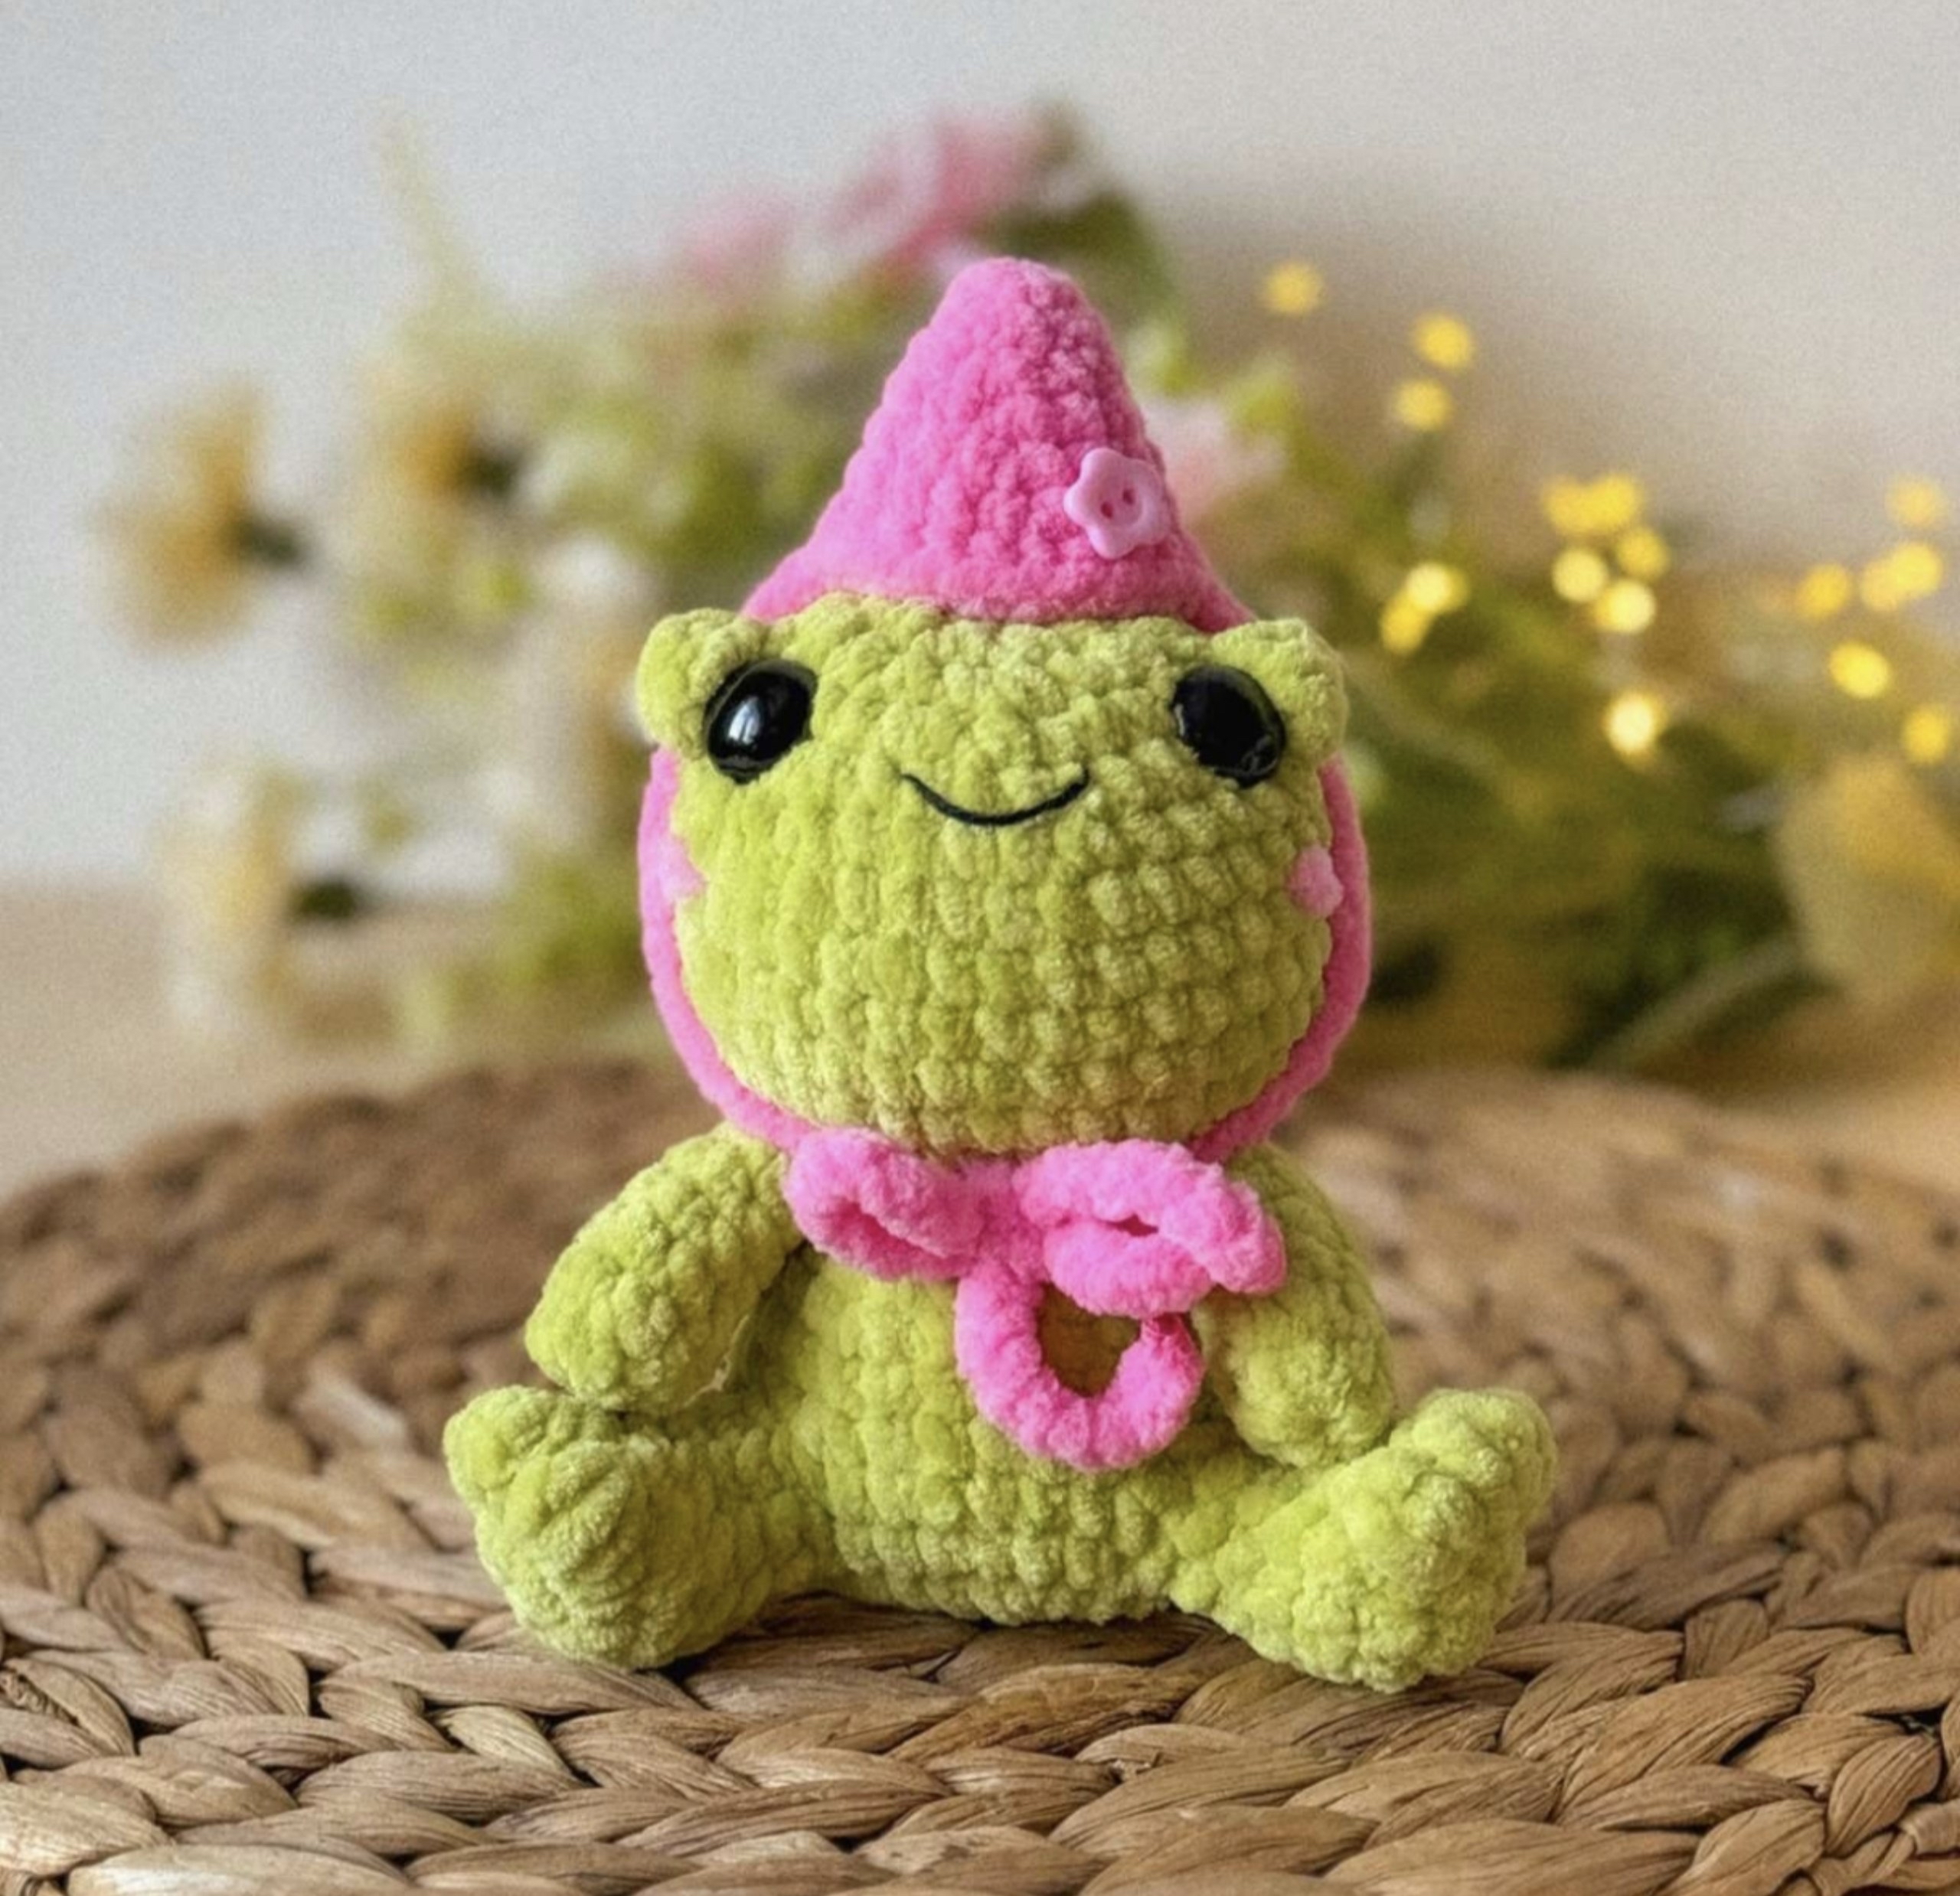
- Frog Colors: Kiwi Green (scoop), Shocking Pink (cheeks), and Yellow Gold (crown).
- Cat Colors: Yellow Gold (scoop), Parrot Green (leaf), and Shocking Pink (cherry).
- Hook: 2.5 mm crochet hook.
- Stuffing: Polyester fiberfill.
- Safety Eyes: Or black embroidery thread for eyes.
- Extras: Sewing needle, glue, and pink/black embroidery thread for facial details.
Abbreviations (US Terms)
- MR: Magic Ring
- ch: Chain
- sl st: Slip stitch
- sc: Single crochet
- hdc: Half double crochet
- dc: Double crochet
- tr: Treble crochet
- inc: Increase (2 stitches in one stitch)
- dec: Decrease (sc2tog)
- st(s): Stitch(es)
Step-by-Step Instructions
The Ice Cream Scoop
Note: Use the specific color designated for your chosen animal (Bunny: Powder Pink, Bear: Topaz, Frog: Kiwi Green, Cat: Yellow Gold).
Round 1: Work 6 dc into a magic ring (6)
Round 2: inc in each st around (12)
Round 3: (inc, 1 dc) repeat 6 times (18)
Round 4: (inc, 2 dc) repeat 6 times (24)
Round 5: (inc, 3 dc) repeat 6 times (30)
Round 6: (inc, 4 dc) repeat 6 times (36)
Round 7: (inc, 5 dc) repeat 6 times (42)
Round 8: (inc, 6 dc) repeat 6 times (48)
Rounds 9-16: dc in each st around (48)
Round 17: (1 dc in the front loop, 4 hdc in the front loop of the next st) repeat 24 times, then sl st in the last st.
Fasten off and leave a long tail for sewing.
The Ice Cream Cone
Use the Linen color for all cones.
Round 1: Work 6 dc into a magic ring (6)
Round 2: inc in each st around (12)
Rounds 3-4: dc in each st around (12)
Round 5: (inc, 1 dc) repeat 6 times (18)
Rounds 6-7: dc in each st around (18)
Round 8: (inc, 2 dc) repeat 6 times (24)
Rounds 9-10: dc in each st around (24)
Round 11: (inc, 3 dc) repeat 6 times (30)
Rounds 12-13: dc in each st around (30)
Round 14: (inc, 4 dc) repeat 6 times (36)
Rounds 15-16: dc in each st around (36)
Round 17: (inc, 5 dc) repeat 6 times (42)
Rounds 18-19: dc in each st around (42)
Round 20: (inc, 6 dc) repeat 6 times (48)
Rounds 21-22: dc in each st around (48)
Assembly Note: Join the scoop to the cone by crocheting through the back loops of the last round of both pieces. Leave a 5-inch tail, stuff both the cone and the scoop firmly, then sew the opening shut and weave in your ends.
Character Details: The Bunny
Ears (Make 2)
Use Powder Pink yarn.
Round 1: 6 dc in a magic ring (6)
Round 2: inc in each st around (12)
Rounds 3-8: dc in each st around (12)
Round 9: (dec, 4 dc) repeat twice (10)
Round 10: (dec, 3 dc) repeat twice (8)
Fasten off, leaving a tail for sewing.
Bow
Use Silver Green yarn.
Round 1: (2 ch, 3 tr in a ring, 2 ch, sl st in the ring) repeat twice. Fasten off.
Character Details: The Bear
Ears (Make 2)
Use Topaz/Beige yarn. Follow the exact same instructions as the Bunny ears.
Hat
Use Parrot Green yarn.
Round 1: 6 dc in a magic ring (6)
Round 2: inc in each st around (12)
Round 3: (inc, 1 dc) repeat 6 times (18)
Round 4: (inc, 2 dc) repeat 6 times (24)
Round 5: dc in each st around (24)
Round 6: (dec, 2 dc) repeat 6 times (18)
Fasten off.
Muzzle
Use Bridal White yarn. Follow the same instructions as the Bunny ears.
Character Details: The Frog
Eyes (Make 2)
Start with black thread.
Round 1: 6 dc in a magic ring (6)
Change to Kiwi Green yarn.
Round 2: dc in each st around (12)
Round 3: (inc, 1 dc) repeat 6 times (18)
Fasten off. Sew the two eye pieces together, leaving a 0.75-inch opening. Stuff the eyes lightly, then sew the opening closed.
Eyelids (Make 2)
Use Kiwi Green yarn.
Round 1: 6 dc in a magic ring (6)
Round 2: inc in each st around (12)
Round 3: (inc, 1 dc) repeat 6 times (18)
Fasten off.
Crown
Use Yellow Gold yarn.
Chain 15, then join with a sl st to the first chain to form a ring.
Round 1: Ch 1, dc in each stitch around, sl st (15)
Round 2: Ch 1, 1 dc, *skip 1 stitch, work a picot, 2 dc* repeat around, sl st.
Cheeks (Make 2)
Use Shocking Pink yarn.
6 dc in a magic ring. Fasten off.
Character Details: The Cat
Ears (Make 2)
Use Yellow Gold yarn.
Round 1: 4 dc in a magic ring (4)
Round 2: (inc, 1 dc) repeat twice (6)
Round 3: inc in each st around (12)
Round 4: dc in each st around (12)
Round 5: (inc, 1 dc) repeat 6 times (18)
Round 6: dc in each st around (18)
Fasten off.
Cherry
Use Shocking Pink yarn.
Round 1: 6 dc in a magic ring (6)
Round 2: inc in each st around (12). Stuff the cherry.
Round 3: dc in each st around (12)
Round 4: (dec) repeat 6 times (6)
Fasten off.
Leaf
Use Parrot Green yarn.
Ch 6. In the 2nd chain from the hook, work: 1 dc, 2 hdc in the next stitch, 1 dc, and sl st in the last chain. Fasten off.
Finishing
Now comes the fun part—assembly! Use your sewing needle and the yarn tails to attach the ears, hats, and facial features to your ice cream scoops. For the characters, add small eyes or use black thread to embroider tiny dots for eyes and a small “v” or line for the mouth to give them personality. Once all the parts are securely attached, your adorable amigurumi ice cream friends are ready to enjoy!
Tips for Success
- Maintain Tension: When making amigurumi, try to keep your stitches slightly tighter than usual. This prevents the stuffing from peeking through the gaps in your stitches.
- Use Stitch Markers: Since you are working in rounds, it is very easy to lose your place. Use a stitch marker to mark the beginning of every round.
- Magic Ring Mastery: If you struggle with the magic ring, don’t worry! You can achieve the same effect by chaining 2 and working your first round of stitches into the first chain.
- Perfect Stuffing: When stuffing the cone and the scoop, push the fiberfill into the corners using your crochet hook. This ensures a smooth, rounded shape without lumps.