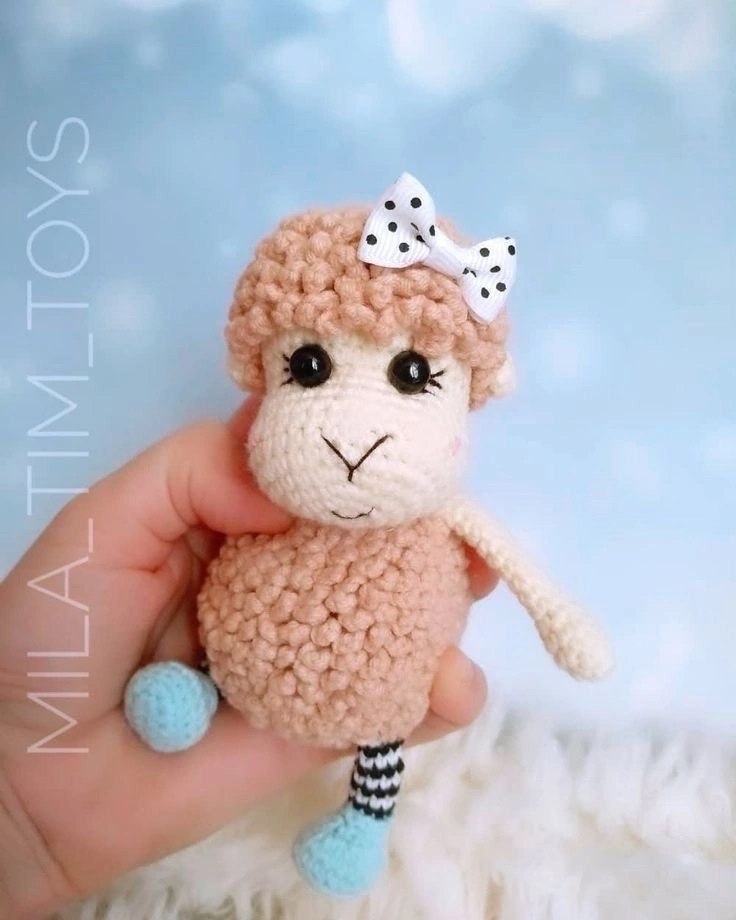
Adorable Amigurumi Sheep Crochet Pattern: A Step-by-Step Tutorial
Introduction
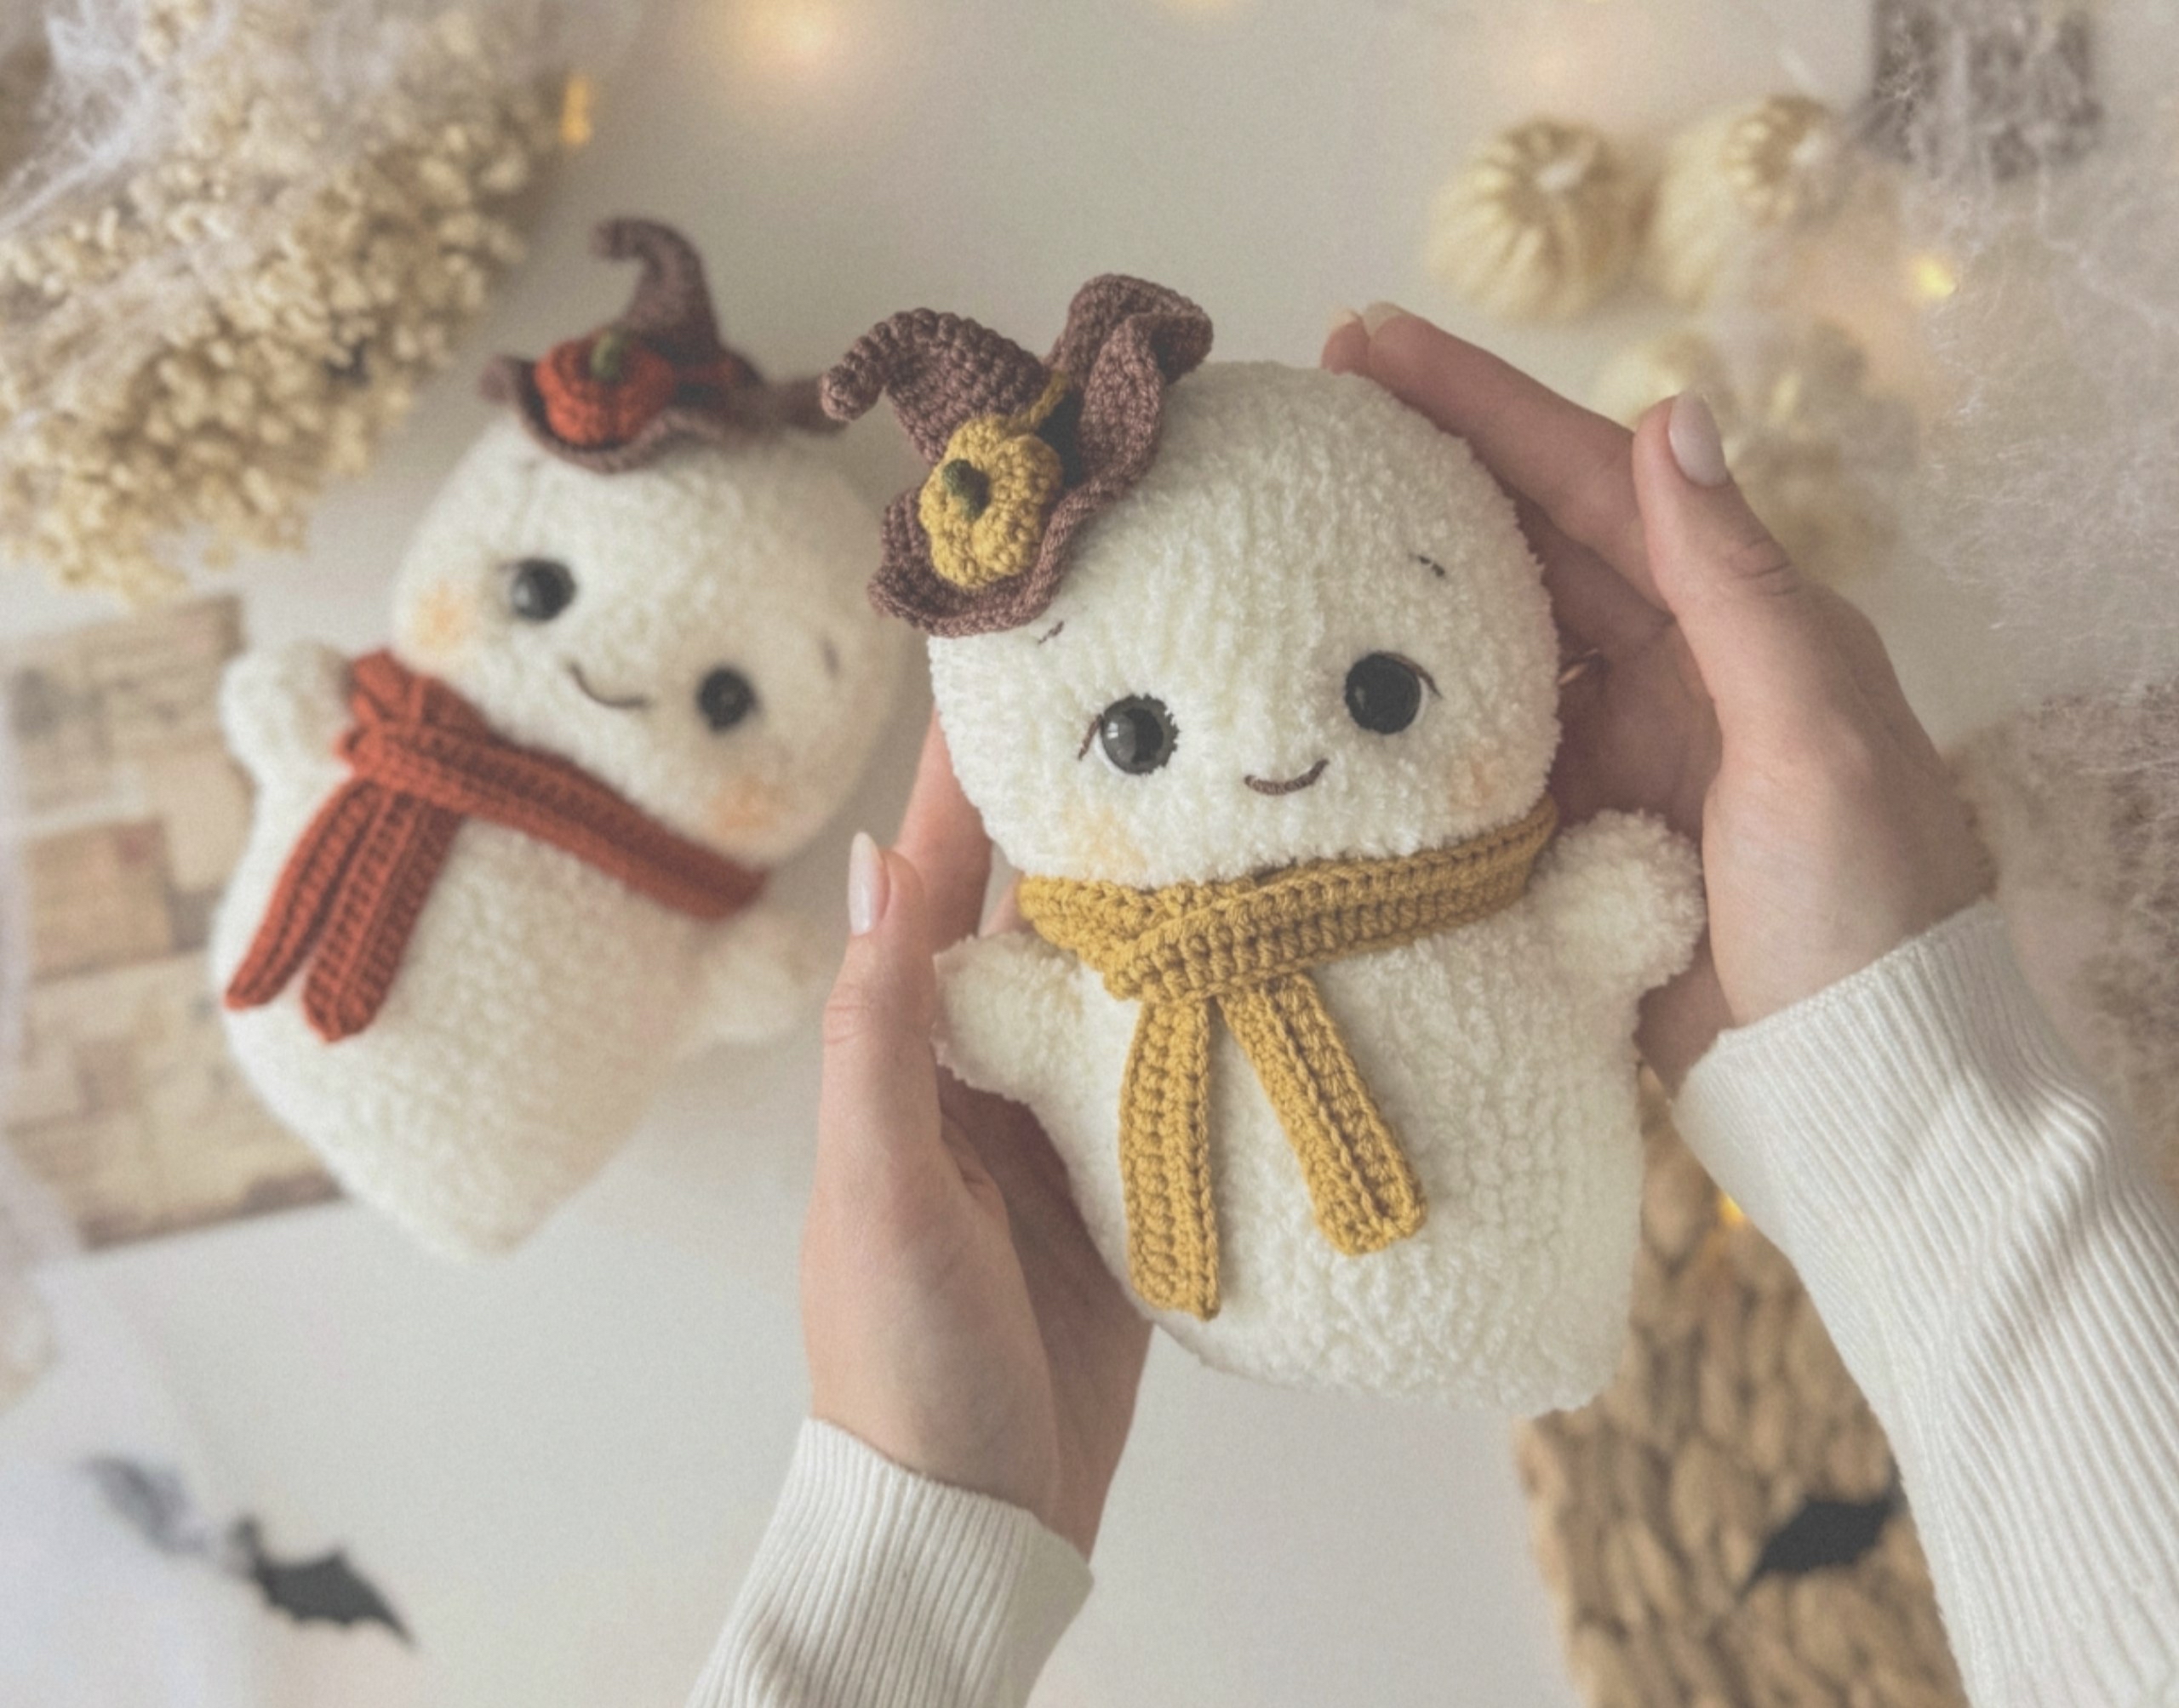
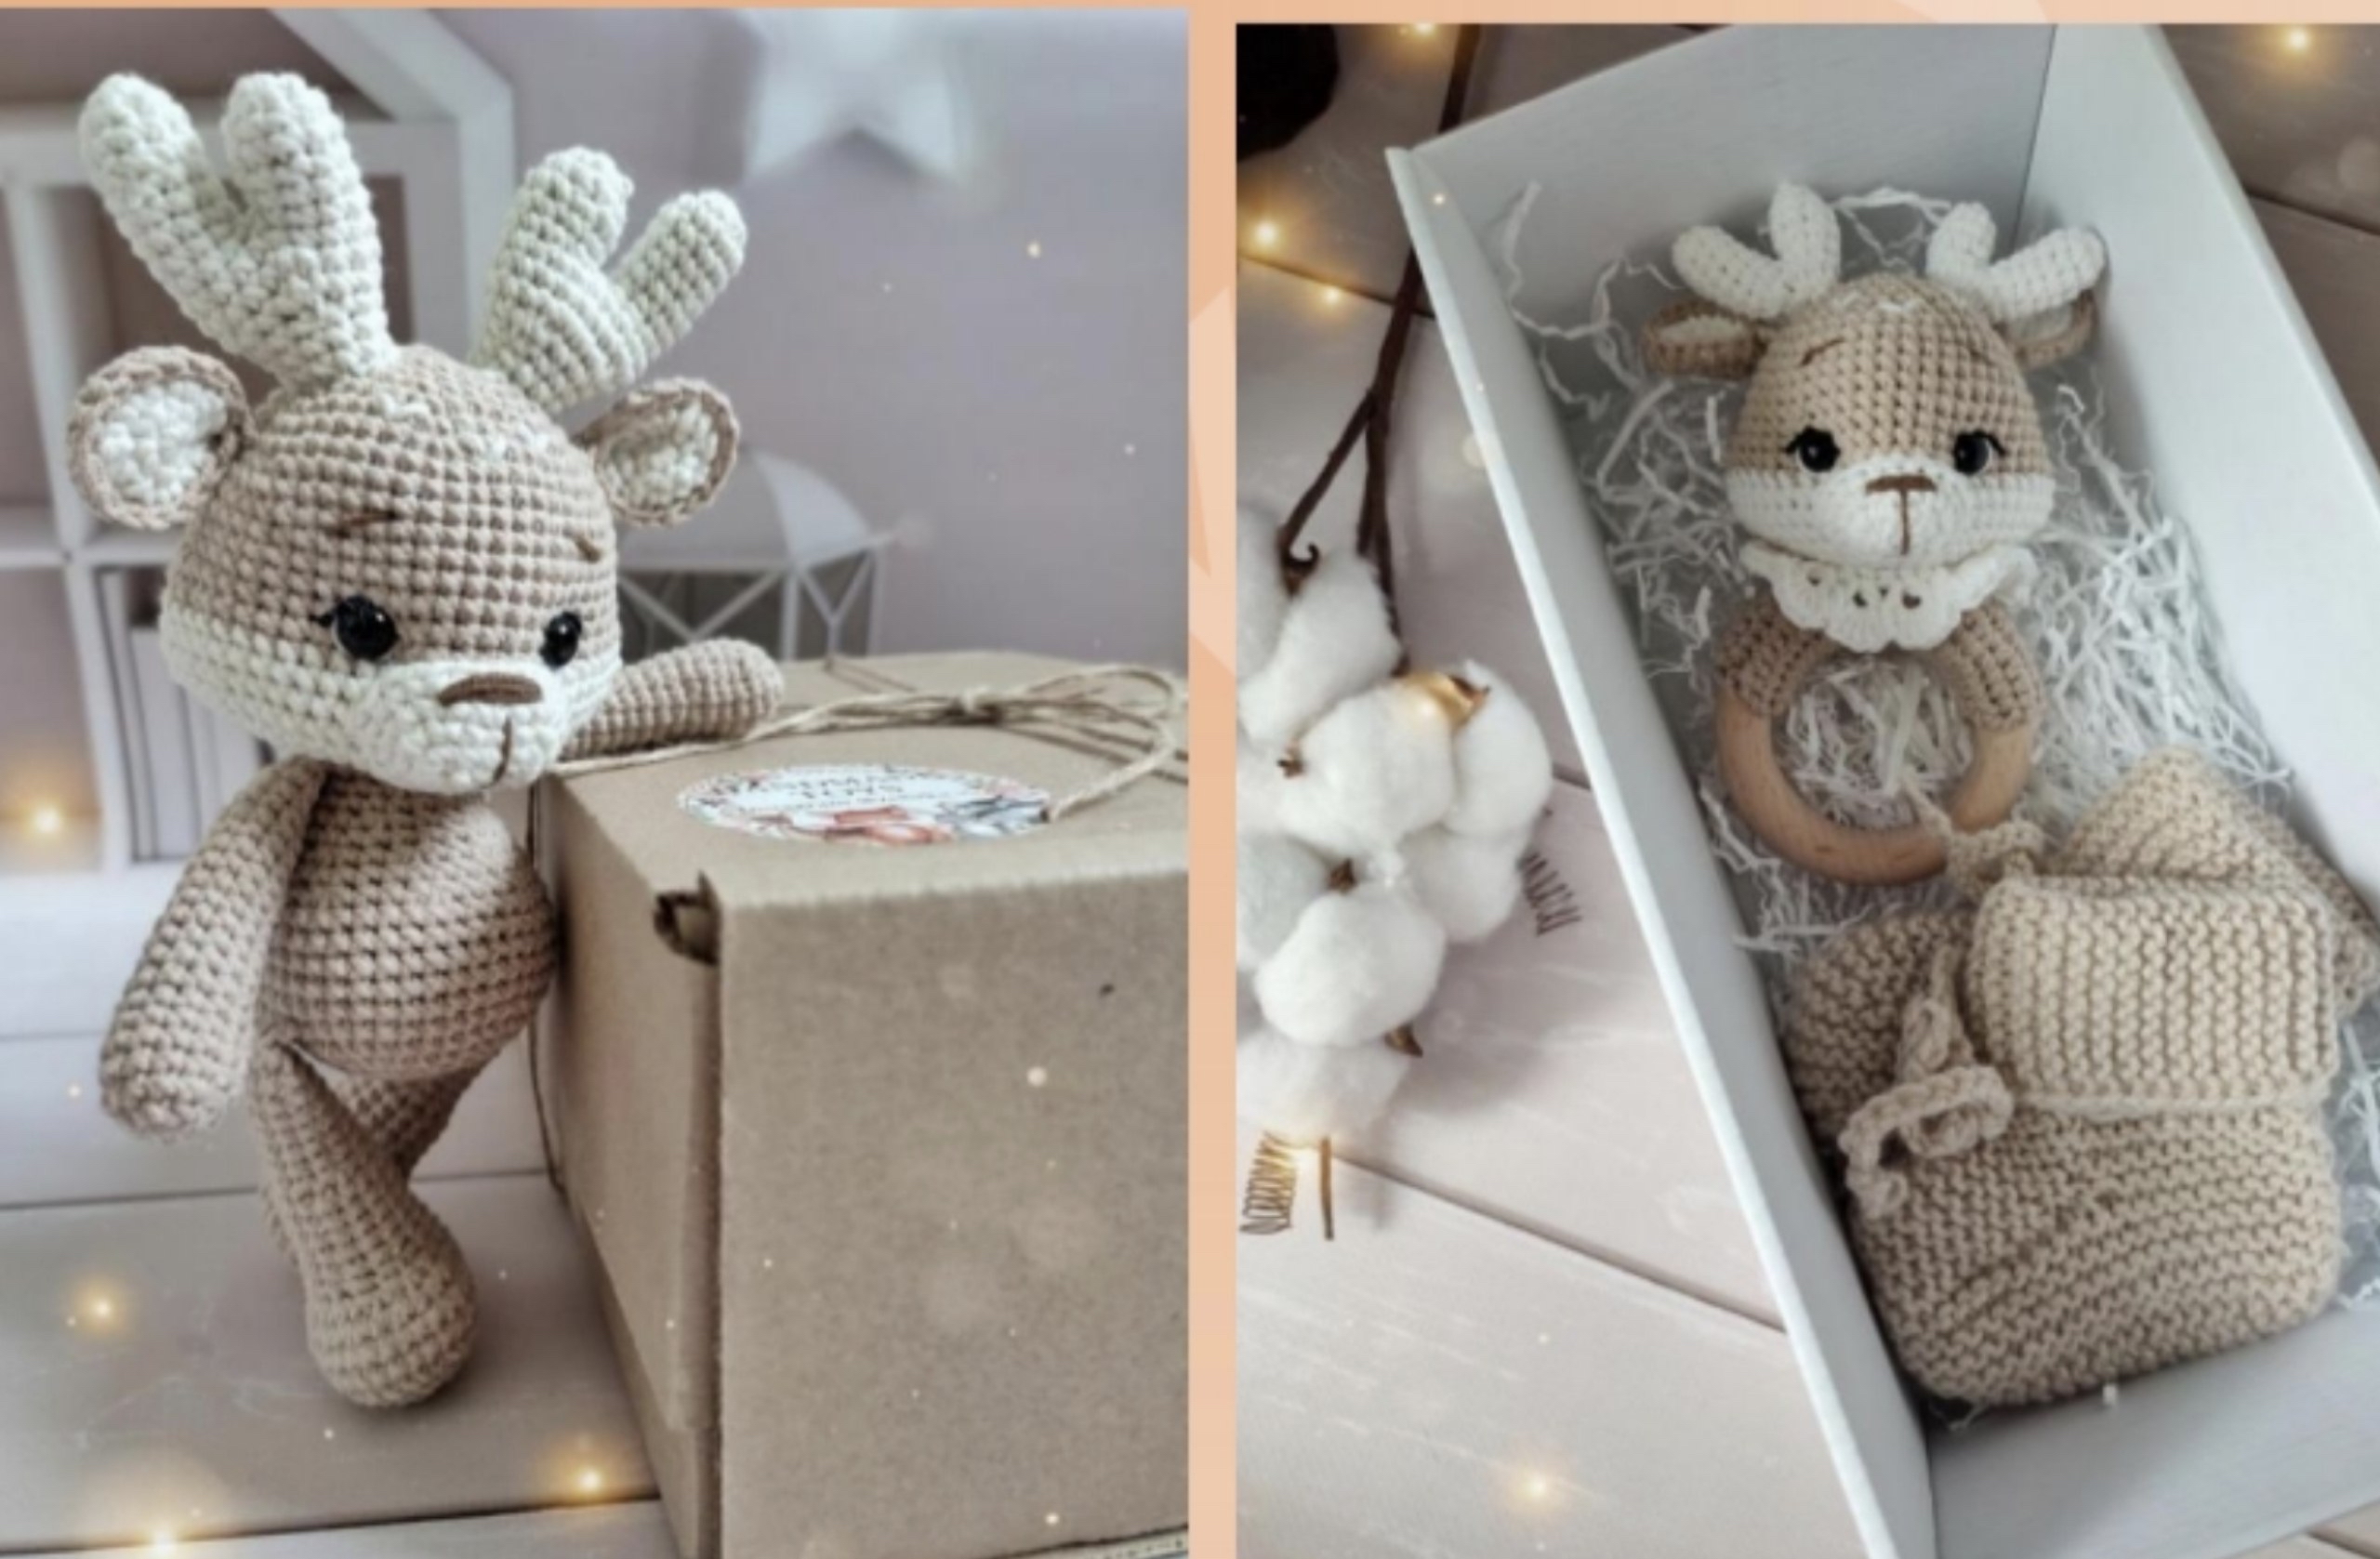
There is nothing quite as heartwarming as a tiny, curly-haired animal to brighten up a nursery or a craft shelf. If you are looking for your next crochet project, look no further! This adorable amigurumi sheep is the perfect blend of “cute” and “cozy.” With its voluminous, textured fleece and tiny little boots, this little sheep is destined to become a favorite for both makers and children alike.
This pattern is designed with a beginner-friendly approach in mind. While it features some slightly more advanced techniques—like working in the back loops only to create that signature curly texture—the instructions are broken down step-by-step to ensure you can follow along with ease. By the end of this tutorial, you will have a charming little companion roughly 5.5 inches tall, perfect for gifting or displaying.
Grab your favorite hook and a cozy cup of tea, and let’s get started on making your very own curly sheep!
Materials & Abbreviations
To ensure your sheep turns out just as soft and textured as the one in the photos, I recommend using a high-quality cotton blend yarn. This provides the stitch definition needed for those beautiful curls.
What You Will Need
- Yarn: A cotton/acrylic blend yarn in three colors:
- Color A: Body/Skin color (for the head, limbs, and base of the body).
- Color B: Boot/Shoe color (for the legs and the bow).
- Color C: Fleece color (a contrasting shade for the curly wool).
- Hook: 1.75mm or 2mm crochet hook (use a smaller hook than usual to ensure your stitches are tight and your stuffing doesn’t peek through).
- Eyes: 0.2-inch (0.5cm) safety eyes.
- Stuffing: High-quality fiberfill or synthetic stuffing.
- Other: Tapestry needle for sewing, scissors, and a stitch marker.
Stitch Abbreviations (US Terms)
Please note that all measurements and terms used in this pattern follow standard US crochet terminology.
- MR: Magic Ring
- ch: Chain
- sc: Single crochet
- inc: Increase (2 sc in the same stitch)
- dec: Decrease (sc 2 stitches together)
- sl st: Slip stitch
- BLO: Back Loop Only
- FL: Front Loop
Step-by-Step Instructions
The Arms
Work in Color A (Body Color). Stuff only the palm area.
- R1: 6 sc in a Magic Ring (6)
- R2: (1 sc, inc) repeat 3 times (9)
- R3-4: 9 sc (9)
- R5: (1 sc, dec) repeat 3 times (6)
- R6-16: 6 sc (6)
Fasten off, leaving a long tail. Fold the piece in half and crochet 3 sc through both layers to close the arm.
The Ears
Work in Color A (Body Color).
- R1: 6 sc in a Magic Ring (6)
- R2: (1 sc, inc) repeat 3 times (9)
Fasten off, leaving a long tail for sewing. You will attach these to the curly part of the head later.
The Cute Bow
Work in Color B (Boot Color).
Start by making a chain of 11. Working in rows, crochet 5 to 6 rows of 10 sc each. Once finished, join with a slip stitch and leave a long tail. Wrap the tail tightly around the middle of the rectangle to pinch it into a bow shape, then use the same tail to sew the bow onto the head.
The Little Boots (Legs)
Work in Color B (Boot Color). Stuff only the foot area. You will make two identical legs.
- R1: Chain 5. Starting from the 2nd chain from the hook, work 3 sc in the first chain, 4 sc in the very last chain. Now, working on the opposite side of the chain, work 2 sc and 1 inc (11)
- R2: inc, 2 sc, 4 inc, 2 sc, 2 inc (18)
- R3: 18 sc in BLO (18)
- R4: 18 sc (18)
- R5: 3 sc, 5 dec, 5 sc (13)
- R6: 1 sc, 5 dec, 2 sc (8)
Fasten off, leaving a long tail for the edge. Change to Color A (Body Color).
Fasten off and leave a tail for sewing. Finish the top edge of the boot by working a round of slip stitches. Important Note: To create the texture for the curls, every single round of the body must be worked in the Back Loop Only (BLO). This leaves the front loops free to be worked into later! Work in Color C (Fleece Color). I recommend stuffing the body at the very end, after you have finished the curls. We will now join the legs as we go. Fasten off, leaving a long tail for sewing the head to the body. Attach your fleece color yarn to the base of the body (where you started the Magic Ring). For every free front loop left over from the BLO rounds, work the following: sl st, ch 4. Continue this spiraling around the entire body until you reach the neck. This will create a beautiful, bumpy, curly texture! Work in Color A (Body Color). Change to Color C (Fleece Color). Stuff the head very firmly. To finish the head, work your decreases as usual, but then begin working in the reverse direction, using the same curl technique (sl st, ch 4) into the front loops to create the fleece texture on the top of the head. Now that your pieces are assembled, it is time for the details that bring your sheep to life! To make your amigurumi look professional, keep these tips in mind:The Curly Body
Joining the Legs
Attaching the Arms
Creating the Fleece Curls
The Head
Finishing
Tips