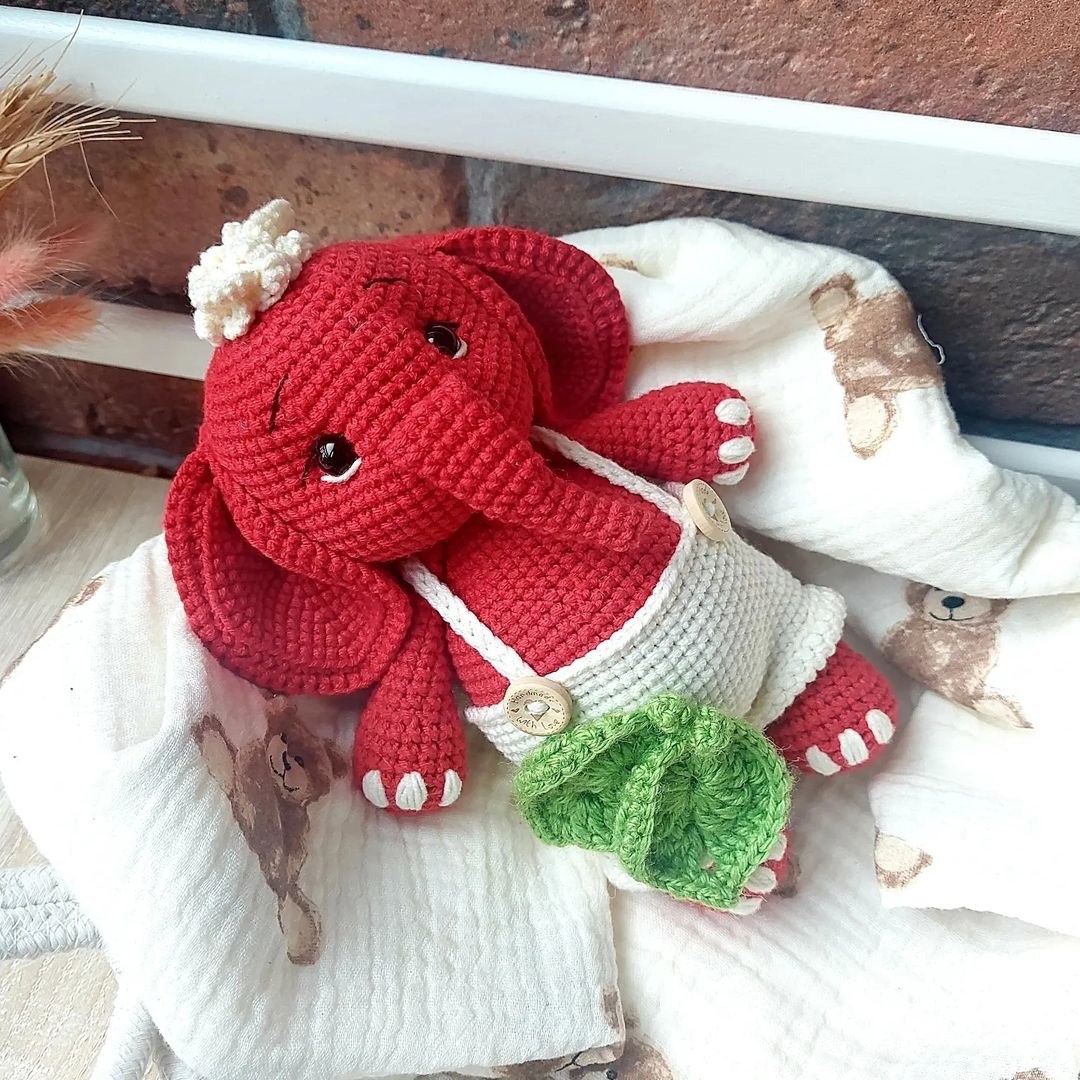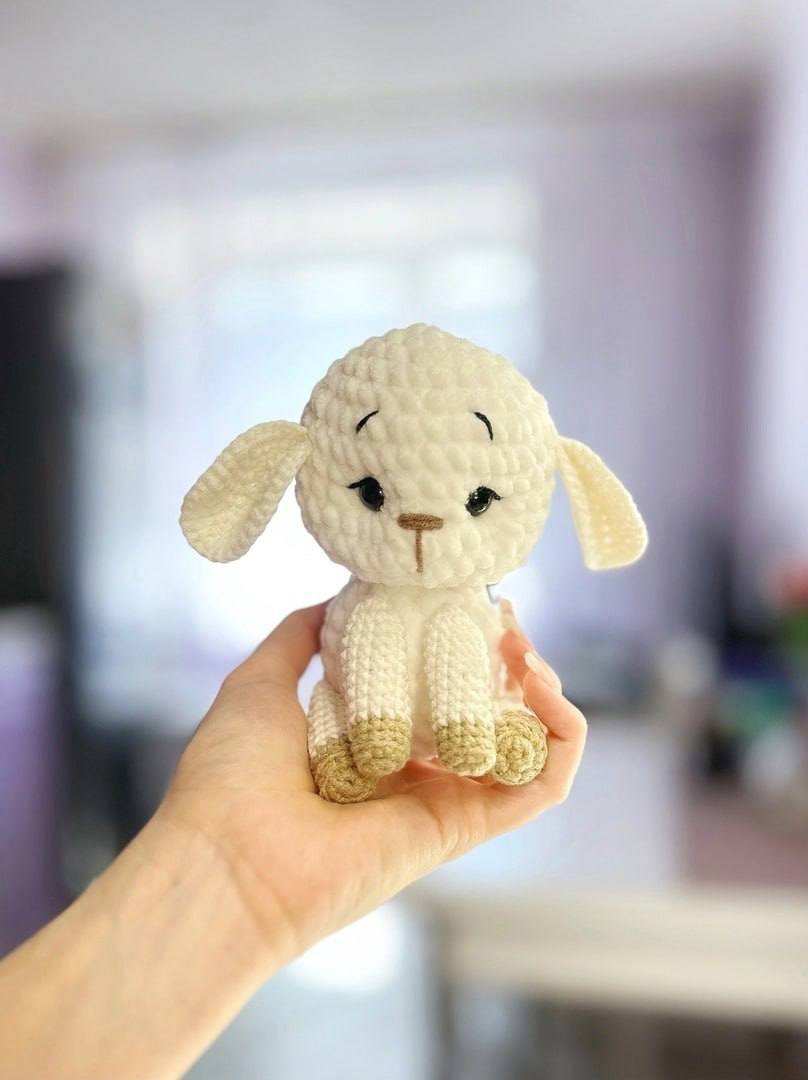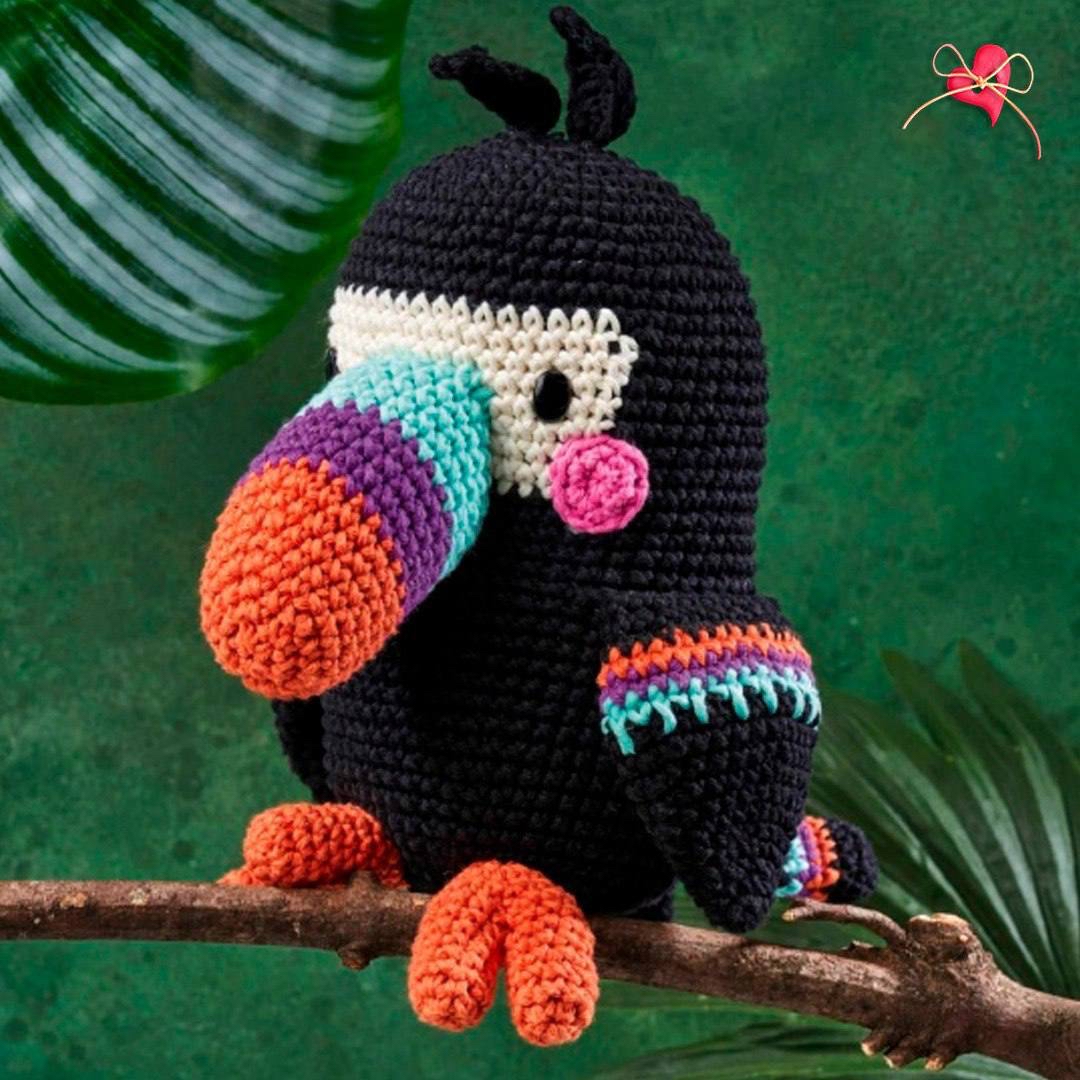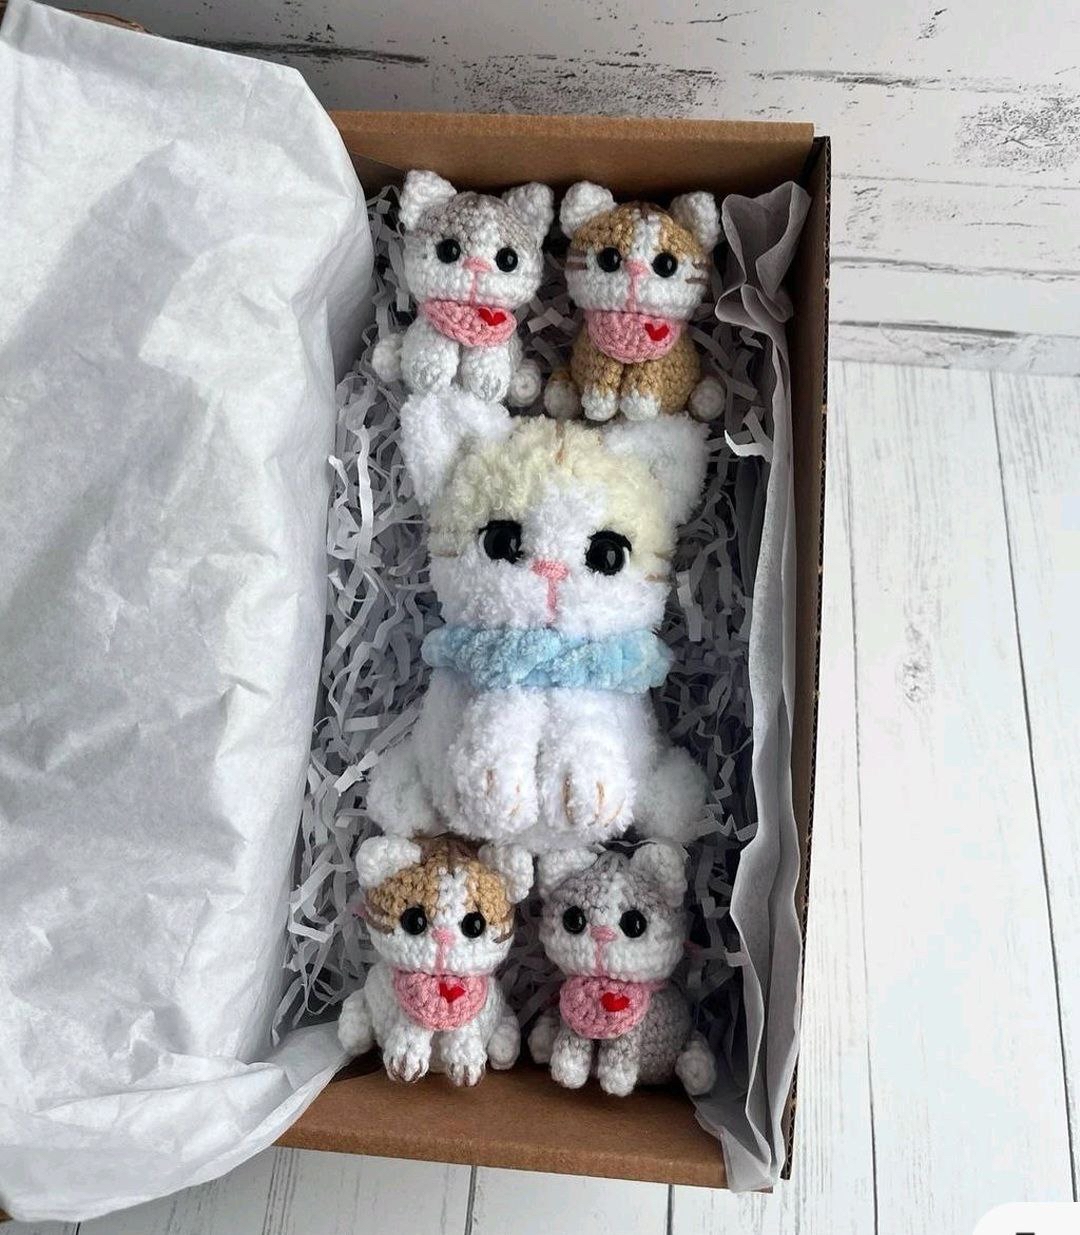
Easy Amigurumi Crochet Cat Pattern Tutorial
Are you looking for a project that is absolutely adorable, incredibly squishy, and perfect for gifting? You have found it! This easy amigurumi crochet cat pattern is designed to create the cutest little feline companions. Whether you want to make a tiny calico, a classic tabby, or a soft white kitty, these little characters are versatile enough to suit any color palette.
These cats are perfect for nursery decor, desk buddies, or even a sweet little gift for a cat lover in your life. Because they are worked with plush, velvet-style yarn, they have a wonderful texture that makes them irresistibly huggable. Best of all, this tutorial is broken down into simple, beginner-friendly steps so you can focus on the joy of creating something special.
Materials and Abbreviations
Before we dive into the stitches, let’s make sure you have everything you need on your crochet hook. Since this pattern results in a very soft, “plushie” look, I highly recommend using chenille or velvet-style yarn.
What You Will Need
- Yarn: Plush or velvet yarn in your choice of colors (e.g., white, grey, tan, pink, or blue). You will need enough to complete the body and any accent colors for the ears or accessories.
- Crochet Hook: A hook size appropriate for your yarn weight (typically between 4.0mm and 5.0mm for bulky chenille yarn).
- Safety Eyes: Approximately 8mm to 10mm black safety eyes.
- Stuffing: High-quality polyester fiberfill to keep your kitty plump.
- Tools: A yarn needle (tapestry needle), stitch markers, and sharp scissors.
US Crochet Abbreviations
This pattern uses standard US crochet terms. Please ensure you are using US terminology to avoid confusion!
- MR: Magic Ring
- sc: Single crochet
- inc: Increase (2 sc in the same stitch)
- dec: Decrease (sc 2 stitches together)
- sl st: Slip stitch
- ch: Chain
- st(s): Stitch(es)
- R: Round or Row
Step-by-Step Instructions
When working with velvet yarn, try to keep your tension consistent. It can be a bit harder to see your stitches in the fuzz, so using stitch markers is essential!
The Head and Body (Worked in one piece)
This clever design creates a single piece that forms both the head and the body, ensuring your kitty stays sturdy and cute.
- R1: 8 sc in a magic ring (8)
- R2: 8 inc (16)
- R3: 16 inc (32)
- R4–R8: 32 sc in each round for 5 rounds (32)
- R9: (1 sc, 1 dec) repeat 6 times, then 14 sc (26)
- R10: (1 sc, 1 dec) repeat 4 times, then 14 sc (22)
- R11: 10 dec, 2 sc (12)
- R12: 12 inc (24)
- R13: (1 sc, 1 inc) repeat 12 times (36)
- R14–R15: 36 sc in each round for 2 rounds (36)
- R16: 18 sc, 6 dec, 6 sc (30)
- R17–R18: 30 sc in each round for 2 rounds (30)
- R19: (3 sc, 1 dec) repeat 6 times (24)
- R20: (2 sc, 1 dec) repeat 6 times (18)
- R21: (1 sc, 1 dec) repeat 6 times (12)
- R22: sl st in each stitch around to close (12)
Eye Placement: Before you close the body completely with stuffing, insert your safety eyes between rounds 16 and 17. Make sure they are spaced about 5 stitches apart to give your cat that sweet, wide-eyed expression.
The Front Paws (Make 2)
The Back Paws (Make 2)
The paws are worked as small tubes and then flattened to create a realistic look.
Front Paws
- R1: 4 sc in a magic ring (4)
- R2: (1 inc, 1 sc) repeat 2 times (6)
- R3–R6: 6 sc in each round for 4 rounds (6)
Assembly: Fold the paw in half so the opening is on the bottom. Crochet 3 sc through both layers to close the end. Sew these to the body between rounds 9 and 10.
Back Paws
- R1: 4 sc in a magic ring (4)
- R2: (1 inc, 1 sc) repeat 2 times (6)
- R3: (1 inc, 2 sc) repeat 2 times (8)
- R4: 8 sc (8)
Assembly: Fold the paw in half and crochet 4 sc through both layers to close the end. These can be sewn to the lower part of the body to help the cat sit upright.
The Ears (Make 2)
- R1: 4 sc in a magic ring (4)
- R2: (1 inc, 1 sc) repeat 2 times (6)
- R3: (1 inc, 2 sc) repeat 2 times (8)
- R4: (1 inc, 3 sc) repeat 2 times (10)
The Tail
- R1: 5 sc in a magic ring (5)
- R2–R8: 5 sc in each round for 7 rounds (5)
Assembly: Sew the tail to the body around round 5.
The Accessory: Cute Heart Bib
A little extra flair makes these cats even more special! You can make a pink bib for a sweet look or a blue one for a different vibe.
- R1: 5 sc in a magic ring (5)
- R2: 5 inc (10)
Creating the ties: Fasten off and leave a long tail. Chain 17. Working along the front edge of the bib, crochet 5 sc. Then, chain another 17. This will create the long tails used to tie the bib around the cat’s neck.
Finishing
The finishing touches are what truly bring your amigurumi to life. Follow these steps for a professional look:
Stuffing
Stuff the head and body firmly but not so tightly that you lose the rounded shape. When stuffing the head, ensure it is well-supported so it doesn’t flop over. If you are making very small cats, use small pieces of stuffing to reach the narrowest parts of the neck.
Assembly Order
- Eyes: Secure the safety eyes in place between rounds 16 and 17.
- Ears: Sew the ears to the top of the head. Position them slightly to the sides for a natural look.
- Paws: Sew the front paws between rounds 9 and 10. Attach the back paws to the bottom so the cat sits stable.
- Tail: Attach the tail to round 5 of the body.
- Bib: Tie the bib around the neck area. You can add a tiny red heart stitch or a small bead to the center of the bib for extra cuteness!
Tips
To ensure your crochet cat turns out perfectly, keep these expert tips in mind:
- Manage the Fuzz: Velvet yarn can be tricky because the stitches “hide.” If you struggle to find your stitches, use a metal crochet hook rather than plastic, as it helps you feel the loops more clearly.
- Hide Your Ends: When you finish a section, weave your yarn tails into the body using a tapestry needle. This prevents the stuffing from poking through and keeps the toy looking clean.
- Color Play: Don’t be afraid to get creative! You can change colors mid-round to create “patches” on your cat, making each one unique.
- Tension Control: If your stuffing is visible through the stitches, your tension might be too loose. Try using a slightly smaller hook to create a tighter fabric.