Adorable Amigurumi Butterfly Crochet Pattern: A Step-by-Step Tutorial
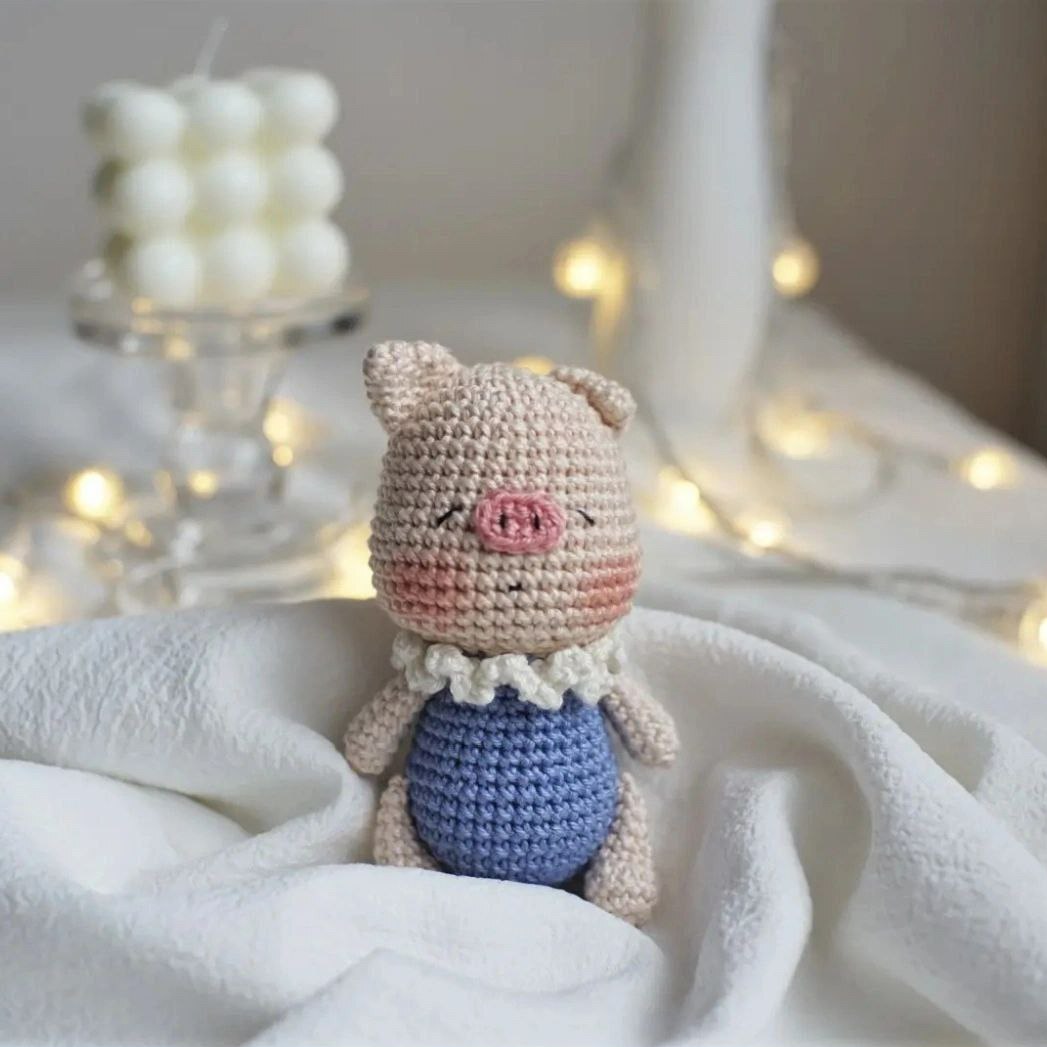
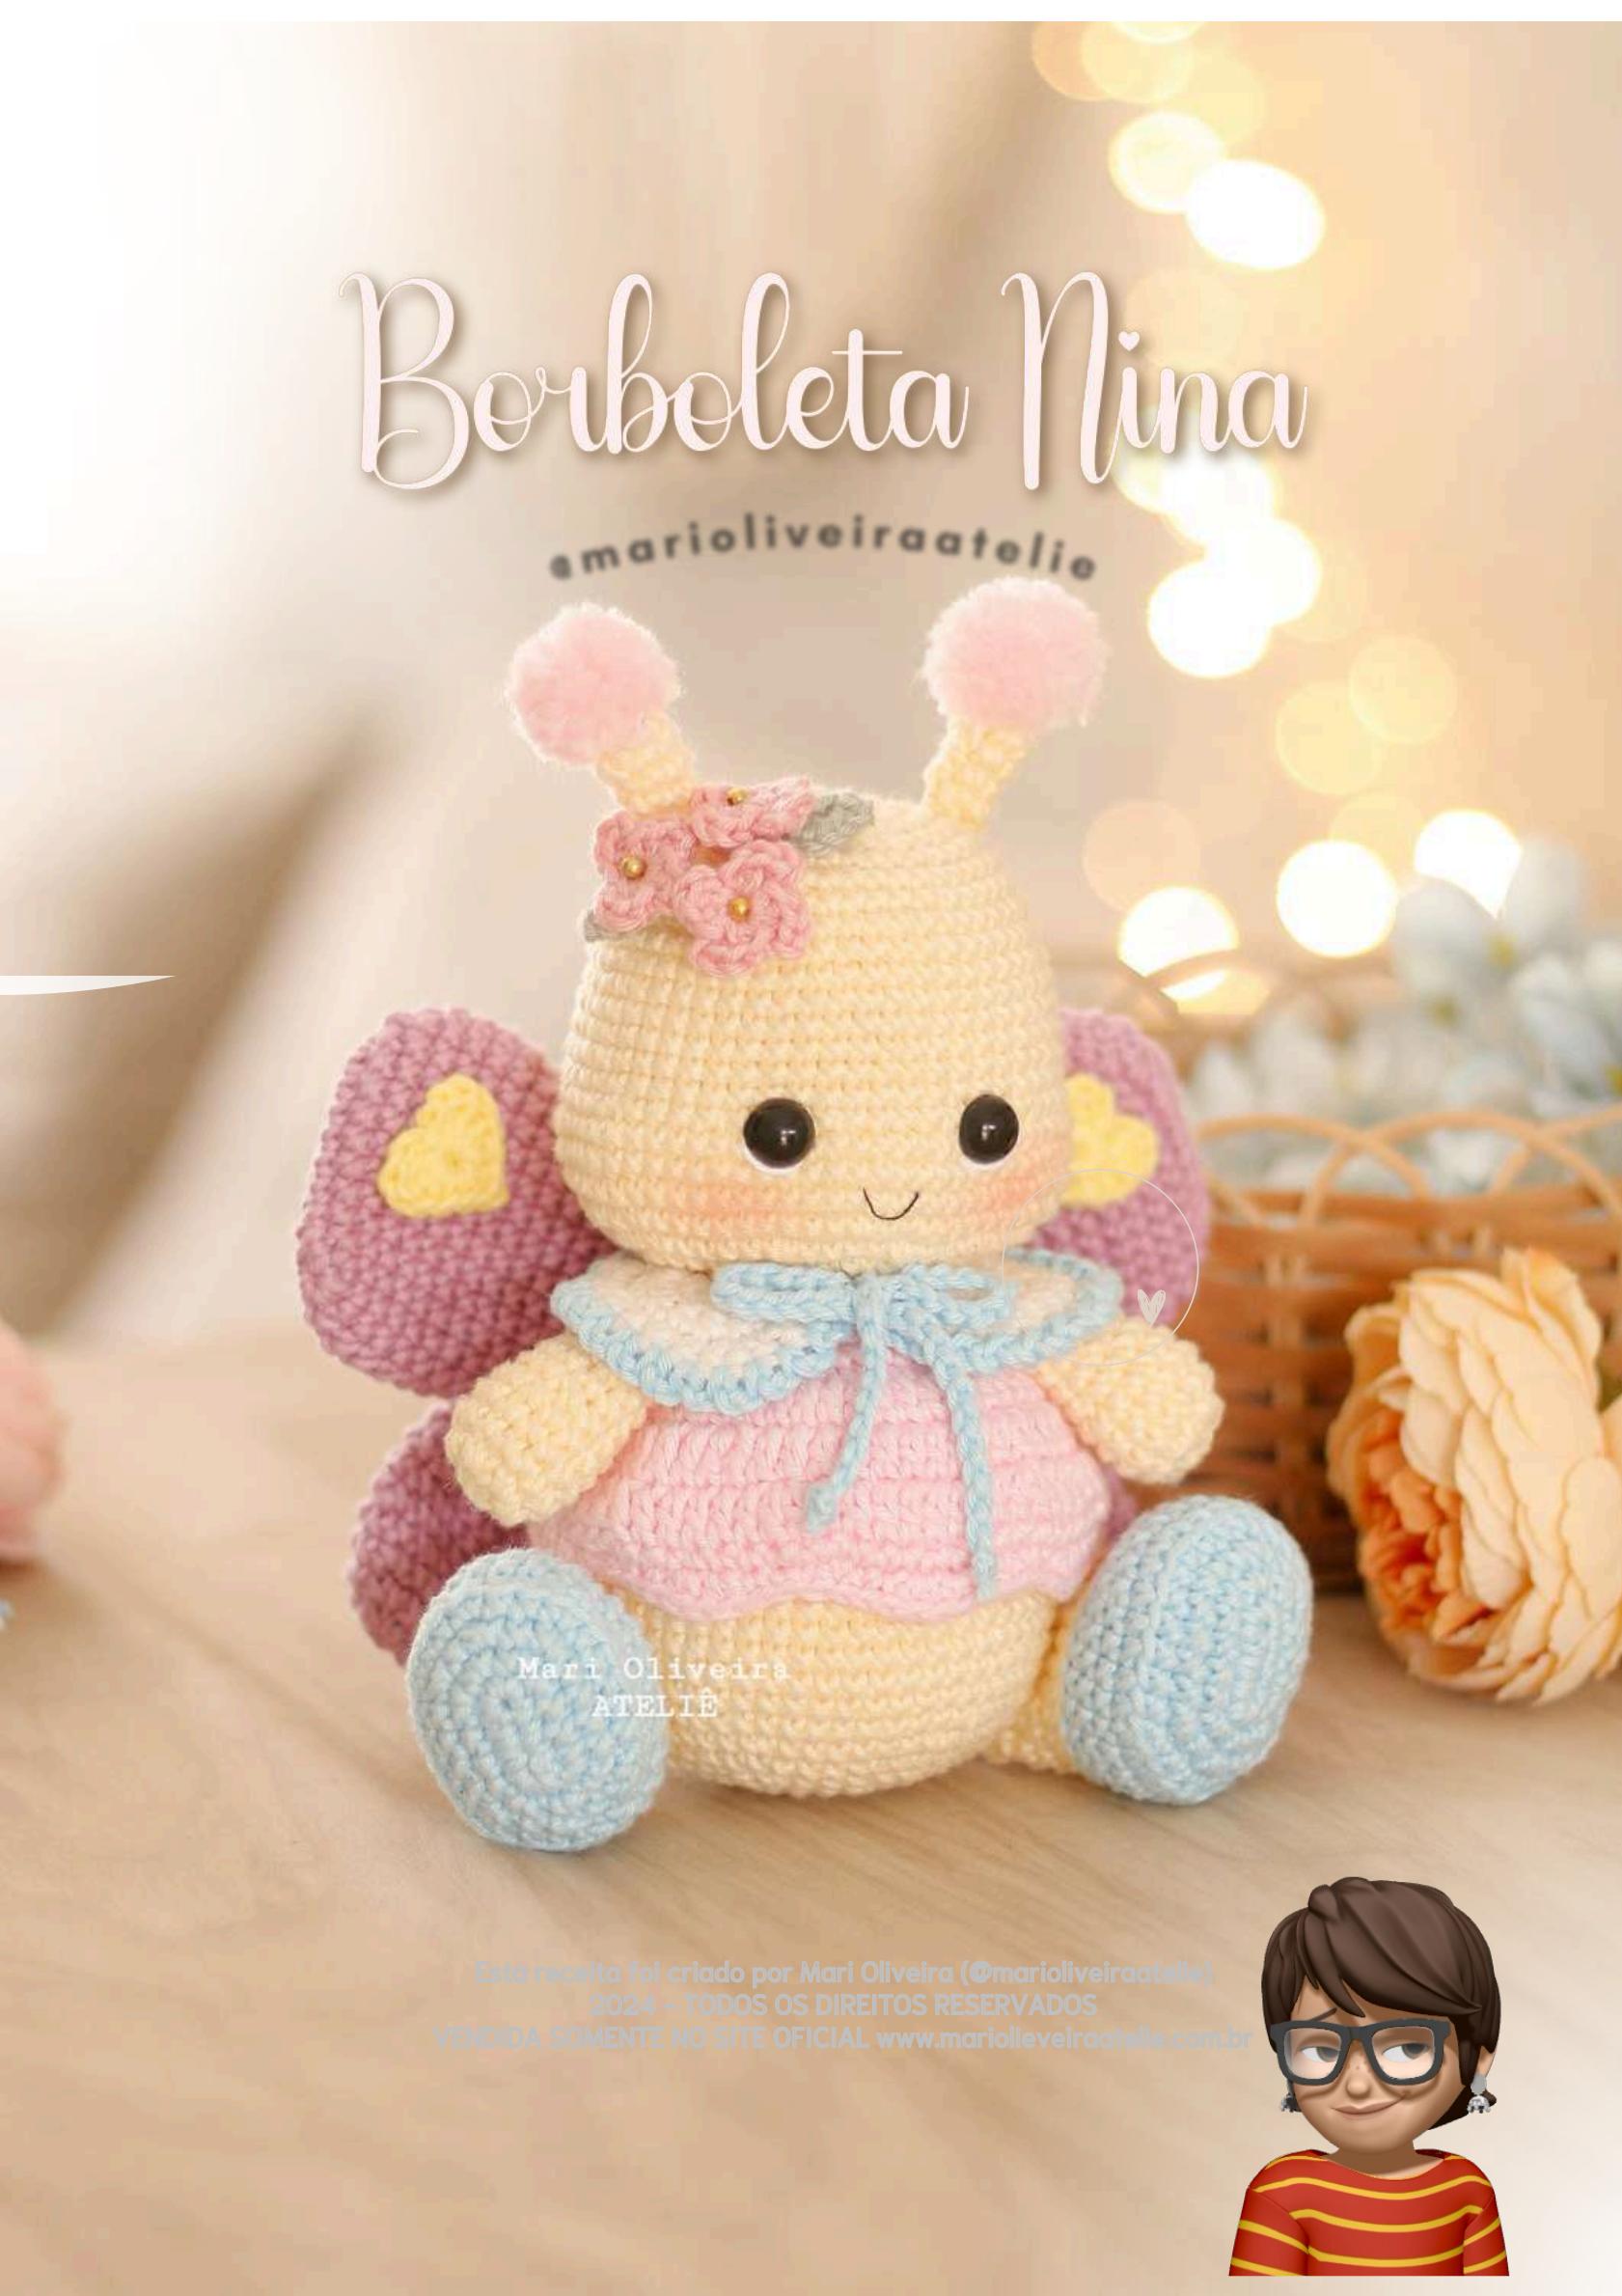
Looking for a whimsical project to brighten up your crochet nook? This sweet amigurumi butterfly is the perfect blend of cute and cozy. With its soft pastel colors, tiny ruffled dress, and endearing expression, this little creature makes a wonderful gift for children or a charming addition to any kawaii collection. Whether you are an experienced maker or a beginner looking for a challenging but rewarding project, this detailed guide will walk you through every stitch to create your own magical butterfly friend.
Materials & Abbreviations
To achieve the look in the photos, we recommend using a fine cotton yarn to ensure the stitches are tight and the stuffing doesn’t peek through. This pattern uses a variety of colors to bring the character to life.
Supplies Needed
- Yarn: Amigurumi cotton yarn in Cream (body), Quartz Pink (dress/wings), Candy Blue (shoes/collar), Candy Yellow (heart), Sweet Pink (flowers), Eucalyptus Green (leaves), and Off-White (collar details).
- Hook: 1.8mm crochet hook.
- Safety Eyes: 10mm black safety eyes.
- Stuffing: High-quality silicone fiberfill.
- Embroidery Thread: White and black thread for the eyes and mouth.
- Extras: Pink wool for pom-pom antennas, small beads for flower centers, tapestry needle, scissors, and stitch markers.
- Finished Size: Approximately 5.5 inches tall (6.7 inches including antennas).
US Crochet Abbreviations
- MR: Magic Ring
- sc: Single crochet
- inc: Increase (2 sc in one stitch)
- dec: Decrease (sc 2 together)
- ch: Chain
- sl st: Slip stitch
- hdc: Half double crochet
- dc: Double crochet
- BLO: Back loop only
- FLO: Front loop only
Step-by-Step Instructions
The Arms (Make 2)
Using Cream yarn:
- Round 1: 7 sc in MR [7]
- Round 2: 7 inc [14]
- Rounds 3-5: sc in each stitch around [14]
- Round 6: (5 sc, 1 dec) x 2, 6 sc [12]
- Rounds 7-10: sc in each stitch around [12]
Stuff the arm lightly up to the middle. Flatten the end and work 6 sc across the opening to close it. Fasten off, leaving a short tail for sewing.
The Body
Using Cream yarn:
- Round 1: 7 sc in MR [7]
- Round 2: 7 inc [14]
- Round 3: (1 sc, 1 inc) x 7 [21]
- Round 4: (2 sc, 1 inc) x 7 [28]
- Round 5: (3 sc, 1 inc) x 7 [35]
- Round 6: 2 sc, 1 inc, (4 sc, 1 inc) x 6, 2 sc [42]
- Round 7: (5 sc, 1 inc) x 7 [49]
- Round 8: 3 sc, 1 dec, (6 sc, 1 dec) x 6, 3 sc [56]
- Rounds 9-16: sc in each stitch around [56]
- Round 17: (12 sc, 1 dec) x 4 [52]
- Round 18: sc in each stitch around [52]
- Round 19: (11 sc, 1 dec) x 4 [48]
- Round 20: 5 sc, 1 dec, (10 sc, 1 dec) x 3, 5 sc [44]
- Round 21: (5 sc, 1 dec) x 6, 2 sc [38]
The Ruffled Skirt
Switch to Quartz Pink yarn. We will work this into the BLO of Round 22.
- Round 22: 38 ch. Work 38 sc in BLO [38]
- Round 23: Work in rows. Ch 3 (counts as first dc), dc in each stitch across. Turn.
- Row 1: (1 dc, 1 dc-inc) x 19, 1 dc [57]
- Row 2: 57 dc [57]
- Row 3: (8 dc, 1 dc-inc) x 6, 3 dc [63]
- Row 4: 63 dc [63]
- Ruffle Edge: (1 sc, 2 hdc-inc, 1 sc, 2 dec) x 7, 1 sc, 2 hdc-inc, 1 sc, 1 dec, 1 sc. Fasten off.
Connecting the Arms
Return to the body using Cream yarn. We are currently at Round 24.
- Round 24: 8 sc, 6 sc through both the body and the first arm, 9 sc, 6 sc through both the body and the second arm, 9 sc [38]
- Round 25: (17 sc, 1 dec) x 2 [36]
- Round 26: (4 sc, 1 dec) x 6 [30]
- Round 27: 30 sc [30]
- Round 28: 30 sl st [30]
The Head
Continue with Cream yarn, working in FLO for the first round to create a clear transition.
- Round 28 (FLO): (2 sc, 1 inc) x 10 [40]
- Round 29: (3 sc, 1 inc) x 10 [50]
- Round 30: 2 sc, 1 inc, (4 sc, 1 inc) x 9, 2 sc [60]
- Round 31: (9 sc, 1 inc) x 6 [66]
- Rounds 32-34: sc in each stitch around [66]
Eye Placement: Place the safety eyes between rounds 34 and 35. They should be 10 stitches apart, though this may adjust to about 8 stitches once you begin stuffing and shaping the head.
- Round 35: (3 sc, 1 dec) x 13 [53]
- Round 36: 53 sc [53]
- Round 37: 61 sc, 1 dec [52]
- Round 38: 52 sc [52]
- Round 39: 7 sc, 1 dec, 34 sc, 1 dec, 7 sc [50]
- Rounds 40-43: sc in each stitch around [50]
- Round 44: (6 sc, 1 dec) x 6, 2 sc [44]
- Round 45: 44 sc [44]
- Round 46: (5 sc, 1 dec) x 6, 2 sc [38]
- Round 47: 2 sc, (1 sc, 1 dec) x 5, 4 sc [32]
- Round 48: (3 sc, 1 dec) x 6, 1 sc [25]
- Round 49: (2 sc, 1 dec) x 6, 1 sc [19]
- Round 50: (1 sc, 1 dec) x 6, 1 sc [13]
Stuff the head firmly and sew the remaining hole closed using a magic ring closure.
The Feet (Make 2)
Using Candy Blue yarn:
- Round 1: Work into a chain of 5. 3 sc, 4 sc in last ch, 2 sc, 3 sc in last ch [12]
- Round 2: 1 inc, 3 sc, 3 inc, 3 sc, 2 inc [18]
- Round 3: 1 sc, (4 sc, 2 sc in one) x 3, 3 sc, (2 sc, 2 sc in one) x 2, 1 sc [24]
- Round 4: 1 sc, 1 sc, 3 sc, (2 sc, 1 sc in one) x 3, 3 sc, (2 sc, 1 sc in one) x 2, 1 sc [30]
- Round 5 (BLO): 30 sc [30]
- Rounds 6-7: 30 sc [30]
- Round 8: 5 sc, 1 dec, 2 sc, 3 dec, 2 sc, 1 dec, 11 sc [25]
Switch to Cream yarn:
- Round 9 (BLO): 25 sc [25]
- Round 10 (BLO): 6 sc, 1 dec, 1 hdc, 1 dec, 1 hdc, 1 dec, 8 sc, 1 dec, 1 sc [21]
- Round 11: 19 sc, 1 dec [20]
- Rounds 12-13: 20 sc [20]
Stuff the foot and flatten the top. Work 10 sc across the opening to close. Sew the feet to the body between rounds 7 and 14.
The Wings (Make 1 set)
Using Purple/Pink yarn, create the lower and upper parts of the wing. Work the lower part starting with a magic ring, increasing to 22 stitches. For the upper part, start with a chain of 11 and work around the chain to create an oval. Join the upper and lower pieces and work several rounds of decreases to shape the wing into a butterfly silhouette.
Antennas & Pom-Poms
Using Cream yarn, make a MR of 6 sc and work 4 rows of 6 sc. Fasten off. To make the pom-poms, wrap pink wool around two fingers 20 times, tie tightly in the middle, and trim into a sphere. Attach the pom-poms to the tips of the antennas and sew the antennas to the head between rounds 46 and 47.
Finishing Touches
Face Embroidery
- Mouth: Using black thread, embroider a small smile in round 32, centered between the eyes.
- Eye Highlights: Use white thread to add a tiny vertical stitch at the bottom of each safety eye to give the butterfly a “shimmering” look.
Accessories
- Heart: Use Yellow yarn. In a MR: 1 sc, 1 hdc, 2 dc, 3 tr, 1 sc, 3 tr, 2 dc, 1 hdc, 2 sc, 1 tr, 1 sc. Sew to the wing.
- Flowers: Using Sweet Pink yarn, make 4 small flowers using (2 ch, 2 hdc, 1 sl st) repeated 4 times in a MR. Add a bead to the center.
- Leaves: Using Eucalyptus Green yarn, chain 5, work a sc in 3rd chain from hook, 1 hdc-inc, and a sl st to finish.
The Collar and Bow
Create two small Off-White semi-circles. Edge them with Candy Blue yarn using a chain of 30 and working (2 ch, 1 sl st) around the edge. Join the two pieces with a blue yarn bow and tie it around the butterfly’s neck.
Tips for Success
- Tension is Key: Because this pattern uses a very small hook (1.8mm), keep your tension consistent to avoid gaps where the stuffing might show.
- Stuffing: Stuff the head and body firmly, but avoid overstuffing the arms and legs so the butterfly can sit naturally.
- Symmetry: When attaching the antennas and wings, use pins first to ensure everything is centered before sewing them permanently.
- Customization: Feel free to change the colors! This pattern works beautifully with any pastel palette or even bright, neon colors for a more modern look.