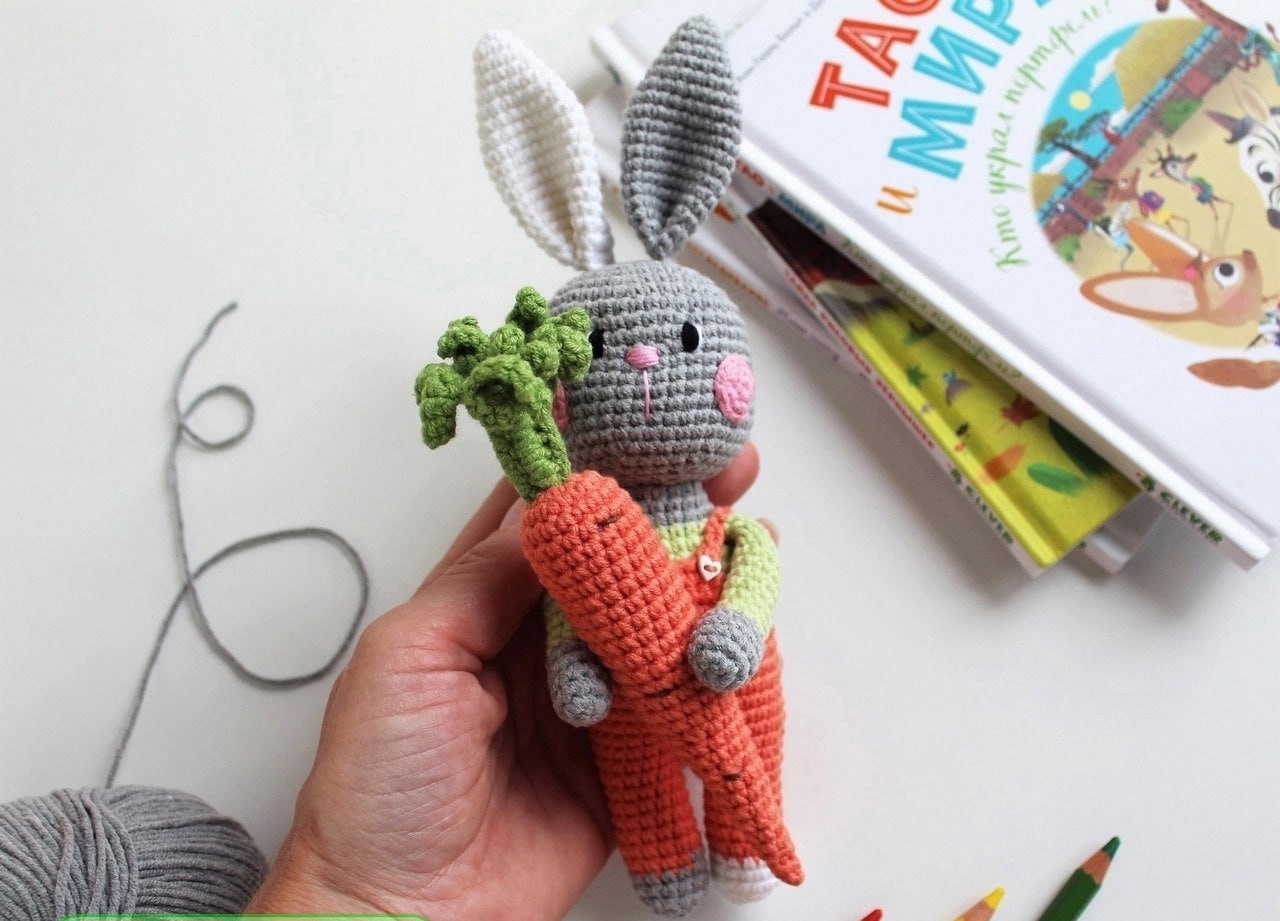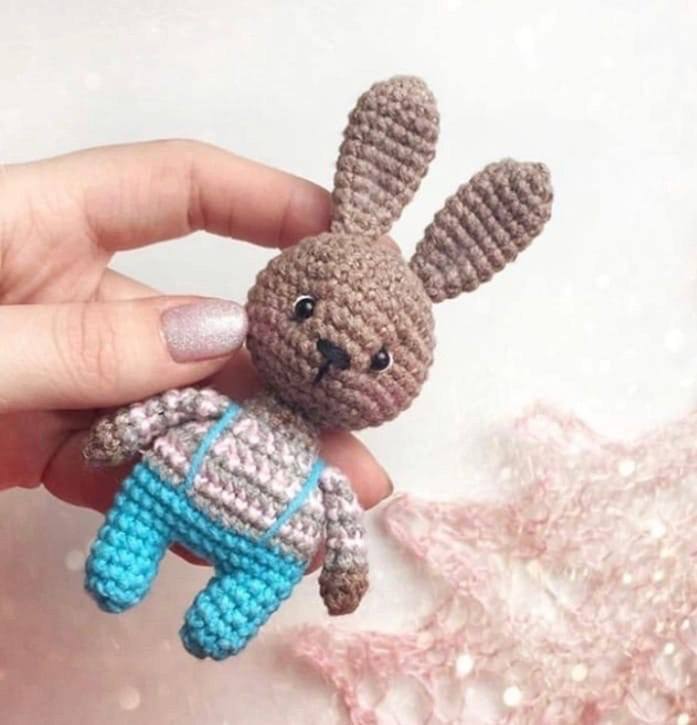
Adorable Christmas Piglet Amigurumi Crochet Pattern
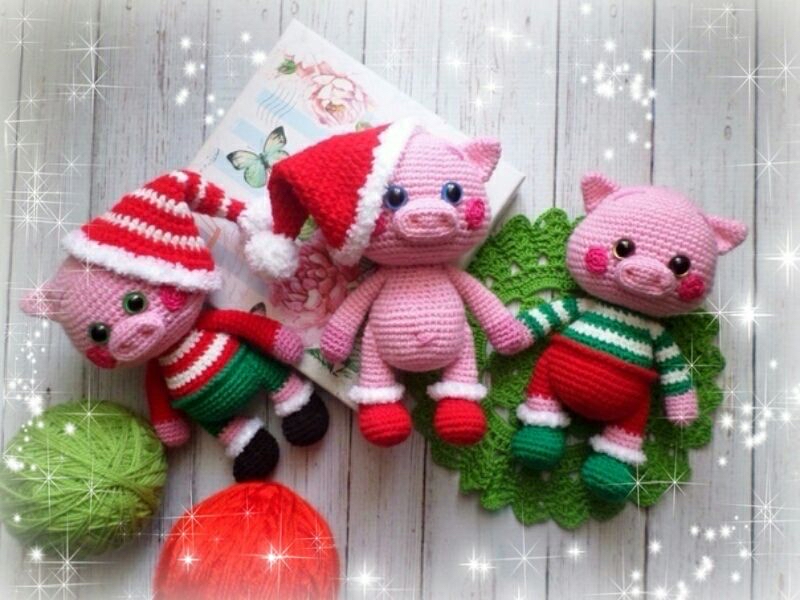
Are you looking for the perfect holiday crochet project? This adorable Christmas Piglet is a heartwarming amigurumi project that is sure to bring a smile to anyone’s face. Whether you are looking to create a unique stocking stuffer, a festive ornament, or a cute companion for your holiday decor, this little piglet—complete with a festive striped outfit—is the ideal choice.
This pattern is designed to be beginner-friendly, focusing on fundamental amigurumi techniques such as working in the magic ring, increasing, and decreasing. By following this tutorial, you will learn how to create various body parts and assemble them into a charming character. This little piglet is a wonderful way to practice color changes and working in the back loops only, which adds beautiful texture to the finished piece.
Introduction
Crocheting amigurumi is a relaxing and rewarding way to bring characters to life. This piglet project is particularly special because of its festive theme. The design features a cute, round head, tiny little boots, and a charming striped body that mimics a holiday sweater. While the finished piglet is small enough to be handheld, the detailed construction ensures it feels sturdy and high-quality.
If you are new to amigurumi, don’t be intimidated! The shapes used here are quite simple. We will be working in continuous rounds, which is a standard technique for creating seamless stuffed toys. Grab your favorite pink yarn and let’s get started on this delightful holiday adventure!
Materials & Abbreviations
Materials Needed
To ensure your piglet turns out just as cute as the one in the photos, I recommend using a tight tension to prevent the stuffing from showing through the stitches. Here is what you will need:
- Yarn: Medium weight (DK or Light Worsted) yarn in the following colors:
- Pink (for the main body, head, arms, ears, and cheeks)
- White (for the trim and stripes)
- Red (for the stripes and festive accents)
- Green (for the base of the “clothing” or pants)
- Crochet Hook: A small crochet hook, ideally between 2.0mm and 2.5mm, to keep the stitches tight.
- Eyes: Blue safety eyes (approx. 8mm to 10mm) or black safety eyes.
- Stuffing: Polyfill or any soft polyester fiberfill.
- Tools: Scissors, a tapestry needle (yarn needle), and stitch markers.
- Optional: Pink embroidery thread or blush for the cheeks to add extra cuteness.
Crochet Abbreviations (US Terms)
Please ensure you are using US crochet terms throughout this pattern:
- MR: Magic Ring (or Magic Circle)
- ch: Chain
- sc: Single Crochet
- inc: Increase (2 sc in one stitch)
- dec: Decrease (sc two stitches together)
- BLO: Back Loop Only
- sl st: Slip Stitch
- st(s): Stitch(es)
Step-by-Step Instructions
The Head
Using pink yarn.
- MR, 6 sc in ring (6)
- 6 inc (12)
- (1 sc, inc) * 6 (18)
- (2 sc, inc) * 6 (24)
- (3 sc, inc) * 6 (30)
- (4 sc, inc) * 6 (36)
- (5 sc, inc) * 6 (42)
- (6 sc, inc) * 6 (48)
- (15 sc, inc) * 3 (51)
- 51 sc (51)
- (16 sc, inc) * 3 (54)
- 12-15. 54 sc (54)
- 16. 12 sc, 3 inc, 24 sc, 3 inc, 12 sc (60)
- 17-21. 60 sc (60)
- 22. 12 sc, 3 dec, 24 sc, 3 dec, 12 sc (54)
- 23. 10 sc, 3 dec, 21 sc, 3 dec, 11 sc (48)
- 24. (4 sc, dec) * 8 (40)
- 25. (3 sc, dec) * 8 (32)
- Begin stuffing the head firmly.
- 26. (2 sc, dec) * 8 (24)
- 27. (2 sc, dec) * 6 (18)
Fasten off, leaving a long tail for sewing to the body.
The Striped Body (Holiday Outfit Version)
This version includes the colorful striped “sweater” effect.
- Base Layer (Green):
- MR, 6 sc in ring (6)
- 2. 6 inc (12)
- 3. (1 sc, inc) * 6 (18)
- 4. (2 sc, inc) * 6 (24)
- 5. (3 sc, inc) * 6 (30)
- 6. (4 sc, inc) * 6 (36)
- 7. (5 sc, inc) * 6 (42)
- 8-12. 42 sc (42)
- White Trim:
- Switch to white yarn. Work in BLO (Back Loop Only) for row 13.
- 13. 42 sc (42)
- Red Stripes:
- Switch to red yarn.
- 14. 8 sc, (dec, 3 sc) * 5, dec, 7 sc (36)
- 15. 36 sc (36)
- 16. 8 sc, (dec, 2 sc) * 5, dec, 6 sc (30)
- Switch to white yarn.
- 17. 30 sc (30)
- Switch to red yarn.
- 18. (dec, 3 sc) * 6 (24)
- Switch to white yarn.
- 19. 24 sc (24)
- Switch to red yarn.
- 20. (dec, 2 sc) * 6 (18)
- Switch to white yarn.
- 21. 18 sc (18)
Fasten off, leaving a long tail to sew the body to the head.
The Little Boots and Legs
We will start with the booties, then work the legs.
The Booties
- ch 5. In 2nd ch from hook: 1 inc, 2 sc, 3 sc in one stitch, 3 sc (10)
- 2 inc, 2 sc, 3 inc, 2 sc, 1 inc (16)
- (1 sc, inc) * 2, 2 sc, (1 inc, 1 sc) * 3, 3 sc, 1 inc (22)
- (1 sc, inc) * 2, 6 sc, (1 inc, 1 sc) * 3, 5 sc, 1 inc (28)
- 5-6. 28 sc (28)
- 7. 12 sc, (dec, 1 sc) * 4, 4 sc (24)
- 8. 10 sc, 6 dec, 2 sc (18)
- 9. 10 sc, 1 dec, 1 sc, 1 dec, 3 sc (16)
- 10. 16 sc (16)
Fasten off and hide the yarn tail.
The Legs
Using the color of the pants (Green). Work in BLO.
- 11-14. 16 sc (16)
- Switch to white yarn. Work in the FRONT loops only.
- 15. (2 sc, 1 dec) * 4 (12)
- 16-21. 12 sc (12)
- 22. (1 sc, 1 dec) * 4 (8)
Stuff the leg firmly and fasten off, leaving a tail for sewing.
The Arms
Using pink yarn.
- MR, 6 sc in ring (6)
- 6 inc (12)
- (5 sc, inc) * 2 (14)
- 4-5. 14 sc (14)
- 6. 1 dec, 12 sc (13)
- 7-8. 13 sc (13)
- 9. 1 dec, 11 sc (12)
- If making the clothed version, switch to sleeve color and work in BLO for row 10.
- 10. 12 sc (12)
- Switch to white yarn and work in the FRONT loops for the cuff.
- 11. 12 sc (12)
- 12. 1 dec, 10 sc (11)
- 13-14. 11 sc (11)
- 15. 1 dec, 9 sc (10)
- 16-17. 10 sc (10)
- Stuff the arm.
- 18. 1 dec, 8 sc (9)
- 19-20. 9 sc (9)
- 21. (1 sc, dec) * 3 (6)
Fasten off, leaving a tail for sewing.
Ears, Cheeks, and Snout
Ears (Make 2)
Using pink yarn.
- MR, 6 sc in ring (6)
- 6 inc (12)
- 12 sc (12)
- (3 sc, inc) * 3 (15)
- 15 sc (15)
- (4 sc, inc) * 3 (18)
Fasten off, leaving a tail for sewing.
Cheeks (Make 2)
Using pink yarn.
- MR, 6 sc in ring (6)
- 6 inc (12)
Fasten off, leaving a tail for sewing.
Snout
Using pink yarn.
- ch 6. In 2nd ch from hook: 3 sc in one stitch, 3 sc, 3 sc in one stitch, 3 sc (12)
- 2. 3 inc, 3 sc, 3 inc, 3 sc, sl st (18)
- Work in BLO for row 3.
- 3. 18 sc (18)
- Work in both loops for row 4.
- 4. 18 sc (18)
Fasten off, leaving a tail for sewing.
Finishing
Now comes the most rewarding part—assembling your piglet!
- Head and Body: Pin the head to the body using safety pins to ensure it is centered, then sew it securely using your tapestry needle.
- Limbs: Attach the arms to the sides of the body and the legs to the bottom. Make sure the legs are even so the piglet can sit upright.
- Face: Insert the safety eyes between rows 10 and 11 of the head (distance may vary depending on eye size). Sew the snout onto the center of the face.
- Details: Sew the ears to the top of the head and the cheeks just below the eyes. If you have pink embroidery thread, you can add small “blush” marks on the cheeks for extra cuteness.
- Final Touches: As seen in the inspiration photo, you can add a little red and white Santa hat to complete the holiday look!
Tips
- Tension is Key: When working with amigurumi, try to keep your stitches tight. This prevents the polyester stuffing from peeking through the gaps.
- Use Stitch Markers: Since amigurumi is worked in continuous rounds, it is very easy to lose track of your starting stitch. Always use a marker!
- Color Changes: When changing colors, pull the new color through the last two loops of the final stitch of the previous color to create a clean transition.
- Safety First: If this piglet is intended for a small child, please use embroidered eyes instead of plastic safety eyes to prevent a choking hazard.