Cozy Hibernate Crochet Blanket Pattern: Easy Chunky Throw Tutorial
There is nothing quite like curling up under a thick, plush blanket when the temperature drops. If you are looking for a project that combines maximum coziness with a simple, repetitive rhythm, the Hibernate Crochet Blanket is the perfect choice. This chunky throw uses a beautiful variation of the moss stitch (also known as the linen stitch), creating a dense, woven texture that feels more like a luxury fabric than a traditional crochet project.
Because this pattern uses super bulky yarn and a large hook, it works up remarkably fast. Whether you are a complete beginner or an experienced crocheter looking for a relaxing “mindless” project, this blanket is designed for success. The color-blocked stripes add a modern touch, while the thick yarn ensures you stay warm all winter long.
Materials & Abbreviations
To get started on your Hibernate Crochet Blanket, you will need a few basic supplies. Using a super bulky chenille-style yarn is key to achieving that signature “cloud-like” feel.
Supplies Needed
- Yarn: Super Bulky weight yarn (approximately 10.5 oz per ball). You will need three colors:
- Main Color (MC): 4 balls (approx. 788 yards)
- Contrast Color A: 1 ball (approx. 195 yards)
- Contrast Color B: 1 ball (approx. 101 yards)
- Crochet Hook: US size N/15 (10 mm) or the size needed to obtain the gauge specified below.
- Notions: Yarn needle for weaving in ends and a pair of scissors.
Gauge and Measurements
Finished Size: Approximately 52 inches wide by 60 inches long.
Gauge: 8 stitches and 6 rows = 4 inches in the established pattern. If your square is too small, try a larger hook; if it is too large, try a smaller hook.
Abbreviations (US Terms)
- Approx: Approximately
- Beg: Beginning
- Ch: Chain
- Cont: Continue
- Pat: Pattern
- Rep: Repeat
- RS: Right Side
- Sp(s): Space(s)
- St(s): Stitch(es)
- sc: Single crochet
- sl st: Slip stitch
Step-by-Step Instructions
The Hibernate Blanket is worked in rows from the bottom up. The magic of this pattern lies in the “staggered” placement of the single crochets, which creates a woven look.
The Foundation and First Row
Using your Main Color (MC), start by chaining 106. This sets the width of your blanket.
Row 1 (RS): Work 1 sc in the 2nd chain from your hook. *Chain 1, skip the next chain, work 1 sc in the following chain. Repeat from * until you reach the end of the chain. Turn your work. You should have a total of 105 stitches.
Establishing the Pattern Repeat
The rest of the blanket is created by repeating a simple two-row sequence. Pay close attention to where you place your stitches—you will be working into the chain-1 spaces created in the previous row.
Row 2: Chain 1. Work 1 sc in the first sc. *Work 1 sc in the next ch-1 space, chain 1, and skip the next sc. Repeat from * until you have 2 stitches left. Work 1 sc in the next ch-1 space and 1 sc in the final sc. Turn.
Row 3: Chain 1. Work 1 sc in the first sc. *Chain 1, skip the next sc, and work 1 sc in the next ch-1 space. Repeat from * until you have 2 sc left. Chain 1, skip the next sc, and work 1 sc in the last sc. Turn.
From this point forward, you will simply repeat Row 2 and Row 3 to create the body of the blanket.
Adding the Color Blocks
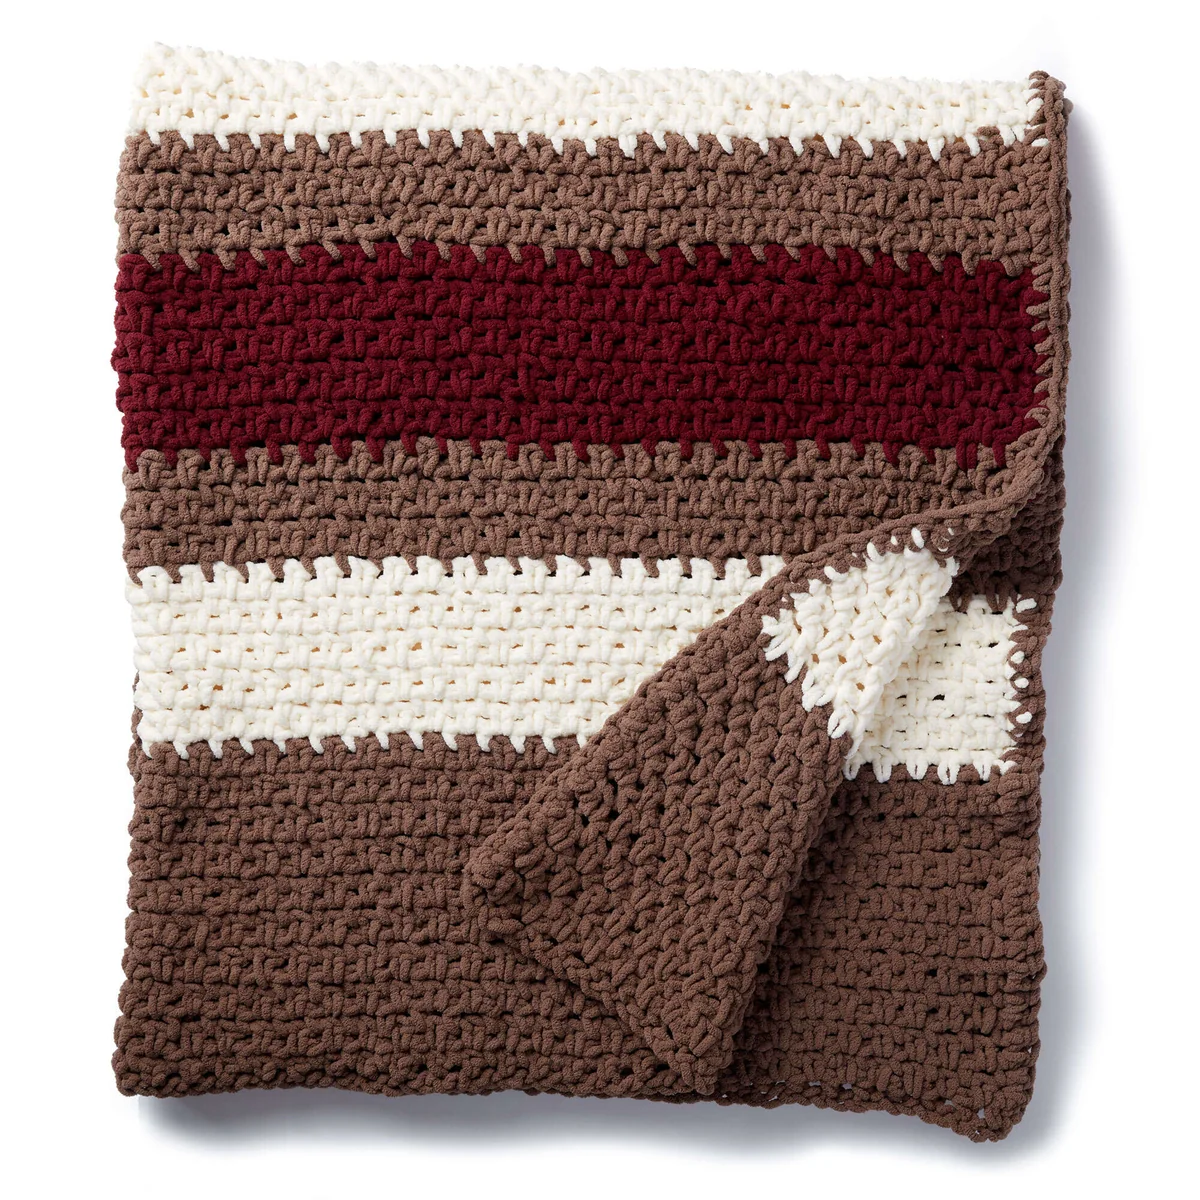
To create the striped effect, you will switch colors at specific intervals. When changing colors, always join the new yarn at the end of the row so the color change happens cleanly on the opposite side.
- First Section: Continue working in the Main Color (MC) until the blanket measures 10 inches from the beginning. Ensure you end on a “Row 3” before switching. Break the MC yarn.
- First Stripe: Join Contrast Color A and work 10 rows in the established pattern. Break Color A.
- Middle Section: Join Main Color (MC) and work 6 rows in pattern. Break MC.
- Second Stripe: Join Contrast Color B and work 10 rows in pattern. Break Color B.
- Middle Section: Join Main Color (MC) and work 6 rows in pattern. Break MC.
- Third Stripe: Join Contrast Color A and work 10 rows in pattern. Break Color A.
- Final Section: Join Main Color (MC) and continue working in the pattern until the total length of the blanket measures 60 inches.
Finishing
Once you have reached the 60-inch mark, fasten off your yarn and weave in your ends using a yarn needle. To give the blanket a polished, professional look, we will add a simple side edging.
Adding the Side Edging
With the Right Side (RS) of the blanket facing you, join your Main Color (MC) with a slip stitch to the bottom right corner. Chain 1, then work 1 row of single crochet (sc) evenly up the side of the blanket. Fasten off and weave in the end. Repeat this process for the left side of the blanket.
Tips for a Perfect Blanket
To ensure your Hibernate Crochet Blanket looks its best, keep these helpful tips in mind:
Maintaining Consistent Tension
Because super bulky yarn is so thick, it can be easy to accidentally pull your stitches too tight, which can make the blanket feel stiff. Try to keep a relaxed grip on your hook to ensure the blanket remains drapey and soft.
Seamless Color Changes
For the cleanest look, try the “standing stitch” method or join your new color on the final stitch of the row. This prevents a visible gap or a bulky knot where the colors meet.
Choosing Your Colors
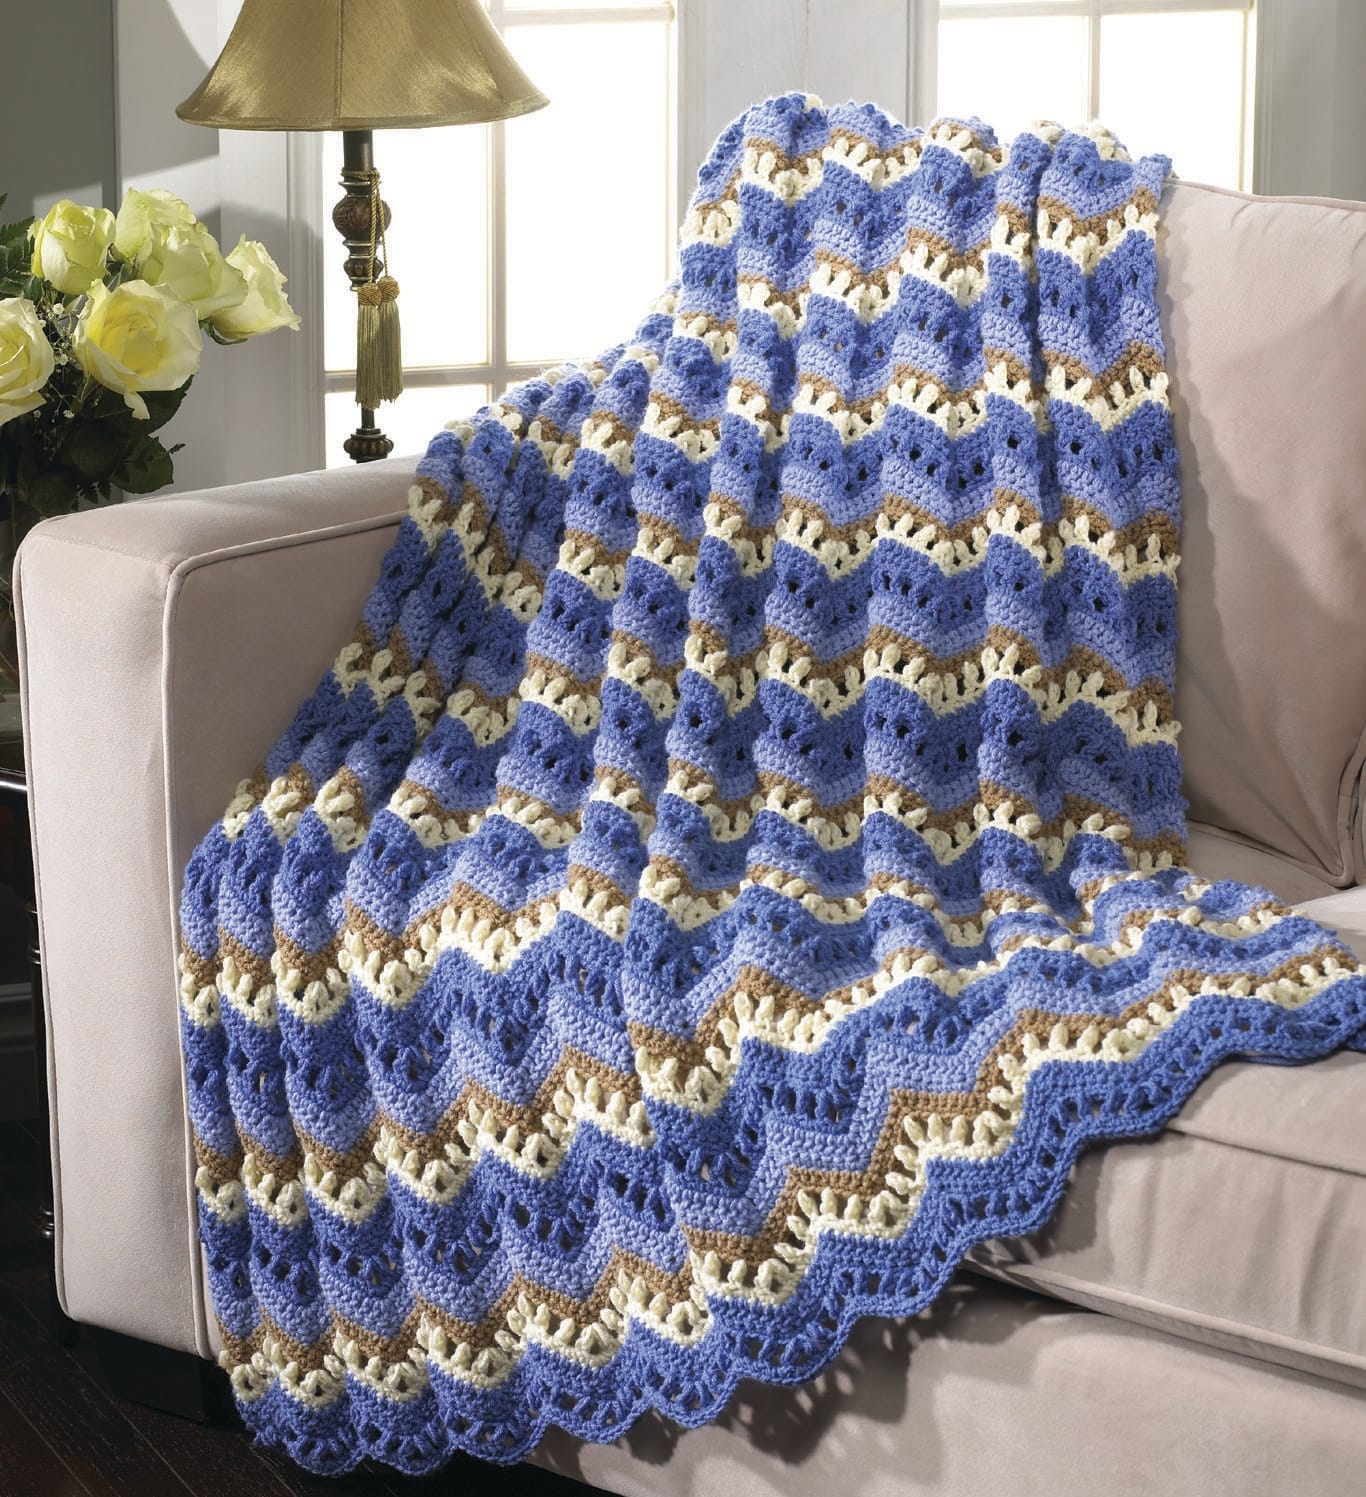
While the original design uses neutral taupe, white, and plum, this pattern works beautifully with any palette. For a coastal vibe, try navy, cream, and seafoam green. For a modern look, try varying shades of grey and a single pop of neon yellow or gold.
Caring for Your Chunky Throw
Super bulky chenille yarns are incredibly soft but can pill over time. To keep your blanket looking new, gently hand wash it in cool water with a mild detergent and lay it flat to dry. Avoid hanging the blanket while wet, as the weight of the water and the bulky yarn can stretch the fabric out of shape.