How to Crochet an Open Check Top: A Detailed Step-by-Step Pattern
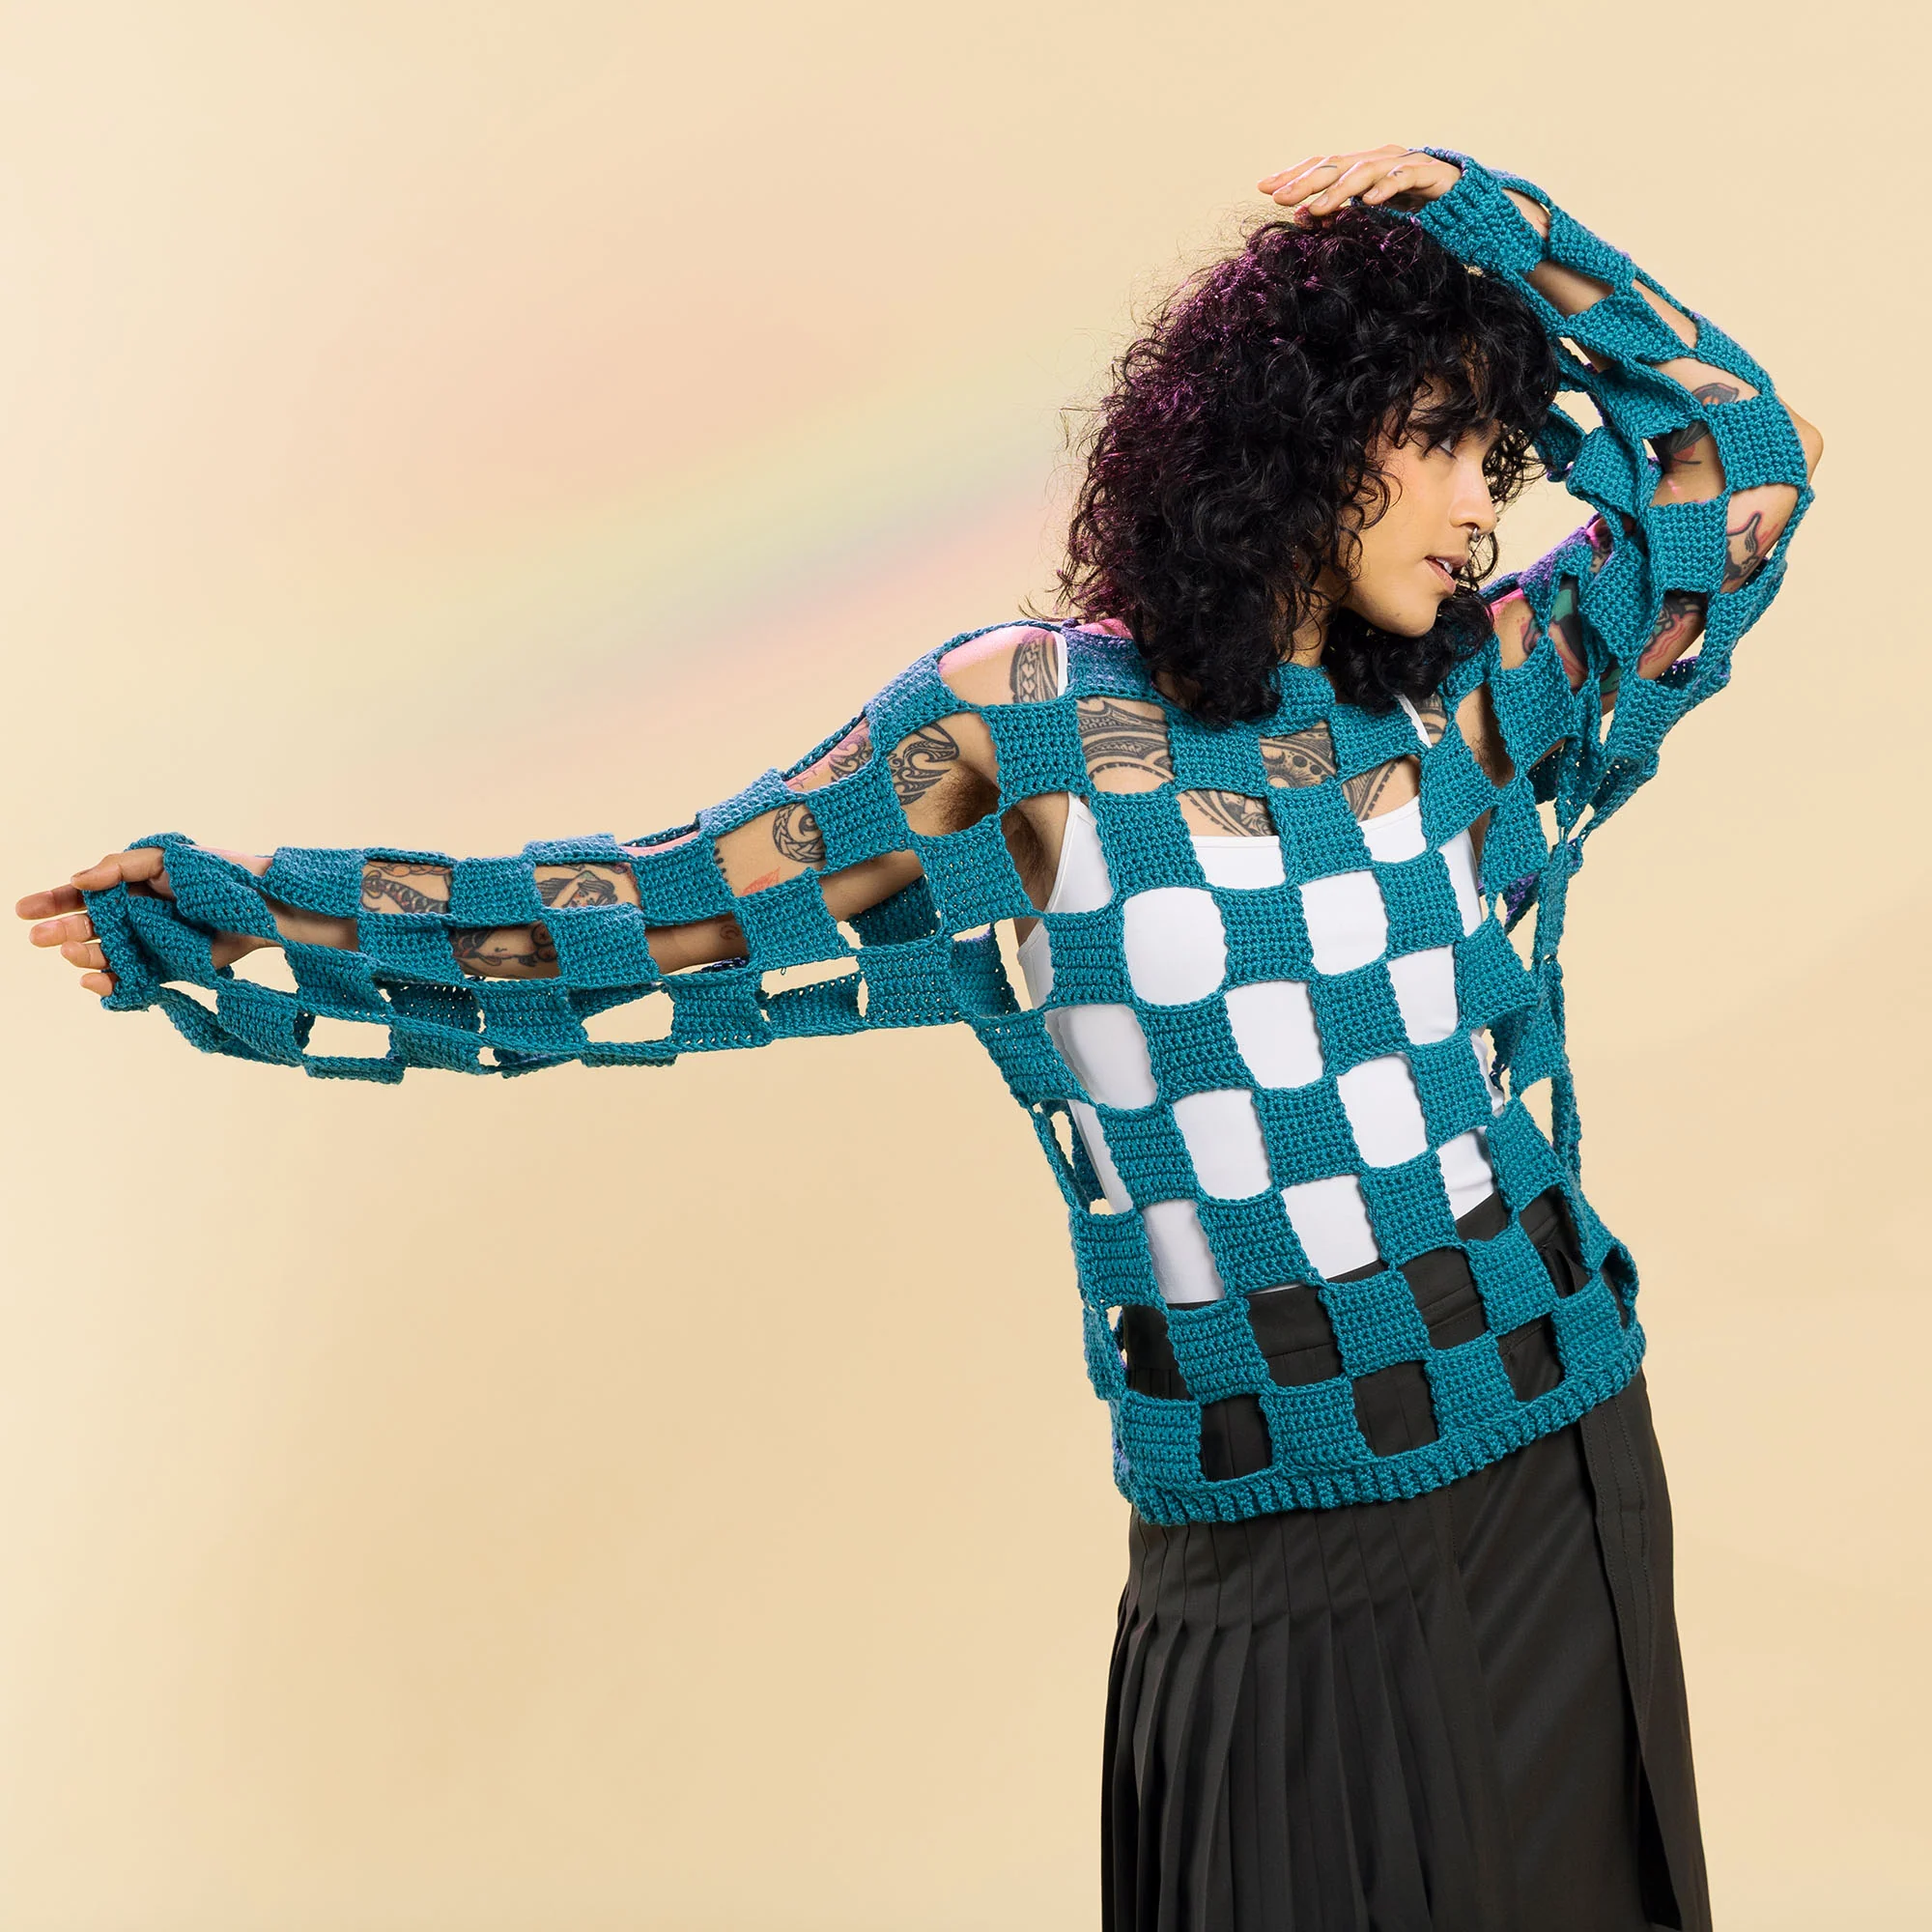
Looking for a trendy, breathable project for your next crochet adventure? This Open Check Top is the perfect blend of modern style and classic technique. With its airy, grid-like structure, it’s an ideal piece for layering during the spring or wearing as a statement top in the summer. Whether you prefer a sleek, solid-colored look or a bold, two-tone checkerboard effect, this pattern is designed to be customizable.
The construction of this top is unique: it is worked as one large piece that is later folded and seamed, meaning you won’t have to worry about sewing together dozens of small squares. By alternating “Solid Blocks” and “Open Blocks,” you’ll create a professional-looking mesh that drapes beautifully.
Materials & Abbreviations
Before we pick up our hooks, let’s make sure you have everything you need. This pattern uses a Light (Weight 3) yarn to ensure the top remains lightweight and airy.
Materials Needed
- Yarn: Weight 3 (Light) Merino or similar blend.
- XS/S: Approx. 926 yards
- M/L: Approx. 1036 yards
- XL/2XL: Approx. 1326 yards
- 3/4XL: Approx. 1448 yards
- Crochet Hook: Size H/8 (5 mm) or size needed to obtain gauge.
- Notions: Yarn needle, stitch markers.
Gauge
16 single crochet (sc) and 17 rows = 4 inches. If your squares are too large or small, try adjusting your hook size to ensure the top fits as intended.
Abbreviations (US Terms)
- Alt: Alternate
- Beg: Beginning
- Ch: Chain
- Fsc: Foundation single crochet (A method of creating a chain and a single crochet at the same time)
- RS: Right side
- WS: Wrong side
- Sc: Single crochet
- Sl st: Slip stitch
- St(s): Stitch(es)
- Tog: Together
Step-by-Step Instructions
This top is worked in sections of blocks. We will start with the front of the body, move to the sleeves, create the neck opening, and finish with the back of the body.
The Basic Block Logic
Almost every part of this top relies on two types of blocks: Solid Blocks and Open Blocks.
- Solid Block: A small rectangle of tight single crochet. Typically, you chain 9, work 8 sc across for 9 rows, and then finish.
- Open Block: These are the “holes” in the mesh. They are created by slip stitching around the edges of a Solid Block and using foundation single crochets (fsc) to create the next solid section.
Creating the Front Body
The front is worked in five block sections, alternating direction to build the fabric.
First Front Block Section (Right to Left)
Start by creating your first Solid Block: Ch 9. Work 1 sc in the 2nd ch from hook and 1 sc in each remaining ch (8 sc total). Turn and work 8 sc for the next 8 rows. Do not turn after the 9th row.
To create the Open Block, ch 1 and slip stitch down the side of the Solid Block (8 rows). Then, ch 9 and work 8 fsc. Turn and work 8 fsc and a ch-8 space. Repeat this sequence to create the required number of blocks for your size: 5 (6-7-8) Solid Blocks and 4 (5-6-7) Open Blocks in total.
Second Front Block Section (Left to Right)
Working with the WS facing, slip stitch across the first 8 sc. Ch 8, and sl st into the first sc of the next Solid Block. Turn and work 8 sc across the chain. Work 9 rows of sc to complete the Solid Block. For the Open Block, sl st across the next 8 sc, then sl st down the side of the block. Repeat until you have 4 (5-6-7) Solid Blocks and 3 (4-5-6) Open Blocks total.
Third, Fourth, and Fifth Front Block Sections
Continue alternating your direction (Right to Left, then Left to Right). Follow the same pattern as the first and second sections. Once the fifth section is complete, fasten off.
Adding the Sleeves
The sleeves are worked similarly to the body, using the Solid and Open block method. You will build a series of blocks to create the length and width of the arm.
Begin with a Solid Block (Ch 9, 9 rows of 8 sc). Create an Open Block by slip stitching down the side and working 8 fsc. Continue repeating these blocks until you reach the required count for your size. For most sizes, this will be approximately 14-17 Solid Blocks per sleeve. Remember to mirror the process for the second sleeve.
Shaping the Neckline
The neckline is created by strategically placing chains and slip stitches to leave a gap in the center of the top. Depending on your size (XS/S through 3/4XL), you will work a combination of Solid Blocks and a “Neck Opening Row.”
For the neck opening, you will work around the side of a Solid Block with slip stitches, then chain a specific length (such as 40 chains for smaller sizes or 17 chains for larger sizes) before slip stitching back into the next Solid Block. This creates the hole for your head.
Completing the Back Body
The back of the top mirrors the front. Join your yarn to the remaining sleeve section and repeat the block sequences used for the front. You will work through the First, Second, Third, Fourth, and Fifth Back Block Sections, ensuring your Solid and Open block counts match those on the front of the garment.
Finishing
Now that all the crocheting is done, it’s time to turn your flat piece into a wearable garment!
Edging and Seaming
Fold your work in half widthwise, aligning the Neck Opening at the fold line. Ensure that the checkerboard pattern lines up perfectly. Using a slip stitch, join the edges of the sleeves and the side seams. This creates a clean, sturdy border and transforms the shape into a top.
Adding the Cuffs and Ribbing
To give the top a polished look, add ribbed cuffs to the sleeves:
- Ch 5. Work 1 sc in the 2nd ch from hook and each remaining ch (4 sc).
- Turn, ch 1, and work 1 sc in the back loops only of each stitch.
- Repeat the back-loop-only row until the cuff reaches 10 to 12.5 inches (depending on size).
- Sew the first and last rows together to make a loop, then sew the cuff to the sleeve edge.
If you are making Version 2, you can use this same ribbing technique to add a bottom border to the waist of the top.
Tips for Success
- Master the Fsc: The foundation single crochet is key to the “Open Block” look. If you struggle with it, there are many great video tutorials online that show this stitch in slow motion.
- Consistent Tension: Because this pattern relies on a grid of blocks, keeping your tension consistent is important. If your blocks start to warp, check your gauge.
- Blocking is Your Friend: Once finished, lightly steam block your top. This will help the “Open Blocks” open up fully and give the garment a professional, draped silhouette.
- Yarn Choice: While Merino is suggested, any light-weight yarn with a bit of drape will work. Avoid very stiff cottons, as they may make the top feel rigid.