Adorable Amigurumi Bunny and Sheep Crochet Pattern: A Step-by-Step Tutorial
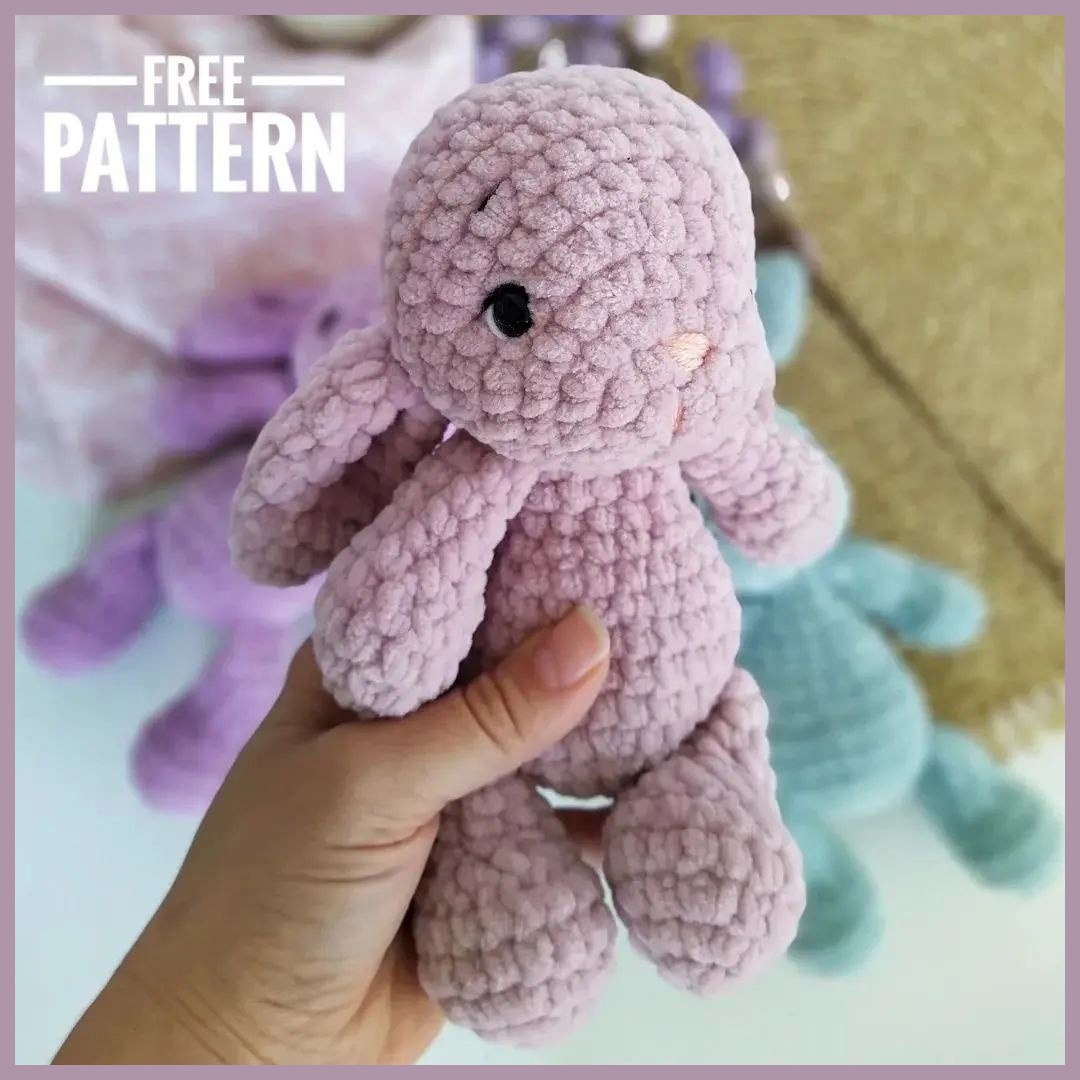
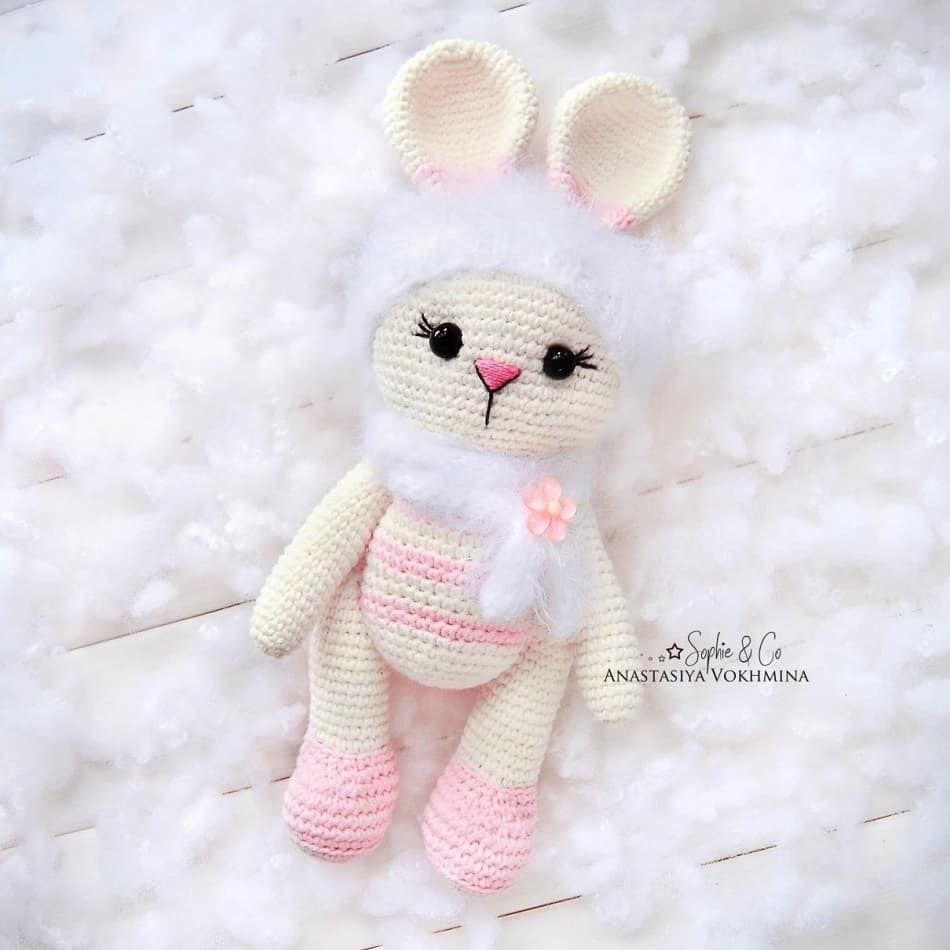
Whether you are looking to create a cuddly companion for a newborn or a whimsical addition to your plushie collection, this versatile crochet pattern is the perfect project. The beauty of this design is its flexibility: by making a few small adjustments to the ears and adding a couple of tiny horns, you can choose to create either a sweet little bunny or a fluffy baby sheep.
This project uses a combination of crochet for the main body and basic knitting for the accessories, resulting in a professional, high-quality toy with a charming “boutique” feel. The soft pastel color palette and rounded shapes make these animals incredibly huggable and beginner-friendly.
Materials & Abbreviations
To get started, gather the following materials. While we recommend these specific types of yarn for the look shown in the photos, feel free to substitute them with any colors or textures you prefer!
Supplies Needed
- Main Yarn: DK weight cotton blend yarn in Cream (milky white) and Soft Pink.
- Texture Yarn: A small amount of bouclé or chenille yarn in white for the hat.
- Crochet Hook: 2.0mm (Size B-1/C-1) to ensure a tight stitch that holds stuffing.
- Knitting Needles: US 6 (4.0mm) for the scarf and hat.
- Filling: High-quality polyester fiberfill.
- Eyes: 8-10mm black safety eyes or black beads.
- Embroidery: Black and pink embroidery floss for the nose and mouth.
- Tools: Yarn needle, scissors, and stitch markers.
Abbreviations (US Terms)
- MR: Magic Ring
- sc: Single crochet
- inc: Increase (2 sc in one stitch)
- dec: Decrease (sc 2 together)
- sl st: Slip stitch
- BLO: Back loop only
- st(s): Stitch(es)
- ch: Chain
Step-by-Step Instructions
The Head and Body
This piece is worked as one continuous unit from the top of the head down to the bottom of the body. Use the Cream yarn and stuff the piece firmly as you go.
Head:
Row 1: 6 sc in MR (6)
Row 2: 6 inc (12)
Row 3: (1 sc, 1 inc) x6 (18)
Row 4: (2 sc, 1 inc) x6 (24)
Row 5: (3 sc, 1 inc) x6 (30)
Row 6: (4 sc, 1 inc) x6 (36)
Row 7: (5 sc, 1 inc) x6 (42)
Row 8: (6 sc, 1 inc) x6 (48)
Row 9: (7 sc, 1 inc) x6 (54)
Row 10: (8 sc, 1 inc) x6 (60)
Rows 11-22: 60 sc (12 rows total)
Neck and Upper Body:
Row 23: (8 sc, 1 dec) x6 (54)
Row 24: (7 sc, 1 dec) x6 (48)
Row 25: (6 sc, 1 dec) x6 (42)
Row 26: (5 sc, 1 dec) x6 (36)
Row 27: (4 sc, 1 dec) x6 (30)
Row 28: 30 sc
Lower Body and Striping:
Row 29: (4 sc, 1 inc) x6 (36)
Row 30: (5 sc, 1 inc) x6 (42)
Rows 31-32: 42 sc in Soft Pink
Rows 33-34: 42 sc in Cream
Rows 35-36: 42 sc in Soft Pink
Rows 37-38: 42 sc in Cream
Rows 39-40: 42 sc in Soft Pink
Rows 41-43: 42 sc in Cream
Closing the Body:
Row 44: (5 sc, 1 dec) x6 (36)
Row 45: (4 sc, 1 dec) x6 (30)
Row 46: (3 sc, 1 dec) x6 (24)
Row 47: (2 sc, 1 dec) x6 (18)
Row 48: (1 sc, 1 dec) x6 (12)
Row 49: 6 dec (6)
Fasten off, weave in the end, and sew the bottom hole closed.
The Legs (Make 2)
Start with Soft Pink yarn. These legs are worked as ovals.
Foot Shape:
Start: Chain 5. Working from the second chain from the hook:
Row 1: 1 inc, 2 sc, 2 inc in the last stitch, 2 sc, 1 inc (12)
Row 2: 1 inc, 4 sc, 2 inc, 4 sc, 1 inc (16)
Row 3: 1 inc, 1 sc, 1 inc, 3 sc, 1 inc, 1 sc, 1 inc, 1 sc, 1 inc, 3 sc, 1 inc, 1 sc (22)
Row 4: 2 inc, 4 sc, 1 inc, 4 sc, 2 inc, 4 sc, 1 inc, 4 sc (28)
Leg Length:
Row 5: 28 sc in BLO
Rows 6-8: 28 sc
Row 9: Work 3 sc to align the start of the round over the heel. Then: 8 sc, 1 dec, (1 sc, 1 dec) x3, 9 sc (24)
Row 10: 8 sc, 4 dec, 8 sc (20)
Row 11: 8 sc, 2 dec, 8 sc (18)
Upper Leg:
Change to Cream yarn.
Row 12: 18 sc in BLO
Rows 13-25: 18 sc
Row 26: (1 sc, 1 dec) x6 (12)
Row 27: 12 sc
Row 28: 6 dec (6)
Fasten off and sew closed.
The Arms (Make 2)
Use Cream yarn.
Row 1: 6 sc in MR (6)
Row 2: 6 inc (12)
Row 3: 12 sc
Row 4: (3 sc, 1 inc) x3 (15)
Rows 5-20: 15 sc
Row 21: (3 sc, 1 dec) x3 (12)
Row 22: 6 dec (6)
Fasten off and leave a long tail for sewing.
The Ears (Make 2)
Use Cream yarn.
Row 1: 6 sc in MR (6)
Row 2: 6 inc (12)
Row 3: (1 sc, 1 inc) x6 (18)
Row 4: (2 sc, 1 inc) x6 (24)
Row 5: (3 sc, 1 inc) x6 (30)
Row 6: 30 sc
Row 7: (4 sc, 1 inc) x6 (36)
Row 8: 36 sc
Row 9: (5 sc, 1 inc) x6 (42)
Rows 10-12: 42 sc
Row 13: (5 sc, 1 dec) x6 (36)
Rows 14-15: 36 sc
Row 16: (4 sc, 1 dec) x6 (30)
Change to Soft Pink yarn.
Rows 17-18: 30 sc
Change to Cream yarn.
Row 19: (3 sc, 1 dec) x6 (24)
Change to Soft Pink yarn.
Rows 20-21: 24 sc
Change to Cream yarn.
Row 22: 24 sc
Fold the piece in half and sew the outer edges together to create the ear shape.
Specialized Details
Sheep Horns (Make 2)
Use Cream yarn. Row 1: 6 sc in MR; Row 2: 6 inc (12); Row 3: 12 sc; Row 4: (3 sc, 1 inc) x3 (15); Row 5: 15 sc; Row 6: (4 sc, 1 inc) x3 (18). Sl st to join and fasten off.
Bunny Tail
Use Cream yarn. Row 1: 6 sc in MR; Row 2: 6 inc (12); Row 3: (1 sc, 1 inc) x6 (18); Row 4: 18 sc; Row 5: (4 sc, 1 dec) x3 (15). Sl st to join and fasten off.
Accessories (Knitted)
Using US 6 knitting needles:
- Scarf: Cast on 6 stitches. Work in stockinette stitch (knit one row, purl one row) until desired length.
- Hat: Cast on 54 stitches. Work 6 rows of 2×2 ribbing (K2, P2). Then, continue in stockinette stitch until the hat reaches the desired height.
Finishing
Now it is time to bring your character to life!
- Face Assembly: Place the safety eyes between rows 14 and 16 of the head. Use pink embroidery floss to sew a small triangular nose. Use black floss to create a small vertical line for the mouth and add delicate eyelashes extending from the outer corners of the eyes.
- Attachment: Sew the arms to the sides of the body and the legs to the bottom.
- Bunny vs. Sheep:
- For the Bunny: Sew the ears upright on top of the head and attach the fluffy tail to the back.
- For the Sheep: Sew the ears slightly lower and drooping to the sides, and attach the horns to the top of the head.
- Clothing: Wrap the knitted scarf around the neck and place the fluffy hat on the head. Add a small decorative flower to the scarf for an extra touch of cuteness.
Tips for Success
Tension is Key: When working with amigurumi, keep your tension tight. If you see gaps where the stuffing is peeking through, try dropping down a hook size (e.g., from 2.0mm to 1.75mm).
Invisible Decreases: To make your decreases disappear into the fabric, use the “invisible decrease” method: insert your hook into the front loop of the first stitch and then the front loop of the next stitch, completing the sc normally.
Color Changes: For the cleanest look when switching between cream and pink, change colors on the last pull-through of the previous stitch. This ensures the color change happens exactly at the start of the new round.
Stuffing: Stuff the head and body in small increments. Over-stuffing can stretch the stitches and make the plushie look distorted, while under-stuffing can leave it looking limp.