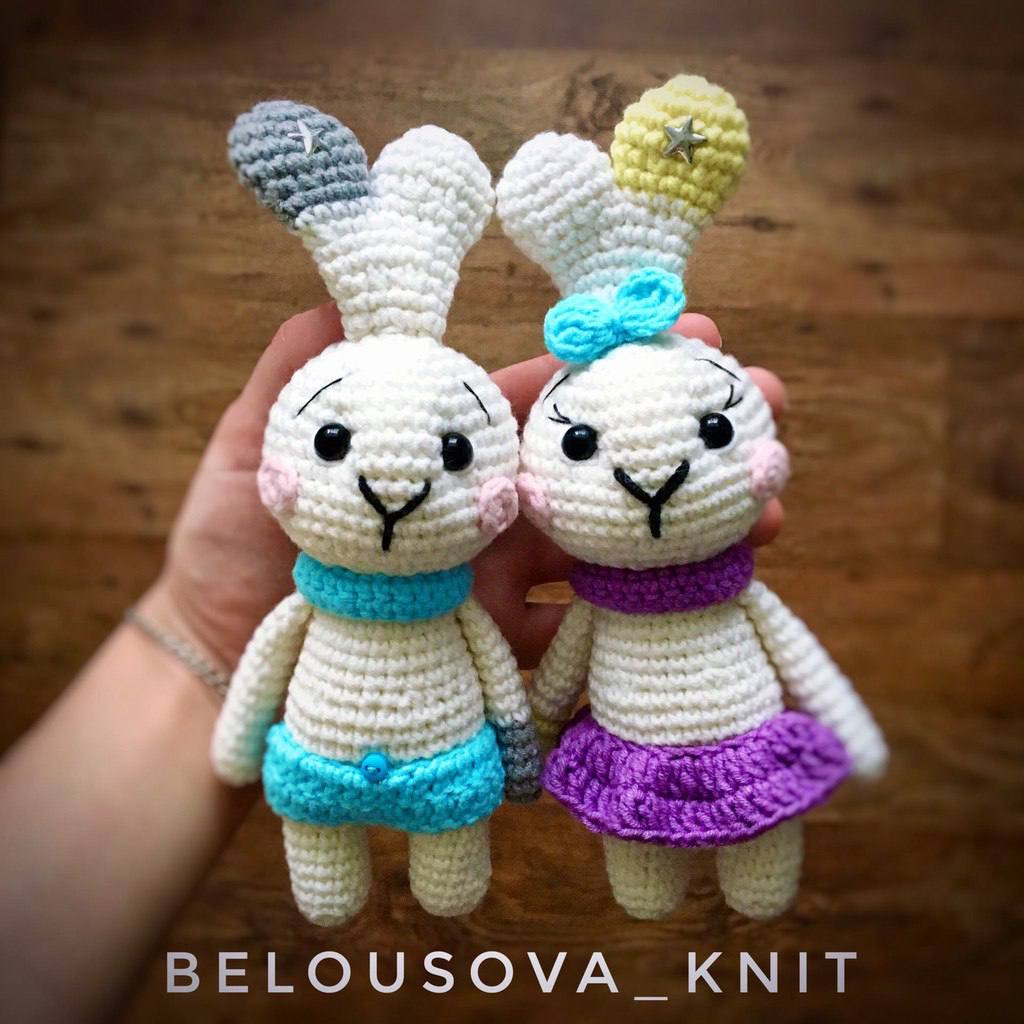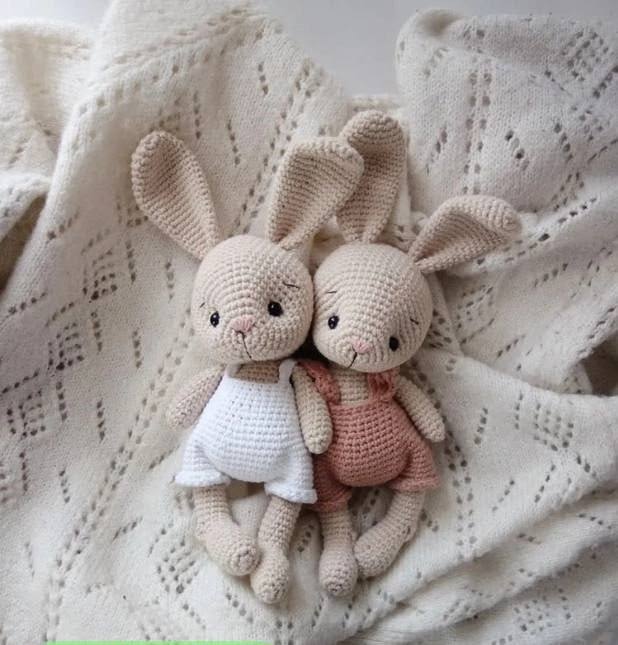
Adorable Plush Bunny Crochet Pattern: A Step-by-Step Tutorial
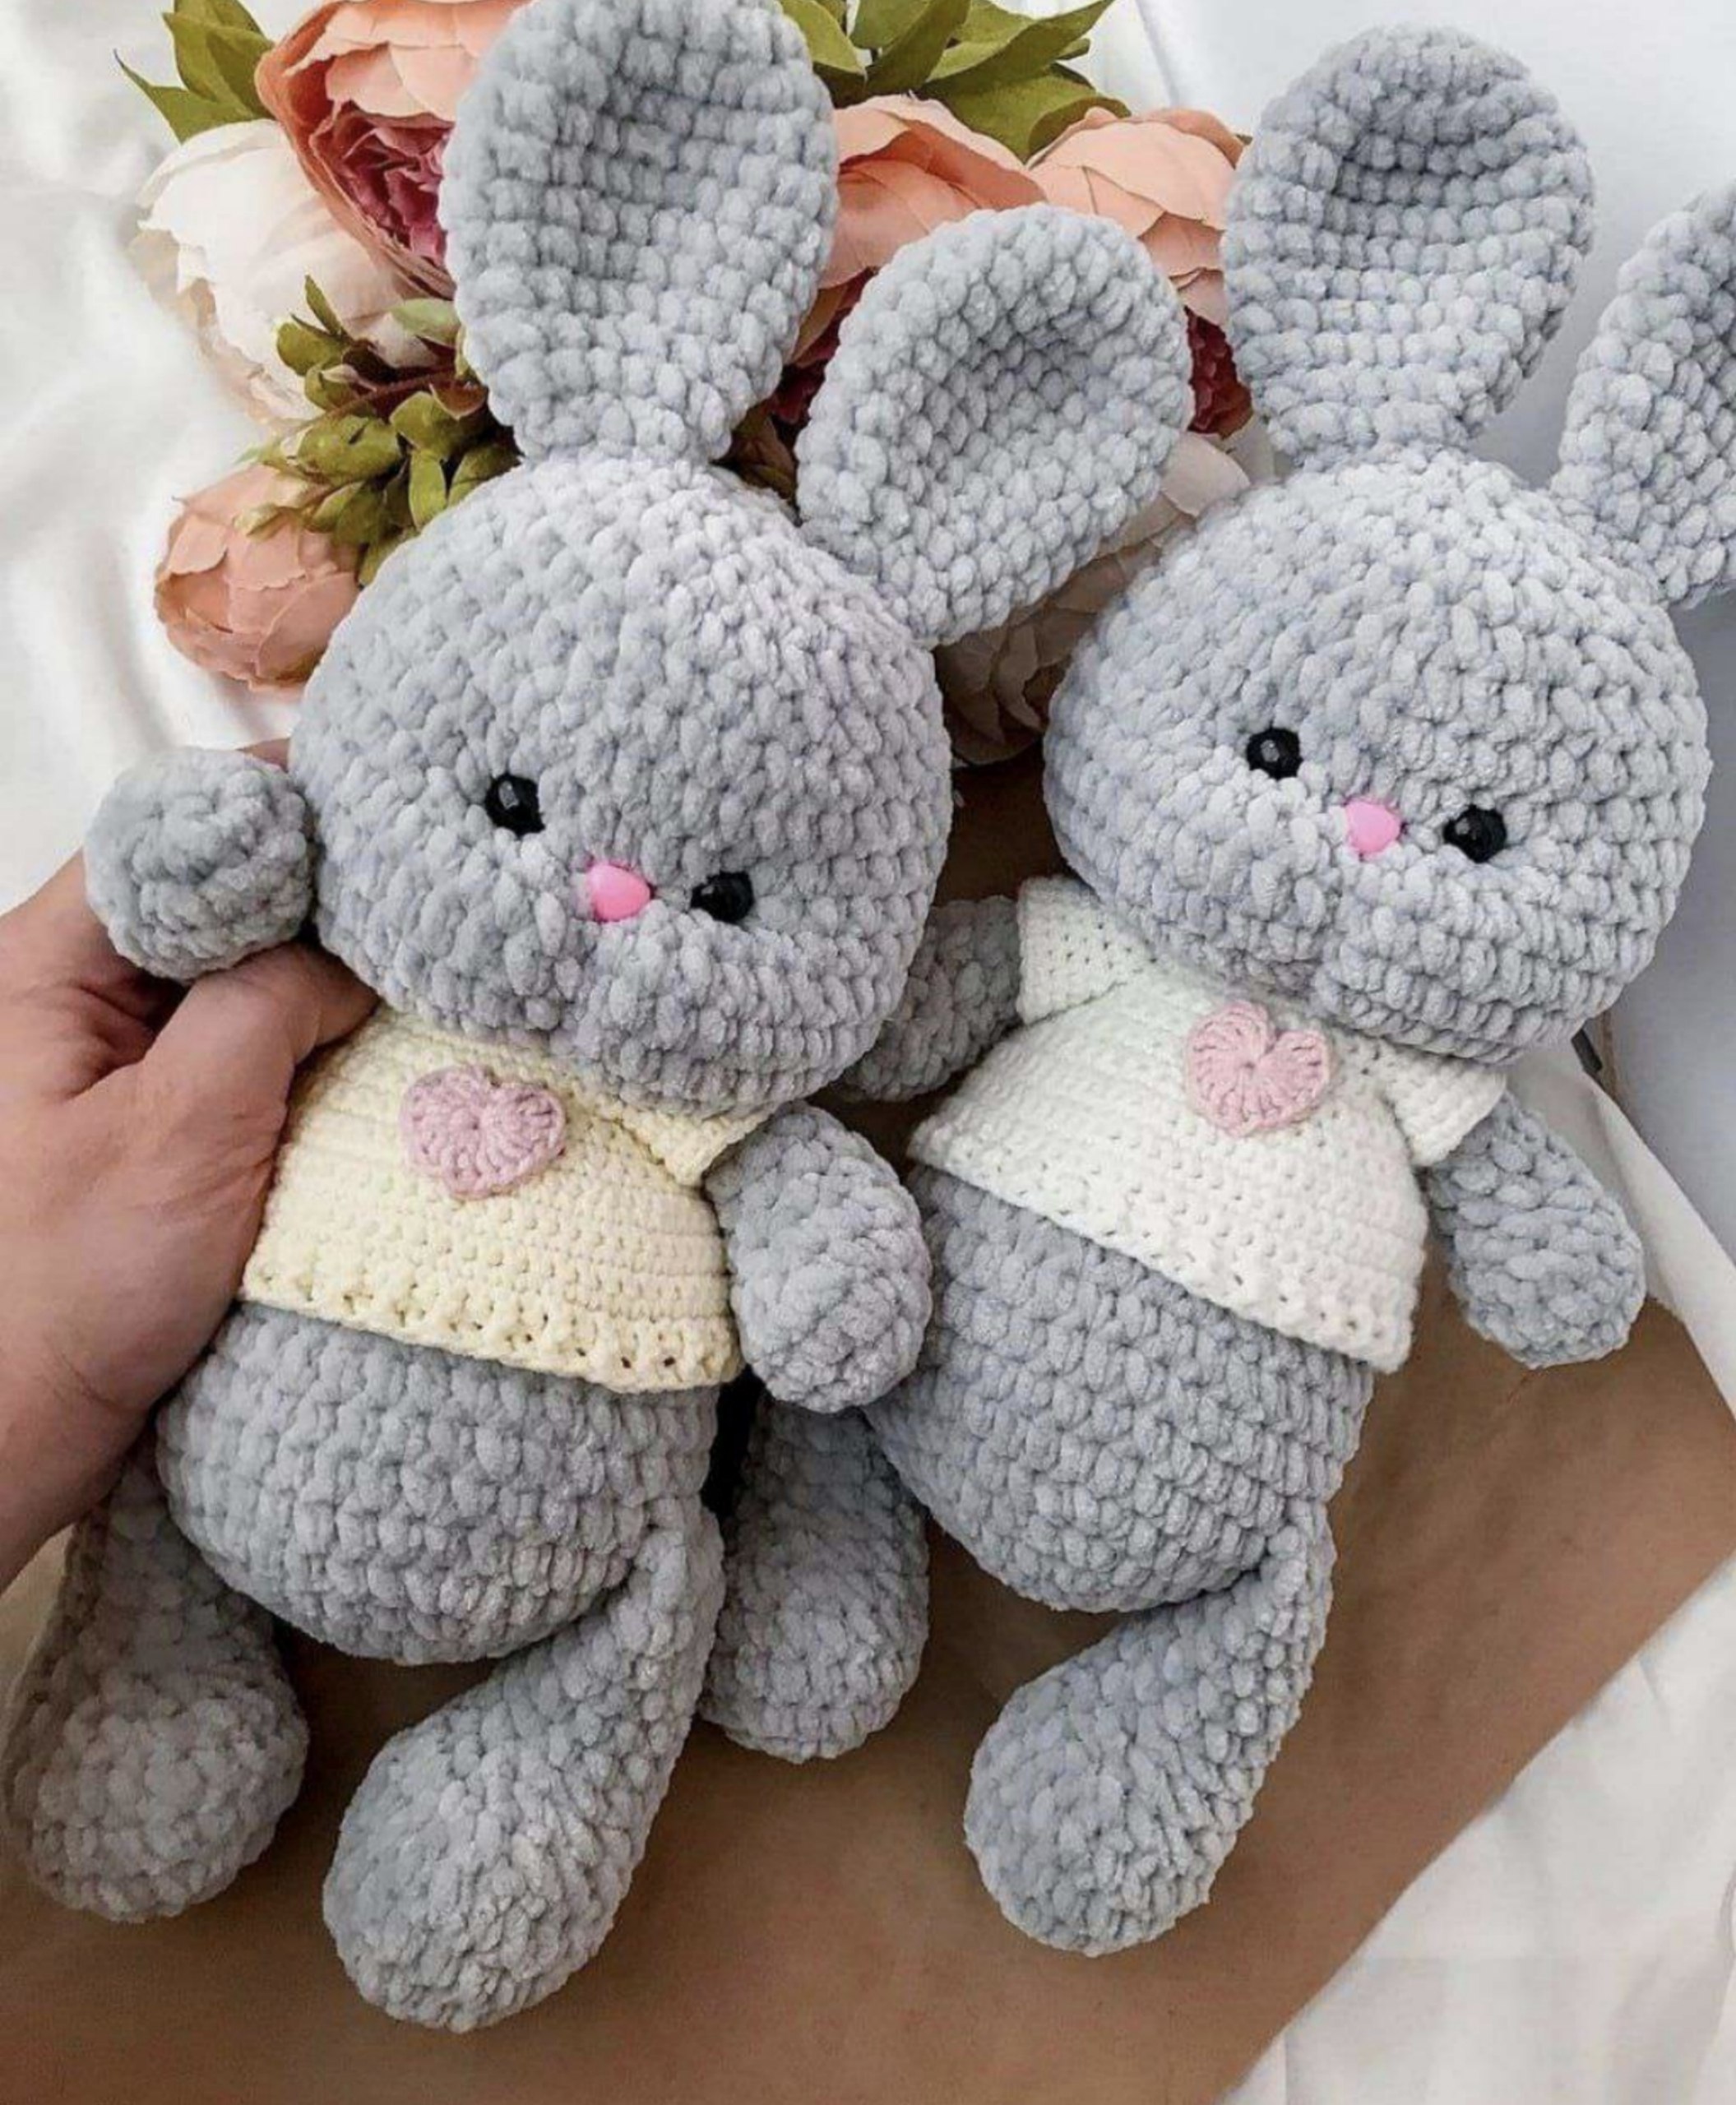
Looking for the perfect project to create a cuddly, squishy companion? This plush bunny is an absolute delight to make! Using chunky chenille yarn, this amigurumi bunny turns out incredibly soft, making it an ideal gift for a baby shower, a birthday, or just a treat for yourself. Whether you are an experienced crocheter or a beginner looking for a rewarding project, this detailed guide will walk you through every stitch.
This pattern is designed to create a bunny approximately 12 inches tall (including the ears), though your final size may vary slightly depending on your tension. We recommend a tight tension to ensure the stuffing doesn’t peek through the plush stitches.
Materials & Abbreviations
To get started, gather the following materials. For the main body, any “blanket” or “chenille” style plush yarn will work perfectly.
Materials Needed
- Main Yarn: 1 skein of plush chenille yarn (such as Himalaya Dolphin Baby, Dolce, or a similar bulky plush yarn) in your choice of color.
- Detail Yarn: A small amount of smooth cotton or acrylic yarn (such as YarnArt Jeans) in a matching color for face sculpting and a contrasting color for the heart.
- Crochet Hooks: A 4.5mm hook for the plush body and a 2.5mm hook for the sweater.
- Safety Eyes: 12mm safety eyes.
- Safety Nose: A small plastic safety nose (approx. 7x9mm or 9.5x11mm) or a small embroidered nose.
- Other Essentials: Fiberfill stuffing, a yarn needle for sewing, scissors, stitch markers, and a small amount of super glue (if using a non-safety nose).
- Sweater Extras: Two 10mm buttons with shanks and a matching thread.
Abbreviations (US Terms)
- MR: Magic Ring
- sc: Single crochet
- inc: Increase (two sc in one stitch)
- dec: Decrease (sc two stitches together)
- hdc: Half double crochet
- dc: Double crochet
- tr: Treble crochet
- ch: Chain
- st: Stitch
- FPdc: Front post double crochet
- BPdc: Back post double crochet
- (…) * X: Repeat the sequence inside the parentheses X times
- (Number): Total number of stitches at the end of the round
Step-by-Step Instructions
The Legs (Make 2)
We start with the bottom paws. These are worked in continuous rounds.
- Round 1: 7 sc in MR (7)
- Round 2: 7 inc (14)
- Round 3: (1 sc, inc) * 7 (21)
- Rounds 4-5: sc in each st around (21)
- Round 6: 3 sc, (dec, 1 sc) * 5, 3 sc (16)
- Round 7: 5 sc, 3 dec, 5 sc (13)
- Round 8: 5 sc, dec, 6 sc (12)
- Rounds 9-13: sc in each st around (12)
Working toward the top of the leg, crochet 1 sc to the middle, then stuff the bottom firmly up to about round 9. Fold the leg in half and crochet 6 sc across the opening to flatten it. Leave a long tail for sewing into the body.
The Arms (Make 2)
- Round 1: 7 sc in MR (7)
- Round 2: 7 inc (14)
- Round 3: sc in each st around (14)
- Round 4: 5 sc, 2 dec, 5 sc (12)
- Round 5: 4 sc, 2 dec, 4 sc (10)
- Rounds 6-9: sc in each st around (10)
Crochet 1 sc, stuff the bottom firmly (up to round 6-7), fold in half, and crochet 5 sc across the opening. Leave a tail for sewing.
The Body and Head
The body and head are worked as one continuous piece. We will attach the limbs as we go.
- Round 1: 7 sc in MR (7)
- Round 2: 7 inc (14)
- Round 3: (1 sc, inc) * 7 (21)
- Round 4: (2 sc, inc) * 7 (28)
- Round 5: (3 sc, inc) * 7 (35)
- Round 6: (4 sc, inc) * 7 (42)
- Round 7: sc in each st around (42)
- Round 8: 1 sc, crochet 6 sc together with the first leg, 15 sc, crochet 6 sc together with the second leg, 14 sc (42)
- Rounds 9-10: sc in each st around (42)
- Round 11: (4 sc, dec) * 7 (35)
- Rounds 12-13: sc in each st around (35)
- Round 14: (3 sc, dec) * 7 (28)
- Rounds 15-16: sc in each st around (28)
- Round 17: (2 sc, dec) * 7 (21)
Stuff the body firmly here.
- Round 18: 1 sc, crochet 5 sc together with the first arm, 6 sc, crochet 5 sc together with the second arm, 4 sc (21)
- Round 19: (1 sc, dec) * 7 (14)
Transition to Head: Do not cut the yarn; we will now increase for the head.
- Round 20: 14 inc (28)
- Round 21: (3 sc, inc) * 7 (35)
- Round 22: (4 sc, inc) * 7 (42)
- Round 23: (5 sc, inc) * 7 (49)
- Rounds 24-26: sc in each st around (49)
- Round 27: (5 sc, dec) * 7 (42)
- Rounds 28-30: sc in each st around (42)
Eyes: Insert safety eyes between rounds 28 and 29, leaving 5 stitches between them.
Continue stuffing the head. Make sure to stuff the neck area very firmly so the head can support the weight of the ears.
- Round 31: (4 sc, dec) * 7 (35)
- Round 32: (3 sc, dec) * 7 (28)
- Round 33: sc in each st around (28)
- Round 34: (2 sc, dec) * 7 (21)
- Round 35: (1 sc, dec) * 7 (14)
- Round 36: 7 dec (7)
Fasten off and sew the hole closed with a yarn needle.
The Ears (Make 2)
- Round 1: 6 sc in MR (6)
- Round 2: 6 inc (12)
- Round 3: (1 sc, inc) * 6 (18)
- Round 4: sc in each st around (18)
- Round 5: (2 sc, inc) * 6 (24)
- Rounds 6-8: sc in each st around (24)
- Round 9: (2 sc, dec) * 6 (18)
- Rounds 10-11: sc in each st around (18)
- Round 12: (1 sc, dec) * 6 (12)
- Round 13: sc in each st around (12)
Work 3 decreases, fasten off, and leave a tail. Fold the ear in half and sew it to the head between rounds 32-36. Try a few positions first to ensure they look symmetrical.
The Tail
- Round 1: 6 sc in MR (6)
- Round 2: 6 inc (12)
- Round 3: sc in each st around (12)
Sew the tail to the back of the body between rounds 6 and 10, adding a small amount of stuffing as you sew.
Finishing
Face Sculpting
To give your bunny a cute, professional look, we will use “eye indentations.” Using a needle and the smooth detail yarn:
- Insert the needle near the center of the chin, bring it up through the outer side of the right eye, and back down through the inner side of the right eye. Pull gently to create a dimple and tie a knot.
- Repeat this for the left eye.
- Finally, run the yarn from between the eyes down to the chin and pull to create a defined muzzle.
- Glue or sew your safety nose in the center of the muzzle.
The Tiny Sweater
Use the 2.5mm hook and smooth yarn. This is worked in rows.
- Setup: Ch 24 + 1 turning chain.
- Row 1: 24 sc, turn.
- Row 2: inc in every st (48), turn.
- Rows 3-4: 48 sc, turn.
- Row 5 (Sleeves): 6 sc, ch 10, skip 12 sts, 12 sc, ch 10, skip 12 sts, 6 sc (44), turn.
- Rows 6-8: 44 sc, turn.
- Row 9: 16 sc, inc, 10 sc, inc, 16 sc (46), turn.
- Row 10: 46 sc, turn.
- Row 11: (1 sc, inc) to the end (69), turn.
- Rows 12-17: 69 sc, turn.
- Row 18 (Ribbing): Ch 2 (counts as first dc), work 69 dc alternating 1 FPdc and 1 BPdc.
Finishing the Sweater: Attach yarn to the sleeve openings and work 4 rounds of sc around each sleeve. Edge the front of the sweater with sc. Create button loops using 3 chains, and sew buttons to the opposite side.
The Heart Detail
Using the 2.5mm hook: MR, ch 4 and join with a slip stitch. In the ring, work: 3 tr, 4 dc, 1 tr, 4 dc, 3 tr. Ch 4 and sl st into the ring. Pull tight and sew to the center of the sweater.
Tips for Success
- Chenille Yarn Trick: When working with plush yarn, it can be hard to see your stitches. Use a stitch marker in the first stitch of every round to avoid losing your place.
- Avoid Over-stuffing: While you want a firm bunny, over-stuffing can stretch the plush yarn and create gaps. Stuff in small increments.
- Symmetry is Key: Use pins to place the ears and tail before sewing them permanently to make sure the bunny is balanced.