Adorable Amigurumi Bird Crochet Pattern: A Step-by-Step Tutorial
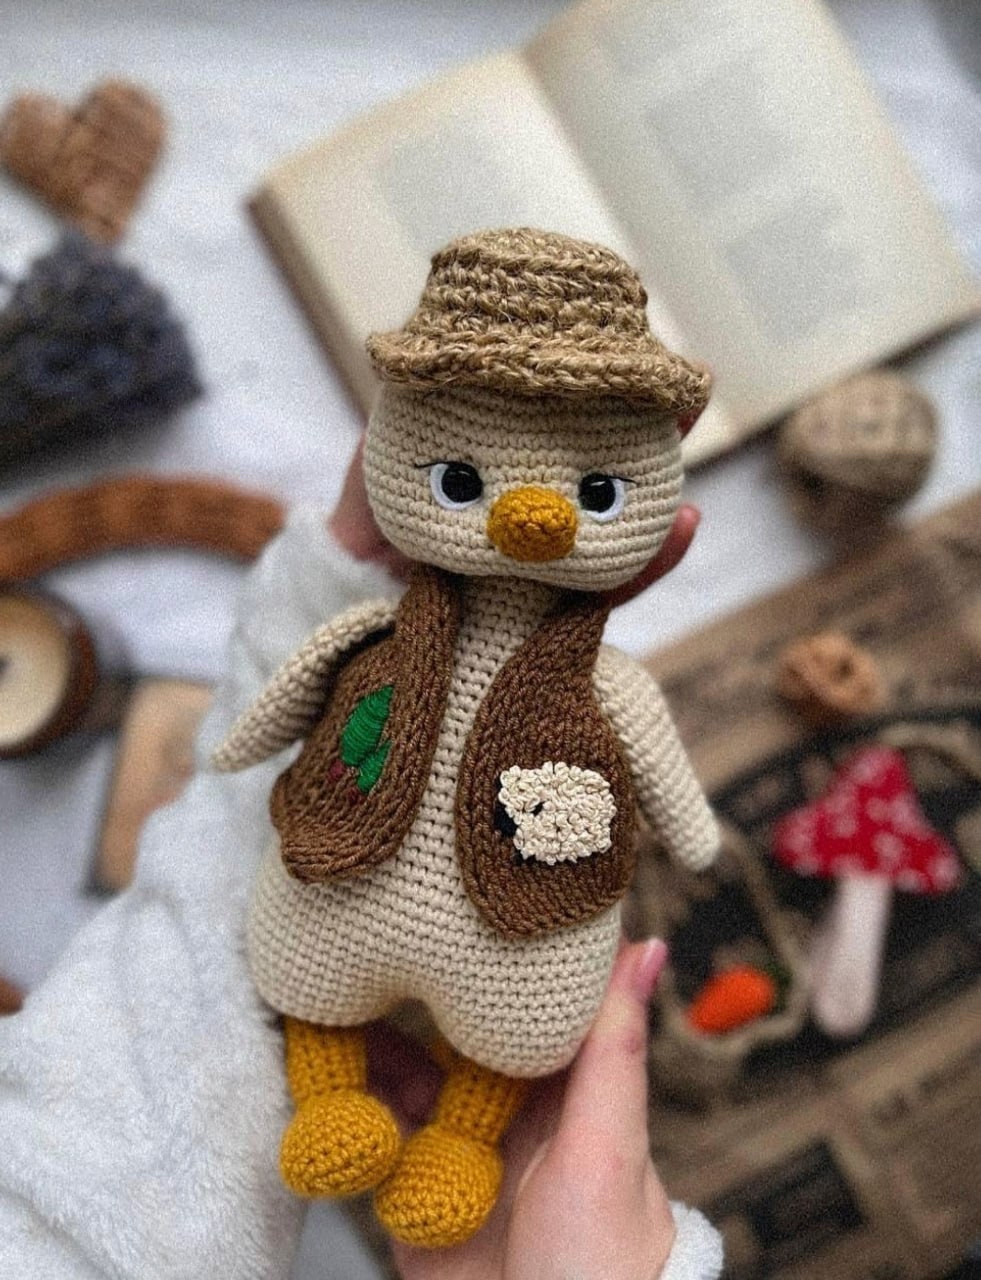
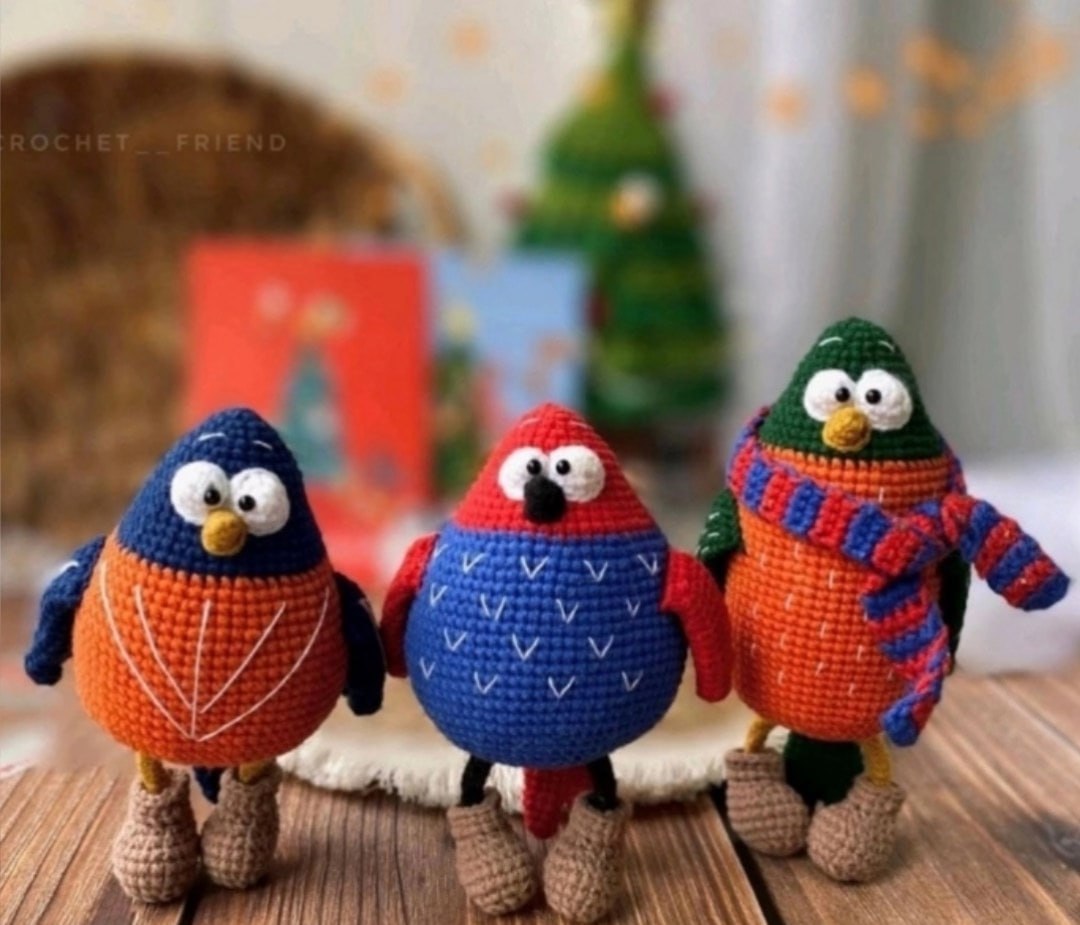
Welcome to our latest crochet adventure! If you are looking for a project that is as charming as it is simple, you have come to the right place. Today, we are diving into the whimsical world of amigurumi with a tutorial for a trio of adorable, colorful crochet birds. These little feathered friends are perfect for nursery decor, festive holiday accents, or even as sweet handmade gifts for your loved ones.
This pattern is designed to be beginner-friendly. While the birds come in different color combinations and slightly different body shapes, the core techniques—like working in the round and increasing/decreasing—are the same for all three. Grab your favorite hook and some cozy yarn, and let’s get started!
Materials & Abbreviations
To ensure your birds turn out looking professional and sturdy, we recommend using a high-quality cotton or cotton-blend yarn. This helps maintain stitch definition, which is crucial for the cute facial expressions we want to achieve.
What You Will Need:
- Yarn: Cotton/Acrylic blend yarn (approximately 50g/180yds per skein). You will need various colors: blue, dark blue, orange, red, brown, black, mustard, green, and white.
- Crochet Hook: 1.75 mm (or a size that produces tight stitches to prevent stuffing from showing).
- Eyes: 3 mm safety eyes or small black beads.
- Stuffing: Polyester fiberfill.
- Tools: Scissors, a yarn needle for sewing, and white embroidery floss for the decorative details.
Abbreviations (US Terms):
- MR: Magic Ring
- sc: Single Crochet
- inc: Increase (2 sc in one stitch)
- dec: Decrease (sc 2 together)
- ch: Chain
- sl st: Slip Stitch
- dc: Double Crochet
- BLO: Back Loop Only
- FLO: Front Loop Only
- st(s): Stitch(es)
Step-by-Step Instructions
Because there are three different birds, I have broken the instructions down by bird type. Each bird uses a similar base but has unique color changes and body dimensions.
Bird 1: The Blue and Orange Bird
The Head & Body
Start with Dark Blue yarn.
- R1: 6 sc in MR (6)
- R2: 6 inc (12)
- R3: (1 sc, inc) * 6 (18)
- R4: 18 sc (18)
- R5: 1 sc, inc, (2 sc, inc) * 5, 1 sc (24)
- R6: (3 sc, inc) * 6 (30)
- R7-8: 30 sc (2 rounds)
- R9: 2 sc, inc, (4 sc, inc) * 5, 2 sc (36)
- R10: 36 sc (36)
- R11: (5 sc, inc) * 6 (42)
- R12: 42 sc (42)
- R13: 3 sc, inc, (6 sc, inc) * 5, 3 sc (48)
- R14: 48 sc (48)
Fasten off dark blue yarn. Switch to Orange yarn.
- R15: (7 sc, inc) * 6 (54)
- R16: 54 sc (54)
- R17: 4 sc, inc, (8 sc, inc) * 5, 4 sc (60)
- R18: 60 sc (60)
- R19: (9 sc, inc) * 6 (66)
- R20-29: 66 sc (10 rounds)
- R30: (9 sc, dec) * 6 (60)
- R31: 4 sc, dec, (8 sc, dec) * 5, 4 sc (54)
- R32: (7 sc, dec) * 6 (48)
- R33: 3 sc, dec, (6 sc, dec) * 5, 3 sc (42)
- R34: (5 sc, dec) * 6 (36)
- R35: 2 sc, dec, (4 sc, dec) * 5, 2 sc (30)
- R36: (3 sc, dec) * 6 (24)
- R37: 1 sc, dec, (2 sc, dec) * 5, 1 sc (18)
- R38: (1 sc, dec) * 6 (12)
- R39: 6 dec (6)
Fasten off and pull the hole closed. Stuff firmly as you work.
Eyes, Beak, Wings, Tail, & Legs
Eyes (White yarn):
Eye 1: MR 6 sc, R2: 6 inc (12), R3: 12 sc, sl st. Fasten off, leaving a long tail.
Eye 2: R1: 5 sc, R2: 5 inc (10), R3: 10 sc, sl st. Fasten off, leaving a long tail.
Beak (Mustard yarn):
Note: Do not stuff.
R1: 4 sc in MR, R2: (1 sc, inc) * 2 (6), R3: (2 sc, inc) * 2, sl st (8). Fasten off.
Wings (Blue yarn – make 2):
Note: Do not stuff.
R1: 6 sc in MR, R2-3: 6 sc. Fasten off. Repeat this to make 3 separate small pieces. To join them: R4: 3 sc on the second piece, 6 sc on the first piece, 3 sc on the second piece, 6 sc on the third piece (18). R5-7: 18 sc. R8: (4 sc, dec) * 3 (15). R9-10: 15 sc. R11: (3 sc, dec) * 3 (12). R12-14: 12 sc. Fold the piece in half and sc through both sides for 6 sc. Fasten off.
Tail (Blue yarn):
Note: Do not stuff.
R1: 6 sc in MR, R2: 6 sc, R3: (1 sc, inc) * 3 (9), R4: 9 sc. Fasten off. Make a second piece exactly like this, but do not cut the yarn. Join them: R5: 9 sc on the second piece, 9 sc on the first piece (18). R6-8: 18 sc. R9: (4 sc, dec) * 3 (15). R10-11: 15 sc. R12: (3 sc, dec) * 3 (12). R13-17: 12 sc. Fold in half and sc through both sides for 6 sc. Fasten off.
Legs (Brown and Mustard yarn – make 2):
R1 (Brown): 6 sc in MR (6).
R2: 1 sc, 3 dc in next st, 3 dc in next st, 1 sc, 3 dc in next st, 3 dc in next st (14).
R3: 2 sc, 4 inc, 3 sc, 4 inc, 1 sc (22).
R4-6: 22 sc.
R7: 1 sc, 5 dec, 11 sc (17).
R8: 1 sc, dec, 1 sc, dec, 11 sc (15).
Switch to Mustard yarn. Leave the brown yarn hanging on the outside.
R9 (BLO): (3 sc, dec) * 3 (12).
R10: 6 dec (6).
R11: (1 sc, dec) * 2 (4).
R12-18: 4 sc (7 rounds). Fasten off.
To finish the leg, go back to R10 using the brown yarn you left hanging:
R1 (BLO): 15 sc, R2: 15 sc, sl st. Fasten off and hide ends.
Bird 2: The Green and Orange Bird
Follow the same steps as Bird 1, but use Green yarn for the head/body instead of blue, and make the wings and tail in green.
Note the Body difference:
The orange section of this bird is longer. After switching to orange at R15, work R16-40 in 54 sc (25 rounds total) before starting the decreases at R41.
Bird 3: The Red and Blue Bird
Follow the same steps as Bird 1, but use Red yarn for the head/body and Blue for the belly. Make the wings and tail in red.
Note the Body difference:
The blue section of this bird is the largest. After switching to blue at R15, follow this sequence:
R16: 4 sc, inc, (8 sc, inc) * 5, 4 sc (60).
R17: (9 sc, inc) * 6 (66).
R18: 5 sc, inc, (10 sc, inc) * 5, 5 sc (72).
R19-30: 72 sc (12 rounds).
Then proceed with the decreases as listed in Bird 1’s instructions, adjusting for the larger stitch count.
Beak (Black yarn):
Follow the same beak pattern as Bird 1, but use black yarn.
The Tiny Striped Scarf
This accessory adds so much character to your birds!
- R1 (Blue): 5 ch. Starting in the 2nd ch from hook: 4 sc, 1 ch, turn (4).
- R2 (Blue): 4 sc, 1 ch, turn (4).
- R3-4 (Red): 4 sc, 1 ch, turn (4).
- Continue alternating colors every 2 rows until you have a total of 43 stripes. Fasten off.
Finishing
Assembly is where your little bird really comes to life. Take your time with the placement!
- Eyes: Sew the eyes onto the head between rounds 7 and 11.
- Beak: Sew the beak centered between the eyes.
- Wings: Sew the wings to the sides of the body, approximately 1 row below where the top color ends.
- Tail: Sew the tail to the back of the body.
- Legs: Sew the legs to the bottom of the body.
- Embroidery: Using white embroidery floss, stitch the decorative “V” patterns onto the wings, the tail, and the belly. Finally, stitch two small lines above the eyes to create cute eyebrows.
Tips
To make your amigurumi look its best, keep these pro-tips in mind:
- Tension is Key: Try to keep your tension consistent. If your stitches are too loose, the stuffing will peek through the holes. If you are a beginner, don’t be afraid to use a slightly smaller hook than recommended to ensure a tight fabric.
- Stuffing Tips: When stuffing the body, push the fiberfill into the corners and edges. This prevents “lumpy” birds and ensures a smooth, round shape.
- Seamless Transitions: When changing colors, try to do so on the last pull-through of the final stitch of the previous color. This makes the line between the two colors look much cleaner.
- Safety First: If you are making these for very small children, skip the safety eyes and instead embroider the eyes with black yarn to ensure there are no small parts that could be a choking hazard.