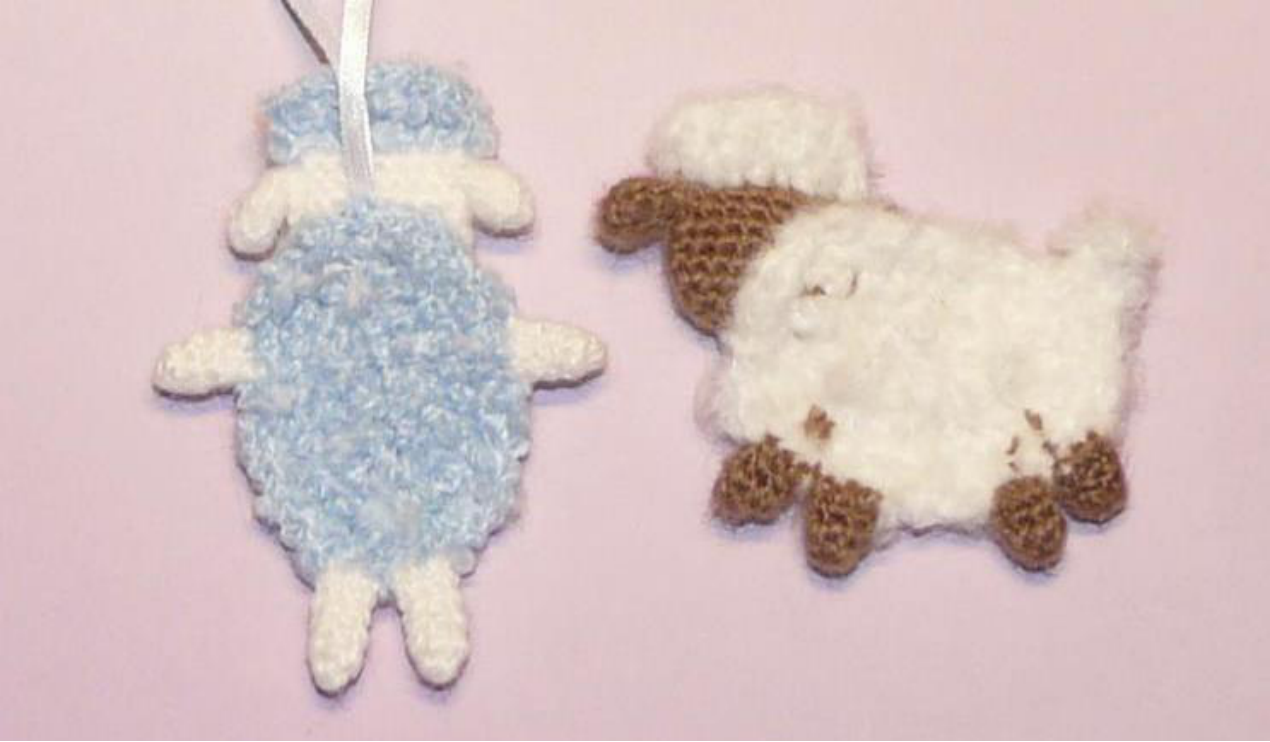
Crochet Pattern Adorable Little Sheep
Head
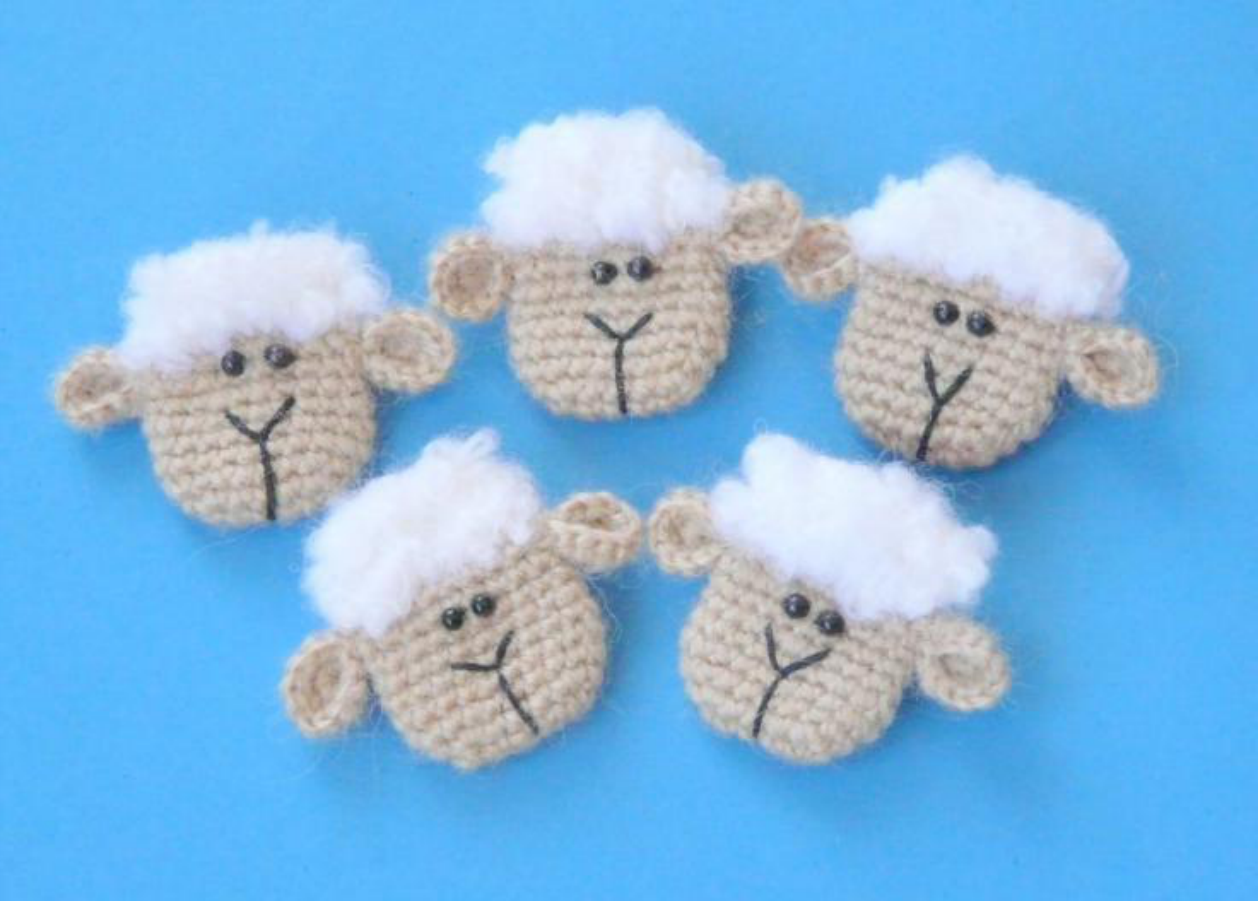
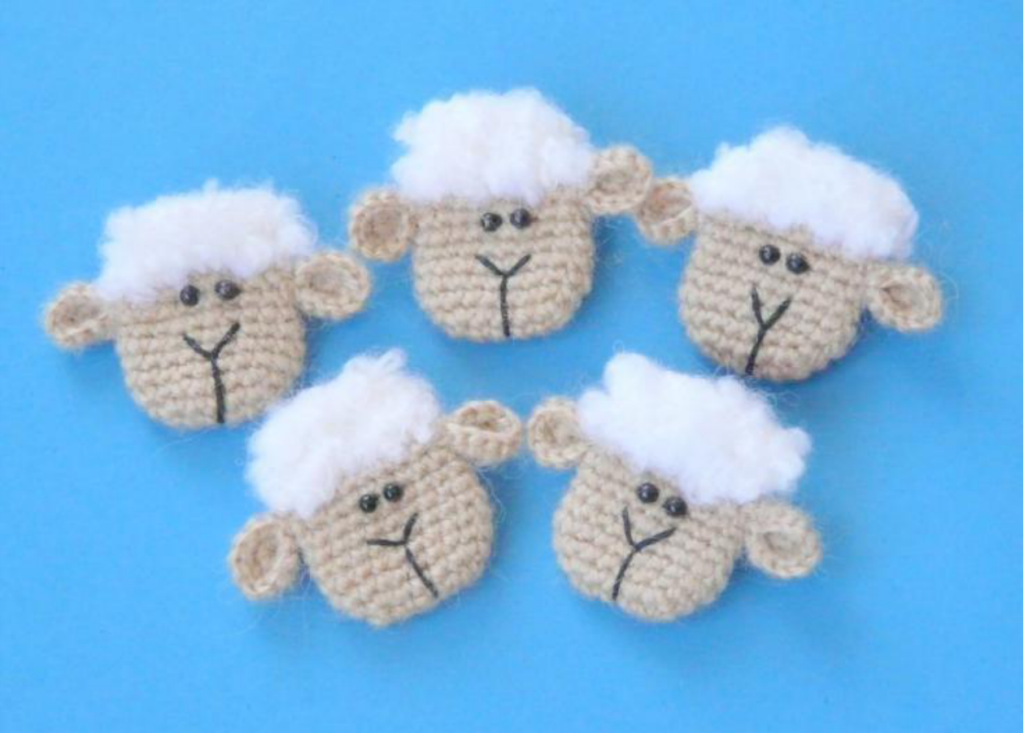
The head is created in two distinct sections: first with smooth yarn for the face, then transitioning to textured yarn for the top of the head.
Smooth Yarn Section (2 mm hook)
- Row 1: Chain 6. Starting from the second chain from the hook, work 4 sc, then 3 sc into the very last chain. Rotate and crochet on the reverse side: 3 sc, then 2 sc into the first chain you worked into (12 stitches total).
- Row 2: 1 inc, 3 sc, 3 inc, 3 sc, 2 inc (18 stitches).
- Row 3: Repeat (8 sc, 1 inc) 2 times (20 stitches).
- Rows 4-7: Work 20 sc evenly around for each row (20 stitches). On Row 7, leave the last 1 sc uncrocheted.
- Row 8: Repeat (1 dec, 8 sc) 2 times (18 stitches).
Cut the yarn and secure it. Lightly stuff the smooth part of the head. This section forms the sheep’s distinct snout and facial area.
Textured Yarn Section (Bouclé yarn)
Now, switch to your bouclé yarn to create the signature curly top of the sheep’s head.
- Row 9: Join the bouclé yarn and single crochet in each stitch around, working through both loops (18 stitches).
- Row 10: Turn your piece. Work 1 decrease on each side of the row. Secure and hide the yarn tail.
Curly Head Tip: If your sheep’s head isn’t as curly as you’d like, you can add an extra row (making 3 rows total for the textured section) or gently pull the bouclé pile to one side for more fluffiness and volume.
Ears (Make 2 Pieces)
Using your smooth yarn and a 2 mm hook, crochet two cute ears for your sheep.
- Row 1: Work 6 sc into a magic ring (6 stitches).
- Row 2: Work 1 inc in each stitch around (6 increases total) (12 stitches).
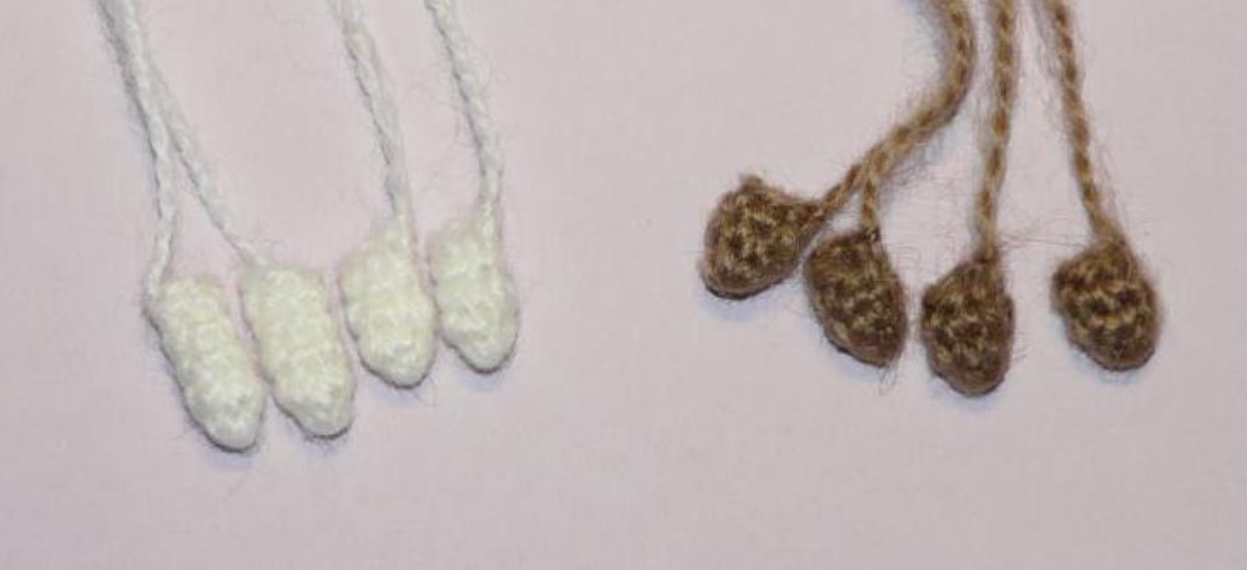
Leave a long yarn tail for sewing. Fold each ear in half with the right side facing inwards, and sew 1-2 stitches to fix its folded shape. It’s important not to cut the yarn tails from the ears yet, as they will be used for attaching the ears to the head and other assembly steps later.
Assembly & Finishing Touches
Now comes the exciting part: bringing your crochet sheep to life with assembly and facial details!
Facial Details and Ear Attachment
First, sew the ears onto the head using the long tails you left from crocheting them. Position them symmetrically on the sides of the head. Next, decorate the face:
- Eyes: Carefully sew on the small bead eyes to give your sheep expression.
- Nose: Using iris-type threads, embroider a small nose below the eyes.
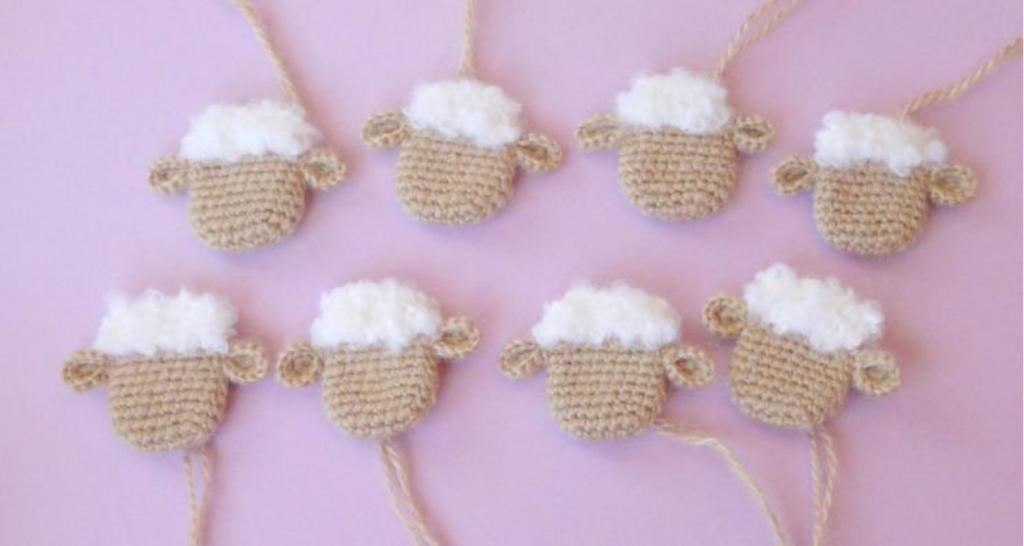
At this stage, if you’re making a brooch, your adorable curly heads are nearly complete! All that remains is to attach a small brooch blank to the back.
Attaching the Head to the Body
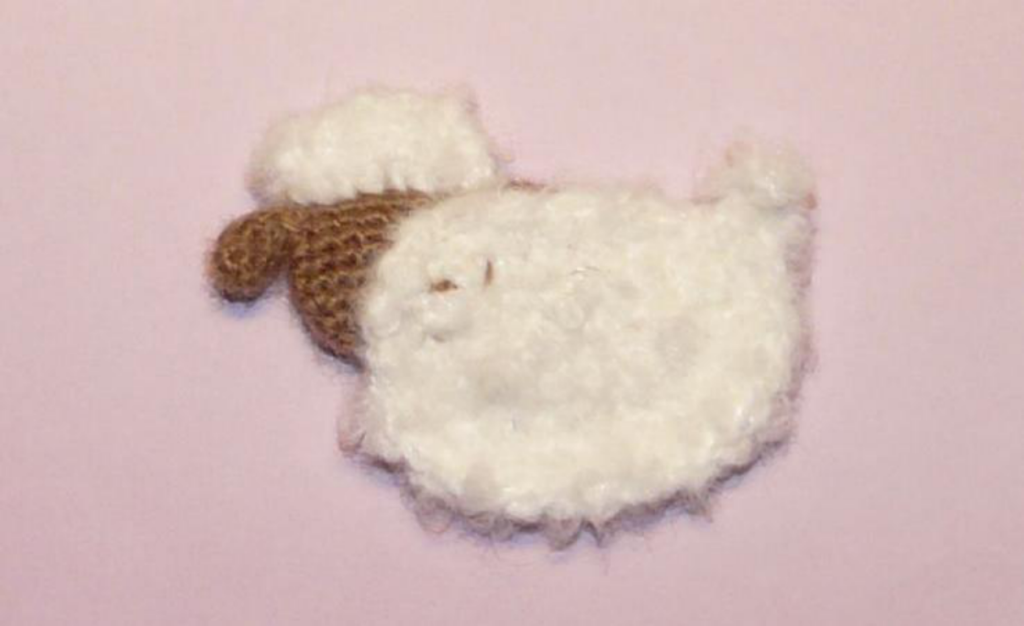
Sew the finished head to one of the body pieces. The method depends on your desired sheep type:
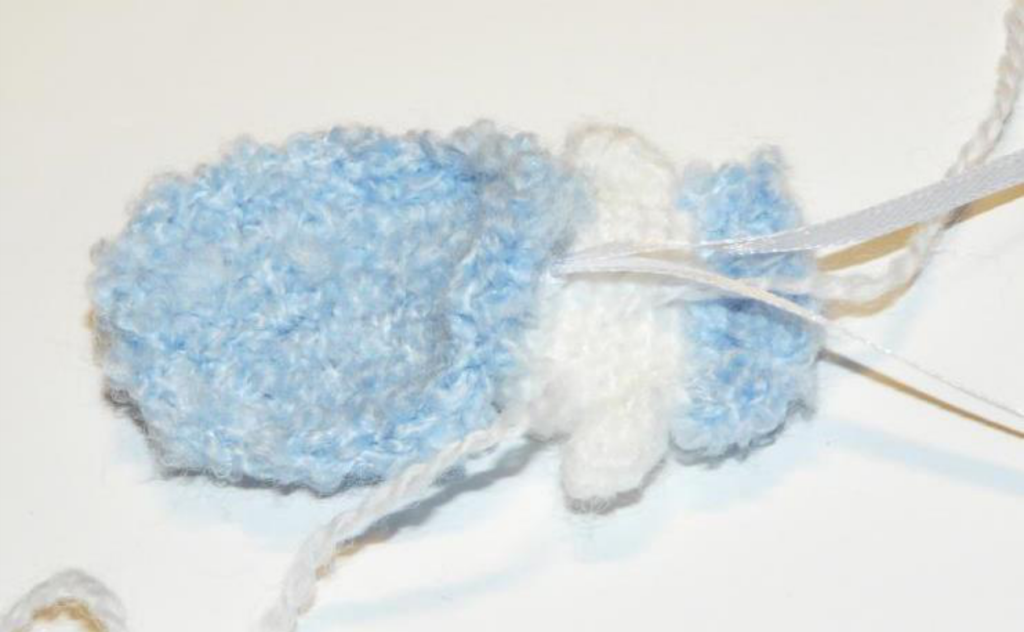
- For a Two-Legged Sheep: Sew the head centered on the front of one body piece. If you’re creating an ornament, remember to sew a ribbon for hanging securely between the head and body as you attach them. You can utilize the remaining thread ends from the ears for this step.
- For a Four-Legged Sheep: Sew the head to the side of one body piece, giving the impression that the sheep is looking forward.