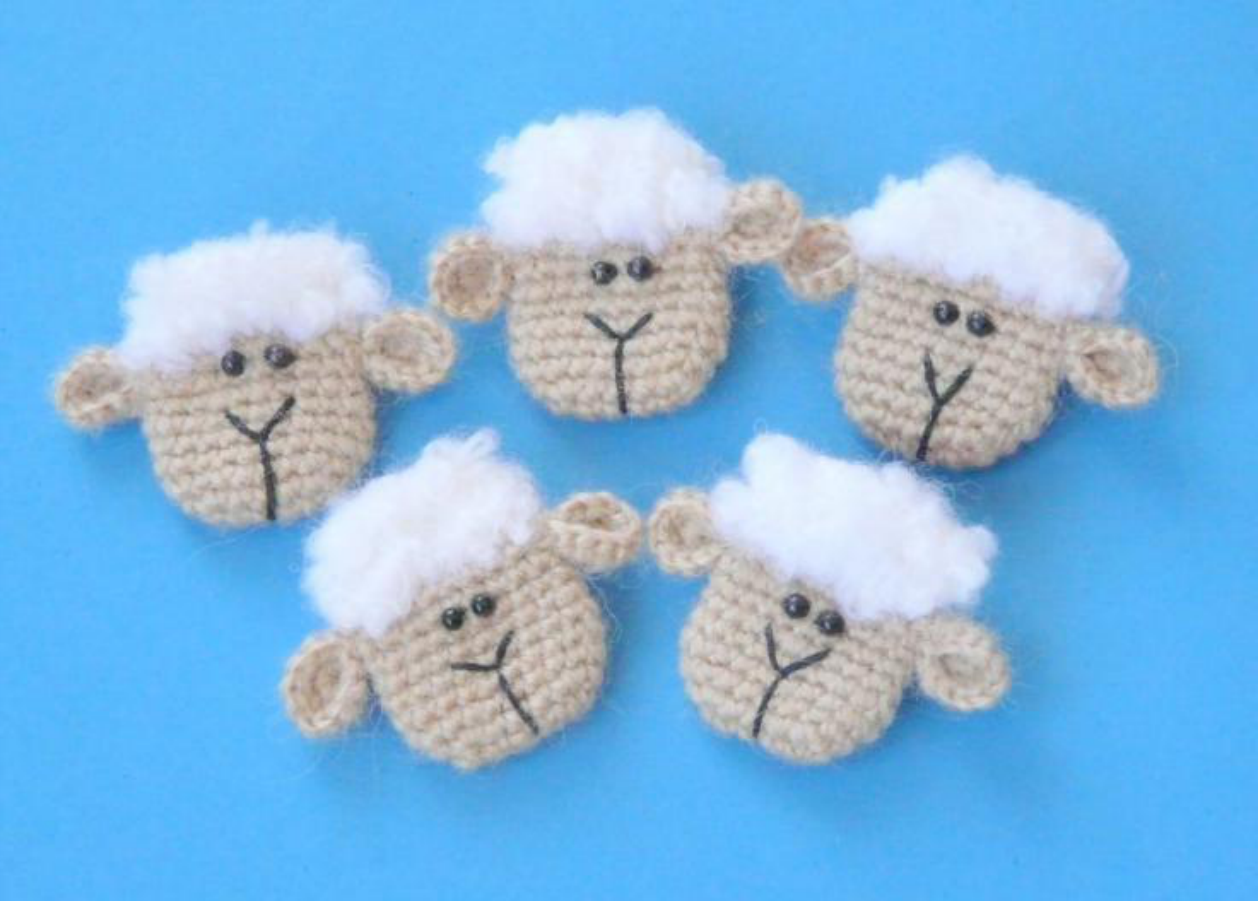
Crochet Pattern Adorable Little Sheep
Crocheting and Attaching the Legs
The number and length of legs vary based on whether your sheep will stand on two or four legs. All legs are crocheted using smooth yarn and a 2 mm hook.
For a Two-Legged Sheep:
- Front Legs (Make 2): Work 6 sc into a magic ring. Continue for a total of 4 rows.
- Back Legs (Make 2): Work 6 sc into a magic ring. Continue for a total of 5 rows.
For a Four-Legged Sheep:
- All Legs (Make 4): Work 6 sc into a magic ring. Continue for a total of 3 rows.
For all legs, secure the thread and leave a long tail for sewing. Instead of stuffing, tuck the starting yarn ends inside the legs to give them shape and firmness. Sew the finished legs onto the body in their appropriate positions.
Final Body Assembly and Stuffing
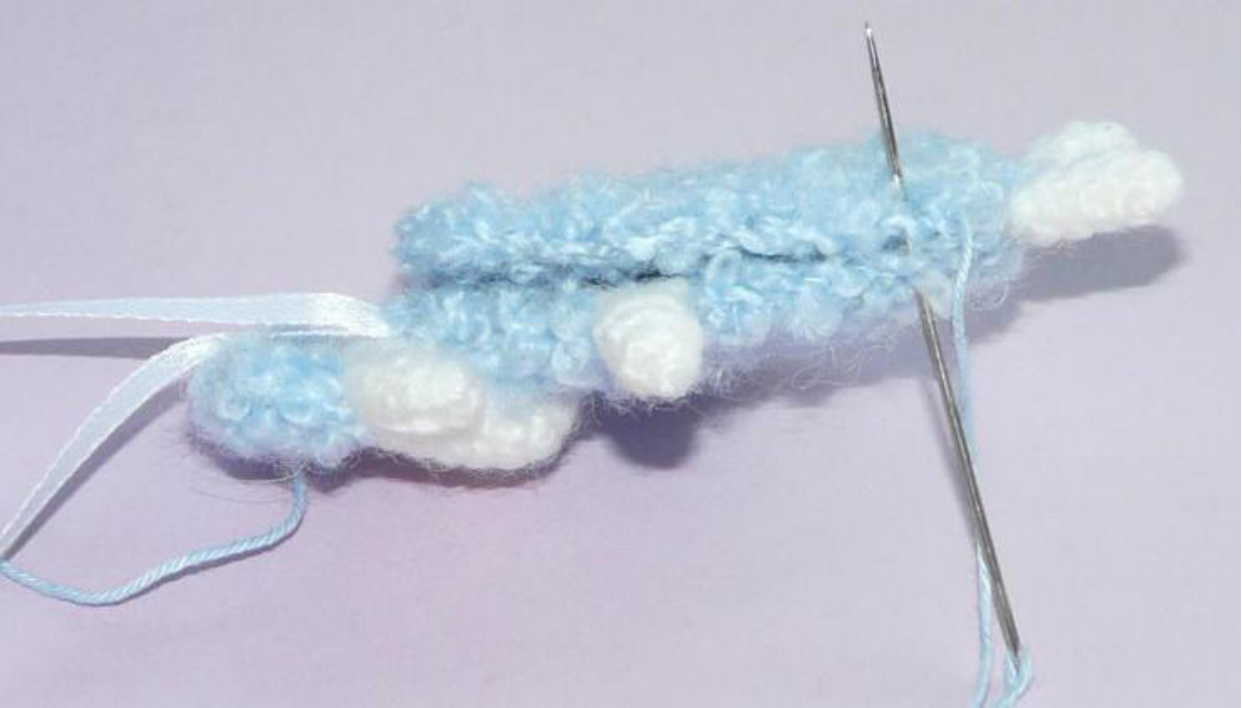
Align the two body pieces you crocheted. Using an overcast stitch, sew the back part of the body together. Pull the thread tightly so that it sinks into the bouclé pile, creating a neat and seamless look. Don’t forget to lightly stuff the body with Superpooh or synthetic down before fully closing it! This gives your amigurumi sheep its soft, squishy form.
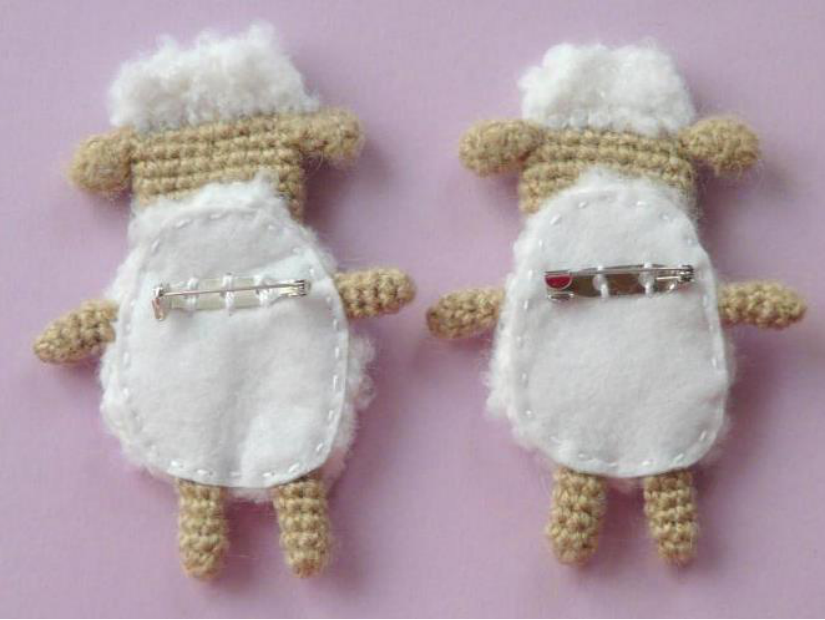
- For the Two-Legged Sheep: If you haven’t already, crochet a small tail (chain 3, then 2 sc starting from the second chain from the hook) and sew it in place on the back.
- For the Four-Legged Sheep: If you’re making an ornament, ensure you sew a ribbon for hanging securely between the front and back body pieces before completing the seam.
- For a Brooch: If converting your sheep into a brooch, sew a piece of felt to the back for added stability, then attach a brooch blank for easy wear.
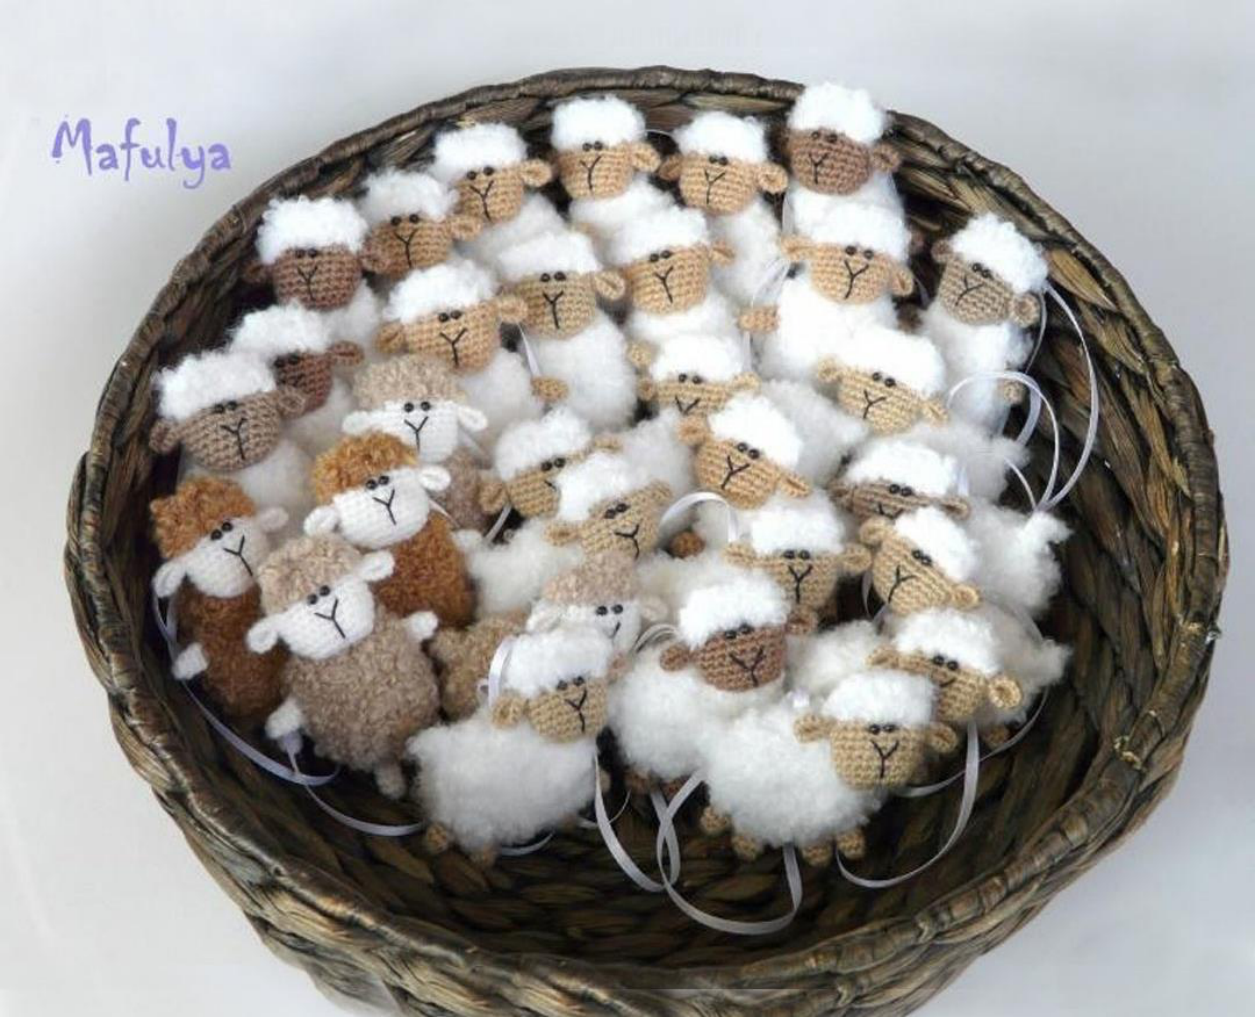
And there you have it – your very own collection of adorable crochet sheep! These little cuties make wonderful gifts, festive decorations, or charming keychains. Enjoy your handmade fluffy friends