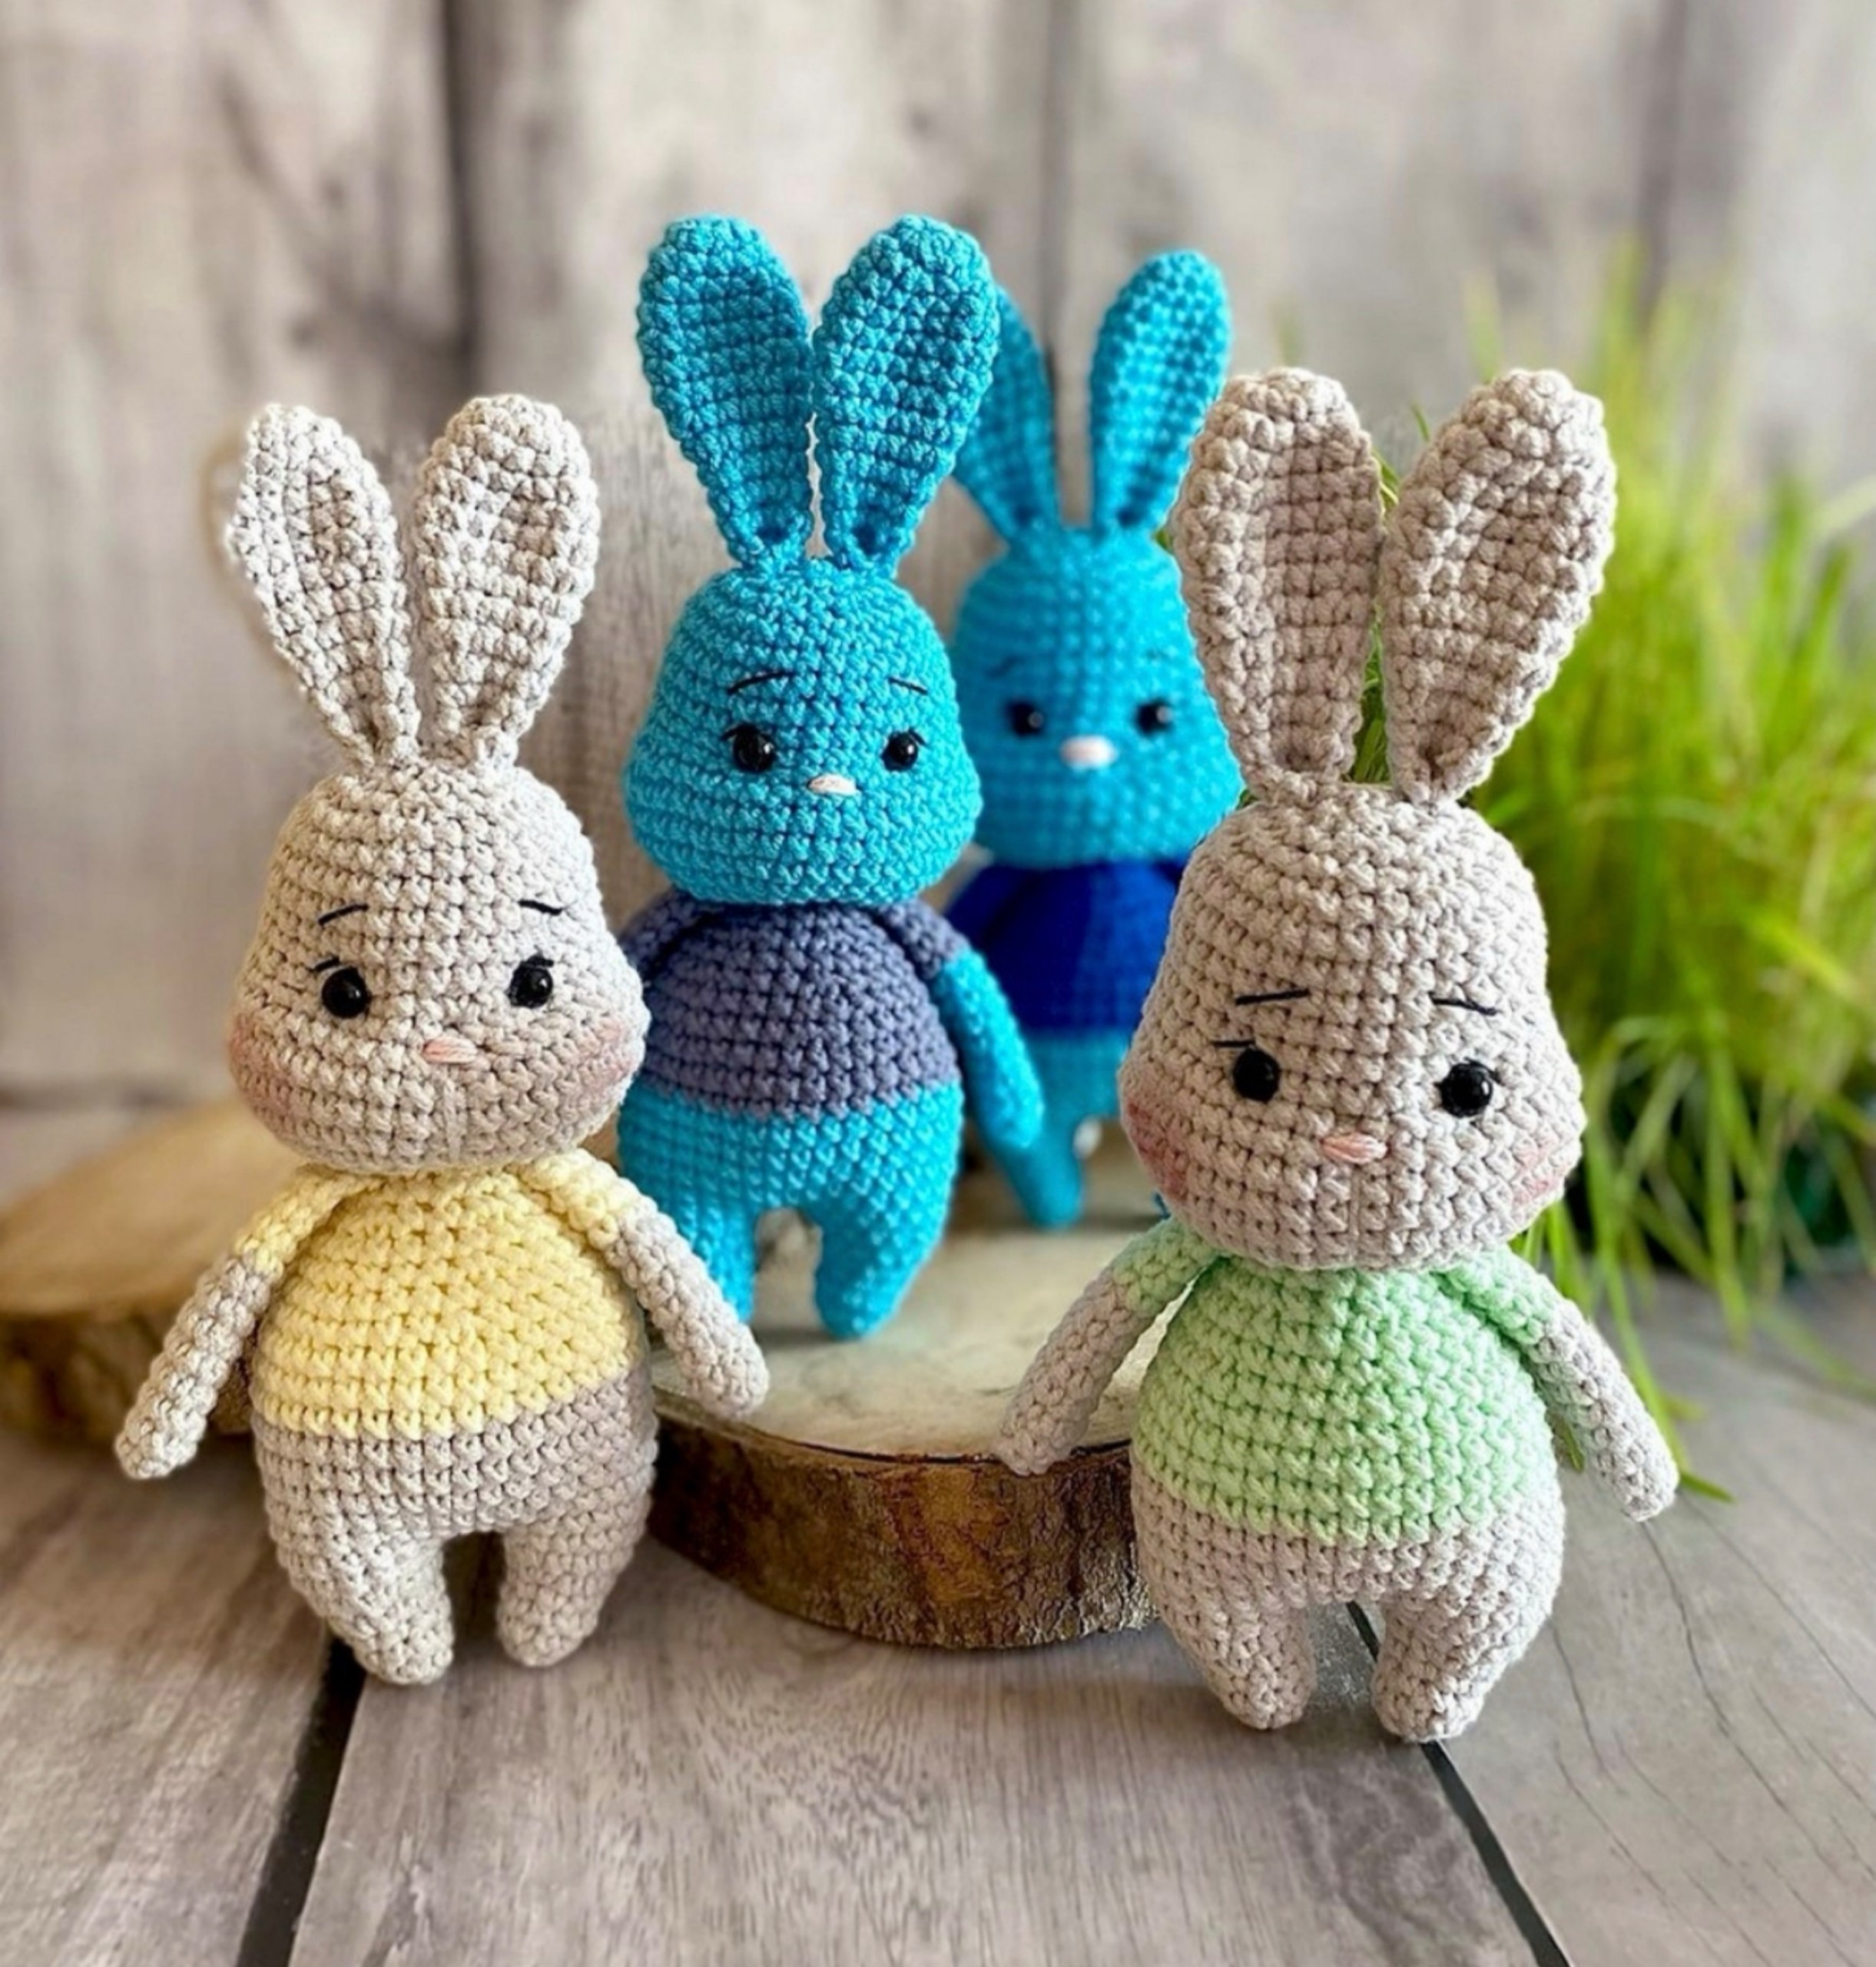
Adorable Crochet Bunny Pattern: A Step-by-Step Amigurumi Tutorial
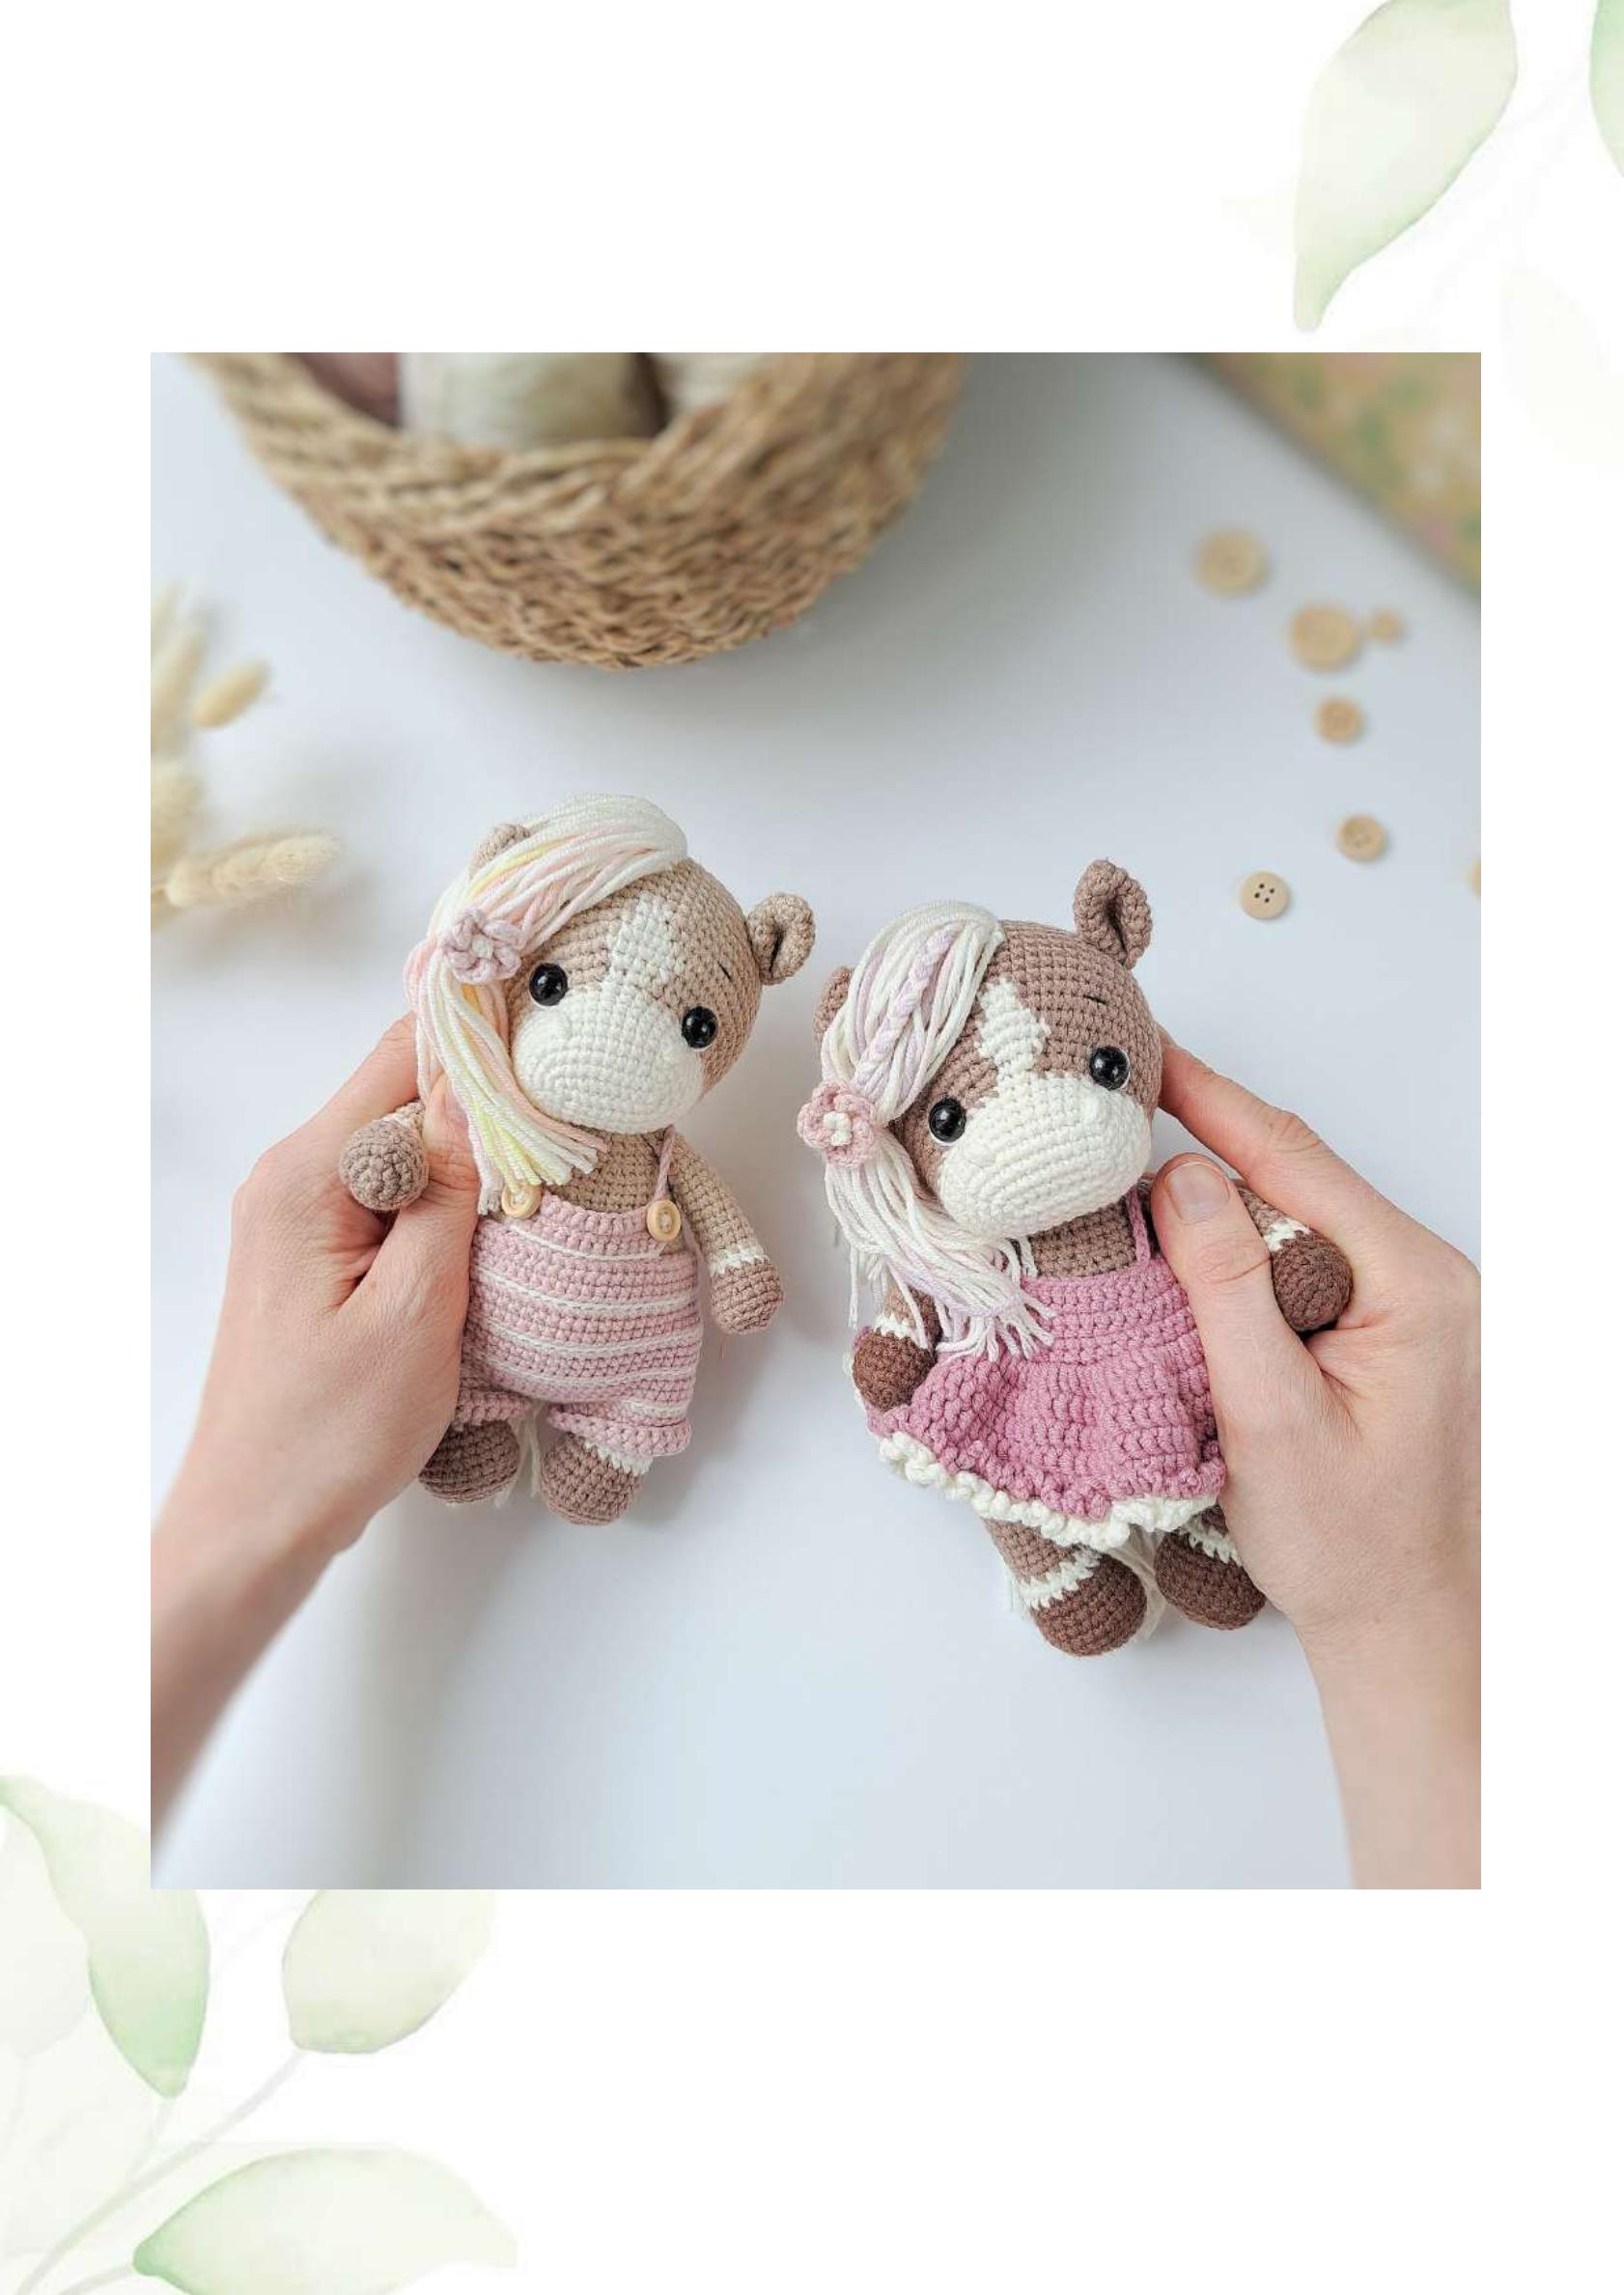
Looking for a project that is as cute as it is cozy? This adorable crochet bunny is the perfect companion for beginners and experienced amigurumi artists alike. With its plump little body and customizable clothing colors, this bunny makes a wonderful handmade gift, a nursery decoration, or a sweet addition to your own crochet collection.
In this tutorial, we will walk you through every stitch needed to create this little friend. The finished bunny stands approximately 7 to 7.5 inches tall, making it the ideal size for cuddling. Let’s dive into the magic of amigurumi and bring this bunny to life!
Materials & Abbreviations
Before we start stitching, gather all your materials. For this project, we recommend a cotton-blend yarn to give the bunny a smooth, professional finish and a tight stitch structure that keeps the stuffing inside.
Materials Needed
- Yarn: Sport weight cotton-blend yarn (such as YarnArt Jeans) in a skin tone and a color of your choice for the clothes.
- Crochet Hook: 1.5 mm (a smaller hook ensures the stitches are tight).
- Eyes: 5 mm safety eyes.
- Stuffing: High-quality polyester fiberfill.
- Embroidery Thread: Black thread for the eyelids/details and pink thread for the nose.
- Tools: Yarn needle, stitch markers, and scissors.
Abbreviations (US Terms)
- MR: Magic Ring
- sc: Single crochet
- inc: Increase (2 sc in the same stitch)
- dec: Decrease (sc 2 stitches together)
- ch: Chain
- st: Stitch
- ( ) * X: Repeat the instructions inside the parentheses X times
Step-by-Step Instructions
The Arms (Make 2)
Start with your skin-colored yarn. We will create two identical arms.
- Round 1: 6 sc in MR (6)
- Round 2: (1 sc, inc) * 3 (9)
- Rounds 3-9: 9 sc (9) — 7 rounds total
Now, change your yarn to the color of the bunny’s clothing.
- Rounds 10-13: 9 sc (9) — 4 rounds total
Finishing the arms: Fold the arm in half and crochet 4 sc across the opening to close it. Leave a long tail for sewing the arms to the body later.
The Ears (Make 2)
Using the skin-colored yarn, create two ears using the following pattern:
- Round 1: 9 sc in MR (9)
- Round 2: (2 sc, inc) * 3 (12)
- Round 3: 12 sc (12)
- Round 4: (3 sc, inc) * 3 (15)
- Rounds 5-7: 15 sc (15) — 3 rounds total
- Round 8: (3 sc, dec) * 3 (12)
- Rounds 9-10: 12 sc (12) — 2 rounds total
- Round 11: (2 sc, dec) * 3 (9)
- Rounds 12-13: 9 sc (9) — 2 rounds total
Finishing the ears: Fold the ear in half and crochet 4 sc across the base to close it. Leave a tail for sewing.
The Tail
Use the skin-colored yarn for the tiny tail:
- Round 1: 6 sc in MR (6)
- Round 2: 6 inc (12)
- Round 3: 12 sc (12)
- Round 4: (2 sc, dec) * 3 (9)
- Round 5: (1 sc, dec) * 3 (6)
Fasten off and leave a tail for sewing.
Legs, Body, and Head
This is the main part of the bunny. We will start with the legs and work our way up to the head in one continuous piece.
The First Leg
Use skin-colored yarn.
- Round 1: 6 sc in MR (6)
- Round 2: (1 sc, inc) * 3 (9)
- Rounds 3-4: 9 sc (9)
- Round 5: (2 sc, inc) * 3 (12)
- Round 6: (3 sc, inc) * 3 (15)
Fasten off the first leg completely.
The Second Leg
Repeat the steps for the first leg, but do not fasten off. We will use the second leg to join the two together.
Joining the Legs and Creating the Body
- Joining: Chain 3, and join to the first leg with a slip stitch.
- Round 7: Crochet 15 sc around the first leg, 3 sc in the chain, 15 sc around the second leg, and 3 sc in the other side of the chain (36). Place a stitch marker here to mark the start of the round.
- Rounds 8-13: 36 sc (36) — 6 rounds total.
Change color to the clothing color:
- Rounds 14-16: 36 sc (36) — 3 rounds total.
- Round 17: (4 sc, dec) * 6 (30)
- Round 18: 30 sc (30)
- Round 19: (3 sc, dec) * 6 (24)
- Round 20: 24 sc (24)
- Round 21: (2 sc, dec) * 6 (18)
- Round 22: 18 sc (18)
- Round 23: (4 sc, dec) * 3 (15)
The Head
Change color back to the skin tone:
- Round 24: 15 inc (30)
- Round 25: 30 sc (30)
- Round 26: (4 sc, inc) * 6 (36)
- Round 27: 36 sc (36)
- Round 28: (5 sc, inc) * 6 (42)
- Rounds 29-30: 42 sc (42) — 2 rounds total.
Shaping the Head: To ensure the head is perfectly centered, you may need to crochet a few “offset stitches” (shifting the start of the round) so that the decreases happen exactly in the middle. Then, continue with these rounds:
- Round 31: 9 sc, 2 dec, 16 sc, 2 dec, 9 sc (38)
- Round 32: 9 sc, dec, 16 sc, dec, 9 sc (36)
- Round 33: (4 sc, dec) * 6 (30)
- Rounds 34-38: 30 sc (30) — 5 rounds total.
- Round 39: (3 sc, dec) * 6 (24)
- Round 40: (2 sc, dec) * 6 (18)
- Round 41: (1 sc, dec) * 6 (12)
- Round 42: 6 dec (6)
Fasten off, weave in the end, and secure the stitch.
Finishing
Now comes the fun part—giving your bunny a personality!
- Stuffing: Firmly stuff the legs, body, and head with fiberfill as you go, or before closing the final stitches.
- Eyes: Place the 5 mm safety eyes between rounds 34 and 35, roughly 7-8 stitches apart. Use black embroidery thread to stitch small “sleepy” lids or eyelashes above the eyes for a cute expression.
- Nose: Use pink thread to embroider a small horizontal stitch between the eyes to create a tiny bunny nose.
- Assembly: Sew the arms to the sides of the body and the ears to the top of the head. Finally, sew the tail to the back of the bunny.
Tips for Success
- Consistent Tension: Keep your stitches tight so the stuffing doesn’t peek through. If you see gaps, try dropping down a half-millimeter in hook size.
- Using Markers: Since amigurumi is worked in continuous spirals, always use a stitch marker to keep track of the beginning of each round.
- Invisible Decrease: For a cleaner look, use the “invisible decrease” method (working into the front loops only of the next two stitches).
- Customizing: Feel free to experiment with colors! You can give your bunny a striped shirt or a bright neon outfit to make it stand out.