Adorable Watermelon Duck Amigurumi Crochet Pattern
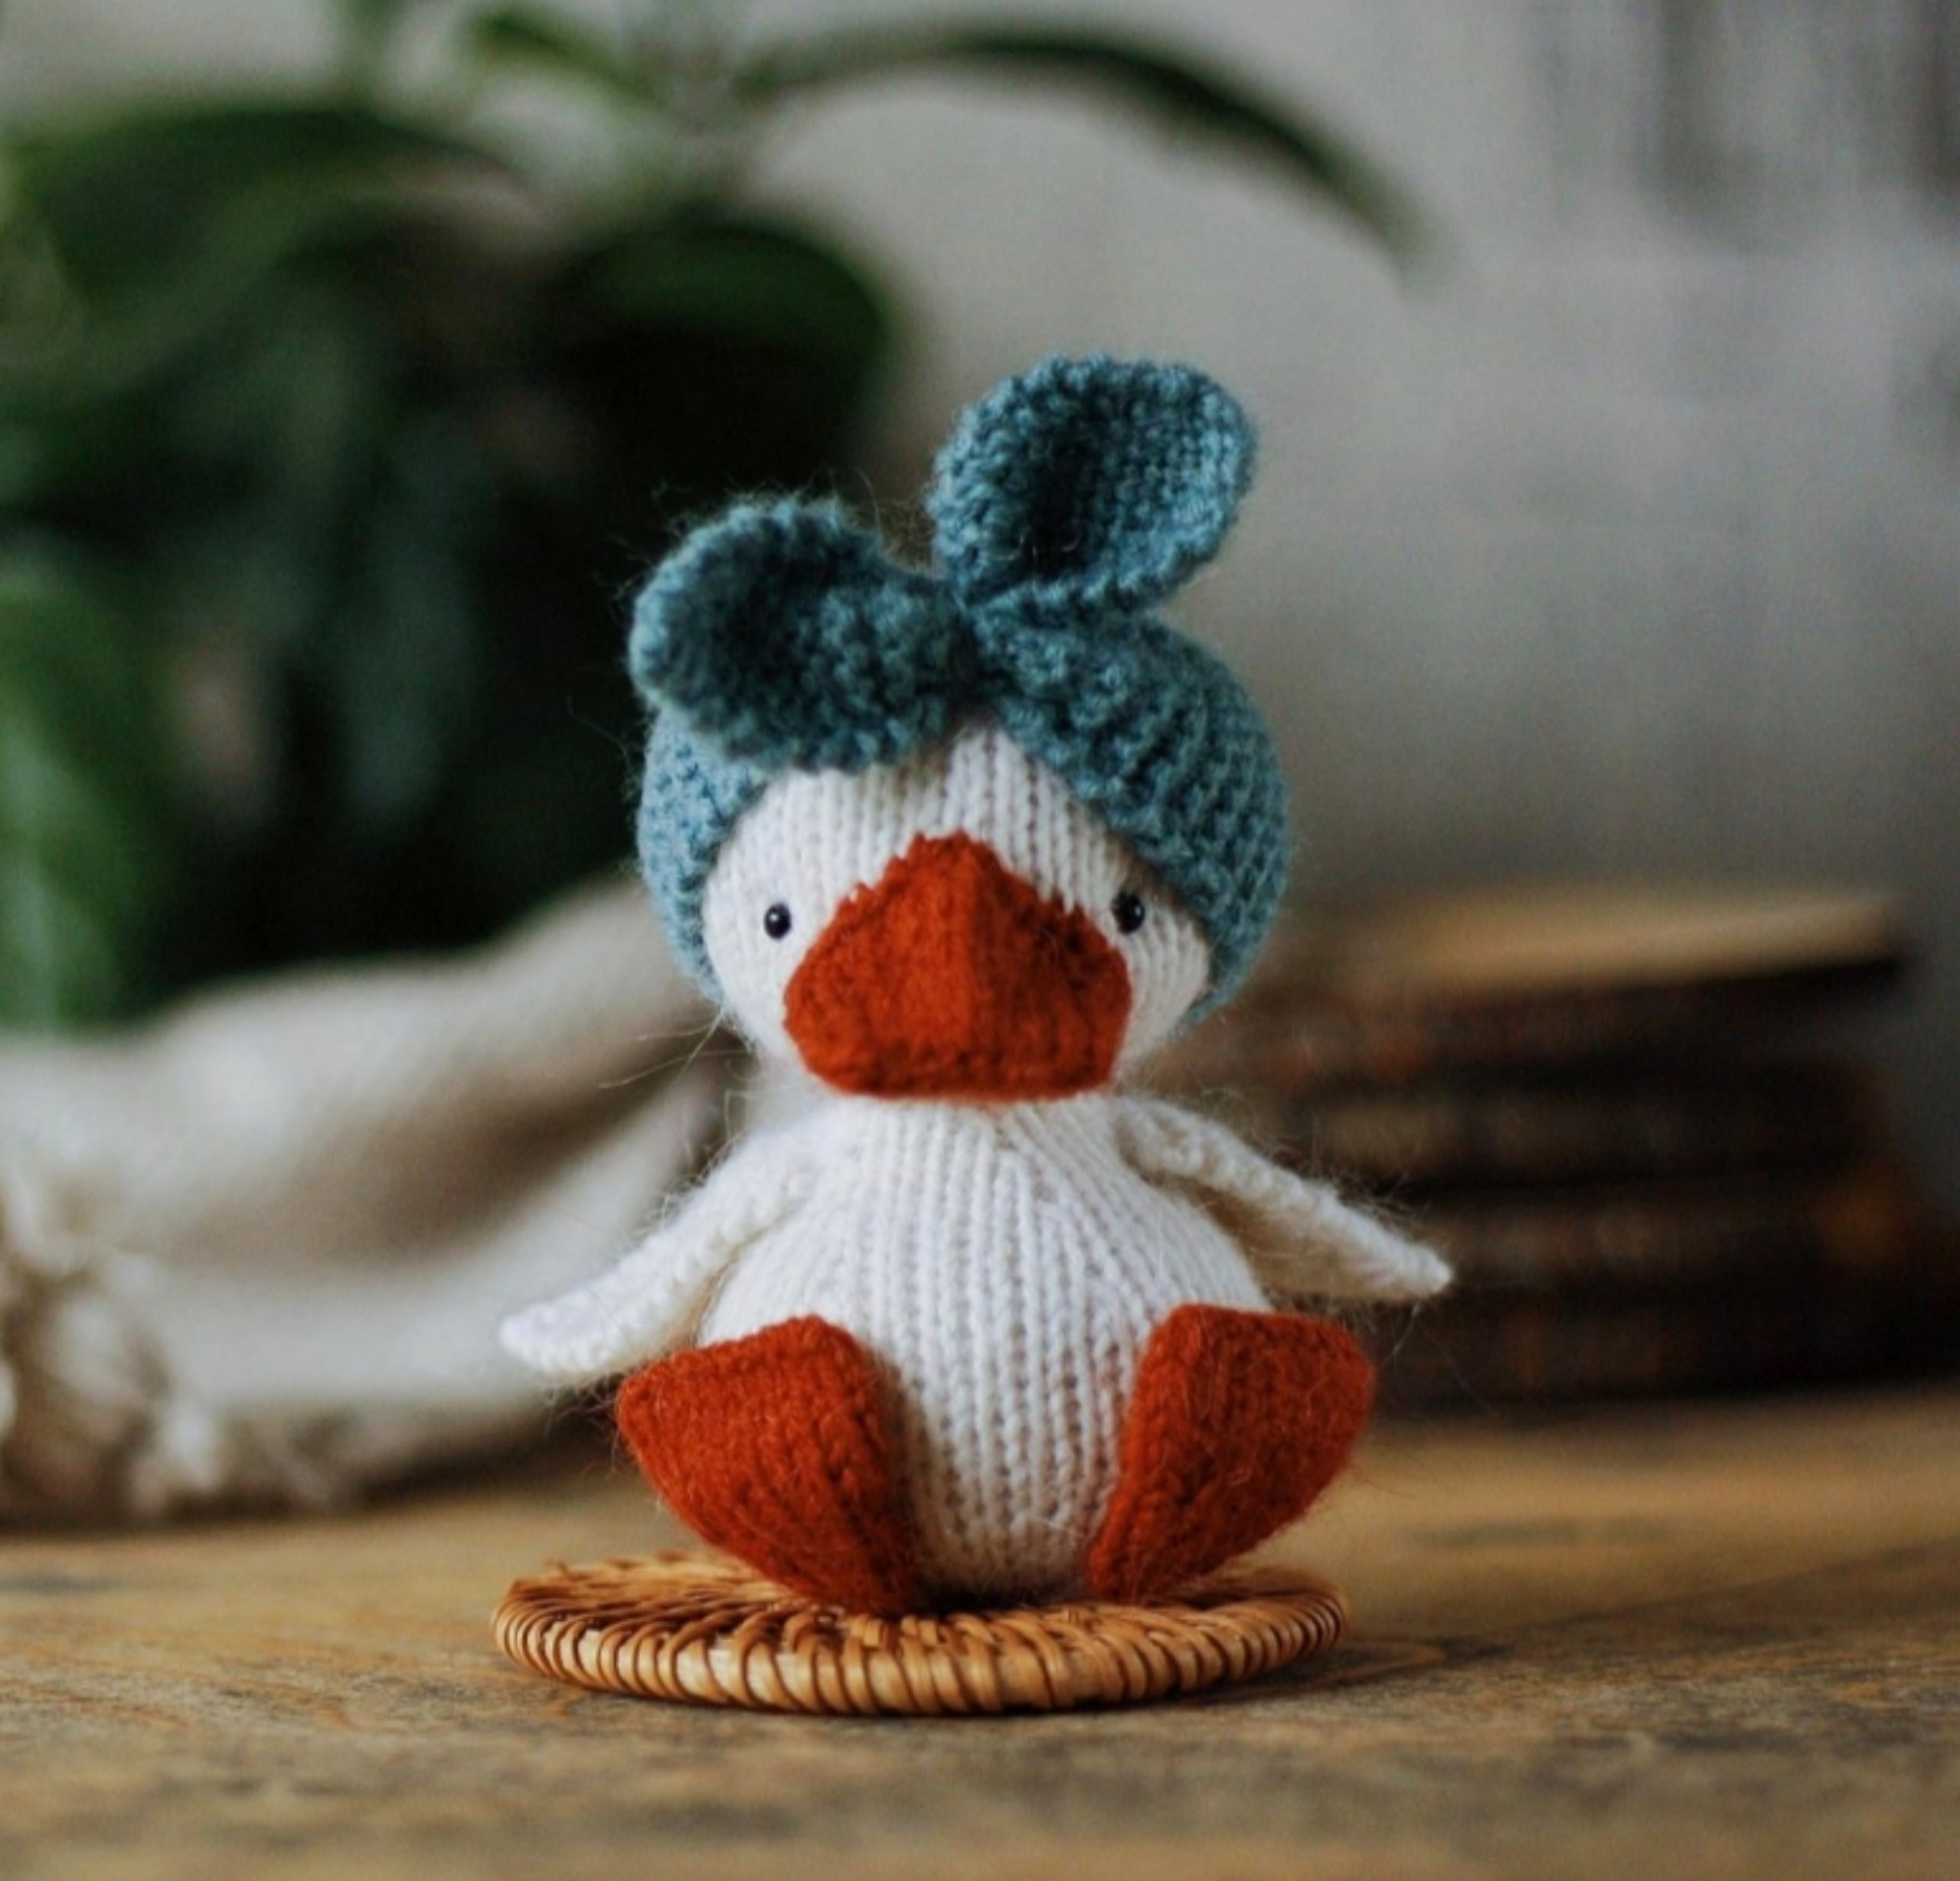
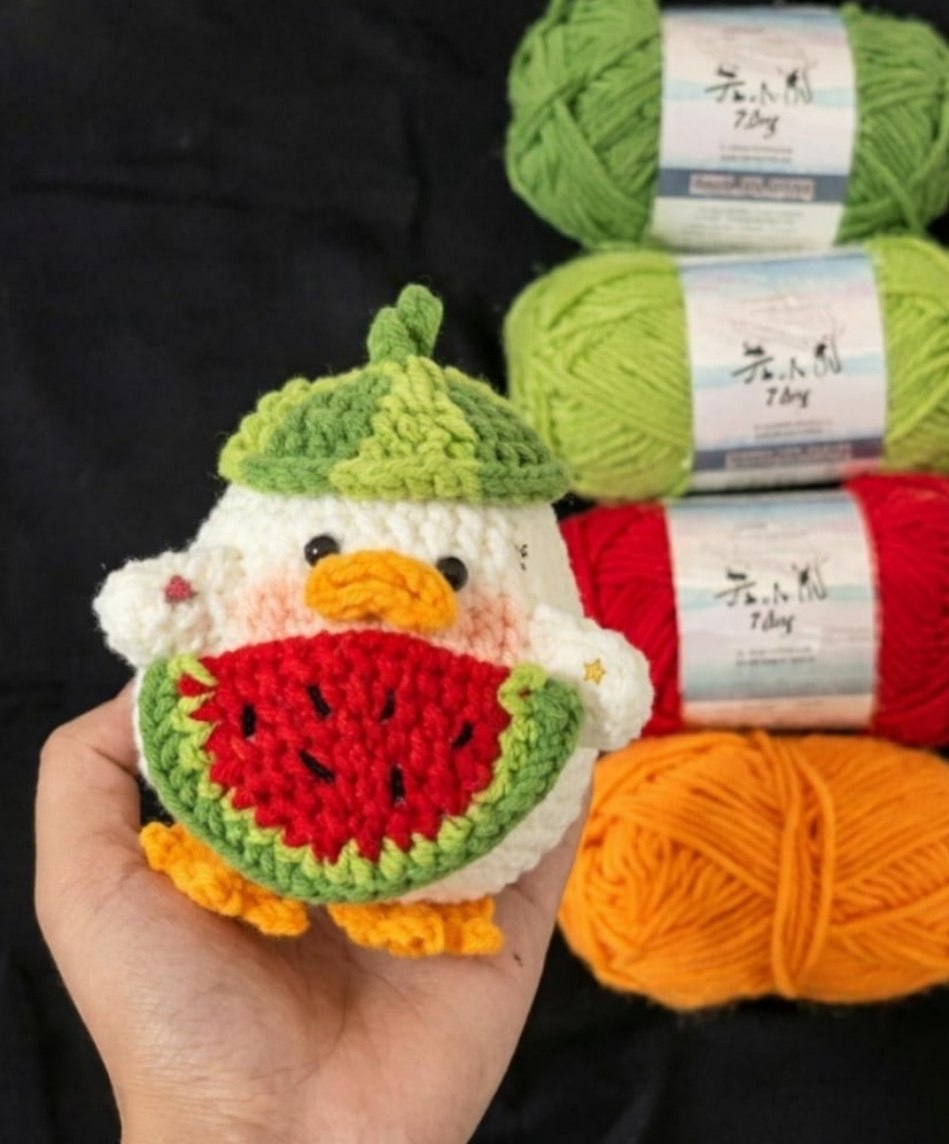
There is nothing sweeter than a cute amigurumi friend to brighten up your desk, nursery, or keys! This adorable watermelon-themed duck is the ultimate summer crochet project. Dressed in a cozy watermelon rind hat and holding a fresh, juicy slice of watermelon, this little duckling is sure to melt hearts.
This pattern is perfect for advanced beginners and intermediate crocheters alike. In this guide, we have translated and optimized the steps using standard US crochet terms and corrected some common mathematical pattern errors to ensure your project turns out flawlessly. Grab your favorite yarn, and let’s get stitching!
Materials & Abbreviations
Supplies Needed
- Yarn: Medium weight (Size 4) cotton or acrylic yarn (approx. 50–60 yards of Off-White/Cream, 20 yards of Medium/Dark Green, 15 yards of Bright Red, 5 yards of White or Light Green, and 15 yards of Orange). You can also use plush/velvet yarn for a super soft, squishy finish!
- Crochet Hook: US Size E-4 (3.5 mm) or G-6 (4.0 mm) depending on your yarn choice and tension.
- Safety Eyes: One pair of 8 mm or 10 mm black safety eyes.
- Other Tools: Polyester fiberfill stuffing, tapestry needle, stitch markers, embroidery scissors, and a tiny bit of black embroidery floss for the seeds.
Finished Size
Approximately 4 to 5 inches tall (excluding the hat stem) when using medium weight worsted yarn.
Abbreviations (US Terms)
- ch: chain
- sc: single crochet
- inc: single crochet increase (2 single crochets in the same stitch)
- dec: single crochet decrease (invisible decrease recommended)
- sc3tog: single crochet three stitches together (decrease over three stitches)
- hdc: half double crochet
- hdc inc: half double crochet increase (2 half double crochets in the same stitch)
- dc: double crochet
- sl st: slip stitch
- BLO: back loops only
- FLO: front loops only
- MR: magic ring
- st(s): stitch(es)
- Rnd: Round
Step-by-Step Instructions
Head & Body (Main Piece)
Using Cream or Off-White yarn. We will work in continuous rounds. Do not join or chain at the end of rounds; use a stitch marker to keep track of your progress.
- Rnd 1: Work 6 sc into a MR (6)
- Rnd 2: Work 6 inc (12)
- Rnd 3: (1 sc, inc) x 6 (18)
- Rnd 4: (1 sc, inc, 1 sc) x 6 (24)
- Rnd 5: Work 24 sc around (24)
- Rnd 6: (5 sc, inc) x 4 (28)
- Rnd 7: Work 28 sc around (28)
- Rnd 8: (3 sc, inc, 3 sc) x 4 (32)
- Rnd 9: Work 32 sc around (32)
- Rnd 10: (7 sc, inc) x 4 (36)
- Rnd 11: Work 36 sc around (36)
- Rnd 12: (5 sc, inc) x 6 (42)
- Rnds 13–14: Work 42 sc around (42)
- Rnd 15: (3 sc, inc, 3 sc) x 6 (48)
- Rnds 16–17: Work 48 sc around (48)
Tip: Stop here to insert the safety eyes. Place them between Rounds 10 and 11, leaving about 7 to 8 stitches open between them. Secure the backings tightly.
- Rnd 18: (7 sc, inc) x 6 (54)
- Rnd 19: Work 54 sc around (54)
- Rnd 20: (2 sc, dec, 2 sc) x 9 (45)
- Rnd 21: (3 sc, dec) x 9 (36)
- Rnd 22: (1 sc, dec, 1 sc) x 9 (27)
Stuff the head and body firmly with polyester fiberfill. Keep adding stuffing as you finish the remaining rounds.
- Rnd 23: (1 sc, dec) x 9 (18)
- Rnd 24: Work 9 dec (9)
Fasten off, weave the tail through the front loops of the remaining 9 stitches, pull tightly to close the hole, and bury your yarn end inside the body.
The Beak
Using Orange yarn.
- Row 1: Chain 5.
- Row 2: Starting in the second chain from your hook, work: 1 sl st, 2 hdc, 1 sl st.
Fasten off, leaving a long tail for sewing the beak onto the face.
Wings (Make 2)
Using Cream or Off-White yarn.
- Rnd 1: Work 6 sc into a MR (6)
- Rnd 2: (1 sc, inc, 1 sc) x 2 (8)
- Rnd 3: Work 3 sc, 2 hdc, 3 sc (8)
- Rnd 4: Work 3 sl st, ch 2, work 2 dc across the next 2 stitches, then 3 sl st (8)
Fasten off, leaving a long tail for sewing.
Feet (Make 2)
Using Orange yarn.
- Rnd 1: Work 8 sc into a MR (8)
- Rnd 2: Work 3 sc inc, 2 hdc inc, 3 sc inc (16)
- Rnd 3: Work 5 sc, BLO 6 sc, then 5 sc (16)
Now, let’s make the webbed toes! Join your orange yarn to the 6 free front loops left from Round 3. Work: (ch 3, 1 sl st in next loop) x 3 across the front of the foot. Fasten off and weave in these toe ends.
- Rnd 4: Work 1 dec (sc2tog), 4 sc3tog, 1 dec (sc2tog) (6)
Fasten off, leaving a long tail to sew the feet to the bottom of your duck.
Watermelon Rind Hat
Using Green yarn.
- Rnd 1: Work 8 sc into a MR (8)
- Rnd 2: Work 8 inc (16)
- Rnd 3: (1 sc, inc) x 8 (24)
- Rnd 4: Work 24 sc around (24)
- Rnd 5: (1 sc, inc, 1 sc) x 8 (32)
- Rnd 6: Work 32 sc around (32)
To make the little hanging loop on top: Chain 10, fold the chain back to the center of the hat, and slip stitch it securely in place. Fasten off and weave in the ends.
Watermelon Slice
Start with Red yarn.
- Rnd 1: Work 6 sc into a MR (6)
- Rnd 2: Work 6 inc (12)
- Rnd 3: Work 12 inc (24)
- Rnd 4: (1 sc, inc) x 12 (36)
- Rnd 5: (1 sc, inc, 1 sc) x 12 (48)
- Rnd 6: Work 48 sc around (48)
- Rnd 7: Change to White (or Light Green) yarn, work 48 sc around (48)
- Rnd 8: Change to Dark Green yarn. Fold the flat circle completely in half. Working through both thicknesses at the same time to join them, work 24 sc across the curved edge to close the slice.
Fasten off, leaving a long tail for sewing. Use a small piece of black embroidery thread to embroider 4 to 5 small seed stitches on both sides of the red section of the watermelon slice.
Finishing & Assembly
- Face details: Sew the orange beak right between the safety eyes around Rounds 11 and 12. If you like, use some pink blush or pink yarn to add little rosy cheeks right next to the eyes.
- Assemble the limbs: Sew the wings to the sides of the body around Rounds 12 to 14. Sew the feet to the bottom of the body (Rounds 21 to 23), pointing slightly outward so your duck can sit flat on its own.
- Place the hat: Pop the cute green hat onto the duck’s head. You can sew it down with a few hidden stitches or leave it removable!
- Hold the watermelon: Place the watermelon slice in front of the duck’s belly. Using the yarn tail from the watermelon slice, stitch it securely to the duck’s belly and pin the wings forward to make it look like the duck is hugging its delicious treat.
Amigurumi Crochet Tips
- Stitch Tension is Key: In amigurumi, you want your stitches to be nice and tight. This keeps the stuffing from showing through. If you see gaps, try dropping down a hook size!
- Invisible Decrease: To make your decreases smooth and bump-free, always use the invisible decrease method (insert hook into the front loops only of the next two stitches, yarn over, pull through both loops, yarn over, and pull through the remaining two loops).
- Color Customization: While we love the classic watermelon theme, don’t be afraid to try other fruits! A yellow lemon hat with a lemon slice, or a pink strawberry look, would be just as adorable.