Adorable Crochet Ladybug Amigurumi Pattern: A Beginner-Friendly Tutorial
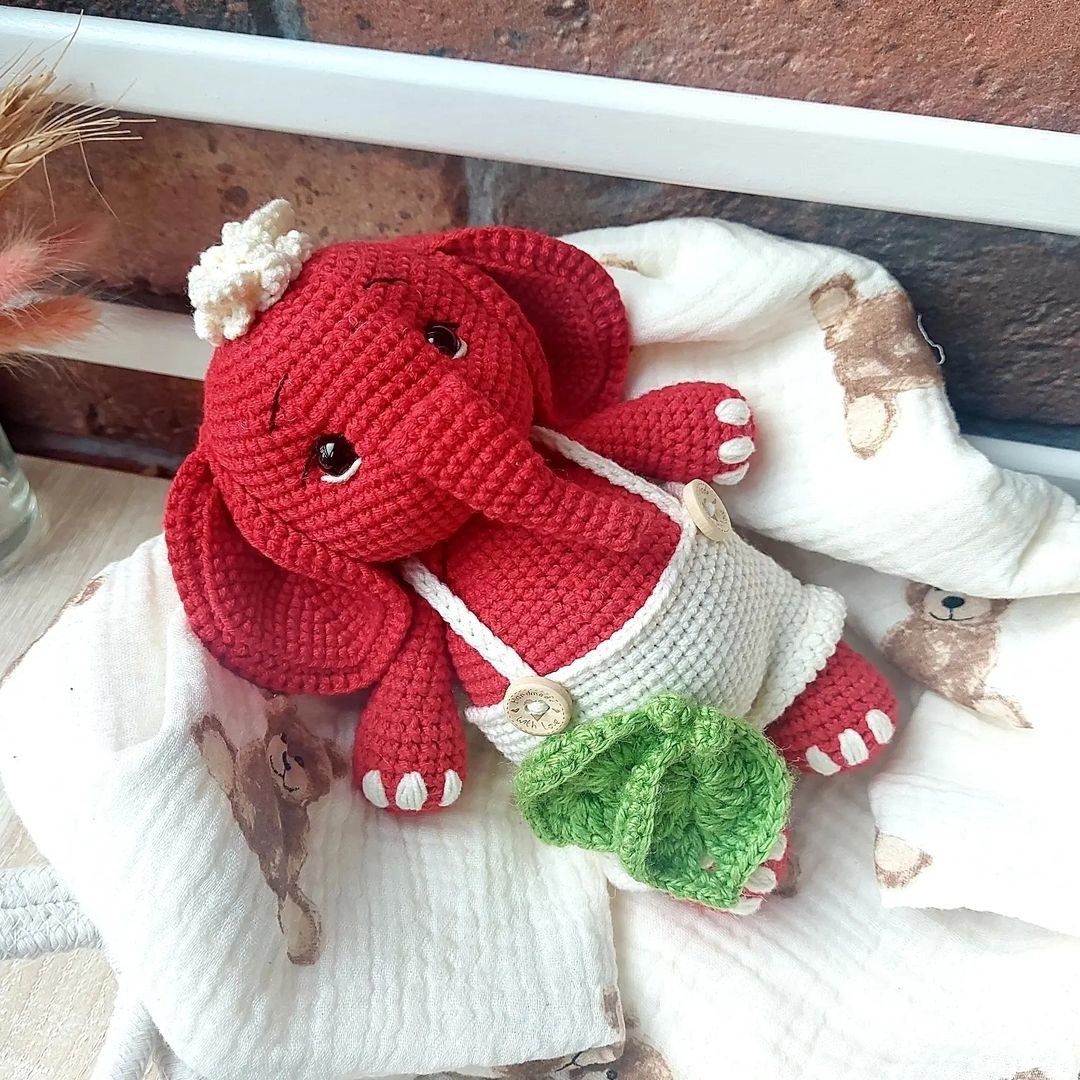
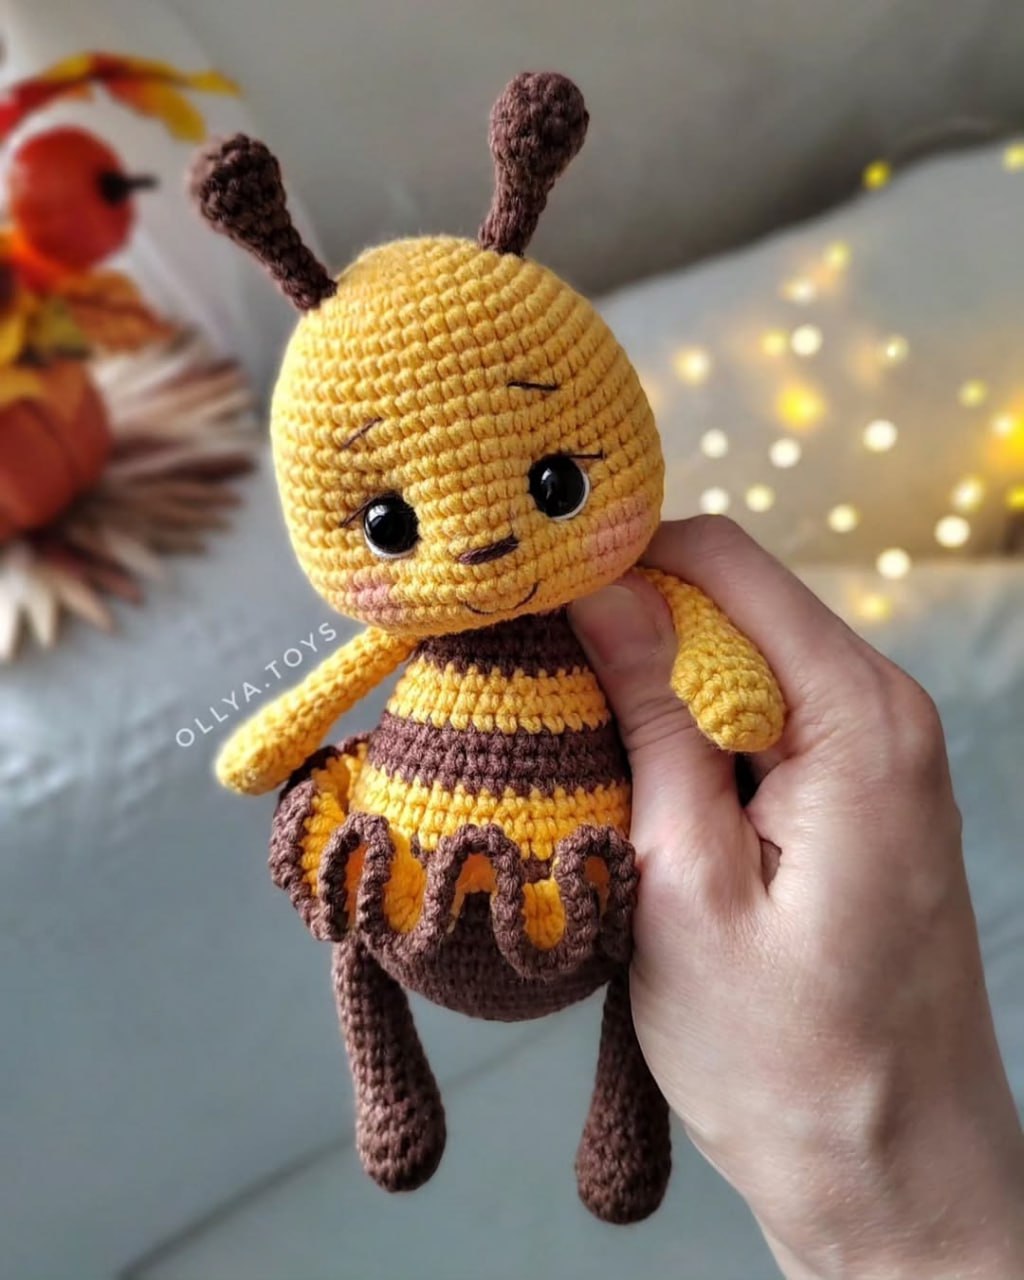
Are you looking for your next whimsical crochet project? This cute, little ladybug amigurumi is the perfect addition to your handmade toy collection! With its big, expressive eyes and tiny, ruffled skirt, this ladybug is absolutely darling and makes a wonderful gift for children or a charming decoration for a nursery.
This pattern is designed with beginners in mind. If you have mastered the basic stitches of amigurumi, you are going to love how quickly this little insect comes to life. Follow along with this detailed guide, and you’ll have a lovable little ladybug friend in no time!
Materials & Abbreviations
Before you dive into the stitches, gather all your supplies. Using high-quality cotton yarn will give your ladybug a clean, professional look and help it hold its shape.
Supplies Needed:
- Yarn (Cotton or Acrylic blend recommended):
- Graphite (Dark Grey)
- Red
- White
- Crochet Hook: 2.0mm (or equivalent US size)
- Safety Eyes: 10mm
- Stuffing: Fiberfill
- Needle: Long embroidery needle
- Dental Floss: For tightening facial features and sculpting
- Scissors
- Optional: 2 small red beads for extra detail
US Crochet Abbreviations:
- MR: Magic Ring
- sc: single crochet
- inc: increase (2 sc in one stitch)
- dec: decrease (sc 2 together)
- hdc: half double crochet
- sl st: slip stitch
- ch: chain
- BLO: back loops only
- st(s): stitch(es)
Step-by-Step Instructions
The Head
We begin the head using Graphite yarn.
- 6 sc in MR (6)
- 6 inc (12)
- (1 sc, 1 inc) * 6 (18)
- 1 sc, 1 inc, (2 sc, 1 inc) * 5, 1 sc (24)
- (3 sc, 1 inc) * 6 (30)
- 2 sc, 1 inc, (4 sc, 1 inc) * 5, 2 sc (36)
- 36 sc (36)
- (5 sc, 1 inc) * 6 (42)
- 42 sc (42)
- 3 sc, 1 inc, (6 sc, 1 inc) * 5, 3 sc (48)
- 48 sc (48)
- (7 sc, 1 inc) * 6 (54)
- 13–16) 54 sc (4 rounds total)
- 17) 17 sc, (1 sc, 1 inc) * 3, 8 sc, (1 inc, 1 sc) * 3, 17 sc (60)
- 18–20) 60 sc (3 rounds total)
- 21) (3 sc, 1 dec) * 12 (48)
- 22) 3 sc, 1 dec, (6 sc, 1 dec) * 5, 3 sc (42)
- 23) (5 sc, 1 dec) * 6 (36)
Eye Placement: Before finishing the head, insert your 10mm safety eyes between rounds 15 and 16. Make sure they are spaced approximately 7 stitches apart.
- 2 sc, 1 dec, (4 sc, 1 dec) * 5, 2 sc (30)
- (3 sc, 1 dec) * 6 (24)
- 1 sc, 1 dec, (2 sc, 1 dec) * 5, 1 sc (18)
Fasten off, leaving a tail for sewing. Stuff the head firmly, paying extra attention to the cheek area to give it a nice, rounded shape.
The Body
Start the body with Graphite yarn.
- 6 sc in MR (6)
- 6 inc (12)
- (1 sc, 1 inc) * 6 (18)
- 1 sc, 1 inc, (2 sc, 1 inc) * 5, 1 sc (24)
- (3 sc, 1 inc) * 6 (30)
- 2 sc, 1 inc, (4 sc, 1 inc) * 5, 2 sc (36)
- (5 sc, 1 inc) * 6 (42)
- 3 sc, 1 inc, (6 sc, 1 inc) * 5, 3 sc (48)
- (7 sc, 1 inc) * 6 (54)
- 10–13) 54 sc (4 rounds total)
- 14) (7 sc, 1 dec) * 6 (48)
Working in BLO: For the next round, work into the back loops only.
- 15) 48 sc in BLO (48)
Switch to Red yarn:
- 16) 3 sc, 1 dec, (6 sc, 1 dec) * 5, 3 sc (42)
- 17) 42 sc (42)
- 18) (5 sc, 1 dec) * 6 (36)
- 19–20) 36 sc (2 rounds total)
- 21) 2 sc, 1 dec, (4 sc, 1 dec) * 5, 2 sc (30)
- 22–23) 3 sc (2 rounds total)
- 24) (3 sc, 1 dec) * 6 (24)
- 25–26) 24 sc (2 rounds total)
- 27) 1 sc, 1 dec, (2 sc, 1 dec) * 6, 1 sc (18)
- 28) 18 sc (18)
Stuff the body firmly. Fasten off, leaving a long tail to attach the body to the head later.
Adding the Red Scalloped Detail: Join Red yarn to the back loops of round 15.
- 1) 2 ch, 48 hdc into the back loops of round 15, sl st.
- 2) 2 ch, 96 hdc into the back loops of round 15, sl st.
Fasten off and weave in ends. Finally, join Graphite yarn to the edge of the skirt and work a decorative border: (sl st, 1 ch) repeat all the way around the edge.
Antennae (Make 2)
Use Graphite yarn.
- 6 sc in MR (6)
- 6 inc (12)
- 3–4) 12 sc (2 rounds total)
- 5) 6 dec (6)
Stuff firmly. Continue for rounds 6–9: 6 sc (4 rounds total). Fasten off, leaving a tail. Sew the antennae onto the head between rounds 4 and 5.
Arms (Make 2)
Use Graphite yarn.
- 6 sc in MR (6)
- 6 inc (12)
- 3–4) 12 sc (2 rounds total)
- 5) 3 hdc in one stitch, 11 sc (12)
- 6) 12 sc (12)
- 8) (1 sc, 1 dec) * 4 (8)
Stuff the palm area lightly. For rounds 9–16, work 8 sc (8 rounds total). Fold the arm in half and crochet 4 or 5 sc through both sides to flatten it. Fasten off, leaving a tail, and sew the arms to the body between rounds 27 and 28.
Legs (Make 2)
Use Graphite yarn.
- 6 sc in MR (6)
- 6 inc (12)
- 3) (1 sc, 1 inc) * 6 (18)
- 4) 18 sc (18)
- 5) 5 sc, 4 dec, 5 sc (14)
- 6) 5 sc, 1 dec, 5 sc (12)
- 7) 5 sc, 1 dec, 5 sc (11)
- 8–16) 11 sc (9 rounds total)
Stuff up to round 10. Work 2 slip stitches to create a gap, fold the leg in half, and crochet 5 or 6 sc through both sides. Fasten off, leaving a tail, and sew the legs to the body between rounds 11 and 12.
Wings (Make 2)
Use Red yarn.
- 6 sc in MR (6)
- 6 inc (12)
- 3) (1 sc, 1 inc) * 6 (18)
- 4) 1 sc, 1 inc, (2 sc, 1 inc) * 5, 1 sc (24)
- 5) (3 sc, 1 inc) * 6 (30)
- 6–10) 30 sc (5 rounds total)
- 11) (3 sc, 1 dec) * 6 (24)
- 12–14) 24 sc (3 rounds total)
- 15) 1 sc, 1 dec, (2 sc, 1 dec) * 5, 1 sc (18)
- 16–18) 18 sc (3 rounds total)
- 19) (1 sc, 1 dec) * 6 (12)
- 20) 12 sc (12)
Fold the wing in half and crochet 6 sc through both sides. Fasten off. To create the removable “cape” effect, crochet a 45-chain with Graphite yarn. Attach one wing to the chain using sl st around the last round, then attach the second wing. You can decorate the ends of the chain with beads!
Wing Spots (Make 6)
Use Graphite yarn.
- 4 Large Spots: 6 sc in MR. Fasten off, leaving a tail for sewing.
- 2 Small Spots: 1) 6 sc in MR, 2) 6 inc (12). Fasten off, leaving a tail.
Sew the spots onto the front of the wings in a random pattern.
Finishing
Assembly & Embroidery
Now comes the magic part—bringing your ladybug to life with her facial features!
- Attach Head to Body: Using the tails left from both pieces, sew the head securely to the top of the body.
- Nose: Using Graphite yarn, embroider a small nose between rounds 17 and 18 (about 3 stitches wide).
- Brows: Embroider tiny eyebrows between rounds 9 and 10 (about 2–3 stitches wide).
- Mouth: Between rounds 19 and 20, make a small red stitch in the center (about 2 stitches wide) to create a sweet little smile.
- Sculpting: Use your dental floss to pull slightly at the area below the eyes to create deeper “cheeks” for a more characterful look.
Tips for Success
Keep it Tight: When making amigurumi, use a slightly smaller hook than the yarn recommends. This ensures your stuffing doesn’t peek through the stitches.
Even Stuffing: When stuffing the head and body, distribute the fiberfill evenly. If you focus too much stuffing in one spot, it can cause lumps that are hard to smooth out later.
Consistent Tension: Try to keep your tension consistent throughout the project. This is especially important when working the decreases (dec) to avoid gaps.
Have Fun: Don’t worry if your first ladybug isn’t perfect! Every crochet project is a learning experience. Happy hooking!