Crochet Bunny Ballerina Pattern: A Cute Amigurumi Tutorial
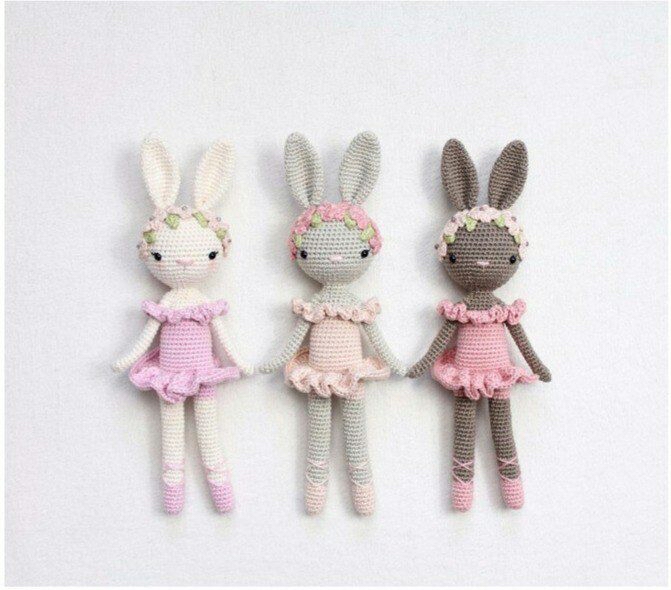
If you are looking for a whimsical and elegant project to add to your amigurumi collection, look no further! This adorable Crochet Bunny Ballerina is the perfect blend of sweetness and charm. Whether you are making a gift for a little one or looking to decorate a nursery, these little dancers are sure to bring a smile to anyone’s face.
In this detailed tutorial, we will walk you through the process of creating this character from scratch. From the delicate pink tutu to the tiny floral headpiece, every step is designed to be beginner-friendly. Grab your hook and some cozy yarn, and let’s get started on this enchanting project!
Materials & Abbreviations
Before we dive into the stitches, let’s make sure you have everything you need on your crafting table. To achieve the best results, I recommend using a medium-weight cotton or acrylic yarn.
Materials Needed
- Skin Tone Yarn: For the bunny’s body, head, arms, and legs.
- Pink Yarn: For the legs, tutu, and neck ruffle.
- Light Pink Yarn: For the small decorative flowers.
- Green Yarn: For the tiny leaves.
- Crochet Hook: A size suitable for your chosen yarn (typically 2.5mm to 3.5mm).
- Stuffing: Polyester fiberfill for the body and head.
- Safety Eyes: To give your bunny its personality.
- Beads: Small beads to sew into the center of the flowers.
- Tapestry Needle: For sewing pieces together and weaving in ends.
- Stitch Marker: Essential for keeping track of your rounds.
Abbreviations (US Terms)
- MR: Magic Ring
- ch: Chain
- sc: Single crochet
- inc: Increase (2 sc in one stitch)
- dec: Decrease (sc 2 together)
- dec 3tog: Triple decrease (sc 3 together)
- hdc: Half double crochet
- dc: Double crochet
- sl st: Slip stitch
- BLO: Back Loops Only
Step-by-Step Instructions
The Arms (Make 2)
Use skin tone yarn. Do not stuff the arms.
- R1: 4 sc in a MR (4)
- R2: 4 inc (8)
- R3-21: 8 sc (8)
Fasten off, leaving a long tail for sewing.
The Legs (Make 2)
Start with pink yarn. Stuff the legs as you work.
- R1: 6 sc in a MR (6)
- R2: 6 inc (12)
- R3-8: 12 sc (12)
Change color to skin tone yarn.
- R9: 12 sc in BLO (12)
- R10-28: 12 sc (12)
- R29: 4 sc (12)
Change color back to pink yarn. Place your stitch marker in the last stitch of the round to mark the new start of the row.
- R30-32: 12 sc (12)
Fasten off, leaving a tail for sewing.
The Body
Use pink yarn. Begin stuffing the body as you go.
First, join the two legs together using a 3 ch slip stitch.
- R33: 12 sc around the first leg, 3 sc in the 3-ch space, 12 sc around the second leg, 3 sc in the 3-ch space (30)
Place a marker in the last stitch.
- R34-35: 30 sc (30)
- R36: 30 sc in BLO (30)
- R37-44: 30 sc (30)
- R45: 7 sc, dec, 12 sc, dec, 7 sc (28)
- R46: 28 sc (28)
- R47: 7 sc, dec, 11 sc, dec, 6 sc (26)
- R48: 26 sc (26)
Change color to skin tone yarn.
- R49: 7 sc, dec, 10 sc, dec, 5 sc in BLO (24)
Attaching the Arms
R50 is a special round where we join the arms directly to the body.
- R50: 6 sc, then perform a dec 3tog using the 3 stitches of the left arm and 3 stitches of the body simultaneously. Work 8 sc in the body, then perform another dec 3tog using the 3 stitches of the right arm and 3 stitches of the body. Finish with 4 sc (20).
- R51: 6 sc, skip the dec 3tog space, 5 sc into the first arm, 8 sc in the body, skip the dec 3tog space, 5 sc into the second arm, 4 sc (28)
- R52: 4 sc, dec, 5 sc, dec, 4 sc, dec, 5 sc, dec, 2 sc (24)
- R53: 3 sc, dec, 1 sc, dec 3tog, 1 sc, dec, 2 sc, dec, 1 sc, dec 3tog, 1 sc, dec, 1 sc (16)
- R54: 4 sc, dec 3tog, 4 sc, dec 3tog, 2 sc (12)
- R55-56: 12 sc (12)
Finish stuffing the body firmly.
The Head
Use skin tone yarn. Begin stuffing the head as you work.
- R57: 12 inc (24)
- R58: (3 sc, inc) x 6 (30)
- R59: 2 sc, inc, (4 sc, inc) x 5, 2 sc (36)
- R60: (5 sc, inc) x 6 (42)
- R61: 3 sc, inc, (6 sc, inc) x 5, 3 sc (48)
- R62-71: 48 sc (48)
Safety Eyes Placement: Insert your safety eyes between rounds 64 and 65. They should be approximately 11 stitches apart.
- R72: 3 sc, dec, (6 sc, dec) x 5, 3 sc (42)
- R73: (5 sc, dec) x 6 (36)
- R74: 2 sc, dec, (4 sc, dec) x 5, 2 sc (30)
- R75: (3 sc, dec) x 6 (24)
- R76: 1 sc, dec, (2 sc, dec) x 5, 1 sc (18)
- R77: (1 sc, dec) x 6 (12)
- R78: 6 dec (6)
Fasten off and weave in the end.
The Ears (Make 2)
Use skin tone yarn.
- R1: 6 sc in a MR (6)
- R2: (1 sc, inc) x 3 (9)
- R3: (2 sc, inc) x 3 (12)
- R4: 12 sc (12)
- R5: (3 sc, inc) x 3 (15)
- R6: 15 sc (15)
- R7: (4 sc, inc) x 3 (18)
- R8: (5 sc, inc) x 3 (21)
- R9-16: 21 sc (21)
- R17: (5 sc, dec) x 3 (18)
- R18: 18 sc (18)
- R19: (4 sc, dec) x 3 (15)
Leave a long tail for sewing the ears to the head.
The Ballerina Accessories
The Tutu (Skirt)
Use pink yarn. Attach to the back of the body at round 36.
- R1: Ch 3, 2 dc, then (3 dc in the same stitch) 29 times, sl st (90)
- R2: Ch 3, 89 dc, sl st (90)
- R3: Ch 2, 89 hdc, sl st (90)
The Neck Ruffle
Use pink yarn. Work into the front loops of round 48.
- R1: 5 sc, 9 ch, skip 4 sc, 8 sc, 9 ch, skip 4 sc, 5 sc, sl st (36)
- R2: Ch 3, 2 dc, (3 dc in the same stitch) 35 times, sl st (108)
Flowers & Leaves
Flowers (Make 5): Use light pink yarn.
- In a MR: (3 ch, 3 dc, 3 ch, sl st) x 5. Tighten the ring and sew a small bead into the center of each flower.
Leaves (Make 4): Use green yarn.
- Ch 6. In the 2nd chain from the hook: sl st, sc, hdc, sc, sl st.
Finishing
Now comes the fun part—assembly! Use your tapestry needle to sew the ears onto the top of the head. Carefully stitch the arms to the sides of the body (if they weren’t already perfectly positioned) and sew the legs to the bottom of the body.
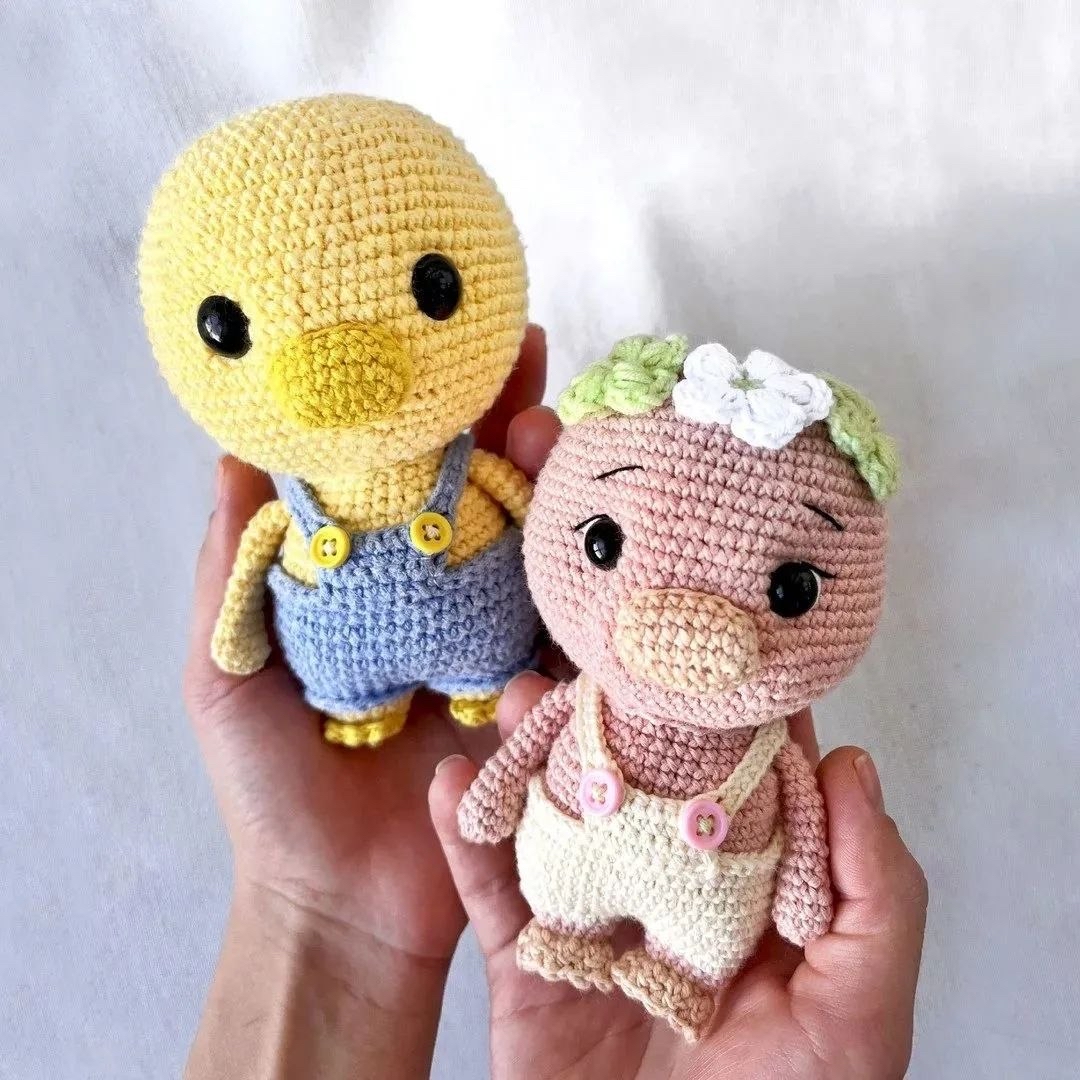
To complete the ballerina look, sew the flowers and leaves onto the head as shown in your inspiration photos. Finally, attach the tutu around the waist and the neck ruffle around the neck. Once you’ve woven in all your loose ends, your Bunny Ballerina is ready to take center stage!
Tips for Success
- Tension is Key: Since amigurumi is worked in tight stitches, try to keep your tension consistent so the stuffing doesn’t show through.
- Use Stitch Markers: In rounds with many increases and decreases, it is very easy to lose your place. Always mark the first stitch of every round.
- Stuffing Technique: When stuffing the head and body, push the fiberfill into the corners and extremities (like the bottom of the legs) to ensure a smooth, rounded shape.
- Color Changes: When changing colors, try to do it on the last pull-through of the final stitch of the previous color to ensure a clean transition.