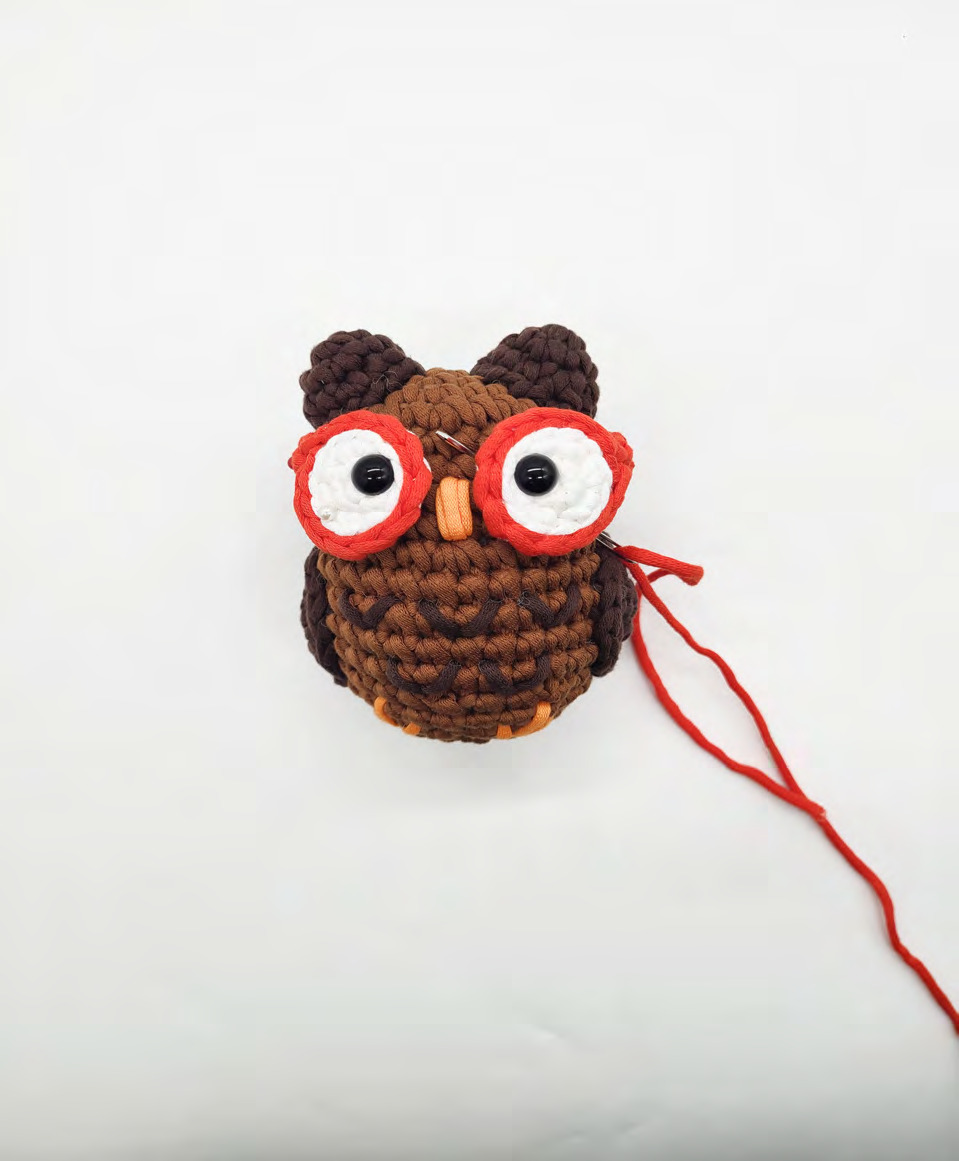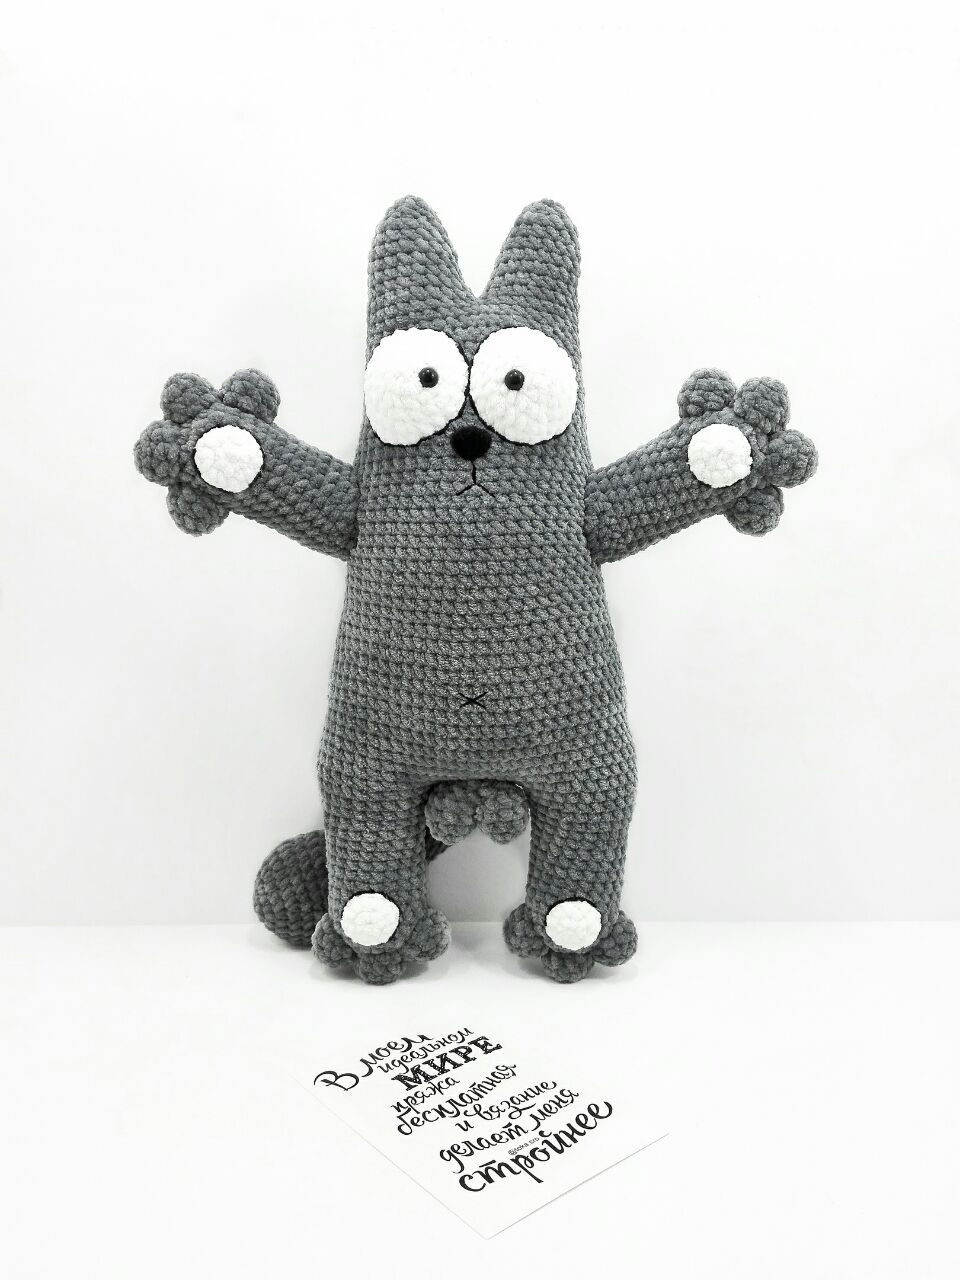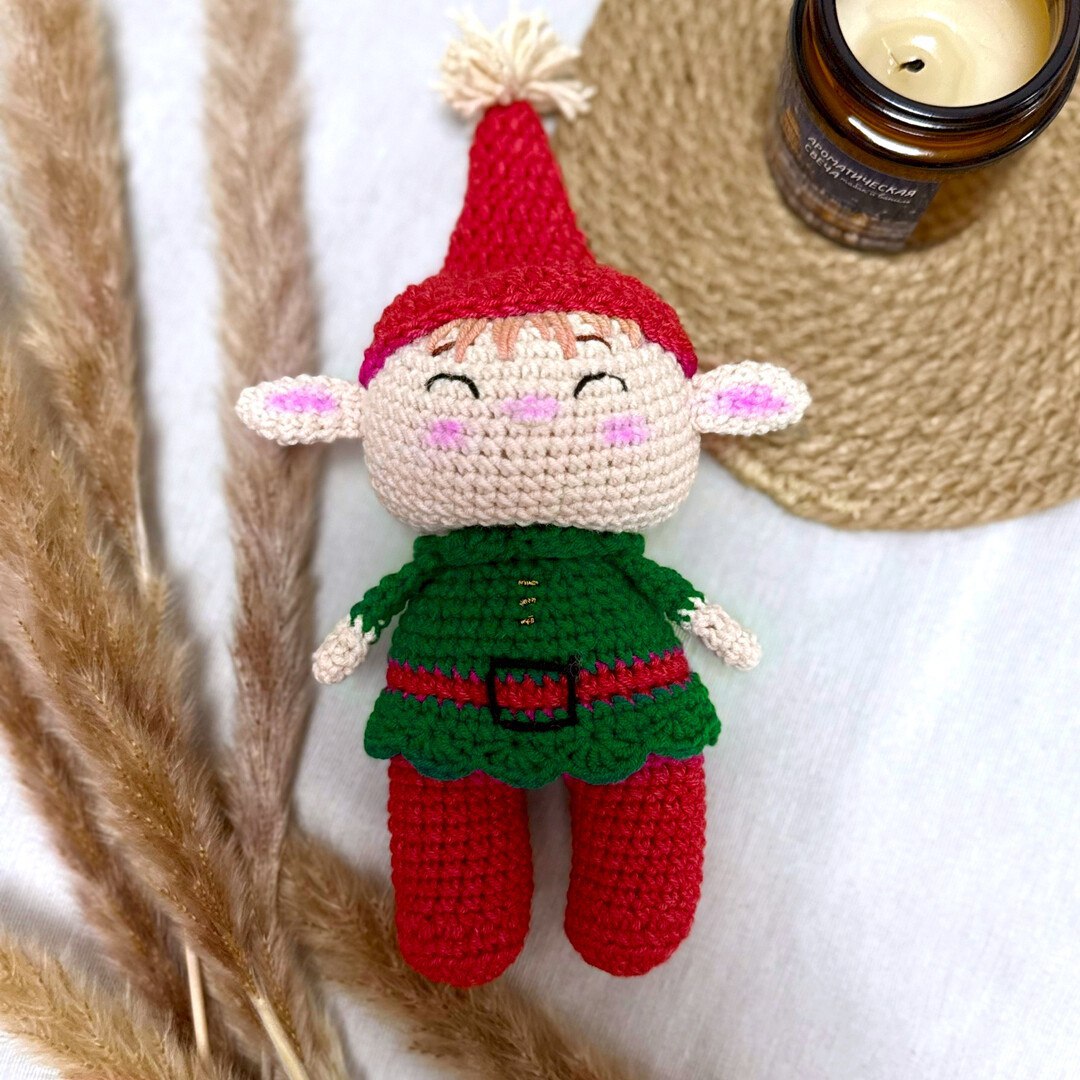
Ultimate Adorable Amigurumi Cow Crochet Pattern: Sitting, Standing, or Highland!
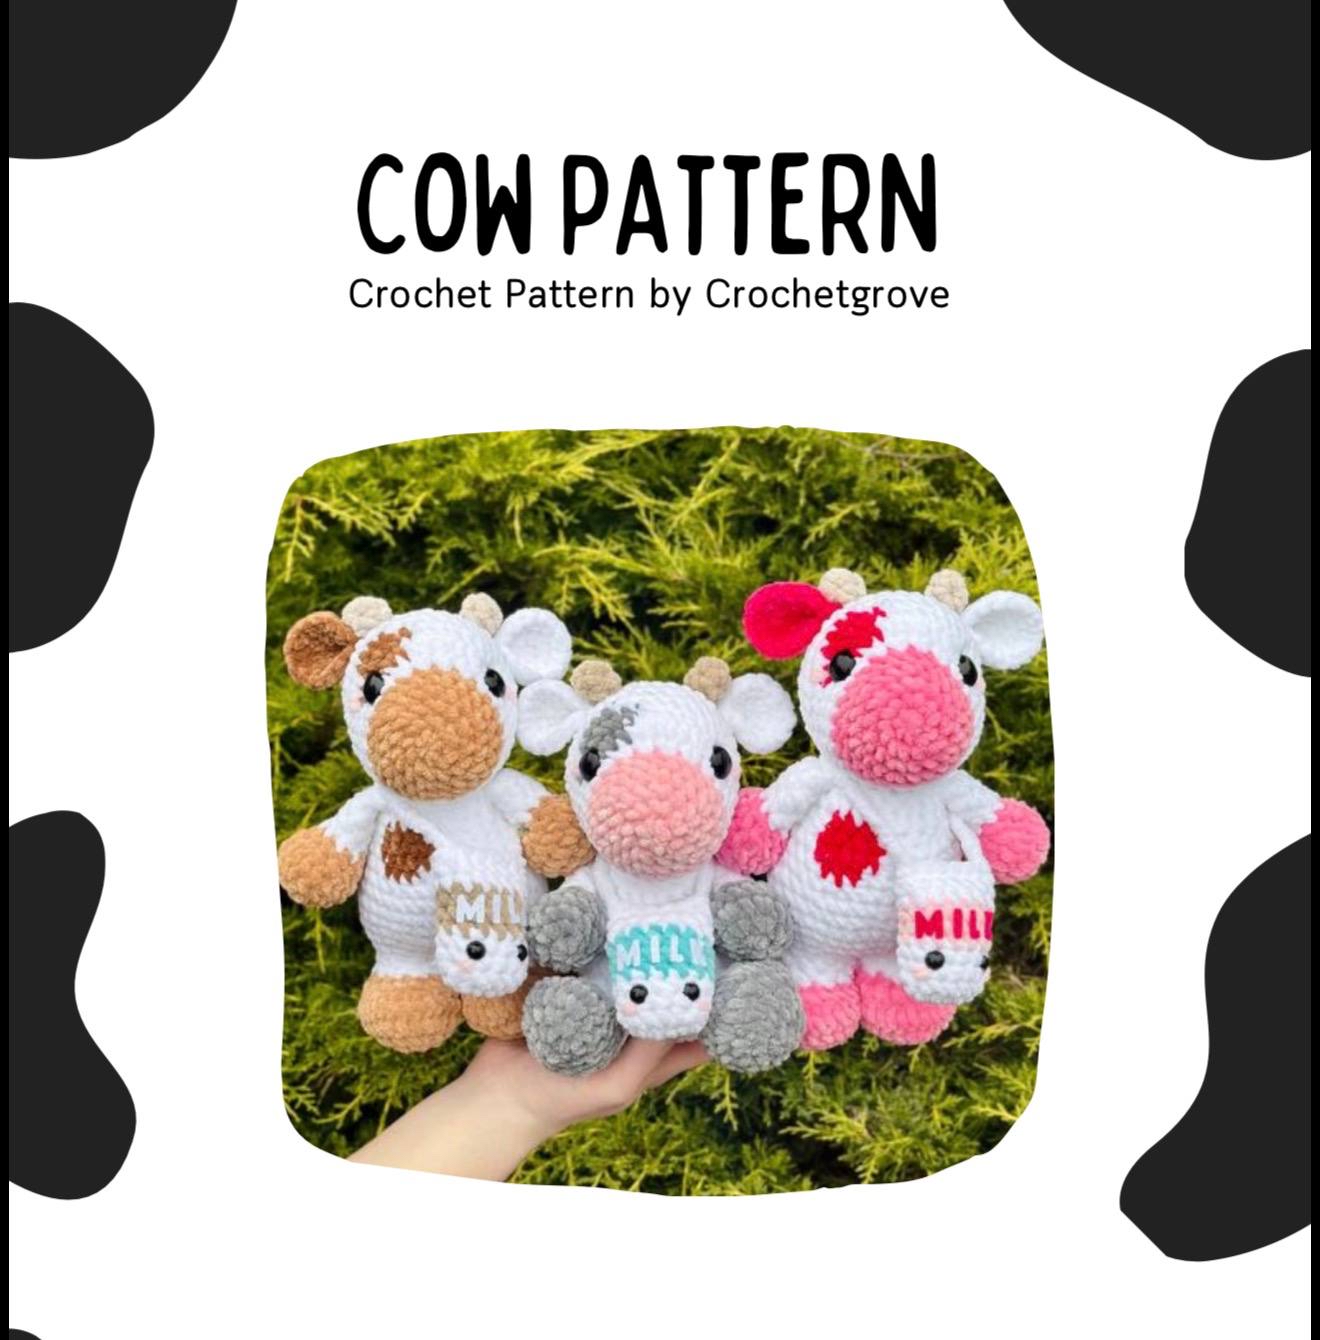
Are you looking for your next favorite amigurumi project? There is nothing quite as charming as a tiny, chunky cow! Whether you want a classic spotted cow, a fluffy Highland cow with long horns, or a little cow that can sit on your desk, this versatile pattern has you covered. This tutorial is designed to be beginner-friendly, guiding you through the process of creating a cute little bovine friend from scratch.
One of the best parts about this pattern is its flexibility. By simply changing the horns and the body construction, you can transform your project into three distinct styles: a standing cow, a sitting cow, or a trendy Highland cow. Plus, once you master the basics, you can even whip up a matching “milk and cookie” keychain set to go with your new friend!
Materials and Abbreviations
Before you pick up your hook, gather all your supplies. This pattern is designed to work with various yarn weights, so you can choose how large or small you want your cow to be.
Recommended Materials
Depending on the size you want to achieve, choose one of the following combinations:
- Small Size: Use Sweet Roll Frostie or Baby Velvet yarn with a 3.5mm crochet hook and 12mm safety eyes.
- Medium Size: Use Parfait Chunky yarn with a 4.5mm crochet hook and 18mm safety eyes.
- Large/Chunky Size: Use Parfait XL yarn with a 7mm crochet hook and 30mm safety eyes.
- Standard Chunky: Use Sweet Snuggles Lite with a 5mm crochet hook and 22mm safety eyes.
Essential Tools:
- Fiberfill stuffing
- Stitch markers (very important for amigurumi!)
- Yarn needle for sewing
- Scissors
- Safety eyes or felt eyes (if you are making this for a small child, felt eyes are safer)
Abbreviations (US Terms)
- MR: Magic Ring
- SC: Single Crochet
- INC: Increase (2 sc in the same stitch)
- DEC: Decrease (Invisible decrease recommended)
- 3SCINC: 3 sc increase (3 sc in the same stitch)
- CH: Chain
- SLT: Slip Stitch
- CC: Color Change
- FO: Fasten Off
Step-by-Step Instructions
The Head
We begin the head with your chosen nose color. If you are making a Highland cow, you may want to use a tan or brown for the nose.
Round 1: Create a magic ring and work 6 sc into the ring (6).
Round 2: INC in each stitch around (12).
Round 3: (1 sc, INC) repeat 6 times (18).
Round 4: (2 sc, INC) repeat 6 times (24).
Rounds 5-6: Sc in each stitch around for 2 rounds (24).
Change to body color.
Round 7: 9 sc, (INC) repeat 6 times, 9 sc (30).
Note: To add spots, use your CC (color change) technique during the following rounds.
Round 8: 9 sc, (1 sc, INC) repeat 4 times, CC, (SC, INC) repeat 2 times, CC, 9 sc (36).
Round 9: 20 sc, CC, 8 sc, CC, 8 sc (36).
Round 10: 22 sc, CC, 4 sc, CC, 10 sc (36).
Rounds 11-14: Sc in each stitch around for 4 rounds (36).
Eye Placement: Insert your safety eyes between rounds 8 and 9. Ensure there are approximately 12 stitches visible between the eyes for a balanced look.
Finishing the Head:
Round 15: (4 sc, DEC) repeat 6 times (30).
Round 16: (3 sc, DEC) repeat 6 times (24).
Round 17: (2 sc, DEC) repeat 6 times (18).
Stuff the head firmly now.
Round 18: (1 sc, DEC) repeat 6 times (12).
Round 19: DEC in each stitch around (6).
FO. Leave a few inches of yarn. Thread your yarn needle through the remaining 6 stitches from the back, pull tight to close, and weave in the end.
The Ears (Make 2)
The ears are simple and do not require stuffing.
Round 1: MR 6 sc (6).
Round 2: INC in each stitch around (12).
Round 3: (1 sc, INC) repeat 6 times (18).
FO. Leave a long tail for sewing.
The Horns (Choose One Style)
Option 1: Small Horns (Make 2)
Round 1: MR 5 sc (5).
Rounds 2-3: Sc around (5).
FO. Leave a tail for sewing and stuff lightly.
Option 2: Long Highland Horns (Make 2)
Round 1: MR 5 sc (5).
Round 2: Sc around (5).
Round 3: 2 sc, INC, 2 sc (6).
Round 4: 3 sc, INC, 2 sc (7).
Round 5: 4 sc, INC, 2 sc (8).
Round 6: 5 sc, INC, 2 sc (9).
Round 7: 4 sc, (INC) repeat 3 times, DEC (11).
Round 8: DEC repeat 2 times, 7 sc (9).
Rounds 9-11: Sc around (9).
FO. Leave a tail for sewing and stuff.
The Body
Depending on your desired final look, choose either the sitting or standing body instructions.
Sitting Body
Round 1: MR 8 sc (8).
Round 2: INC in each stitch around (16).
Round 3: (1 sc, INC) repeat 8 times (24).
Round 4: (3 sc, INC) repeat 6 times (30).
Round 5: (4 sc, INC) repeat 6 times (36).
Rounds 6-9: Sc around (36).
Round 10: (4 sc, DEC) repeat 6 times (30).
Add color changes for spots here:
Round 11: 14 sc, CC, 3 sc, CC, 13 sc (30).
Round 12: 13 sc, CC, 5 sc, CC, 12 sc (30).
Round 13: (3 sc, DEC) repeat 2 times, 3 sc, CC, DEC, 3 sc, CC, DEC, (3 sc, DEC) repeat 2 times (24).
Round 14: 12 sc, CC, 3 sc, CC, 9 sc (24).
Round 15: Sc around (24).
Round 16: (1 sc, DEC) repeat 8 times (16).
Round 17: Sc around (16).
FO. Leave a long tail to sew the body to the head. Stuff firmly.
Standing Body
The standing body is constructed by connecting the legs directly to the body to create a seamless base.
Round 1: Start with your first leg. On the 4th stitch of the last round of your leg, place a sc. This will count as the first sc of the body. Work 12 sc in the first leg and 12 sc in the second leg (24 total).
Round 2: (3 sc, INC) repeat 6 times (30).
Round 3: (4 sc, INC) repeat 6 times (36).
Rounds 4-7: Sc around (36).
Round 8: (4 sc, DEC) repeat 6 times (30).
Round 9: 3 sc, CC, 3 sc, CC, 24 sc (30).
Round 10: 2 sc, CC, 5 sc, CC, 23 sc (30).
Round 11: 2 sc, CC, sc, DEC, 2 sc, CC, sc, DEC, (3 sc, DEC) repeat 4 times (24).
Round 12: 3 sc, CC, 3 sc, CC, 18 sc (24).
Round 13: Sc around (24).
Round 14: (1 sc, DEC) repeat 8 times (16).
Round 15: Sc around (16).
FO. Leave a long tail to sew the body to the head. Stuff firmly.
The Arms (Make 2)
Starting with hoof color:
Round 1: MR 6 sc (6).
Round 2: INC in each stitch around (12).
Round 3: (1 sc, INC) repeat 6 times (18).
Round 4: Sc around (18).
Round 5: (1 sc, DEC) repeat 6 times (12).
Round 6: (1 sc, DEC) repeat 4 times (8).
Stuff only the hoof portion. Leave the rest of the arm unstuffed.
Switch to main body color:
Rounds 7-11: Sc around (8).
FO. Fold the arm in half and sc 4 stitches across the open end to close it. Leave a tail for sewing.
The Legs (Choose One Style)
Sitting Legs (Make 2)
Starting with hoof color:
Round 1: MR 6 sc (6).
Round 2: INC in each stitch around (12).
Round 3: (1 sc, INC) repeat 6 times (18).
Round 4: 4 sc, 3SCINC, 2 sc, 3SCINC, 2 sc, 3SCINC, 7 sc (24).
Round 5: Sc around (24).
Round 6: 6 sc, DEC repeat 6 times, 6 sc (18).
Switch to main body color:
Round 7: 3 sc, DEC repeat 6 times, 3 sc (12).
Rounds 8-9: Sc around (12).
FO. Leave a tail for sewing. Stuff.
Standing Legs (Make 2)
Starting with hoof color:
Round 1: MR 6 sc (6).
Round 2: INC in each stitch around (12).
Round 3: (1 sc, INC) repeat 6 times (18).
Round 4: 4 sc, 3SCINC, 2 sc, 3SCINC, 2 sc, 3SCINC, 7 sc (24).
Round 5: Sc around (24).
Round 6: 6 sc, DEC repeat 6 times, 6 sc (18).
Switch to main body color:
Round 7: 3 sc, DEC repeat 6 times, 3 sc (12).
Rounds 8-9: Sc around (12).
FO. Leave a tail for sewing. Stuff.
Bonus Keychains: Milk and Cookie
These make the perfect little gift to accompany your cow!
The Milk Carton
Starting with white:
Round 1: Ch 7. In the 2nd ch from the hook, work 6 sc down the chain. Turn your work and, working into the back loops only, work 6 sc (12).
Round 2: INC, 5 sc, INC, 5 sc (14).
Rounds 3-4: Sc around (14).
Change to milk color:
Rounds 5-7: Sc around (14).
Change back to white:
Rounds 8-9: Sc around (14).
Insert 10mm eyes between rounds 3 and 4, with 2 stitches between them. Stuff the carton. Work a few extra sc along the side to reach the top, then fold the top in half and sc 6 stitches across to close the carton. FO and weave in ends.
The Cookie
Round 1: MR 6 sc (6).
Round 2: INC in each stitch around (12).
Round 3: (1 sc, INC) repeat 6 times (18).
Round 4: Sc around (18).
Insert 10mm eyes between rounds 2 and 3, with 5 stitches between them. Use a darker brown yarn to embroider small “chocolate chips” on the surface.
Round 5: (1 sc, DEC) repeat 6 times (12).
Round 6: DEC in each stitch around (6).
Stuff and FO. Weave in ends.
Finishing and Assembly
Now for the most important part: putting your cow together! Assembly can be tricky, so take your time.
- The Head: Sew the head to the body. Make sure the back of the head lines up perfectly with the back of the body. Pro Tip: Use a knitting needle to help push your yarn needle through the stuffing for easier sewing.
- The Horns:
- For Small Horns, sew them between rounds 13 and 14 of the head, leaving 4 stitches between them.
- For Long Horns, sew them between rounds 13 and 14, leaving 8 stitches between them.
- The Ears: Pinch the ears slightly and sew them onto the head, just below the horns.
- The Arms: Sew the arms in line with the ears, starting approximately one round down from the neck. You can choose to sew them vertically or horizontally depending on the “pose” you want.
- The Legs:
- For Sitting Legs, sew them to the body between rounds 4 and 9, leaving about 5 stitches between them.
- For Standing Legs, they are already connected via the body construction.
Optional: Hair and Tail
To add even more personality, you can add hair and a tail!
Hair: Attach yarn to round 13 of the head. Ch 10 and slip stitch into the next chain to the left. Repeat this two more times, then slip stitch back into the same starting stitch. You can use a tail to secure the loops down against the head for a more textured look.
Tail: Attach yarn 4 rounds up from the legs (standing) or 6 rounds from the bottom (sitting). Ch 5, and in the 2nd ch from the hook, work 4 sc down the chain. Slip stitch into the next space and FO. To make a fluffy tail, take three 10-inch pieces of worsted weight yarn, fold them in half, and pull them through the top of the tail. Pull the ends through the loop and tighten.
Tips for Success
- Tension is Key: When working with chunky amigurumi yarn, try to keep your tension consistent so the stuffing doesn’t show through the stitches.
- Invisible Decreases: Always use the invisible decrease method (inserting the hook into the front loops only of the next two stitches) to prevent large gaps in your work.
- No-Sew Hack: If you want to save time, you can crochet the arms directly onto round 14 of the body on the sides while working in the round!
- Color Changes: When changing colors for spots, pull the new color through the final loop of the last stitch of the previous color to ensure a clean transition.