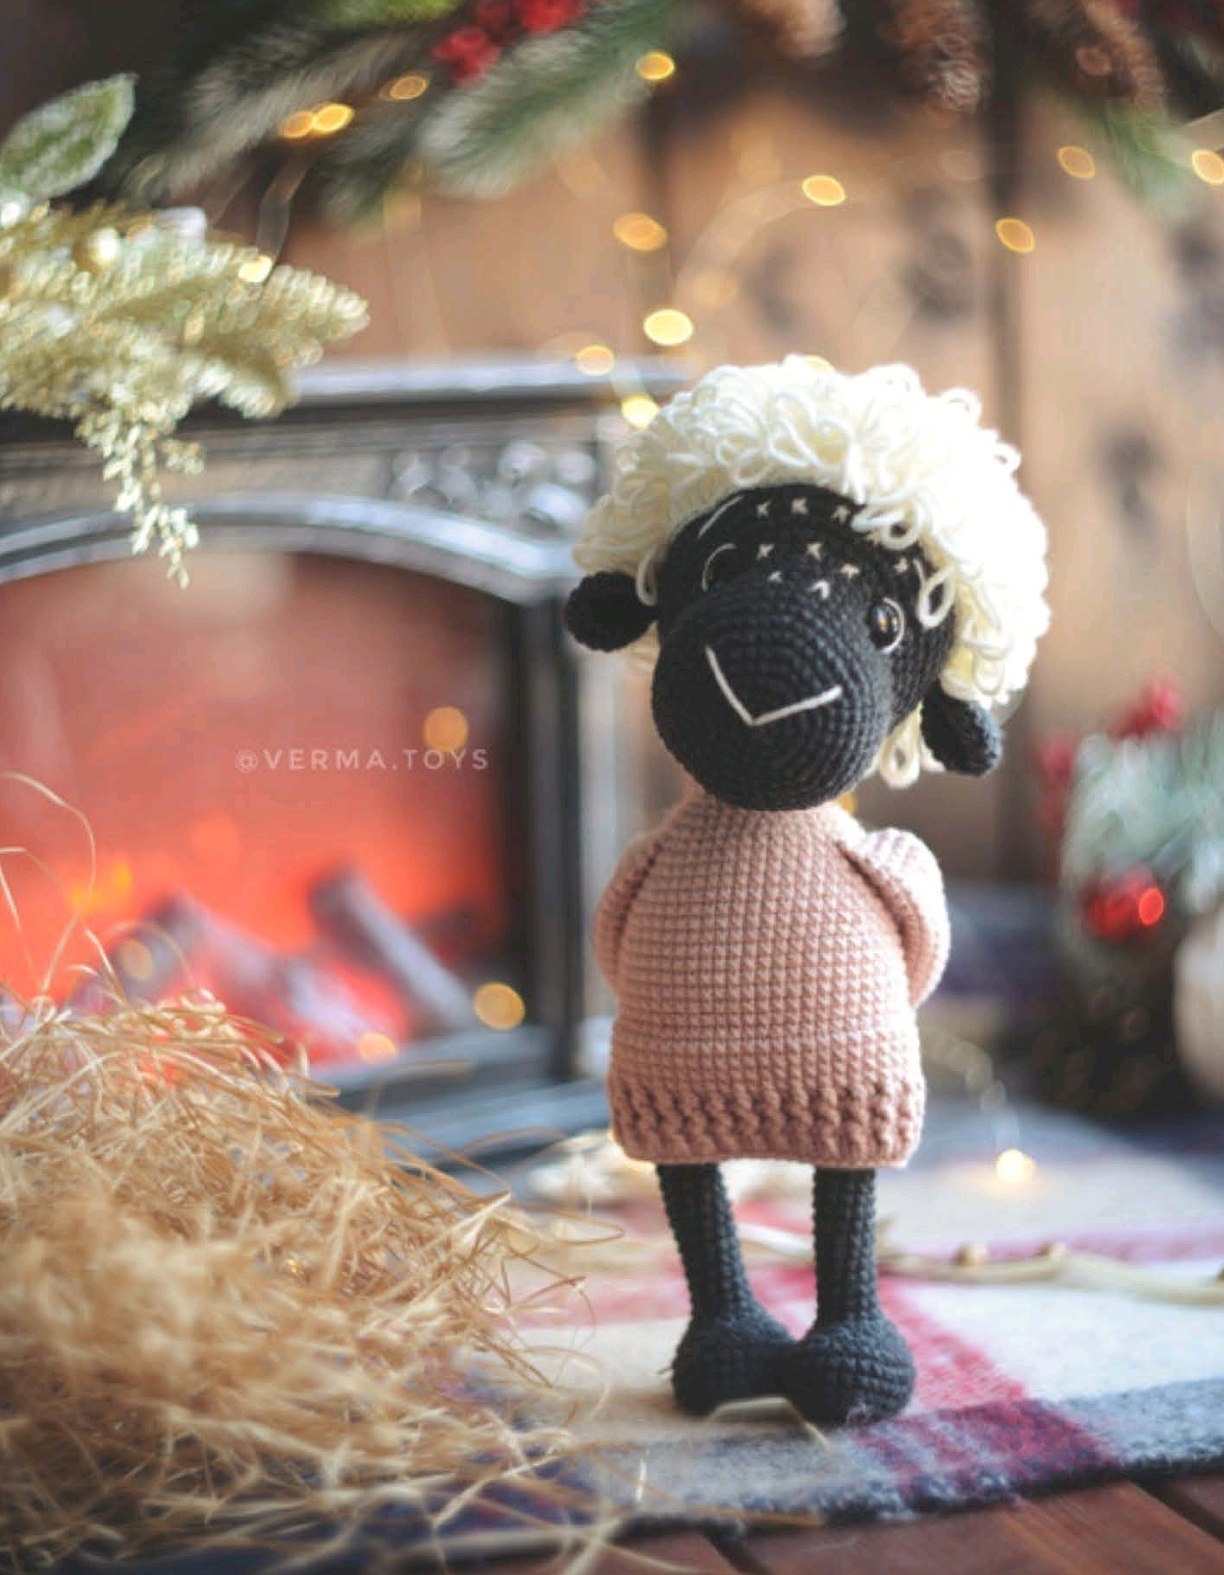
Adorable Curly Sheep Plushie Knitting Pattern: A Step-by-Step Tutorial
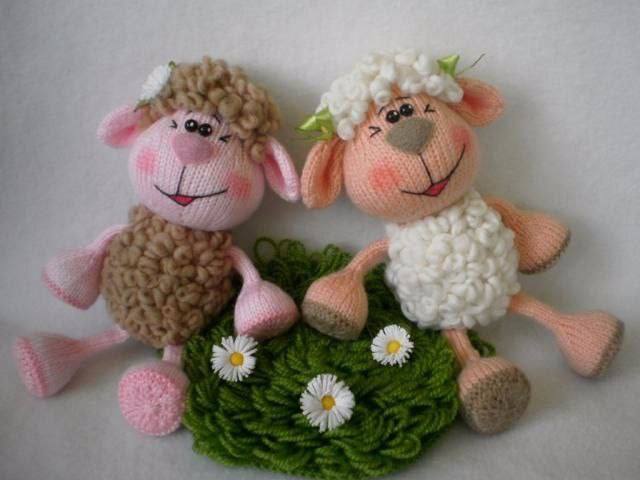
Looking for a cozy project that combines two of the best yarn crafts? This adorable curly sheep plushie is the perfect blend of knitting and needle felting! With its sweet expression and bouncy, textured wool, this little lamb makes a wonderful gift for children or a cute addition to your amigurumi collection. Whether you are a seasoned maker or a beginner looking to expand your skills, this guide will walk you through every stitch to create your own cuddly companion.
Materials & Abbreviations
To get started, gather the following supplies. This project uses a combination of knitting for the structure and needle felting for the signature “sheepy” curls.
Supplies Needed
- Yarn: Medium-weight acrylic yarn in white (or cream) for the face and paws, and a contrasting color (like yellow, brown, or gray) for the body.
- Felting Wool: Roving wool in a color matching the body for the curls.
- Knitting Needles: A pair of needles sized to match your chosen yarn (typically US 4 or 5).
- Felting Tools: A felting needle and a foam pad.
- Eyes: Two small beads or half-beads.
- Embroidery Thread: Black thread for the mouth and eyes.
- Extras: Fiberfill stuffing, a sewing needle, wooden skewers, and hair mousse.
Abbreviations (US Terms)
- K: Knit
- P: Purl
- Inc: Increase
- Dec: Decrease
- St: Stitch
- St st: Stockinette stitch (Knit one row, Purl one row, or Knit all rounds if working in the round)
Step-by-Step Instructions
This plushie is worked from the bottom up, starting with the body and moving directly into the head as one continuous piece. Remember to stuff your work firmly as you go!
The Body and Head
Using the yarn color for the body, cast on 10 stitches. Work the following sequence:
- Row 1: Knit all stitches.
- Row 2: Increase in every stitch (20 sts).
- Row 3: Knit all stitches.
- Row 4: (K1, Inc) 10 times (30 sts).
- Row 5: Knit all stitches.
- Row 6: (K2, Inc) 10 times (40 sts).
- Rows 7-21: Work in Stockinette stitch for 15 rows.
- Row 22: (K2, Dec) 10 times (30 sts).
- Rows 23-25: Work in Stockinette stitch for 3 rows.
- Row 26: (K1, Dec) 10 times (20 sts).
- Rows 27-29: Work in Stockinette stitch for 3 rows.
- Row 30: (K3, Dec) 4 times (16 sts).
- Rows 31-33: Work in Stockinette stitch for 3 rows.
Now, switch to the yarn color for the face to begin shaping the head:
- Row 34: K1, Increase 14 times, K1 (30 sts).
- Row 35: Knit all stitches.
- Row 36: (K2, Inc) 10 times (40 sts).
- Row 37: Knit all stitches.
- Row 38: (K3, Inc) 10 times (50 sts).
- Row 39: Knit all stitches.
- Row 40: (K4, Inc) 10 times (60 sts).
- Rows 41-52: Work in Stockinette stitch for 12 rows.
- Row 53: (K1, Dec) 8 times, K12, (Dec, K1) 8 times (44 sts).
- Row 54: Knit all stitches.
- Row 55: (K1, Dec) 6 times, K8, (Dec, K1) 6 times (32 sts).
- Rows 56-58: Work in Stockinette stitch for 3 rows.
- Row 59: K8, Dec 2, K8, Dec 2, K8 (28 sts).
- Rows 60-61: Work in Stockinette stitch for 2 rows.
- Row 62: K7, Dec, K10, Dec, K7 (26 sts).
- Rows 63-67: Work in Stockinette stitch for 5 rows.
- Row 68: K1, (K1, Dec) 8 times, K1 (18 sts).
- Row 69: Knit all stitches.
- Row 70: Decrease 9 times (9 sts).
Fasten off and weave in the ends.
The Ears (Make 2)
Using the face-colored yarn, cast on 12 stitches.
- Rows 1-5: Work in Stockinette stitch.
- Row 6: (Inc, K4, Inc) 2 times (16 sts).
- Rows 7-9: Work in Stockinette stitch.
- Row 10: (Inc, K6, Inc) 2 times (20 sts).
- Rows 11-15: Work in Stockinette stitch.
- Row 16: (K3, Dec) 4 times (16 sts).
- Row 17: Knit all stitches.
- Row 18: (K2, Dec) 4 times (12 sts).
- Row 19: Knit all stitches.
- Row 20: (K1, Dec) 4 times (8 sts).
Cut the yarn, pull it through the remaining loops, pull tight, and secure.
The Legs (Make 4)
Start with the color for the hooves.
- Cast on 10 stitches.
- Row 1: Knit all stitches.
- Row 2: Increase 10 times (20 sts).
- Row 3: Knit all stitches.
- Row 4: (K1, Inc) 10 times (30 sts).
- Row 5: Knit all stitches.
- Row 6: Purl all stitches.
Switch to the leg-colored yarn:
- Rows 7-11: Work in Stockinette stitch for 5 rows.
- Row 12: (K3, Dec) 6 times (24 sts).
- Row 13: Knit all stitches.
- Row 14: (K2, Dec) 6 times (18 sts).
- Row 15: Knit all stitches.
- Row 16: (K1, Dec) 6 times (12 sts).
- Row 17: Knit all stitches.
- Row 18: (K1, Dec) 4 times (8 sts).
- Rows 19-35: Work in Stockinette stitch for 17 rows.
Finishing Your Sheep
Designing the Face
Now it is time to bring your sheep to life! Use your embroidery thread and beads to create the expression. Sew the beads on for the eyes and use the black thread to stitch a wide, friendly smile. For the nose, you can use a small piece of felted wool, shaping it into a rounded oval and sewing it firmly to the center of the face.
Assembling the Pieces
Sew the ears to the top of the head and the four legs to the bottom of the body. Make sure they are symmetrical so your sheep can sit or stand comfortably.
Creating the Curly Wool
This is the secret to the sheep’s fluffy look! Follow these steps to create the curls:
- Cut your felting wool into strands approximately 4 inches long.
- Lightly moisten the strands with a mixture of hair mousse and water.
- Wrap the moist wool tightly around wooden skewers.
- Leave them to dry completely. Once dry, slide the curls off the skewers.
- Take a curl and place it against the body. Use your felting needle to poke through the center of the curl and into the knitted body several times. This “locks” the wool into the fabric.
- Repeat this process all over the body and the top of the head until your sheep is fluffy and curly!
Tips for Success
Stuffing for Shape
When stuffing the head and body, use small clumps of fiberfill. Push the stuffing firmly into the curves of the face to ensure there are no lumps, which will make the embroidery process much easier.
Felting Safety
Felting needles are incredibly sharp! Always use a foam pad to work on, and be very careful not to poke your fingers while attaching the curls to your plushie.
Customizing Your Sheep
Feel free to get creative! You can add a small ribbon bow around the neck, tiny felt flowers on the ears, or change the colors of the yarn to create a flock of different colored sheep.