Playful Dachshund Crochet Pattern: A Long Lovable Amigurumi
The Longest, Most Lovable Dog You’ll Ever Crochet
Hello, my wonderful crochet friend! Have you ever looked at a dachshund – those delightfully long, low-to-the-ground, big-hearted little dogs – and thought, “I need to crochet one immediately”? Because same. And today is your lucky day.
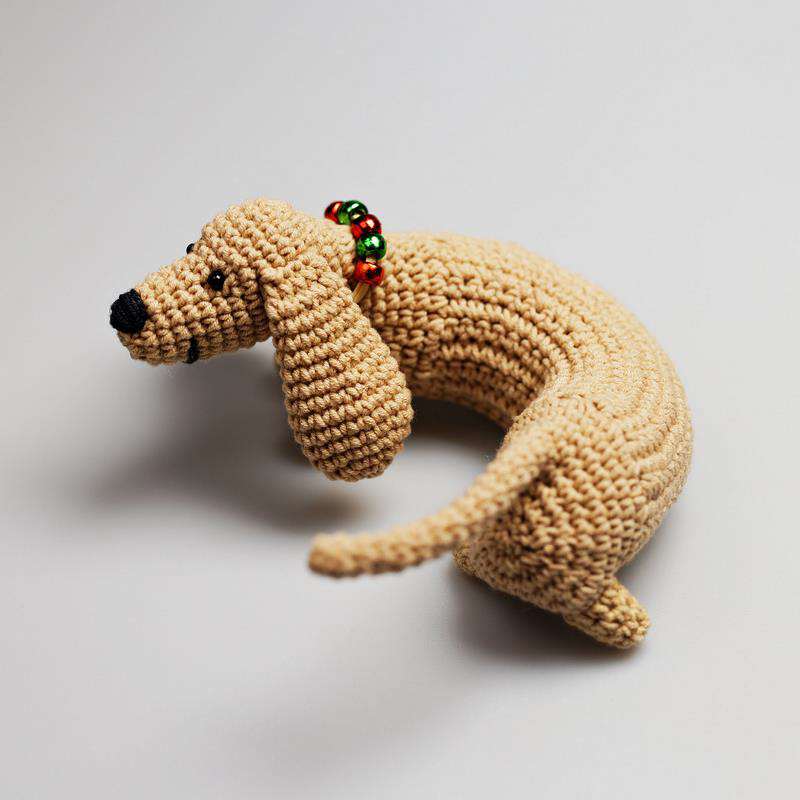
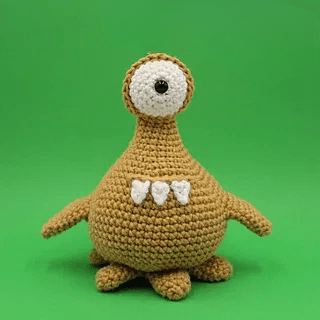
Meet the Playful Dachshund – a beautifully designed amigurumi that captures everything we love about this unique breed: the long body, the floppy ears, the stubby little legs, and that unmistakably sweet wiener dog expression. She is long, she is lovable, and she is ready to steal your heart.
This pattern was originally translated by AN ZEL for their wonderful Telegram and VK communities, and I am so excited to share it with you today. Using sport-weight cotton yarn (YarnArt Jeans) and a 2.3 mm hook, this little dachshund works up with wonderful detail. The finished dog is the perfect size for cuddling, displaying, or gifting to someone who loves these charming little wiener dogs.
The best part? While the construction is a little different from typical amigurumi (we start with a flat rectangle for the body!), it is actually quite beginner-friendly once you get the hang of it. The clever shaping creates a beautifully long body with minimal sewing – hooray!
So grab your hook, pick your favorite colors, and let’s make some dachshund magic together! 🌭🐕✨
Important Copyright Notice
This pattern is a translation provided by AN ZEL for their Telegram and VK communities. Please respect the original designer’s work. Do not copy, redistribute, or sell this pattern. You may sell finished items made from this pattern, but please credit the original designer and translator.
Materials You’ll Need
- Yarn (main color): Sport weight yarn (YarnArt Jeans #07 – beige, or your preferred color)
- Yarn (black): Sport weight yarn (YarnArt Jeans #28 – black, for nose and details)
- Crochet hook: 2.3 mm
- Safety eyes: 5 mm (two pieces)
- Stuffing: Hollow fiber or polyfil
- Yarn needle: For sewing and embroidery
- Scissors
- Stitch markers (optional but helpful)
Abbreviations (US Terms)
| Abbreviation | Meaning |
|---|---|
| ch | Chain |
| sc | Single crochet |
| inc | Increase (2 sc in one stitch) |
| dec | Invisible decrease (sc two together through front loops) |
| dec-tbl | Invisible decrease through back loops |
| sc-tbl | Single crochet in back loop only |
| sc3tog | 3 single crochets together (decrease of 3) |
| sl st | Slip stitch |
| MR | Magic ring |
| hdc | Half double crochet |
| (…) | Repeat instructions in parentheses |
Note on notation: A number after a stitch means repeat that stitch that many times. For example, “sc 4” = sc, sc, sc, sc. “x2” after parentheses means repeat the sequence inside the parentheses twice.
Part 1: Body and Head (One Piece!)
This clever construction starts with a flat rectangle that becomes the body, then we pick up stitches around the opening to create the head.
Step 1: The Body (Worked in Rows)
Start with beige yarn. Chain 16, then work in rows (turning after each row).
| Row | Instructions | Total |
|---|---|---|
| 01 | sc in 2nd ch from hook, sc 14 on remaining chains, turn | 15 |
| 02 | ch 1, sc 15, turn | 15 |
| 03 | Repeat Row 02 | 15 |
| 04 | Repeat Row 02 | 15 |
| 05 | Repeat Row 02 | 15 |
| 06 | Repeat Row 02 | 15 |
| 07 | ch 1, (sc, inc) × 7, sc, turn | 22 |
| 08 | ch 1, sc 22, turn | 22 |
| 09 | ch 1, (sc 2, inc) × 7, sc, turn | 29 |
| 10 | ch 1, sc 29, turn | 29 |
| 11 | ch 1, sc 2, (inc, sc 3) × 6, inc, sc 2, turn | 36 |
| 12 | ch 1, sc 36, turn | 36 |
| 13 | Repeat Row 12 | 36 |
| 14 | Repeat Row 12 | 36 |
| 15 | Repeat Row 12 | 36 |
| 16 | Repeat Row 12 | 36 |
| 17 | Repeat Row 12 | 36 |
| 18 | Repeat Row 12 | 36 |
Do not cut the yarn!
Step 2: Join the Body into a Tube
- Fold the first and last rows together with the wrong sides facing each other.
- Join them by working a row of sl st through both edges at the same time (see Photo 2 in the original pattern).
- Turn the shape right side out (see Photo 3). Make sure the yarn tail remains on the outside of the shape.
Step 3: Start the Head
Now we will pick up stitches around the opening of the tube to begin the head.
Work 24 sc around the opening of the tube (one sc in each row edge) – this is counted as Round 1 of the HEAD (see Photo 5).
Now work in a spiral (continuous rounds) from here!