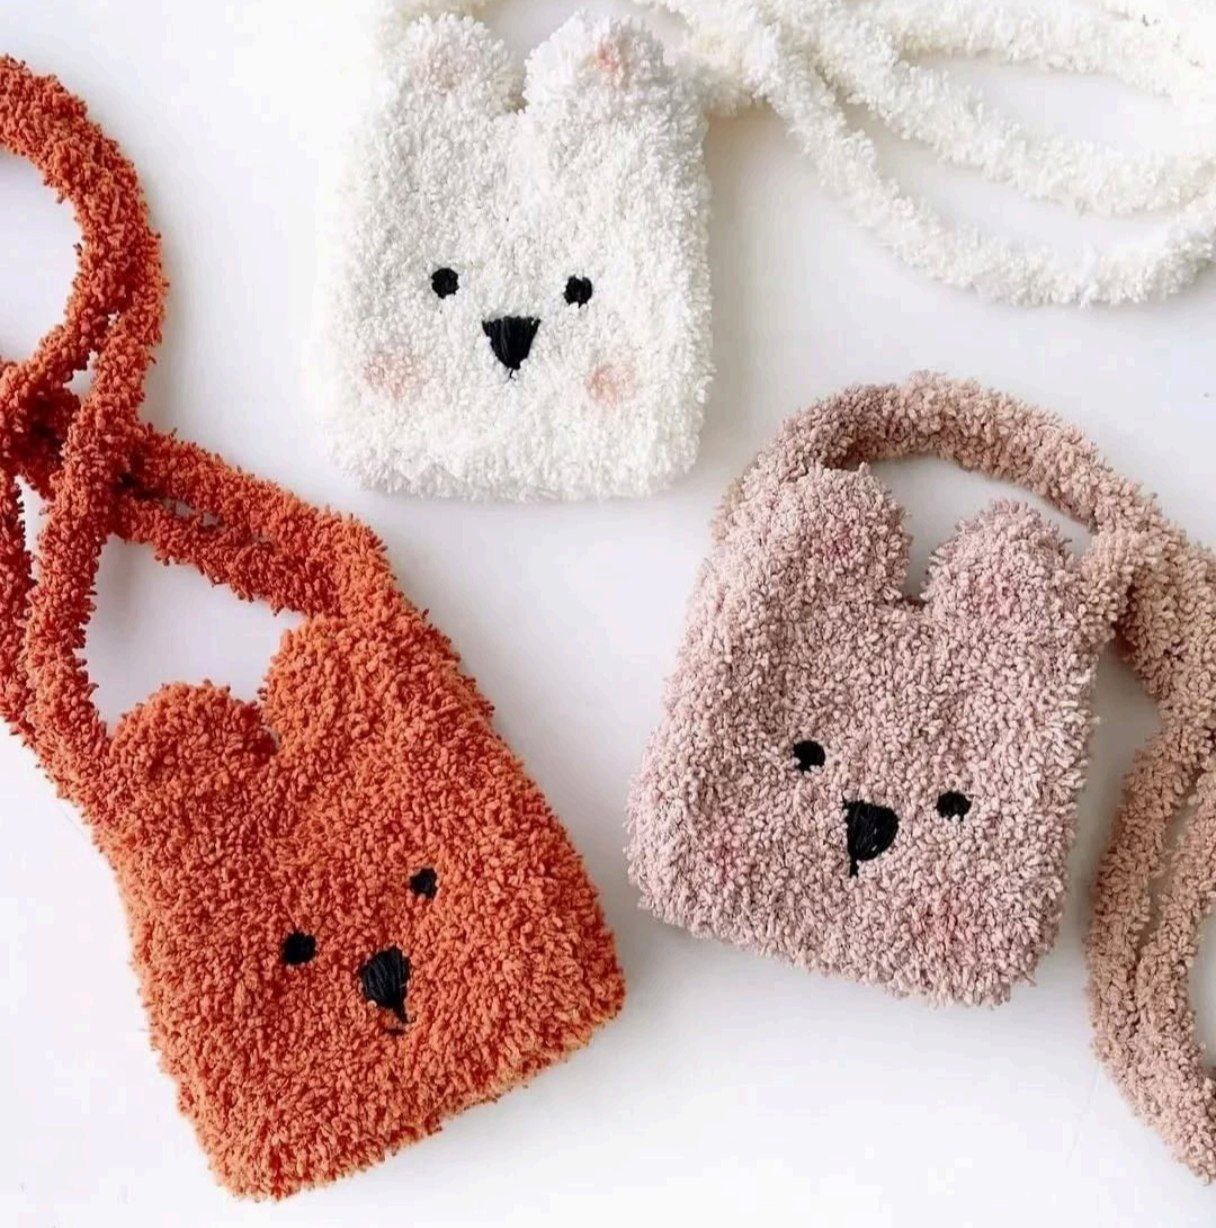
Teddy Bear Bag Crochet Pattern
Body (Straight Rounds)
Once your base is large enough, stop increasing and work straight rounds of hdc. The number of rounds will depend on how deep you want your bag to be.
Work hdc in each stitch around until the bag is the desired height.
Closing the Top
When you are happy with the height of your bag:
- Fold the top edge down slightly to create a neat finish
- Using slip stitches, close the top edge (or you can use single crochet)
- Leave a small opening at the top for the bag opening – remember, this is a purse, not a closed amigurumi
Part 2: The Strap
The pattern suggests using the cord technique (i-cord) for the strap. You can also simply chain the desired length and work single crochet back along the chain for a thicker strap.
Option 1: I-Cord Strap
Using your main fluffy yarn:
- Ch 3
- Sl st into the first chain to form a ring
- Work in a spiral: hdc or sc into each stitch, working in the round
- Continue until the strap is the desired length (approximately 80-100 cm depending on how you want to wear it)
Option 2: Simple Chain Strap
- Chain your desired length
- Work sc back along the chain
- Fasten off
Attaching the Strap
Sew both ends of the strap securely to the sides of the bag (where the ears would be, or slightly below)
Part 3: Finishing the Bear Face
Using black acrylic or cotton yarn, embroider the bear’s face onto the front of the bag:
- Eyes: Make two small vertical or oval stitches near the top of the bag
- Nose: Make a small triangle or oval stitch in the center, just below the eyes
- Mouth: Make a small “Y” shape or smile below the nose
Part 4: Ears (Optional Decoration)
If you would like to add ears to your bear bag:
Using main fluffy yarn:
- Round 1: 6 sc in MR (6)
- Round 2: 6 inc (12)
- Round 3: (1 sc, inc) × 6 times (18)
- Rounds 4-5 (2 rounds): 18 sc (18)
Fold the ear in half and sew closed. Sew the ears to the top of the bag, on either side.
Part 5: Assembly and Finishing Touches
- Weave in all ends – using a yarn needle, carefully weave in all yarn tails.
- Add a lining (optional) – for a more durable bag, you can sew a fabric lining inside. Simply cut a piece of fabric to the size of your bag and hand-sew it in place.
- Add a clasp or button (optional) – if you want to be able to close your bag, sew a small magnetic clasp or button to the top flap.
- Embroider the face – using the black yarn, embroider the bear’s eyes, nose, and mouth.
- Attach the strap – if you haven’t already, sew the strap securely to both sides of the bag
Congratulations! Your Teddy Bear Bag Is Complete.
You did it! Your adorable teddy bear bag is finished, and she is ready to go everywhere with you. Whether you carry your phone, keys, lip balm, or just a few little treasures, this bag is guaranteed to bring a smile to your face and everyone who sees it.
This sweet little bag is perfect for:
- Gifts – make one for a friend, a child, or a teddy bear lover
- Everyday use – carry your essentials in style
- Quick projects – works up fast and uses very little yarn
- Using up yarn – a great scrap-busting project