Adorable Mango Goose Amigurumi Crochet Pattern: A Fun Beginner-Friendly Tutorial
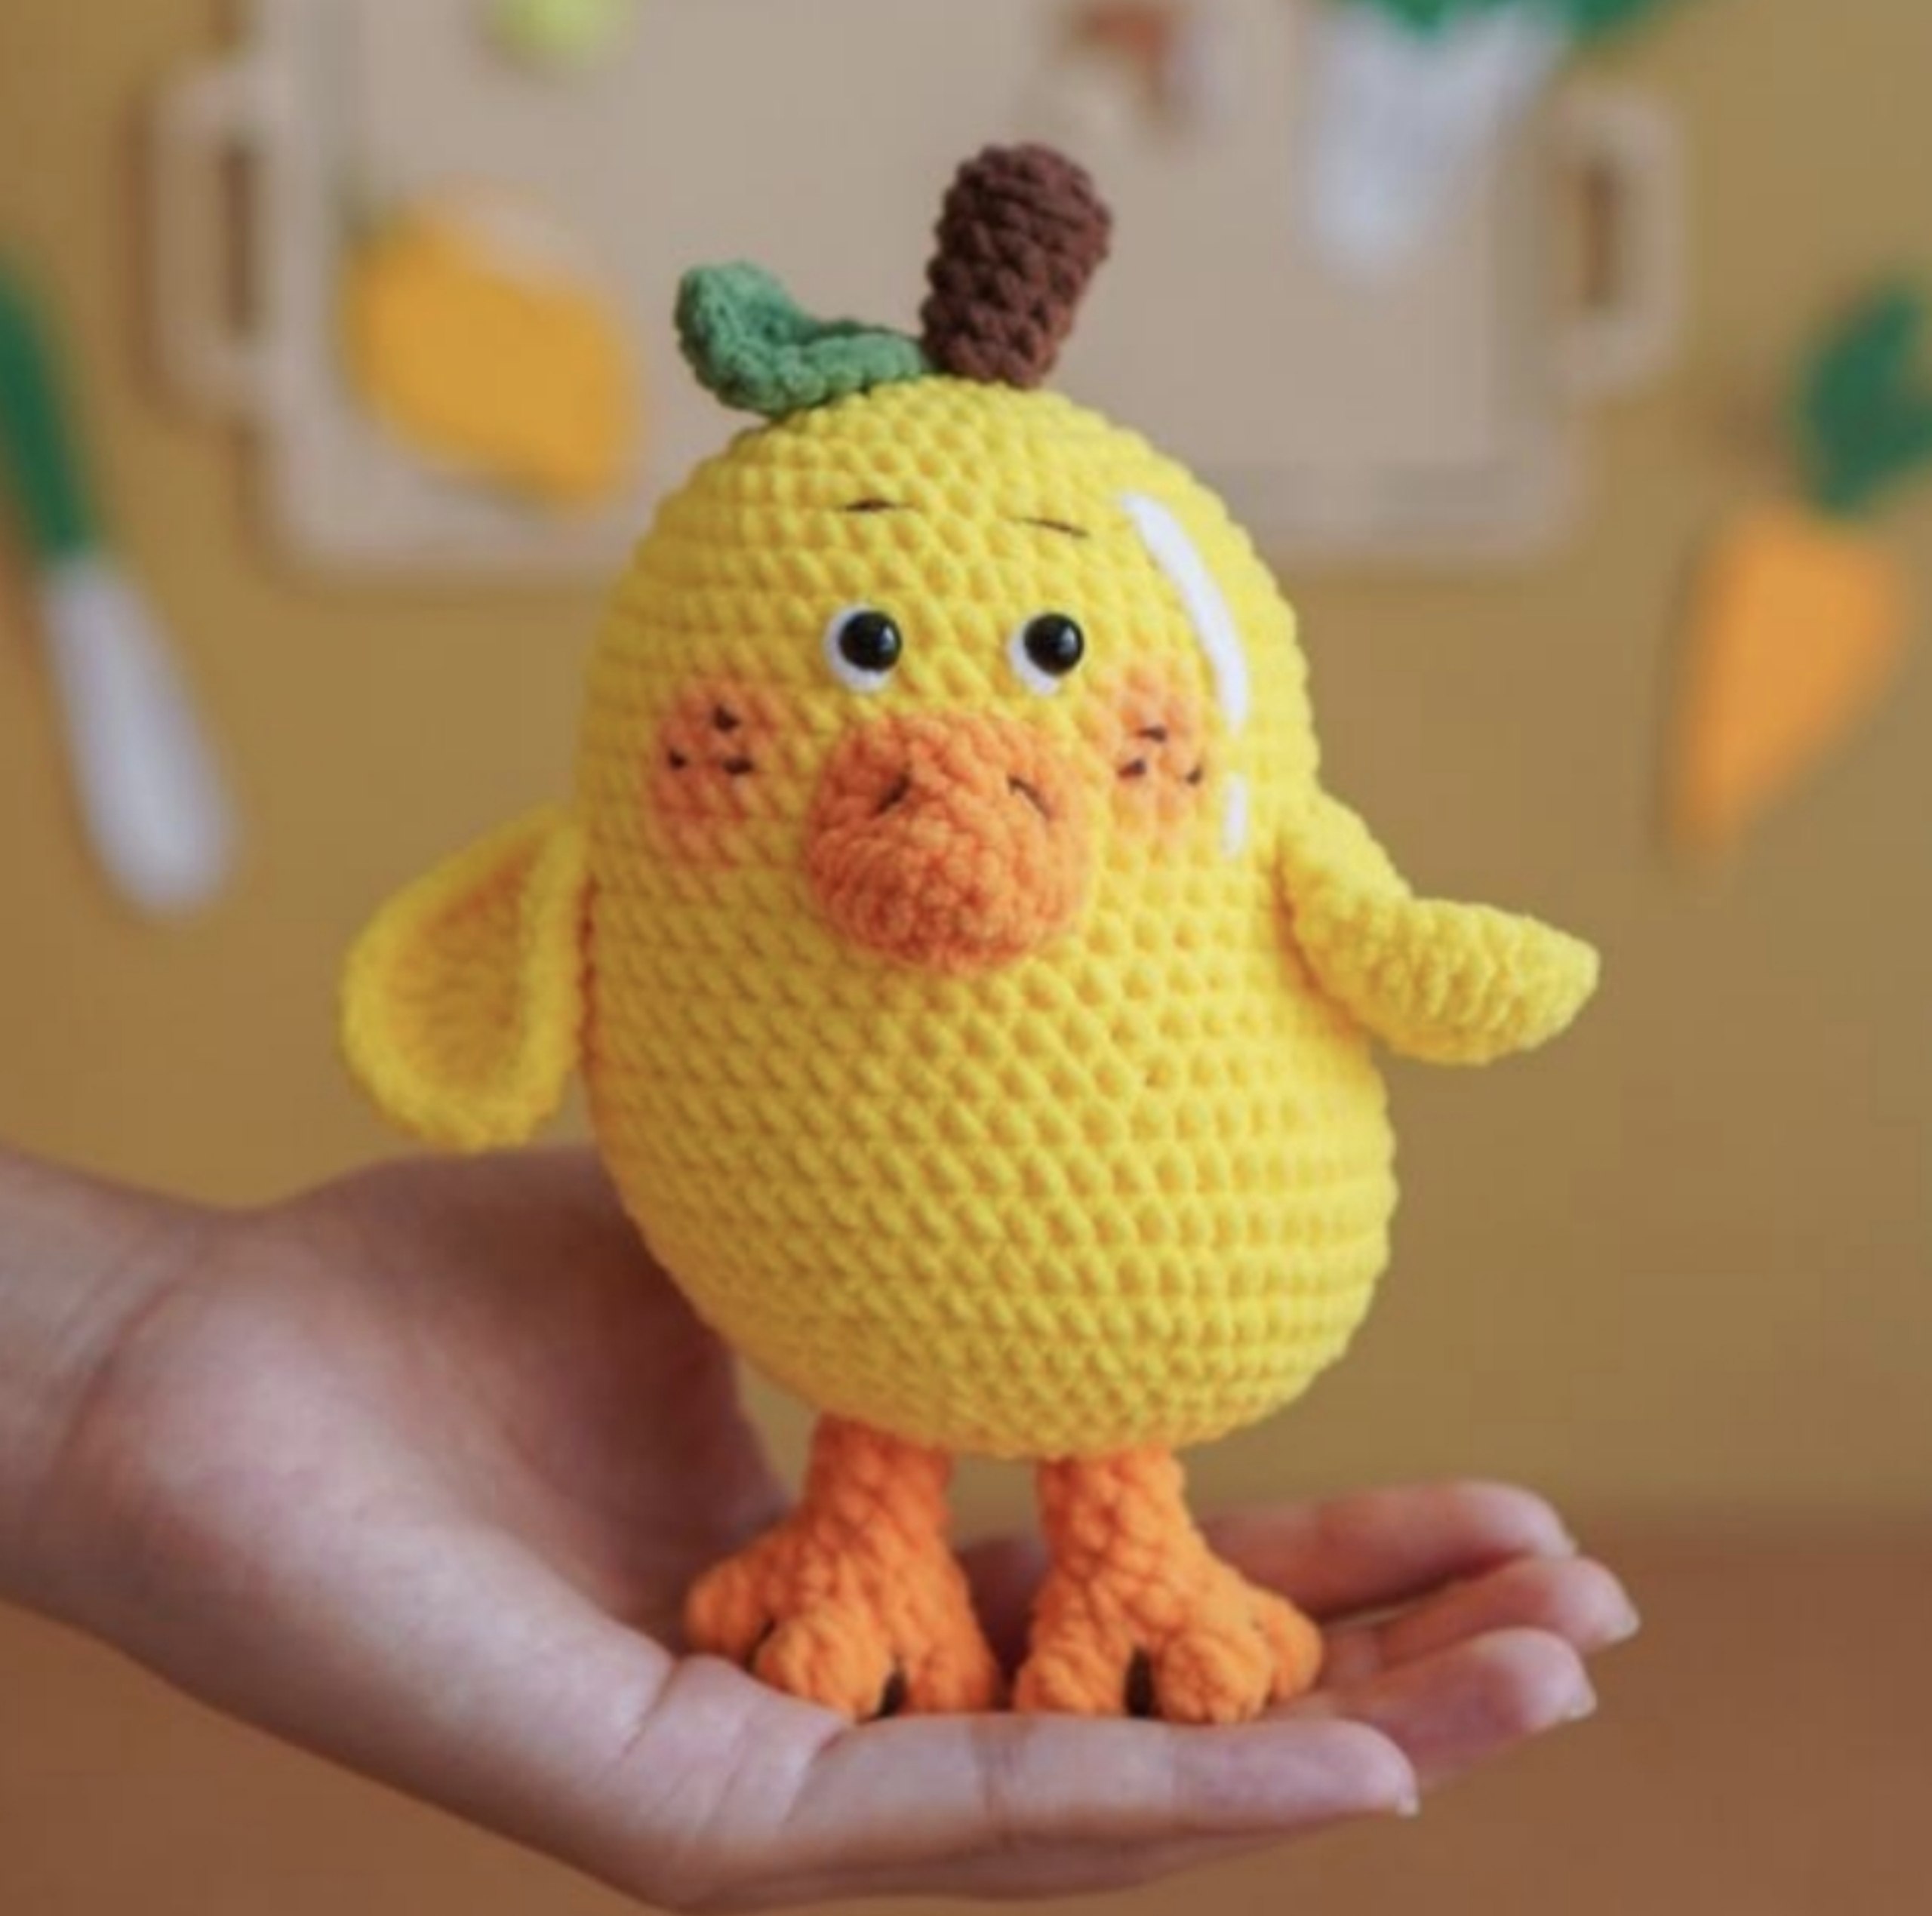
Are you looking for your next whimsical crochet project? If you love characters that are a little bit quirky and a whole lot of cute, then you are in the right place! Today, we are diving into a pattern for the most unique little friend you’ll ever make: the Mango Goose. This charming amigurumi combines the bright, sunny vibes of a ripe mango with the silly, endearing features of a little goose.
This project is perfect for anyone looking to practice their amigurumi skills. It uses soft, velvety yarn which makes the finished piece incredibly huggable and gives it a professional, high-end look. Whether you are making this for a nursery decoration, a gift for a friend, or just to add more cuteness to your crochet collection, this Mango Goose is sure to bring a smile to everyone’s face.
Materials & Abbreviations
Before we pick up our hooks, let’s make sure you have everything you need. Because this pattern uses velvet or chenille-style yarn, I recommend using a slightly smaller hook than the yarn label might suggest to ensure your stitches are tight and your stuffing doesn’t peek through.
Yarn Requirements
You will need velvet-style yarn in the following colors. Each color requires approximately 148 yards (135 meters) or a 50g skein:
- Yellow: For the main body, wings, and tail.
- Orange: For the beak and the feet.
- Brown: For the stem.
- Green: For the leaf.
Additional Supplies
- Crochet Hook: 2.5 mm (US size C/2 or similar, depending on your tension).
- Safety Eyes: 6 mm black safety eyes.
- Stuffing: Fiberfill or polyester stuffing.
- Sewing Tools: A tapestry needle for assembly, stitch markers, scissors, and sewing pins.
- Embroidery Thread: A bit of white and brown thread for facial details.
US Crochet Abbreviations
Please ensure you are using US terminology for this pattern:
- MR: Magic Ring (or Amigurumi Ring)
- sc: Single crochet
- inc: Increase (2 sc in the same stitch)
- dec: Decrease (sc 2 stitches together)
- ch: Chain
- sl st: Slip stitch
- hdc: Half double crochet
- dc: Double crochet
- BLO: Back loop only
- st(s): Stitch(es)
Step-by-Step Instructions
The Body (In Yellow)
The body is the heart of our Mango Goose. It has a slightly tapered shape to give it that egg-like mango silhouette.
- Row 1: 6 sc in a Magic Ring [6]
- Row 2: 6 inc [12]
- Row 3: (1 sc, inc) * 6 [18]
- Row 4: (1 sc, inc, 1 sc) * 6 [24]
- Row 5: (3 sc, inc) * 6 [30]
- Row 6: (2 sc, inc, 2 sc) * 6 [36]
- Row 7: (5 sc, inc) * 6 [42]
- Row 8: 42 sc [42]
- Row 9: (3 sc, inc, 3 sc) * 6 [48]
- Rows 10–18: 48 sc (9 rows total) [48]
Note: Before continuing to Row 19, insert your 6mm safety eyes between Rows 9 and 10.
- Row 19: 20 sc, (1 sc, inc) * 4, 20 sc [52]
- Row 20: 52 sc [52]
- Row 21: 20 sc, (1 sc, inc, 1 sc) * 4, 20 sc [56]
- Rows 22–27: 56 sc (6 rows total) [56]
- Row 28: (3 sc, dec, 3 sc) * 7 [49]
- Row 29: (5 sc, dec) * 7 [42]
- Row 30: (2 sc, dec, 2 sc) * 7 [35]
- Row 31: (3 sc, dec) * 7, stuff the body firmly [28]
- Row 32: (1 sc, dec, 1 sc) * 7 [21]
- Row 33: (1 sc, dec) * 7 [14]
- Row 34: 7 dec [7]
Fasten off, leaving a long tail for sewing.
The Stem and Leaf (Brown & Green)
The Stem (In Brown)
- Row 1: 6 sc in a Magic Ring [6]
- Row 2: (1 sc, inc) * 3 [9]
- Row 3: 9 sc in BLO [9]
- Row 4: 1 dec, 7 sc [8]
- Row 5: 8 sc [8]
- Row 6: 1 dec, 6 sc [7]
- Row 7: 7 sc [7]
Fasten off.
The Leaf (In Green)
We will work this leaf in a single line of chains to create a flat, organic shape.
- Ch 6. Starting in the 2nd chain from the hook: sl st, 1 hdc, 2 dc in the last chain (an increase), 1 hdc, sl st, ch 1.
- Now, working on the opposite side of the foundation chain: sl st, 1 hdc, 2 dc in the last chain, 1 hdc, sl st.
Fasten off.
The Beak (In Orange)
- Row 1: 6 sc in a Magic Ring [6]
- Row 2: (1 sc, inc) * 3 [9]
- Row 3: 3 sc, 3 inc, 3 sc [12]
- Row 4: 4 sc, 4 inc, 4 sc [16]
- Row 5: 16 sc [16]
Fasten off.
The Wings (In Yellow – Make 2)
- Row 1: Ch 6. Starting in the 2nd chain from the hook: 1 sc, 1 hdc, 2 dc, 6 dc in the last chain. Now, working on the other side of the foundation chain: 2 dc, 1 hdc, 1 sc [14].
- Row 2: inc, 1 hdc, 2 dc, 6 inc in the last chain, 2 dc, 1 hdc, inc, sl st into the first stitch [22].
Fasten off.
The Feet (In Orange – Make 2)
- Row 1: 7 sc in a Magic Ring [7]
- Row 2: 7 inc [14]
- Row 3: 4 sc, (popcorn stitch: 4 dc in the same stitch, then 1 sc) * 3, 4 sc [14]
- Row 4: 14 sc [14]
- Row 5: 7 dec [7]
- Rows 6–8: 7 sc (3 rows total) [7]
Fasten off.
The Tail (In Yellow)
- Row 1: 6 sc in a Magic Ring [6]
- Row 2: (1 sc, inc) * 3 [9]
- Row 3: (2 sc, inc) * 3 [12]
- Row 4: 12 sc [12]
Fasten off.
Finishing
Now comes the best part—bringing your Mango Goose to life! Assembly requires a bit of patience, so use your pins to mark where everything goes before you start sewing.
- The Top: Sew the stem to the top of the body and attach the green leaf to the stem.
- The Face: Sew the beak directly underneath the safety eyes. Using orange thread, stitch two small vertical lines into the beak to create cute little nostrils/indentations.
- The Details: Use white thread to stitch two small lines on one side of the face to give it a little “shine.” You can also use pink or light orange thread to add soft blush to the cheeks.
- The Limbs: Sew the two wings to the sides of the body and the two feet to the bottom.
- Final Touches: Using brown thread, embroider two tiny eyebrows, three small dots on each cheek for extra detail, and two tiny dots on the beak for nostrils.
- The Rear: Finally, sew the tail to the back of the body.
Tips
To ensure your Mango Goose looks just as wonderful as the photos, keep these tips in mind:
Managing Velvet Yarn
Velvet and chenille yarns are beautiful but can be “fussy.” The fibers tend to hide your stitches, making it hard to see where to insert your hook. I highly recommend using a stitch marker for every single stitch if you are a beginner. This prevents you from accidentally adding or losing stitches in those long rows of single crochet.
Tight Tension is Key
When making amigurumi, you want your stitches to be as tight as possible. If your tension is too loose, the polyester stuffing will start to show through the gaps, which ruins the clean look of the character. If you find your work is too loose, try dropping down half a millimeter in hook size.
Achieving Perfect Symmetry
When sewing the eyes, wings, and feet, always use sewing pins first. This allows you to step back, look at your work from a distance, and ensure everything is level and centered before you commit to permanent stitches.
Happy crocheting! We can’t wait to see your finished Mango Geese!