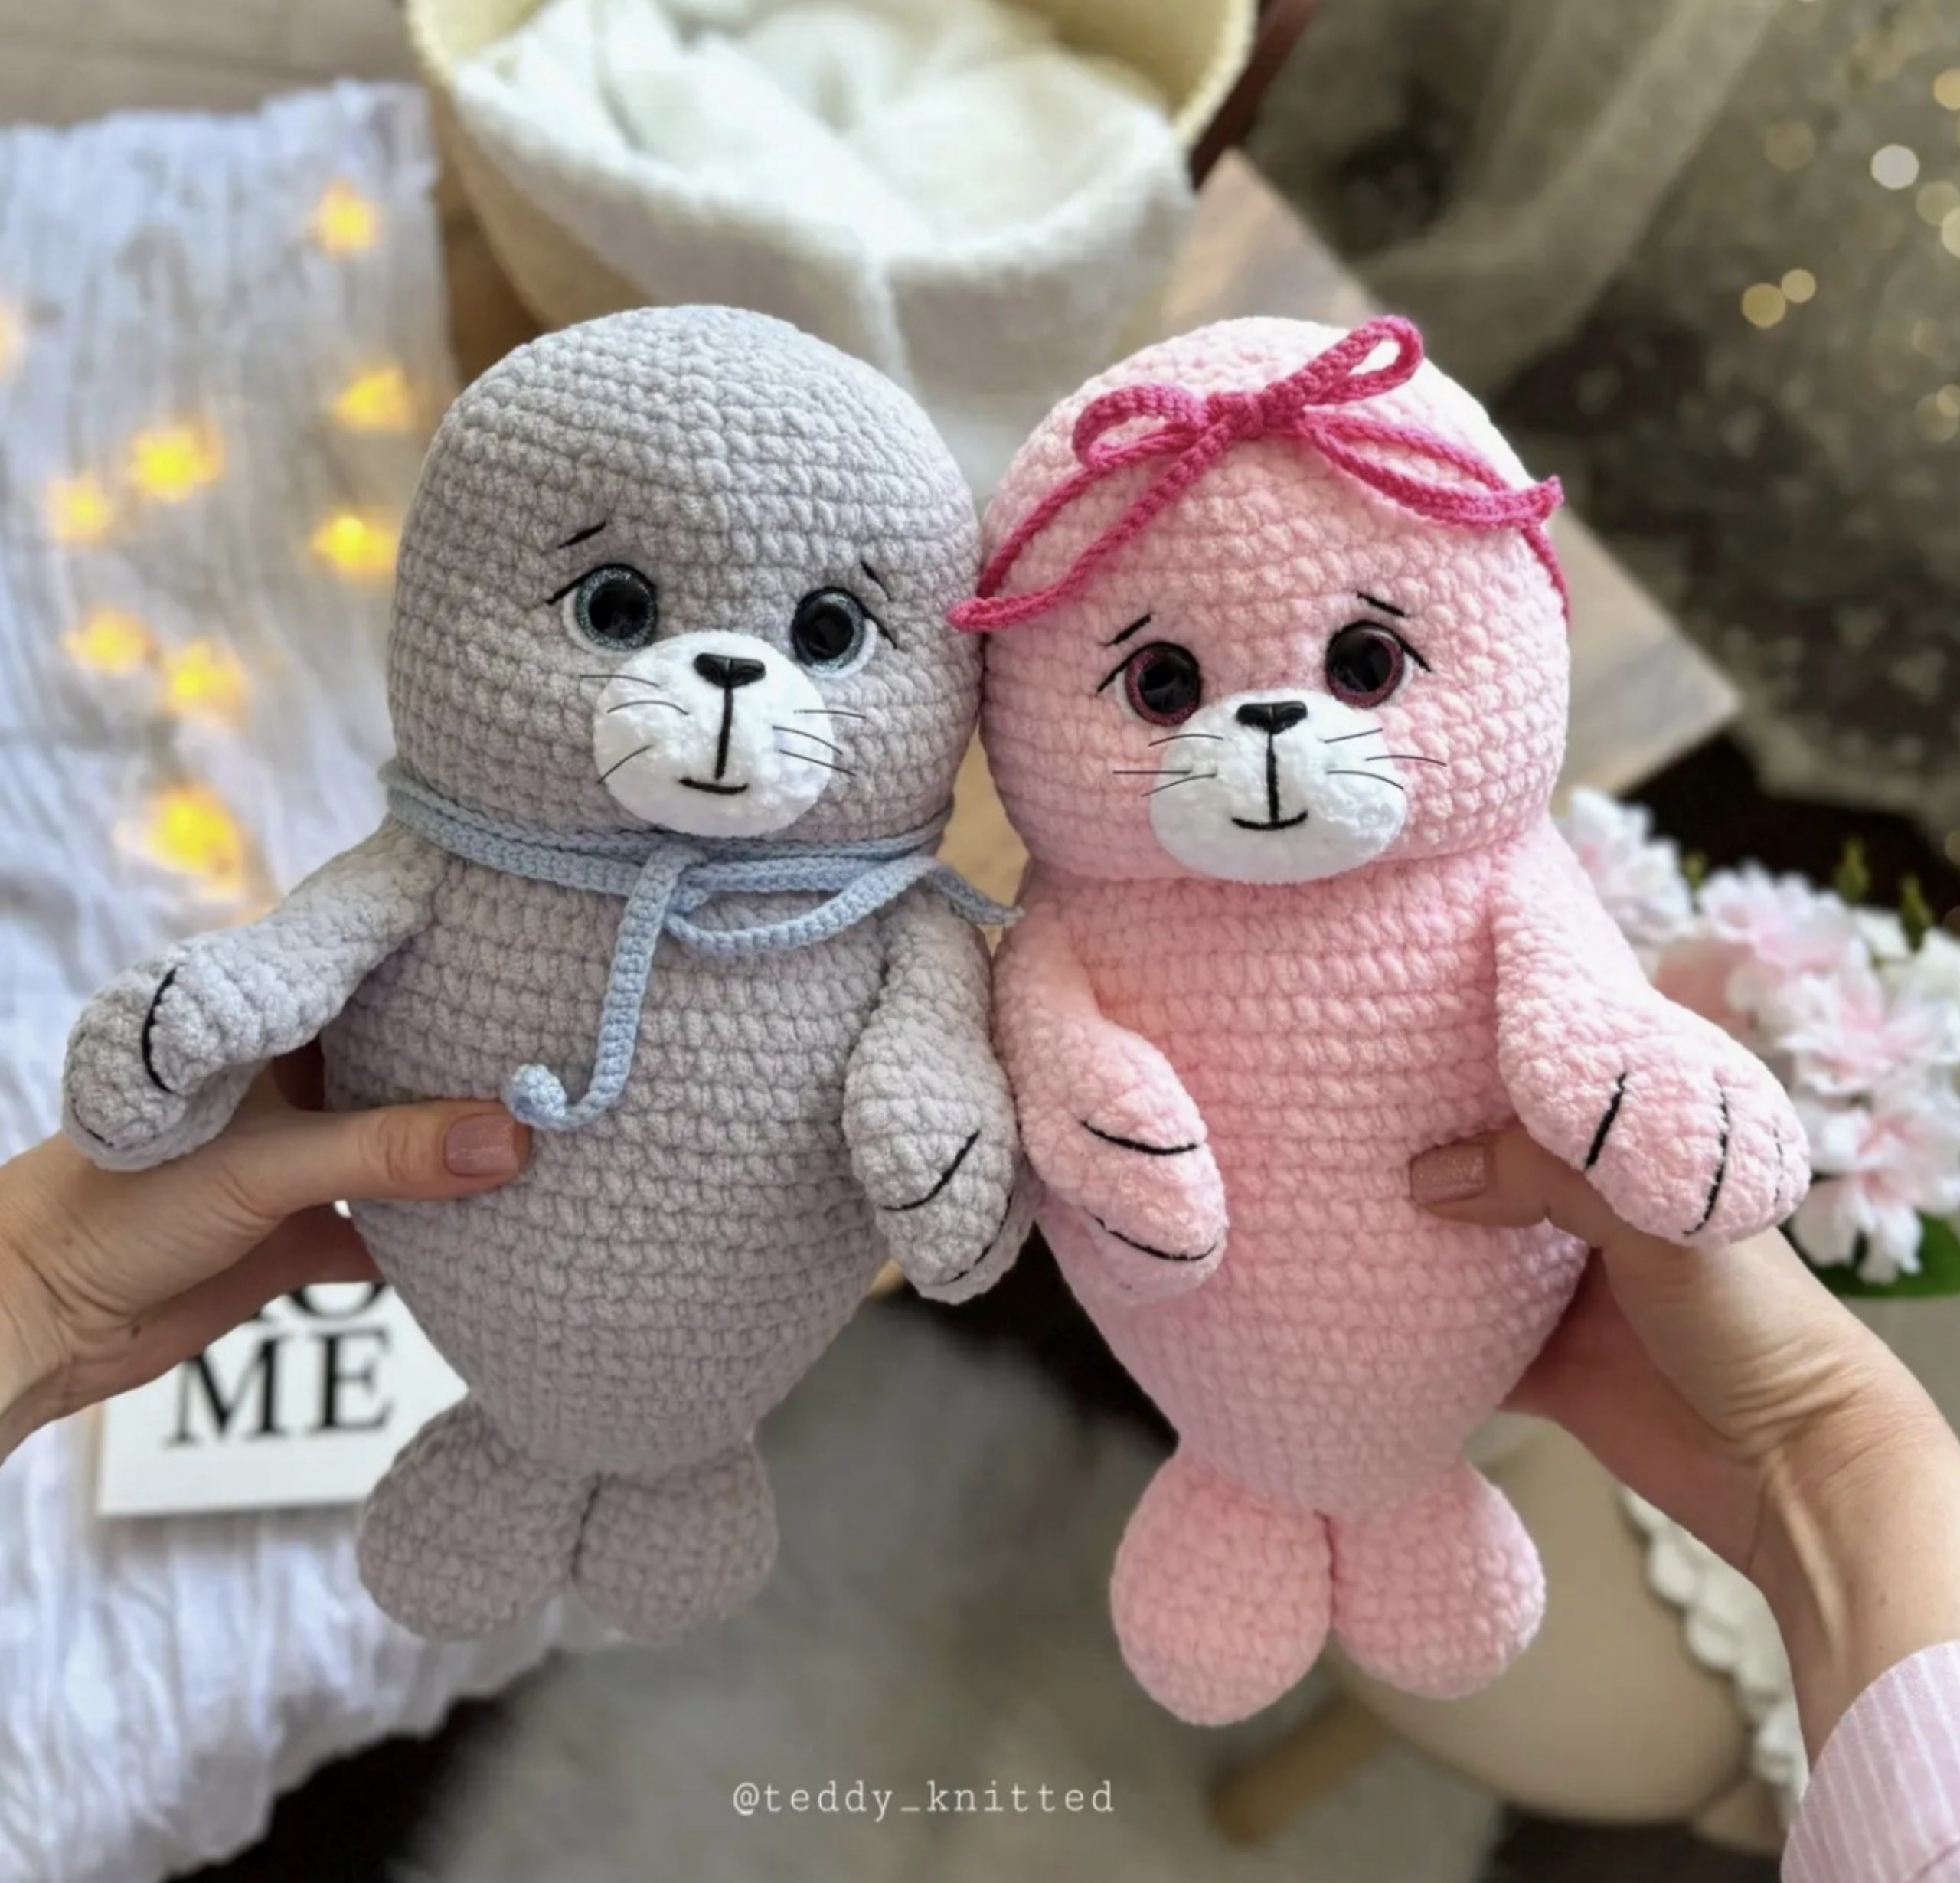
Adorable Plush Crochet Seal Pattern: An Easy Amigurumi Tutorial
If you are looking for a heartwarming project that is both cuddly and incredibly cute, you have come to the right place! This adorable plush seal is the perfect addition to any nursery, a wonderful gift for a little one, or simply a charming companion for your crochet collection. Using soft, chenille-style yarn, this amigurumi project results in a high-quality, professional-looking toy that is soft to the touch and full of personality.
In this detailed tutorial, I will walk you through every single step, from crafting the tiny tail to adding those expressive eyes and whiskers. This pattern is designed to be beginner-friendly, though you should be comfortable with the basic stitches of amigurumi to complete it successfully. Let’s grab our hooks and dive into the wonderful world of sea creatures!
Materials and Abbreviations
To achieve the best results and ensure your seal looks just like the photos, I recommend using high-quality plush yarn and the appropriate hook sizes. Using a slightly smaller hook than recommended for your yarn helps create a tight tension, which prevents the stuffing from peeking through the stitches.
Materials Needed
- Plush Yarn (Chenille/Velvet style): You will need approximately 1.5 skeins of your main color (light pink for a girl or light gray for a boy). A weight of roughly 120m per 100g is ideal.
- White Plush Yarn: A small amount for the muzzle.
- Cotton Yarn: Use a standard weight cotton yarn (like YarnArt Jeans) in white for the muzzle details, black for the mouth, eyelashes, and eyebrows, and a bright accent color (like hot pink or light blue) for the accessories.
- Safety Eyes: 18mm (about 0.7 inches) in blue or pink.
- Nose: A small black safety nose, approximately 0.6 x 0.3 inches.
- Stuffing: High-quality polyester fiberfill.
- Hooks: A 3.75mm (approx. 2.5mm equivalent in some brands) hook for the body and a 2mm hook for the accessories.
- Needles: A standard yarn needle for sewing and a long 6-inch metal needle for eye sculpting and detail work.
- Extras: Black elastic thread (for whiskers), fabric glue, and pins.
Abbreviations (US Terms)
- MR: Magic Ring
- sc: Single crochet
- inc: Increase (2 sc in one stitch)
- dec: Decrease (sc two stitches together)
- ch: Chain
- sl st: Slip stitch
- st(s): Stitch(es)
Note: We are working in a continuous spiral. Do not join rounds with a slip stitch unless otherwise instructed.
Step-by-Step Instructions
The Tail
The tail consists of two identical pieces that are joined together to create a finished shape.
Make 2 identical pieces:
- R1: 6 sc in MR (6)
- R2: 6 inc (12)
- R3: (1 sc, inc) 6 times (18)
- R4: (2 sc, inc) 6 times (24)
- R5-6: 24 sc (24)
- R7: (2 sc, dec) 6 times (18)
- R8-9: 18 sc (18)
- R10: (1 sc, dec) 6 times (12)
Fasten off the first piece. For the second piece, do not fasten off. Join the two pieces together by working 1 sc into the first piece. Your new round will now consist of 24 sc. Do not stuff the tail yet; we will do that later.
The Body
The body provides the main structure of your seal. Remember to stuff firmly as you go!
- R1-2: 24 sc (24)
- R3: (3 sc, inc) 6 times (30)
- R4: 30 sc (30)
- R5: (4 sc, inc) 6 times (36)
- R6: (5 sc, inc) 6 times (42)
- R7: 42 sc (42)
- R8: (6 sc, inc) 6 times (48)
- R9: 48 sc (48)
- R10: (7 sc, inc) 6 times (54)
- R11: (8 sc, inc) 6 times (60)
- R12-17: 60 sc (60)
- R18: (9 sc, inc) 6 times (66)
- R19-20: 66 sc (66)
- R21: (10 sc, inc) 6 times (72)
- R22-23: 72 sc (72)
- R24: (1 sc, dec) 24 times (48)
- R25: 48 sc (48)
- R26: (6 sc, dec) 6 times (42)
Important: At this stage, stuff the tail and about half of the body. Stuff the body firmly, but be careful not to create large gaps between stitches. The body should feel springy, not rock hard.
The Head
The head starts immediately after the body rounds.
- R27: (6 sc, inc) 6 times (48)
- R28: (7 sc, inc) 6 times (54)
- R29: (8 sc, inc) 6 times (60)
- R30-40: 60 sc (60)
Eye Placement: Before continuing, insert your safety eyes between rounds 36 and 37. Ensure they are spaced exactly 8 stitches apart. Once placed, you may want to carefully trim the surrounding plush fibers so the eyes sit flush against the face.
- R41: (8 sc, dec) 6 times (54)
- R42: (7 sc, dec) 6 times (48)
- R43: (6 sc, dec) 6 times (42)
- R44: (5 sc, dec) 6 times (36)
- R45: (4 sc, dec) 6 times (30)
- R46: (3 sc, dec) 6 times (24)
- R47: (2 sc, dec) 6 times (18)
- R48: (1 sc, dec) 6 times (12)
- R49: 6 dec, then pull the opening tight closed.
Stuff the top part of the head firmly.
The Muzzle
The muzzle is worked in white plush yarn.
- R1: Ch 5.
- R2: From the 2nd ch from hook: inc, 2 sc, 4 sc in the last ch, 3 sc = 11 sc total.
- R3: 11 inc (22)
- R4: 22 sc, sl st to close.
Fasten off, leaving a long tail. Sew the muzzle onto the face between rounds 3 and 4, centered under the eyes. Use a black cotton thread to embroider a small mouth centered on the muzzle.
The Flippers (Paws)
Make 2 identical pieces:
- R1: 6 sc in MR (6)
- R2: 6 inc (12)
- R3: (1 sc, inc) 6 times (18)
- R4: (2 sc, inc) 6 times (24)
- R5: (3 sc, inc) 6 times (30)
- R6: 30 sc (30)
- R7: (3 sc, dec) 6 times (24)
- R8: (2 sc, dec) 6 times (18)
- R9-15: 18 sc (18)
Do not stuff the flippers. Instead, fold them in half and sc through both sides, working 9 sc across the opening to close them. Use black cotton thread to embroider small lines at the tip to represent claws.
Finishing
Sculpting the Face (Eye Pulling)
To give the seal that adorable, slightly recessed eye look, we will use a technique called eye pulling. Using a white cotton thread and a long needle:
- Mark points on the neck (between body rounds 25 and 26) directly below the eyes.
- Insert the needle into the point below one eye (Point 1), bring it up near the eye (Point 2), then back down (Point 3), and out at the neck point (Point 4).
- Tie the two threads at the neck tightly to pull the eye area inward. Repeat for the second eye.
- Hide the thread ends inside the stuffing.
Details and Accessories
- Whiskers: Cut three 4-inch strips of black elastic thread. Insert them into the muzzle using a needle, secure the base with a tiny drop of glue, and trim them to about 0.7 inches.
- Eye Decoration: Embroider small white “sparkles” on the bottom of the eyes with white yarn, and thin black “eyelashes” on the top of the eyes with black cotton thread. Add thin eyebrows one row above the eyes, making them 3 stitches wide with 6 stitches of space between them.
- Accessories:
- Scarf: Ch 251, then 250 sc.
- Headband: Ch 181, then 180 sc.
- Final Assembly: Pin the flippers to the sides of the body (about 6 rows up from the bottom) and sew them securely through the back.
Tips
- Tension is Key: When working with plush yarn, keep your stitches tight to ensure the stuffing doesn’t show through.
- Smoothing the Fur: After adding the safety eyes, you can use small scissors to trim the surrounding plush fibers. This makes the eyes sit more securely and look much more professional.
- Pinning: Always use pins to hold parts (like the muzzle or flippers) in place before sewing. This prevents the pieces from shifting while you work.
- Stuffing Tip: When stuffing the body, work from the bottom up to ensure even distribution and to avoid lumps.