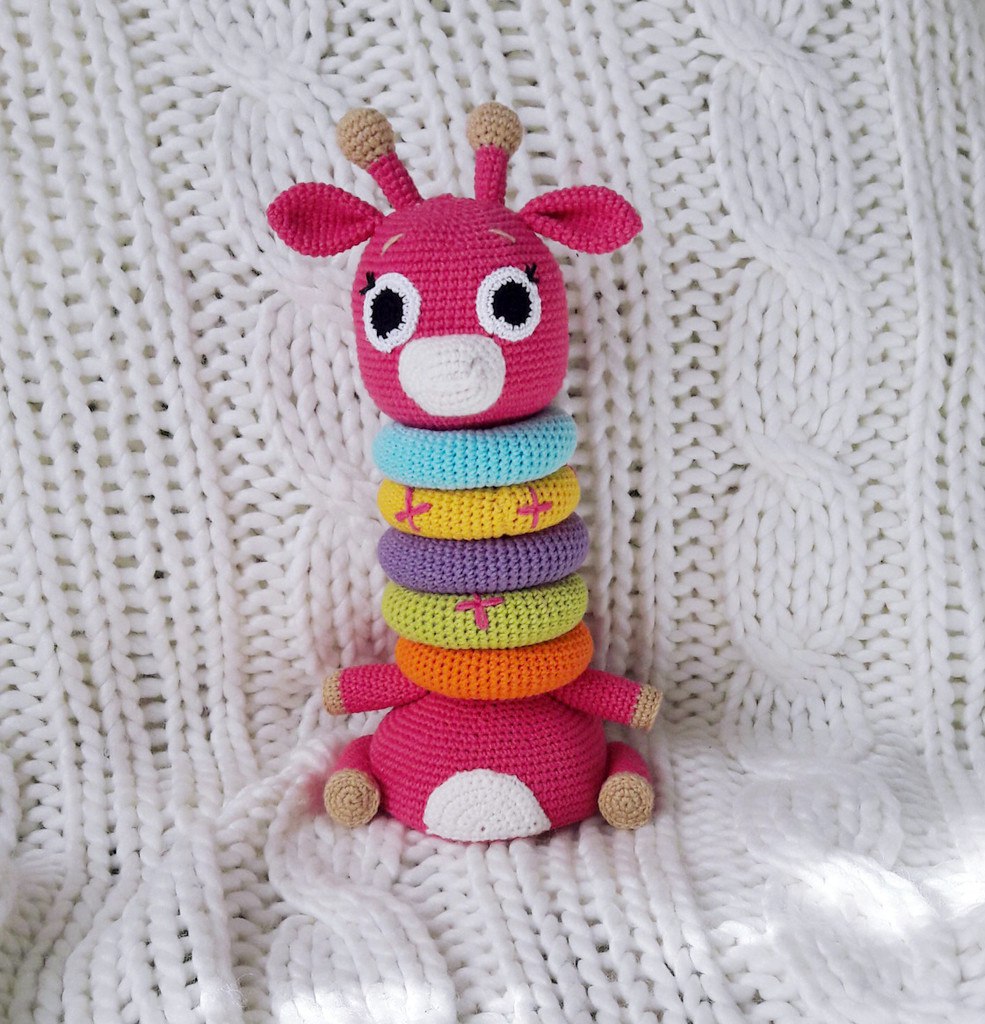
DIY Crochet Giraffe Stacker Pattern: A Cute Amigurumi Baby Toy Tutorial
Are you looking for the perfect handmade gift for a newborn or a toddler? There is nothing quite as charming as a custom-made amigurumi toy. Today, we are diving into a wonderful project: a Crochet Giraffe Stacker! This isn’t just a toy; it is a sensory developmental tool designed to help little ones practice fine motor skills and color recognition through stacking and sorting.
This giraffe stacker features a soft, friendly face and a series of colorful rings that can be slid onto a central rod. It is the perfect combination of “cute” and “functional.” Whether you are making this for your own child or as a thoughtful baby shower gift, this pattern is a joy to work through. Grab your hook, and let’s get started!
Materials & Abbreviations
To achieve the tight, clean stitches required for amigurumi, I recommend using a smaller hook than the yarn label might typically suggest. This ensures that your stuffing stays hidden inside the toy.
Materials Needed
- Yarn: Cotton or cotton-blend yarn (DK or Worsted weight). You will need one main color (pink) and small amounts of bright colors for the rings, hooves, and belly. You will also need white yarn for the nose and a combination of black and white for the eyes.
- Hooks: 2.0 mm (US size B-1) and 1.25 mm (US size 0/00) hooks.
- Stuffing: High-quality polyester fiberfill.
- Eyes: You can use safety eyes or crochet the eyes as directed in the pattern.
- Tools: A long sewing needle (tapestry needle), scissors, and stitch markers.
- The Stacker Base: A sturdy plastic rod or a wide plastic lid/base to act as the center support for the rings.
US Crochet Abbreviations
Please ensure you are familiar with these standard US terms before beginning:
- MR: Magic Ring
- ch: Chain
- sc: Single Crochet
- inc: Increase (2 sc in one stitch)
- dec: Decrease (sc 2 together)
- sl st: Slip Stitch
- st(s): Stitch(es)
- BLO: Back Loops Only
- FO: Fasten Off
Step-by-Step Instructions
The Head
Note: Stuff the head as you go. Leave a small opening at the bottom to accommodate the stacking rod.
Round 1: 6 sc in a MR (6)
Round 2: 6 inc (12)
Round 3: (1 sc, inc) x 6 (18)
Round 4: (2 sc, inc) x 6 (24)
Round 5: (3 sc, inc) x 6 (30)
Round 6: 30 sc in BLO (Back Loops Only)
Rounds 7-14: 30 sc (30)
Round 15: (4 sc, inc) x 6 in BLO (36)
Round 16: (5 sc, inc) x 6 (42)
Round 17: (6 sc, inc) x 6 (48)
Round 18: (7 sc, inc) x 6 (54)
Round 19: (8 sc, inc) x 6 (60)
Round 20: (9 sc, inc) x 6 (66)
Round 21: (10 sc, inc) x 6 (72)
Rounds 22-37: 72 sc (72)
Round 38: (10 sc, dec) x 6 (66)
Round 39: (9 sc, dec) x 6 (60)
Round 40: (8 sc, dec) x 6 (54)
Round 41: (7 sc, dec) x 6 (48)
Round 42: (6 sc, dec) x 6 (42)
Round 43: (5 sc, dec) x 6 (36)
Round 44: (4 sc, dec) x 6 (30)
Round 45: (3 sc, dec) x 6 (24)
Round 46: (2 sc, dec) x 6 (18)
Round 47: (1 sc, dec) x 6 (12)
Round 48: dec. Fasten off, leaving a long tail. Weave through the remaining stitches to close the hole.
Ears (Make 2)
Round 1: 6 sc in a MR (6)
Round 2: 6 sc (6)
Round 3: 6 inc (12)
Round 4: 12 sc (12)
Round 5: (1 sc, inc) x 6 (18)
Rounds 6-13: 18 sc (18)
Round 14: (1 sc, dec) x 6 (12). Fasten off, leaving a tail for sewing. Sew to the head.
The Muzzle and Nose
Muzzle:
Round 1: Ch 6. Starting from the 2nd ch from your hook: 4 sc, 3 sc in the last ch, 3 sc, 1 inc (12)
Round 2: 1 inc, 3 sc, 3 inc, 3 sc, 2 inc (18)
Round 3: (1 sc, inc), 3 sc, (1 sc, inc) x 3, 3 sc, (1 sc, inc) x 2 (24)
Round 4: (2 sc, inc), 3 sc, (2 sc, inc) x 3, 3 sc, (2 sc, inc) x 2 (30)
Rounds 5-6: 30 sc (30). Fasten off, leaving a tail. Sew onto the face. Use your needle to create two small indentations for the nostrils.
Nose:
Chain 15. Sew this chain across the nostrils you created to form the snout.
The Eyes (Make 2)
Using Black yarn:
Round 1: 6 sc in a MR, sl st to join (6)
Round 2: ch 1, 6 inc, sl st to join (12)
Round 3: ch 1, (1 sc, inc) x 6, sl st to join (18)
Switch to White yarn:
Round 4: ch 1, (2 sc, inc) x 6, sl st to join (24)
Round 5: ch 1, (3 sc, inc) x 6, sl st to join (30). Fasten off. Sew onto the face and embroider tiny eyelashes if desired.
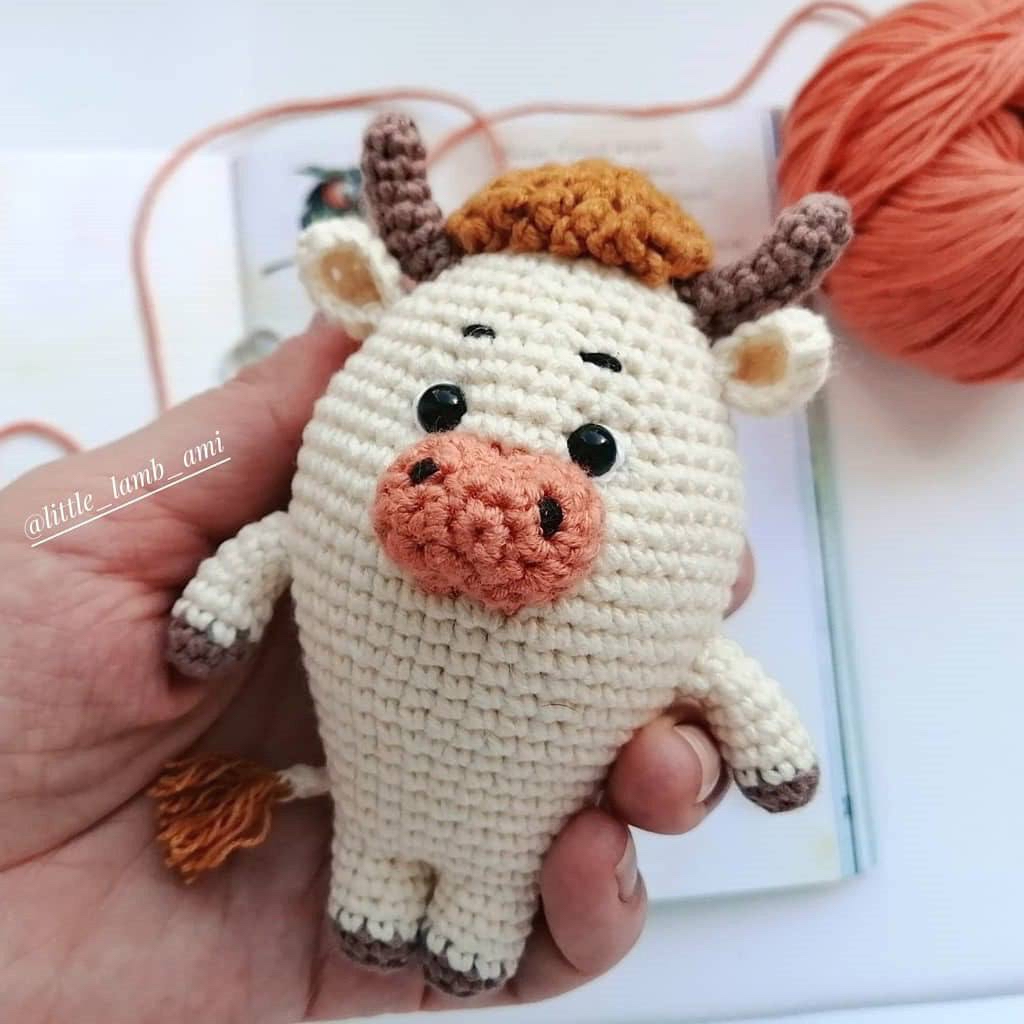
The Horns (Make 2)
Using Brown yarn:
Round 1: 6 sc in a MR (6)
Round 2: 6 inc (12)
Round 3: (1 sc, inc) x 6 (18)
Rounds 4-5: 18 sc (18)
Round 6: (1 sc, dec) x 6 (12)
Round 7: (2 sc, dec) x 3 (9)
Switch to Main Color:
Rounds 8-13: 9 sc (9). Fasten off, leaving a tail. Sew to the top of the head and embroider small eyebrows nearby.
The Body
Stuff the body as you go.
Round 1: 6 sc in a MR (6)
Round 2: 6 inc (12)
Round 3: (1 sc, inc) x 6 (18)
Round 4: (2 sc, inc) x 6 (24)
Round 5: (3 sc, inc) x 6 (30)
Round 6: (4 sc, inc) x 6 (36)
Round 7: (5 sc, inc) x 6 (42)
Round 8: (6 sc, inc) x 6 (48)
Round 9: (7 sc, inc) x 6 (54)
Round 10: (8 sc, inc) x 6 (60)
Round 11: (9 sc, inc) x 6 (66)
Round 12: (10 sc, inc) x 6 (72)
Round 13: (11 sc, inc) x 6 (78)
Round 14: (12 sc, inc) x 6 (84)
Round 15: 84 sc in BLO (84)
Note: This is where you insert your plastic base or rod.
Rounds 16-22: 84 sc (84)
Round 23: (12 sc, dec) x 6 (78)
Round 24: (11 sc, dec) x 6 (72)
Round 25: (10 sc, dec) x 6 (66)
Round 26: (9 sc, dec) x 6 (60)
Round 27: (8 sc, dec) x 6 (54)
Round 28: (7 sc, dec) x 6 (48)
Round 29: (6 sc, dec) x 6 (42)
Round 30: (5 sc, dec) x 6 (36)
Round 31: (4 sc, dec) x 6 (30)
Round 32: 30 sc in BLO (30)
Rounds 33-69: 30 sc (30)
Round 70: (3 sc, dec) x 6 (24)
Round 71: (2 sc, dec) x 6 (18)
Round 72: (1 sc, dec) x 6 (12)
Round 73: dec. Fasten off and close the hole.
The Belly (Puziko)
Work in rows rather than rounds.
Round 1: 7 sc in a MR (7)
Round 2: 3 sc, 3 sc in the next stitch, 3 sc (9)
Round 3: ch 1, inc, 2 sc, inc, 3 sc, inc, 1 sc (12)
Round 4: ch 1, inc, 2 sc, inc, 6 sc, inc, 2 sc (14)
Round 5: ch 1, inc, 6 sc, inc, 7 sc (15)
Round 6: ch 1, 3 sc, inc, 7 sc, inc, 3 sc (17)
Round 7: ch 1, 8 sc, inc, 8 sc (18)
Round 8: sc around the edge. Fasten off and sew to the front of the body.
Legs and Arms
Legs (Make 2):
Using Brown yarn:
Round 1: 6 sc in a MR (6)
Round 2: 6 inc (12)
Round 3: (1 sc, inc) x 6 (18)
Round 4: 18 sc (18)
Switch to Main Color:
Rounds 5-6: 18 sc (18)
Round 7: (4 sc, dec) x 4 (15)
Rounds 8-21: 15 sc (15)
Round 22: (3 sc, dec) x 3 (12)
Round 23: (2 sc, dec) x 3 (9)
Round 24: (1 sc, dec) x 3 (6)
Round 25: 3 dec. Stuff the base, fold the leg in half, and sew the opening shut.
Arms (Make 2):
Using Brown yarn:
Round 1: 7 sc in a MR (7)
Round 2: 7 inc (14)
Round 3: 14 sc (14)
Switch to Main Color:
Rounds 4-5: 14 sc (14)
Rounds 6-17: 14 sc (14)
Round 18: 7 dec. Stuff the base, fold in half, and sew shut. Attach the arms to the body at the level where the rings will sit.
The Stacking Rings (Make 5)
Use a variety of bright colors.
Round 1: Ch 15, join in a ring (15)
Rounds 2-60: 15 sc in a circle (15)
Fasten off. Stuff the ring lightly, fold the ends together, and sew them shut to create a doughnut shape.
Finishing
Assembly is the most important part of making your giraffe look professional! Follow this order:
- Attach the Head: Sew the head onto the top of the body, ensuring the opening for the rod is centered.
- Attach Limbs: Sew the arms and legs onto the body. Ensure the arms are positioned correctly to allow the rings to slide down easily.
- Face Details: Sew the ears, muzzle, eyes, and horns onto the head.
- Add the Rings: Slide your five colorful rings onto the central rod/base.
- Final Check: Ensure everything is securely fastened and the toy is well-stuffed.
Tips for Success
- Tight Tension: When working with amigurumi, keep your tension tight. If you see stuffing peeking through, go back and work a round with a smaller hook.
- Use Markers: Always use a stitch marker at the beginning of your rounds. It is incredibly easy to lose your place in large rounds like the body.
- Safety First: If you are making this for a very young infant, avoid using plastic safety eyes. Instead, embroider the eyes with black yarn to prevent any choking hazards.
- Color Transitions: When changing colors, try to change the yarn on the last pull of the previous stitch to create a seamless look.