Adorable DIY Crochet Bunny Rattle: The Perfect Sensory Gift for Baby
“`html
DIY Crochet Bunny Baby Rattle Pattern
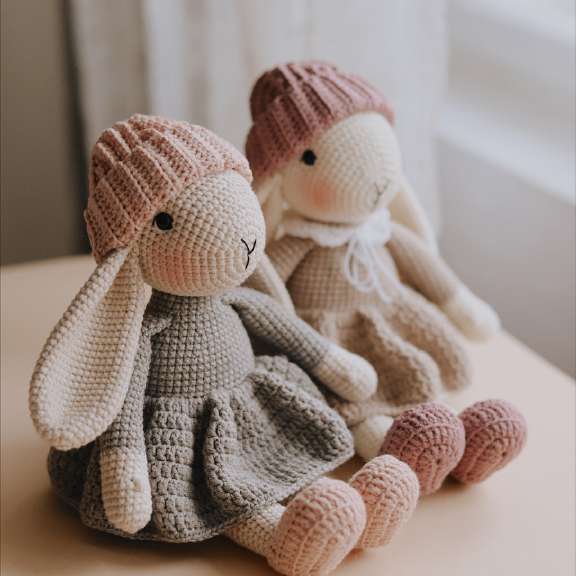
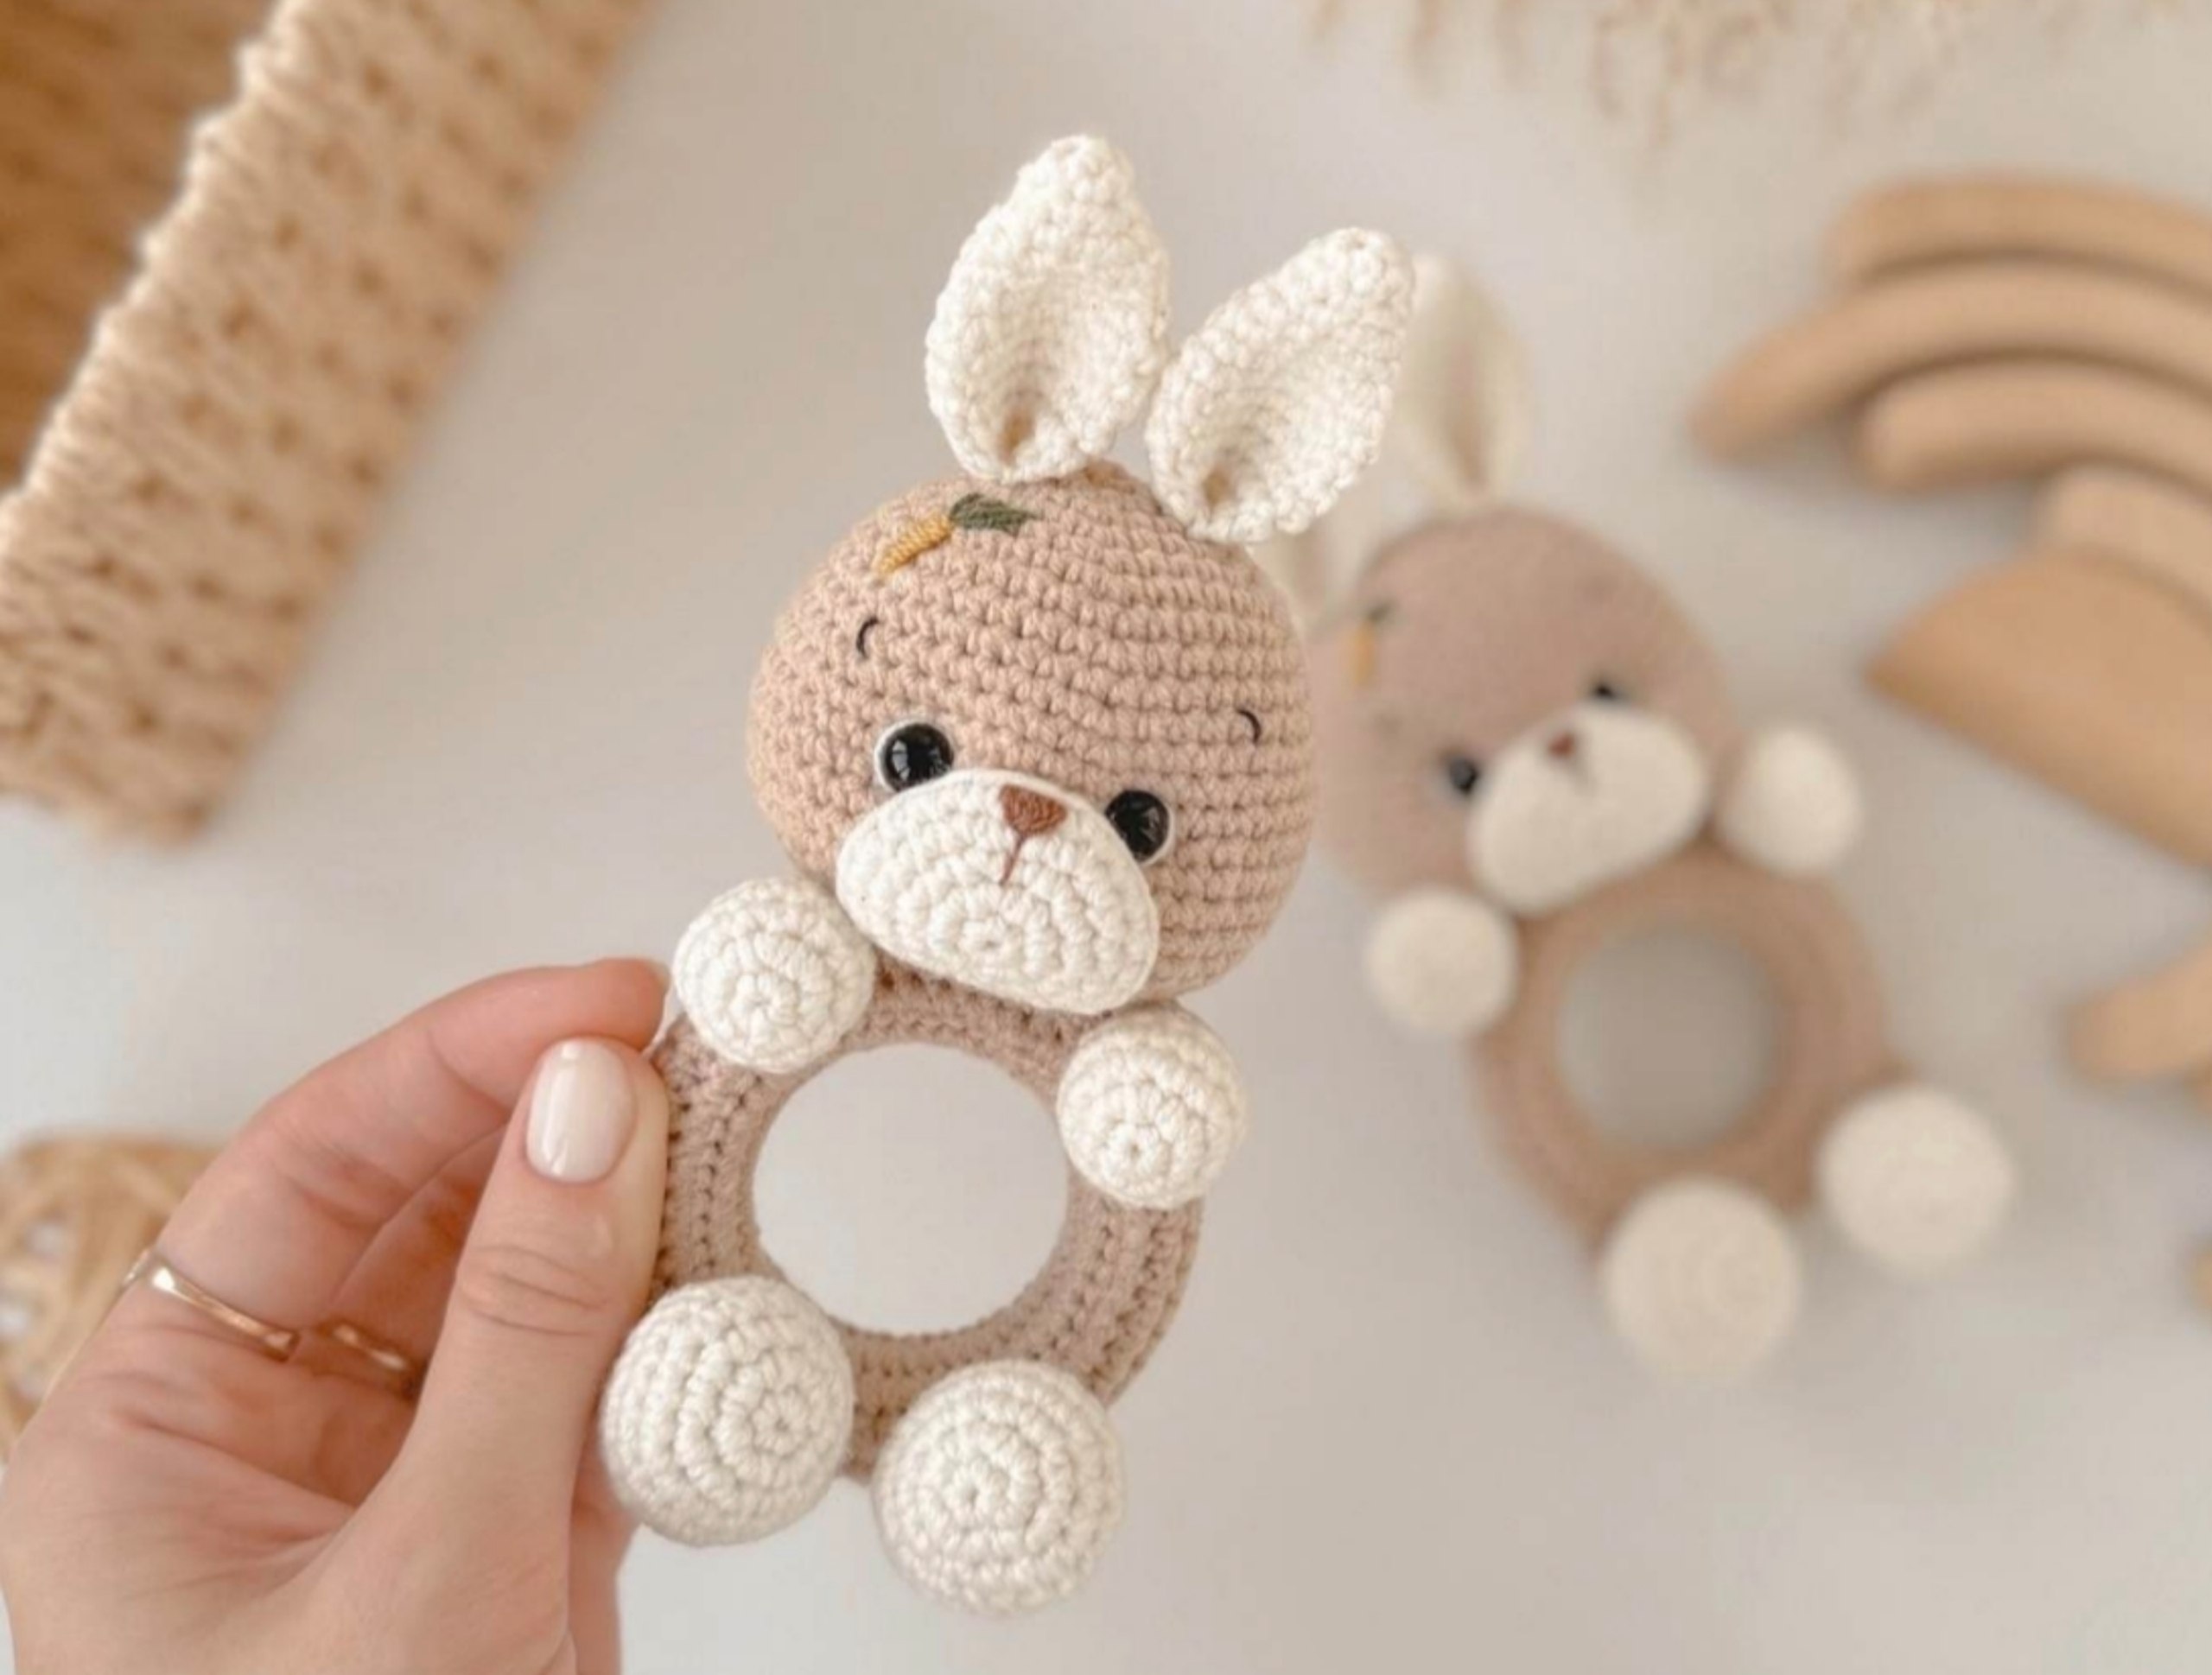
Create a charming and sensory-friendly toy for a little one with this detailed crochet bunny rattle pattern. This project combines a soft amigurumi bunny with a natural wooden ring, making it a perfect baby shower gift or a handmade addition to a nursery.
Materials Needed
- Yarn: YarnArt Jeans (50g/160m) or similar cotton blend in the following colors:
- Beige: Main color
- Cream/Milk White: Muzzle, ears, paws, and eye whites
- Black: Eyebrows
- Brown: Nose
- Mustard: Carrot embroidery
- Green: Carrot greens embroidery
- Hardware:
- 8mm safety eyes
- 60mm wooden ring
- 24mm rattle insert
- Tools:
- 2.0mm crochet hook
- Stuffing (Polyfill or Holofiber)
- Stitch markers
- Scissors and yarn needle
Abbreviations (US Terms)
- MR: Magic Ring
- ch: Chain stitch
- sc: Single crochet
- inc: Increase (2 sc in one stitch)
- dec: Decrease (sc 2 together)
- (…): Total number of stitches at the end of the row
- (…)*X: Repeat the sequence inside the parentheses X times
Finished Size: Approximately 16cm.
Step-by-Step Pattern
The Head (Main Color)
1. 6 sc in MR (6)
2. 6 inc (12)
3. (1 sc, inc)*6 (18)
4. (2 sc, inc)*6 (24)
5. (3 sc, inc)*6 (30)
6. (4 sc, inc)*6 (36)
7. 36 sc (36)
8. (5 sc, inc)*6 (42)
9. 42 sc (42)
10. (6 sc, inc)*6 (48)
11. (15 sc, inc)*3 (51)
12-16. 51 sc (5 rows)
Note: Insert 8mm safety eyes between rows 13 and 14, leaving 6 sc between the eyes.
17. (15 sc, dec)*3 (48)
18. (6 sc, dec)*6 (42)
19. 42 sc (42)
20. (5 sc, dec)*6 (36)
Note: Place the rattle insert inside the head now.
21. (4 sc, dec)*6 (30)
22. (3 sc, dec)*6 (24)
23. (2 sc, dec)*6 (18)
Stuff firmly with polyfill. Fasten off, leaving a long tail for sewing.
The Ears (Cream Color) – Make 2
1. 6 sc in MR (6)
2. 6 sc (6)
3. (1 sc, inc)*3 (9)
4. (2 sc, inc)*3 (12)
5. 12 sc (12)
6. (3 sc, inc)*3 (15)
7. (4 sc, inc)*3 (18)
8-10. 18 sc (3 rows)
11. (4 sc, dec)*3 (15)
12. 15 sc (15)
Fold the ear in half and sc 7-8 stitches across the base to close. Leave a tail for sewing.
The Muzzle (Cream Color)
1. 6 sc in MR (6)
2. 6 inc (12)
3. (1 sc, inc)*6 (18)
4. (2 sc, inc)*6 (24)
5. 24 sc (24)
Fasten off and leave a tail for sewing.
The Ring Cover (Main Color)
1. Ch 52. Starting from the second chain from the hook, work 51 sc.
2-8. Ch 1, turn, and work 51 sc (7 rows total).
Leave a long tail to sew the piece around the wooden ring.
Upper Paws (Start with Cream Color) – Make 2
1. 6 sc in MR (6)
2. 6 inc (12)
3. (1 sc, inc)*6 (18)
4-5. 18 sc (2 rows)
On the last stitch of row 5, change to the Main Color. Fasten and cut the cream yarn.
6. 9 dec (9)
7-9. 9 sc (3 rows)
Stuff only the cream-colored part of the paw. Fold in half and sc 4-5 stitches across the base. Leave a tail for sewing.
Lower Paws (Start with Cream Color) – Make 2
1. 6 sc in MR (6)
2. 6 inc (12)
3. (1 sc, inc)*6 (18)
4. (2 sc, inc)*6 (24)
5-6. 24 sc (2 rows)
7. (1 sc, dec)*8 (16)
On the last stitch of row 7, change to the Main Color. Fasten and cut the cream yarn.
8. 16 sc (16)
9. (6 sc, dec)*2 (14)
10. 14 sc (14)
11. (5 sc, dec)*2 (12)
12. 12 sc (12)
Stuff only the cream-colored part. Fold in half and sc 6 stitches across the base. Leave a tail for sewing.
Finishing and Assembly
Face Details
- Eye Indentations: Using the main color yarn, insert the needle into the second row from the back of the head. Pull the thread through to create a small dip above the eye to give the head more expression. Repeat for the second eye.
- Muzzle Attachment: Sew the muzzle to the head so the top part sits between rows 13 and 14. Do not add stuffing to the muzzle.
- The Nose: Use brown yarn. Embroider a vertical line 2 rows high (rows 3 and 4 of the muzzle). Then, embroider the nose base on row 5, approximately 1.5 sc wide.
- Eyebrows: Use black yarn. Embroider eyebrows on row 10. Leave 12 sc between the eyebrows, each eyebrow 1 sc wide.
- Eye Whites: Use a single strand of cream yarn (split the yarn in half for a thinner line) to add small white highlights to the safety eyes.
Final Assembly
- Ears: Sew the ears between rows 3 and 4 of the head.
- The Ring: Sew the ring cover around the wooden ring and then sew the bunny’s head to the top of the ring cover.
- Paws: Sew the upper paws to the ring cover near the head. Sew the lower paws to the bottom of the ring. To keep the paws facing forward, use an additional stitch to secure them to the ring. Space the upper and lower paws approximately 8 sc apart along the sides.
- Carrot Detail: Use mustard and green yarn to embroider a tiny carrot on the side of the bunny’s head.
“`