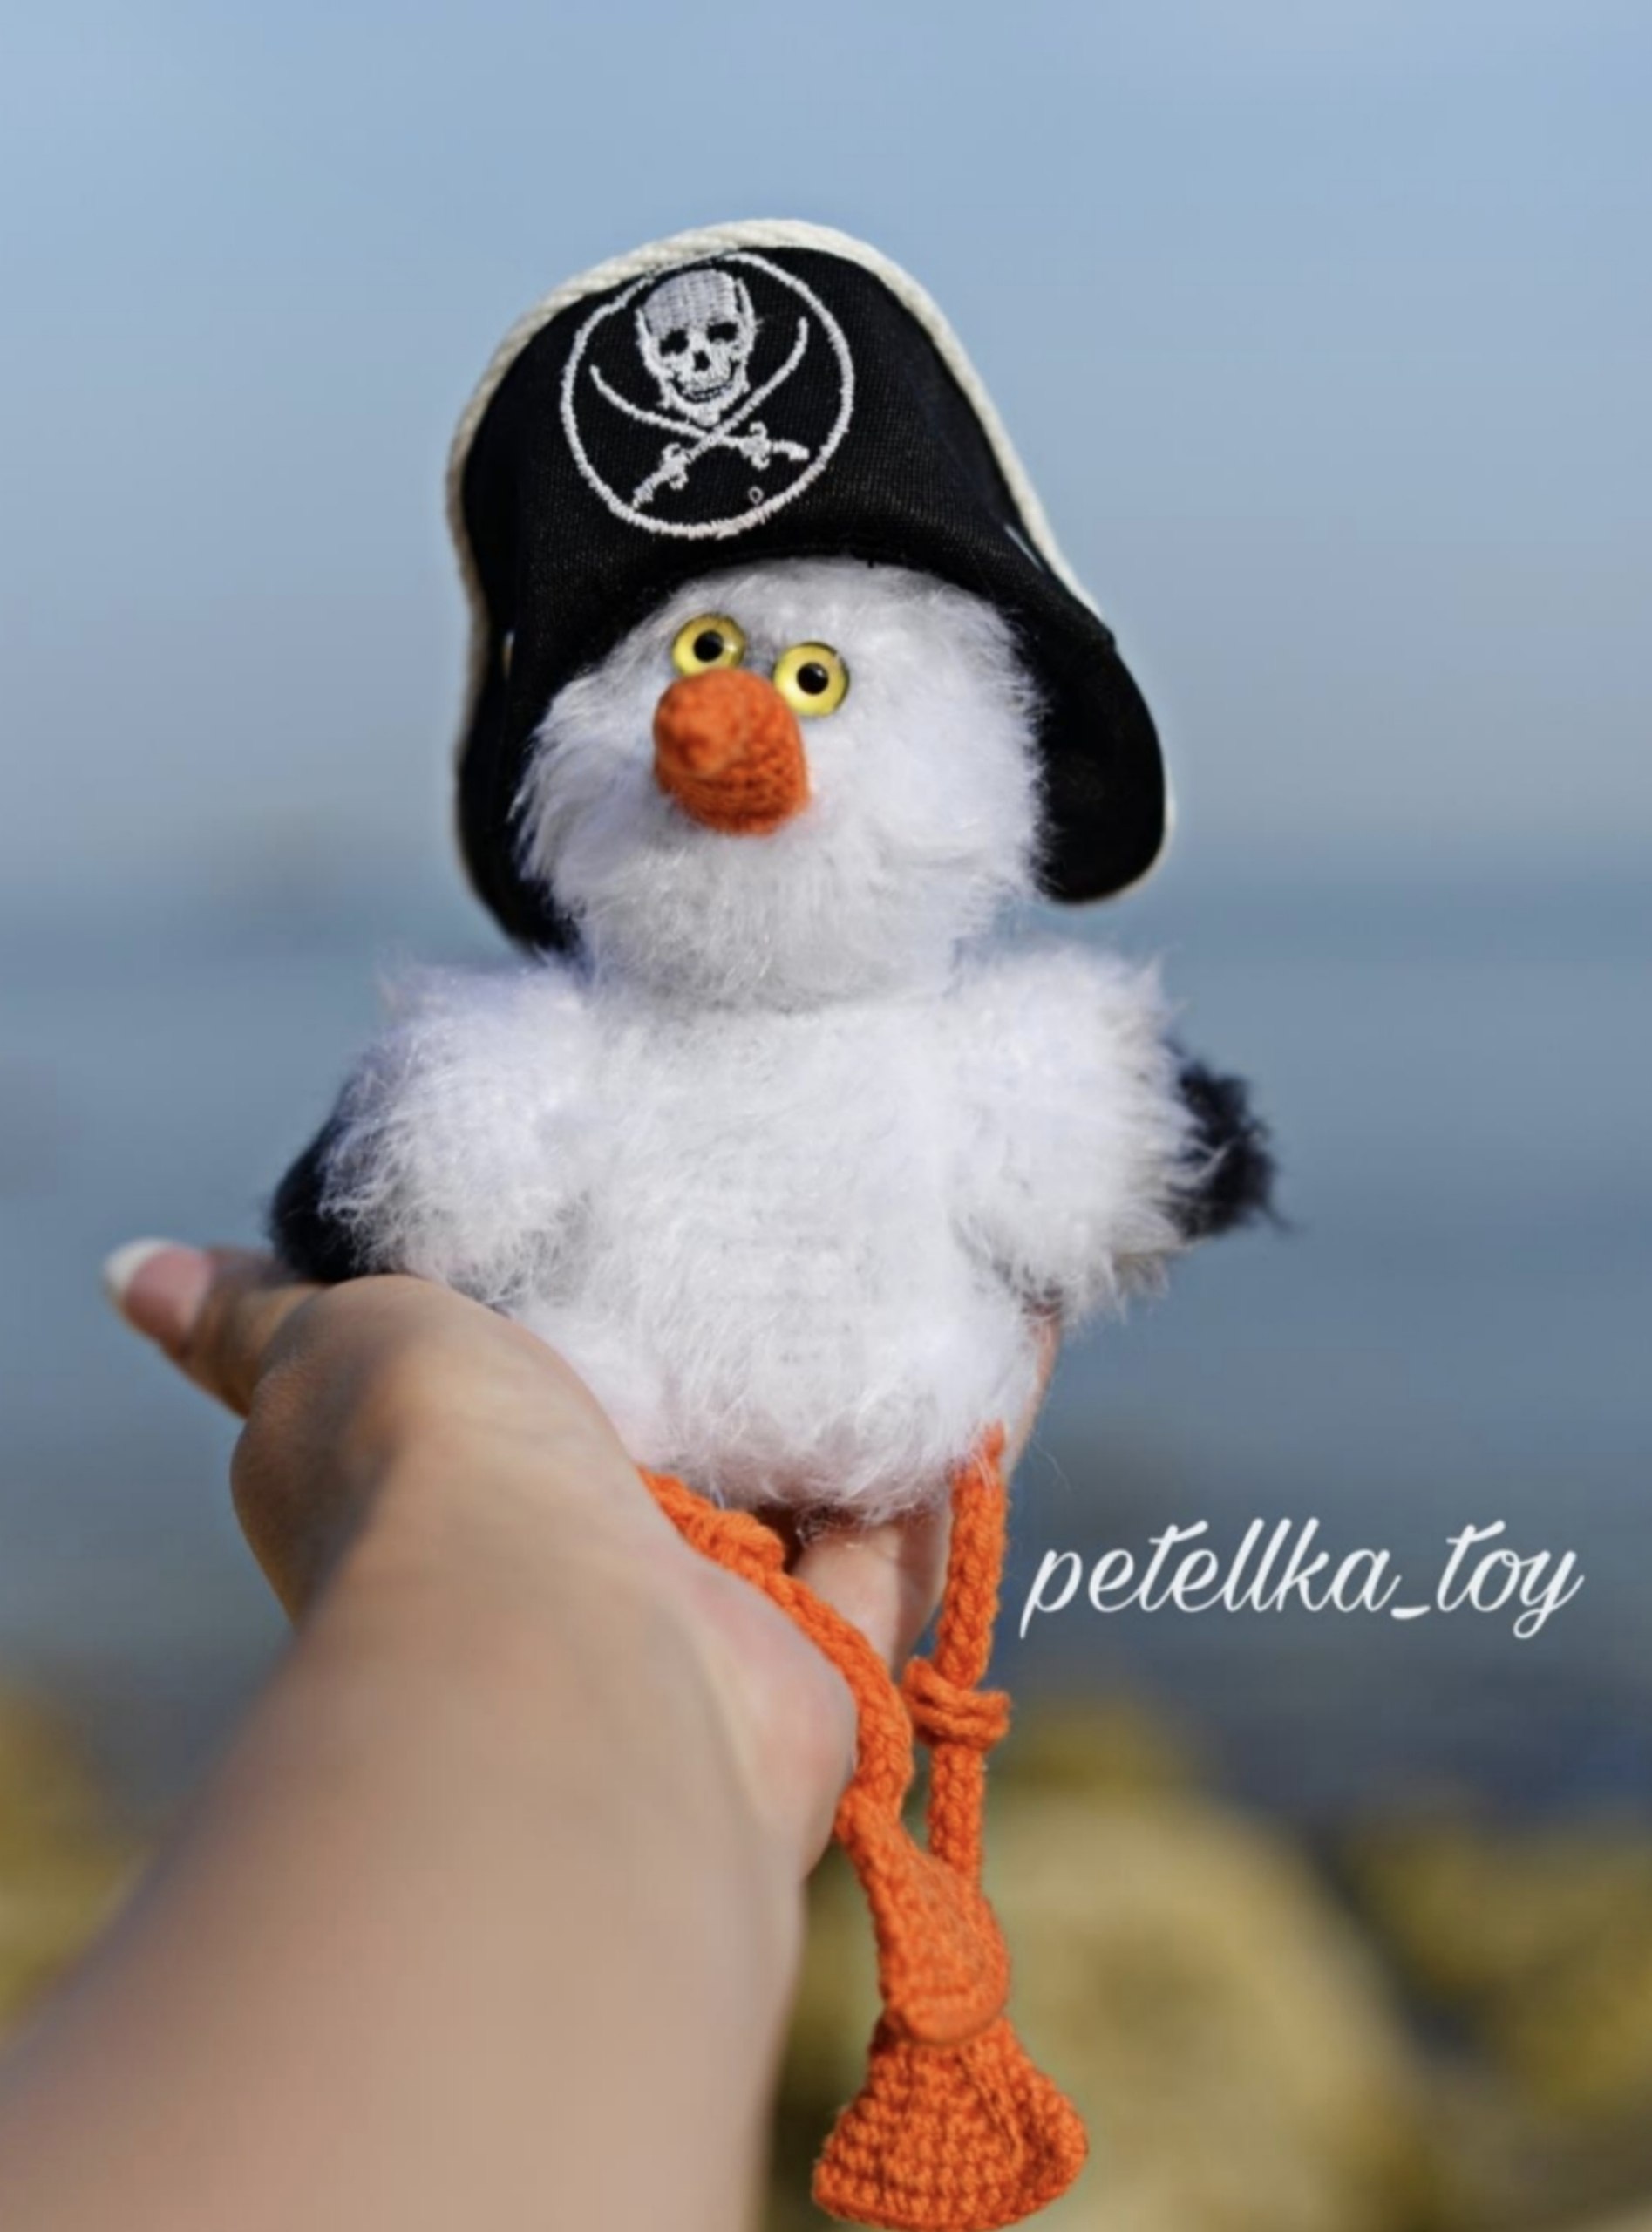
How to Crochet a Pirate Seagull Amigurumi: A Complete Beginner Tutorial
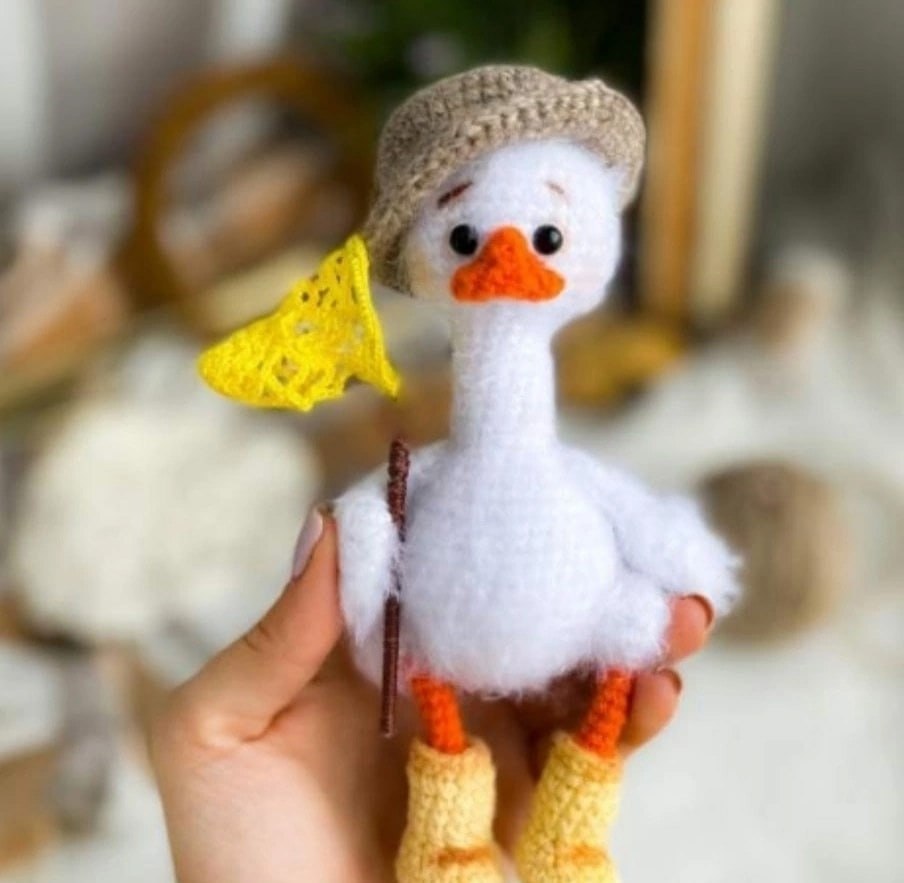
Are you looking for a whimsical, tiny project to add some nautical charm to your collection? This Pirate Seagull amigurumi is the perfect solution! This little character features a fluffy white body, striking black accents, and a cute orange beak and feet. To add an extra layer of personality, we’ve given him a tiny pirate hat, making him the perfect seafaring companion for your shelf or desk.
This pattern is designed to create a finished toy approximately 4 inches tall. It is an excellent project for intermediate beginners because it introduces a fun “swivel head” mechanism using a cotter pin, allowing the seagull’s head to turn! Follow this guide step-by-step to create your own unique ocean friend.
Materials & Abbreviations
To ensure your seagull looks professional and holds its shape, I recommend using a slightly smaller hook than what is suggested on your yarn label. This prevents stuffing from peeking through the stitches.
Required Materials
- Yarn (Cotton/Polyamide Blend): You will need white, black, and orange. A medium-weight cotton blend works best for definition.
- Crochet Hook: 1.75mm (or a size that creates tight stitches).
- Eyes: 8mm safety eyes.
- Stuffing: Polyester fiberfill.
- Swivel Mechanism: One T-shaped cotter pin (approx. 0.1 inch x 1 inch) and two small flat discs (approx. 3/4 to 1 inch in diameter).
- Tools: Round-nose pliers, flat-nose pliers, scissors, a yarn needle, and glue (hot glue or fabric gel).
Abbreviations (US Terms)
- MR: Magic Ring
- ch: Chain
- sc: Single Crochet
- hdc: Half Double Crochet
- dc: Double Crochet
- sl st: Slip Stitch
- inc: Increase (2 stitches in one)
- dec: Invisible Decrease (decrease 2 stitches together)
Step-by-Step Instructions
Note: Unless otherwise stated, work in a continuous spiral. Use a stitch marker to keep track of the start of each round. For the best results, perform all decreases “invisibly” by working into the front loops only.
The Feet and Leg Tops
Feet (Make 2)
Using orange yarn:
- R1: 6 sc in MR (6)
- R2: (sc, inc) x3 (9)
- R3: 9 sc
- R4: (2 sc, inc) x3 (12)
- R5: (3 sc, inc) x3 (15)
- R6: (4 sc, inc) x3 (18)
- R7: (2 sc, inc) x6 (24)
- R8: 24 sc
Do not fasten off. Join the two sides of the foot together by crocheting 12 sc through both layers. Fasten off, leaving a long tail for sewing. For a finished look, use surface crochet or embroidery to create two lines running down the length of each foot. Crochet two 4-inch orange cords and attach them to the bottom of the feet, tying a knot in the middle. One end will attach to the bottom of the foot, and once the leg is attached to the body, the other end will attach to the top of the leg.
Upper Part of Leg (Make 2)
Using white yarn:
- R1: 6 sc in MR (6)
- R2: 6 hdc (12)
- R3: (sc, inc) x6 (18)
- R4: 18 sc
Fasten off, leaving a long tail for sewing.
The Wings (Make 2)
Start with black yarn:
- R1: 6 sc in MR (6)
- R2: (sc, inc) x3 (9)
- R3: 9 sc
- R4: (2 sc, inc) x3 (12)
- R5: (3 sc, inc) x3 (15)
- R6: (4 sc, inc) x3 (18)
Switch to white yarn:
- R7: (2 sc, inc) x6 (24)
- R8: (3 sc, inc) x6 (30)
- R9-10: 30 sc
- R11: (3 sc, dec) x6 (24)
- R12: 24 sc
- R13: (2 sc, dec) x6 (18)
- R14: 18 sc
Join the two sides together by crocheting 9 sc through both layers. Fasten off, leaving a long tail for sewing.
The Beak
Using orange yarn:
- R1: 6 sc in MR (6)
- R2: 6 sc
- R3: 3 sc, 3 sl st (6)
- R4: 3 hdc, 3 sl st (9)
- R5: (sc, inc) x3, 3 sl st (12)
- R6-11: 12 sc
Fasten off, leaving a long tail for sewing.
The Tail
Using black yarn:
- R1: 6 sc in MR (6)
- R2: 12 sc
- R3: (3 sc, inc) x3 (15)
- R4: 15 sc
- R5: (4 sc, inc) x3 (18)
- R6: (5 sc, inc) x3 (21)
- R7: (6 sc, inc) x3 (24)
- R8: (3 sc, dec) x6 (30)
- R9: (4 sc, dec) x6 (36)
- R10: (5 sc, dec) x6 (42)
- R11: 42 sc
Fasten off, leaving a long tail for sewing.
The Body
Using white yarn:
- R1: 6 sc in MR (6)
- R2: 6 hdc (12)
- R3: (sc, inc) x6 (18)
- R4: (2 sc, inc) x6 (24)
- R5: (3 sc, inc) x6 (30)
- R6: (4 sc, inc) x6 (36)
- R7: (5 sc, inc) x6 (42)
- R8: (6 sc, inc) x6 (48)
- R9: (7 sc, inc) x6 (54)
- R10-14: 54 sc
- R15: (7 sc, dec) x6 (48)
- R16-18: 48 sc
- R19: (6 sc, dec) x6 (42)
- R20: 42 sc
- R21: (5 sc, dec) x6 (36)
Stuff the body firmly with fiberfill. Continue stuffing the neck area very firmly.
Installing the Swivel Mechanism: Insert the T-shaped cotter pin through one of your discs. Place the disc into the neck opening of the body. Continue your decreases around the neck. By the end of the next round, only the tip of the pin should be visible poking out of the top of the neck.
- R22: (4 sc, dec) x6 (30)
- R23-26: 30 sc
- R27: (3 sc, dec) x6 (24)
- R28: (2 sc, dec) x6 (18)
- R29: (sc, dec) x6 (12)
- R30: dec x6
Fasten off and weave in your ends.
The Head
Using white yarn:
- R1: 6 sc in MR (6)
- R2: 6 inc (12)
- R3: (1 sc, inc) x6 (18)
- R4: (2 sc, inc) x6 (24)
- R5: (3 sc, inc) x6 (30)
- R6: (4 sc, inc) x6 (36)
- R7: (5 sc, inc) x6 (42)
- R8: (6 sc, inc) x6 (48)
- R9-13: 48 sc
- R14: (2 sc, dec) x6, 24 sc (42)
- R15: 42 sc
- R16: (sc, dec) x6, 24 sc (36)
- R17-20: 36 sc
- R21: (4 sc, dec) x6 (30)
Connecting the Head: Take the cotter pin that is currently sticking out of the body’s neck. Insert it into the head. Slide your second disc onto the pin and use your pliers to crimp the ends of the pin shut. This will lock the head onto the body while allowing it to rotate.
Stuff the head firmly and continue crocheting the decreases:
- R22: (3 sc, dec) x6 (24)
- R23: (2 sc, dec) x6 (18)
- R24: (sc, dec) x6 (12)
- R25: dec x6
Fasten off and weave in ends.
Finishing
Now comes the best part—assembly! Take your time to position everything so the seagull looks just right.
- Attach Limbs: Use pins to temporarily hold the upper parts of the legs, the wings, and the tail against the body. Once satisfied with the placement, sew them securely in place.
- Attach Beak: Pin the beak to the face and sew it on.
- Add Eyes: Use your glue to attach the 8mm safety eyes.
- Leg Assembly: Pin the top part of the leg to the body and sew. Take your orange cords, tie the middle knot, sew one end to the bottom of the foot, and then sew the other end to the top of the leg.
- Final Touch: If you want a “fuzzy” look, you can lightly brush the white crochet surface with a soft brush or carding tool to create a downy texture. Don’t forget to add a tiny pirate hat!
Tips
To make your crochet seagull look its absolute best, keep these tips in mind:
- Tension is Key: If you notice any holes where the stuffing shows through, switch to a smaller hook. Tight tension is the secret to professional-looking amigurumi.
- Use a Marker: When working in a spiral, it is very easy to lose your place. Always use a stitch marker or a piece of contrasting yarn to mark the beginning of your rounds.
- Invisible Decreases: Instead of a standard decrease, try the “invisible” method. Insert your hook into the front loop of the first stitch, then the front loop of the second stitch, and complete the decrease. This prevents unsightly gaps in your work.
- The Swivel Head: When crimping the cotter pin, make sure the disc is positioned so the head rotates smoothly. If the head feels too tight, ensure the pin isn’t bent too aggressively.