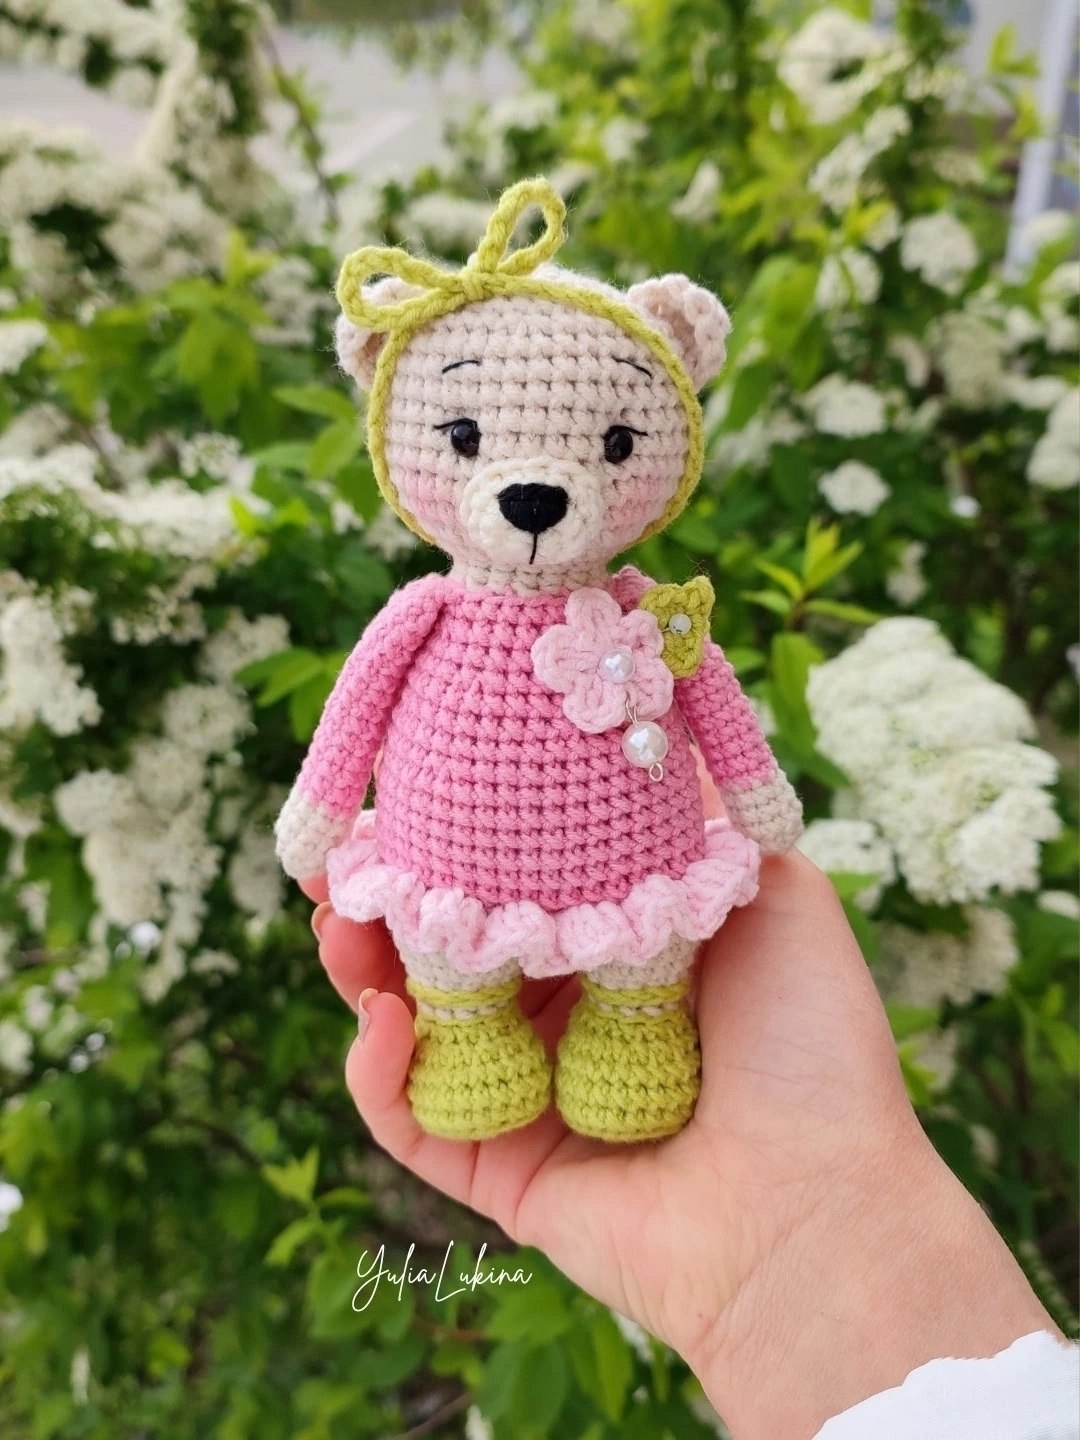
Cute Crochet Bear Pattern: A Step-by-Step Amigurumi Tutorial
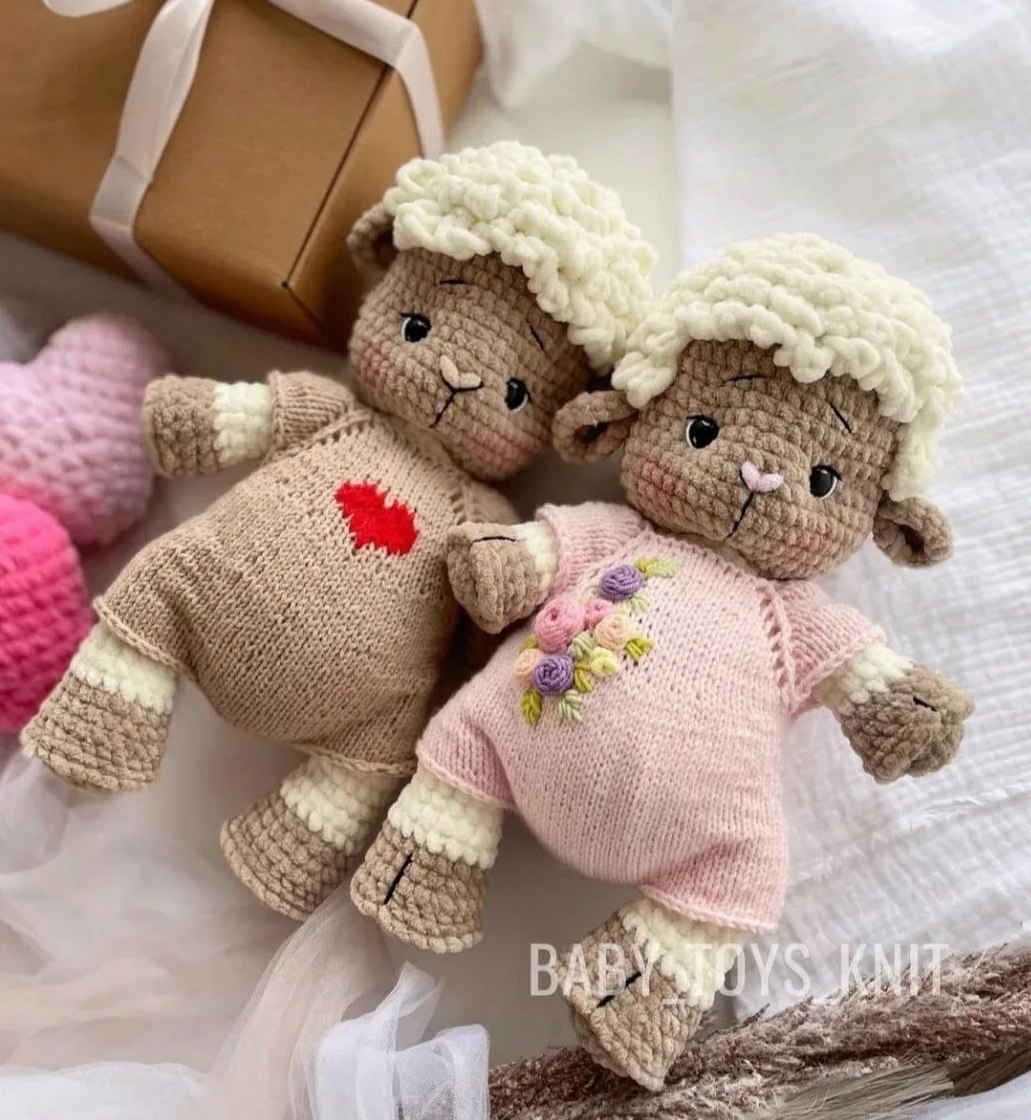
Are you looking for a heartwarming project to add to your crochet collection? This adorable little amigurumi bear, dressed in a charming pink outfit and tiny green shoes, is the perfect project for both beginners and intermediate crocheters. Whether you are making a gift for a newborn, a nursery decoration, or a new friend for your own collection, this little bear is sure to bring a smile to anyone’s face.
Amigurumi—the Japanese art of knitting or crocheting small, stuffed creatures—is incredibly rewarding. This tutorial will guide you through every single stitch, from the tiny muzzle to the delicate headband, ensuring you have a successful crafting session. Grab your favorite hook and some cozy yarn, and let’s get started on creating your very own crochet bear friend!
Materials & Abbreviations
To achieve the best results and ensure your bear turns out approximately 6 inches tall, please use the following materials. Using a consistent yarn weight is key to maintaining the shape of your amigurumi.
Materials Needed
- Yarn: Medium weight (worsted) cotton or acrylic yarn in the following colors:
- Beige (Main body color)
- Green (Shoes and headband)
- Pink (Dress)
- Cream/Milk (Muzzle)
- Light Pink (Dress details)
- Crochet Hook: 2.5 mm (or the size appropriate for your yarn tension)
- Stuffing: Polyester fiberfill
- Eyes: Two 6 mm black safety eyes (or black half-beads)
- Embroidery Thread: Black cotton thread for the face details
- Tools: Yarn needle, pins, scissors, and craft glue
- Optional: Wire or pipe cleaners (if you want bendable arms) and cardboard/plastic (for shoe insoles)
Abbreviations (US Crochet Terms)
- MR: Magic Ring
- ch: Chain
- sc: Single crochet
- inc: Increase (2 sc in one stitch)
- 3-sc inc: 3 single crochets in one stitch
- dec: Decrease (sc 2 together)
- hdc: Half double crochet
- dc: Double crochet
- tr: Treble crochet
- sl st: Slip stitch
- BLO: Back loop only
- FLO: Front loop only
- (…) * n: Repeat the pattern within the parentheses n times
Step-by-Step Instructions
The Muzzle
Using the cream/milk color yarn:
- Round 1: 7 sc in a MR (7)
- Round 2: inc in every stitch around (14)
- Round 3: sc in each stitch around (14)
Fasten off, leaving a long tail for sewing later.
The Ears
Using the main beige color yarn:
- In a MR, work the following: sc, hdc, dc, tr, dc, hdc, sc (7 stitches total).
- Pull the magic ring tight.
- Chain 1, turn the work, and work 7 sc in the BLO (back loops only).
Fasten off, leaving a long tail for sewing. Repeat for the second ear.
The Arms
Using the main beige color yarn:
- Round 1: 5 sc in a MR (5)
- Round 2: inc in every stitch around (10)
- Rounds 3-5: sc in each stitch around (10)
Switch to pink yarn. Lightly stuff the palm area with fiberfill.
- Rounds 6-18: sc in each stitch around (10)
Pro Tip: If you want the arms to be poseable, insert a piece of wire before finishing the stuffing. Alternatively, if you don’t use wire, only stuff the arm halfway. Once stuffed, fold the arm in half and work 5 sc through both layers to close. Fasten off and repeat for the second arm.
The Legs and Shoes
Using the green color yarn:
- Round 1: 6 sc in a MR (6)
- Round 2: inc in every stitch around (12)
- Round 3: (3-sc inc, 3 sc, 3-sc inc, 3 sc, 3-sc inc, 3 sc, 3-sc inc) (24)
- Round 4: sc in each stitch in the BLO (24)
- Rounds 5-6: sc in each stitch around (24)
Cut a small piece of thick cardboard or plastic to act as an insole and place it inside the shoe for stability.
- Round 7: 6 sc, 6 dec, 6 sc (18)
- Round 8: 3 sc, 6 dec, 3 sc (12)
Switch to the main beige color. Do not cut the green yarn; instead, pull it through to the inside to continue working the shoe.
- Round 9: sc in each stitch in the BLO (12)
- Round 10: (3 sc, inc) * 3 (15)
- Round 11: sc in each stitch around (15)
- Round 12: 2 sc, inc, (4 sc, inc) * 2, 2 sc (18)
- Round 13: sc in each stitch around (18)
To shape the leg, fold the top part in half to find the center of the inner leg. Work additional stitches to level it out. For the first leg, add 4 extra sc. For the second leg, add 13 extra sc to ensure it sits properly. Fasten off.
Finally, using green yarn, make a chain of 14 ch. Wrap this chain around the foot to create a shoe strap and sew the end to the back where you started the chain.
The Body
Join the two legs together at the point where you finished the second leg (working into the next stitch after the extra shaping stitches).
- Round 14: 18 sc along the first leg and 18 sc along the second leg (36)
- Round 15: 4 sc, inc, (8 sc, inc) * 3, 4 sc (40). Additionally, work 20 extra sc around the circumference. Mark the start of the next round.
Switch to pink yarn.
- Round 16: sc in each stitch around (40)
- Round 17: sc in each stitch in the BLO (40)
- Rounds 18-22: sc in each stitch around (40)
- Round 23: 4 sc, dec, (8 sc, dec) * 3, 4 sc (36)
- Round 24: sc in each stitch around (36)
- Round 25: (7 sc, dec) * 4 (32)
- Round 26: sc in each stitch around (32)
- Round 27: 3 sc, dec, (6 sc, dec) * 3, 3 sc (28)
- Round 28: sc in each stitch around (28)
- Round 29: (5 sc, dec) * 4 (24)
Attaching the Arms: Work the arms into the sides of the body symmetrically. For example: 5 sc, 5 sc (including the arm), 7 sc, 5 sc (including the arm), and 2 sc (24 total).
Switch back to the beige color.
- Round 31: (1 sc, dec) * 8 (16)
- Rounds 32-33: sc in each stitch around (16)
Note: You can add wire to the neck area for better head stability, or simply stuff the neck very firmly.
The Head
Continue with the beige yarn:
- Round 34: inc in every stitch around (32)
- Round 35: (7 sc, inc) * 4 (36)
- Round 36: (5 sc, inc) * 6 (42)
- Rounds 37-43: sc in each stitch around (42)
- Round 44: (5 sc, dec) * 6 (36)
- Round 45: 2 sc, dec, (4 sc, dec) * 5, 2 sc (30)
- Round 46: (3 sc, dec) * 6 (24)
- Round 47: 1 sc, dec, (2 sc, dec) * 5, 1 sc (18)
- Round 48: (1 sc, dec) * 6 (12)
- Round 49: dec * 6 (6)
Pull the magic ring tight, fasten off, and weave in your ends.
Finishing
The Face
The face gives the bear its personality! Follow these steps carefully to create the “indented” eye look:
- Between rounds 39 and 40 of the head, mark two points (T1 and T3) that are 6 stitches apart.
- Mark two more points (T2 and T4) that are 1 stitch away from T1 and T3 respectively on each side.
- Using a needle and thread, weave from T1 to T3, and then from T3 to T4, exiting at T2. Pull the thread tight to create a small indentation for the eyes. Repeat this on the other side.
- Glue the safety eyes into the indentations.
- Use black embroidery thread to stitch delicate eyelashes and eyebrows.
- Stuff the muzzle and sew it onto the face. Embroider a small nose on the muzzle.
- Sew the ears onto the sides of the head in your preferred position.
The Dress and Accessories
Dress Ruffle: Using light pink yarn, work 3 dc (double crochet) into every BLO of round 17 of the body to create a frilly skirt.
The Flower: Using pink yarn, work in a MR: (2 ch, 2 dc, 2 ch, sl st) * 5. Pull tight, fasten off, and sew it to the dress. You can add a small bead in the center for extra cuteness!
The Headband: Using green yarn, make a chain of approximately 65 ch. Join the ends to form a loop and tie a small bow in the center.
Tips
- Tension is Key: When working with amigurumi, try to keep your stitches tight so that the stuffing doesn’t peek through the gaps.
- Mark Your Rounds: Use a stitch marker at the beginning of every round. It is very easy to lose count when doing complex increases and decreases!
- Safety First: If you are making this for a very small child, please consider embroidering the eyes instead of using plastic safety eyes to prevent choking hazards.
- Symmetry: When sewing the arms, ears, and muzzle, use pins to hold them in place before sewing. This ensures your bear looks balanced and professional.