How to Crochet a Tiny Plush Frog: Easy Amigurumi Pattern
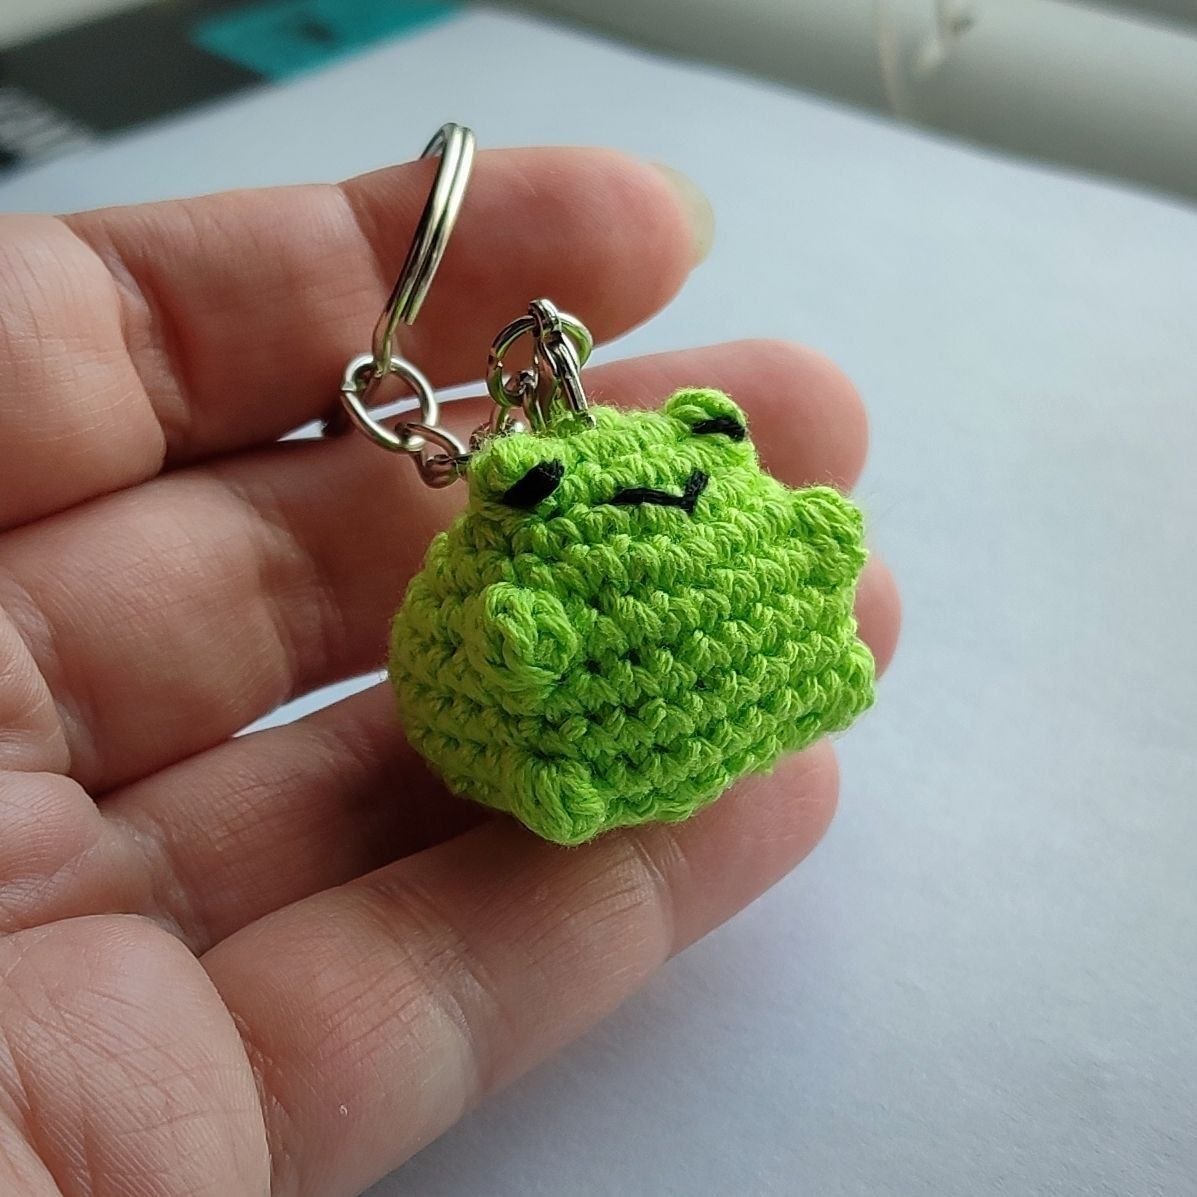
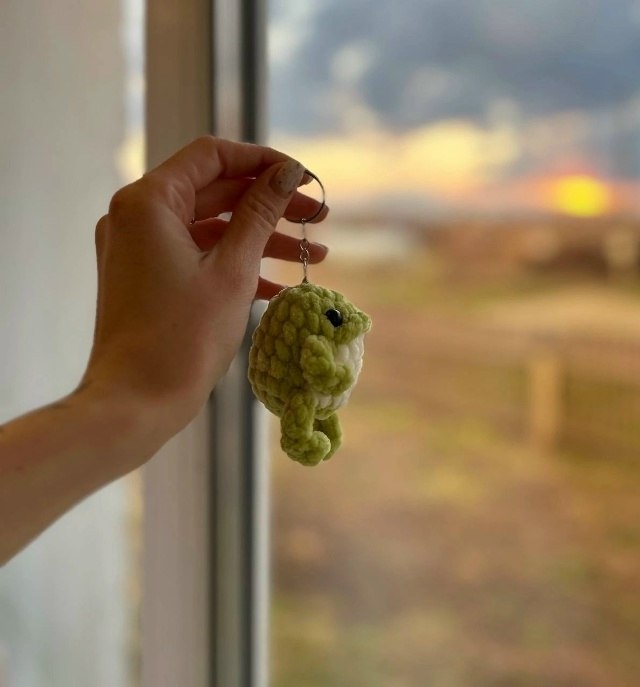
Looking for a quick and adorable crochet project? This tiny plush frog is the perfect beginner-friendly pattern. Whether you want to make a cute keychain, a desk buddy, or a small gift, this velvet frog is sure to bring a smile to anyone’s face. Using plush yarn makes it incredibly soft and squishy!
Materials Needed
To create your little frog, you will need the following supplies:
- Yarn: Super bulky chenille or plush velvet yarn (Green for the body and White for the belly).
- Crochet Hook: 4mm hook.
- Eyes: 8mm safety eyes.
- Stuffing: Fiberfill or polyfill.
- Tools: Yarn needle and scissors.
Crochet Abbreviations (US Terms)
This pattern uses standard US crochet terminology:
- MR: Magic Ring
- sc: Single crochet
- inc: Increase (2 single crochets in one stitch)
- dec: Decrease (crochet 2 stitches together into one)
- ch: Chain
- sl st: Slip stitch
- ( ): The number at the end of the round indicates the total stitch count.
Step-by-Step Pattern
Step 1: Making the Paws
You will need to make four paws in total (two front and two back). Follow these steps for each paw:
- Chain 6.
- Starting from the second chain from the hook, work back along the chain: 1 sc, then 4 sl st.
- Fasten off and leave a tail for sewing.
Step 2: The Body and Head
The body and head are worked as one piece. Note that the belly is worked in white yarn, while the rest is worked in green yarn.
Round 1: With green yarn, work 9 sc into a Magic Ring. (9)
Round 2: 2 inc; in the next stitch, work (1 sc, attach/crochet a paw, 1 sc); 3 inc; in the next stitch, work (1 sc, attach/crochet a paw, 1 sc); 2 inc. (18)
Round 3: 5 sc (green), 8 sc (white), 5 sc (green). (18)
Round 4: 5 sc (green), 8 sc (white), 5 sc (green). (18)
Round 5: 5 sc (green), attach a paw, 8 sc (white), attach a paw, 5 sc (green). (18)
Round 6: 6 sc (green), 6 sc (white), 6 sc (green). (18)
Round 7: 7 sc (green), 4 sc (white), 7 sc (green). (18)
Round 8: (1 sc, dec) repeat 6 times. (12)
Round 9: 6 dec. (6)
Step 3: Finishing Touches
- Stuffing: Firmly stuff the frog with fiberfill before closing the hole.
- Closing: Close the remaining hole using a yarn needle and weave in the ends.
- The Mouth: Using green yarn, crochet 6 sc across the face area to create a small smile. Fasten off and hide the ends.
- The Eyes: Insert and secure the 8mm safety eyes (or glue them on) between the head and the belly area.
Your tiny plush frog is now complete! You can leave it as a freestanding toy or attach a keychain ring to the top of its head to take your froggy friend on the go