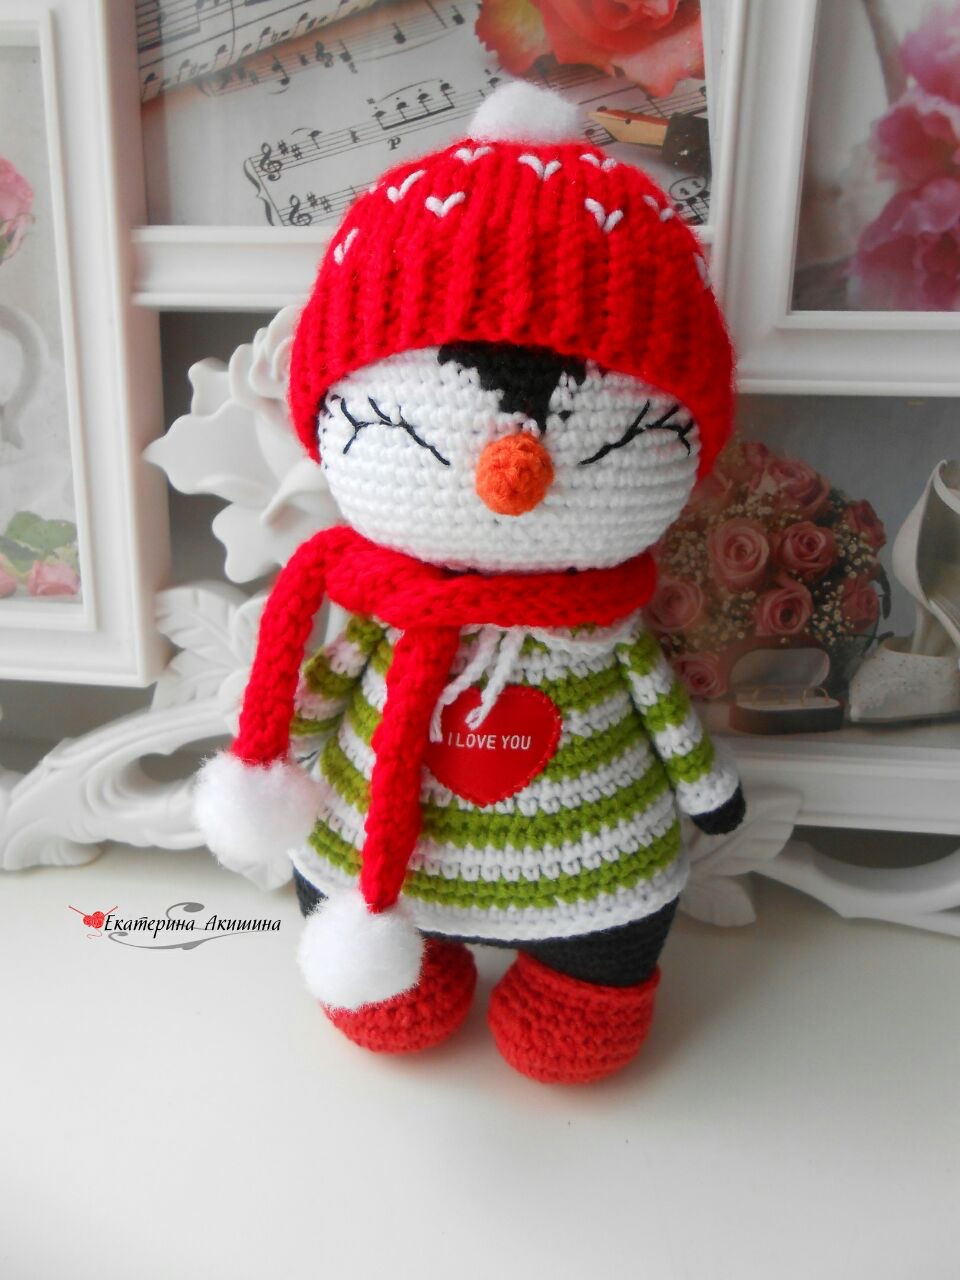
How to Crochet a Cute Amigurumi Penguin: A Step-by-Step Winter Tutorial
There is nothing quite as cozy as a little penguin dressed up for the winter! Whether you are looking to create a charming nursery decoration, a unique gift for a friend, or a seasonal tabletop accent, this amigurumi penguin pattern is the perfect project. This tutorial will guide you through creating a round, adorable penguin complete with a tiny sweater, a warm hat, and a cozy scarf.
This pattern is designed to be beginner-friendly, focusing on basic stitches like the single crochet. While the penguin itself is crocheted, I have also included instructions for a little knitted hat to give your penguin that extra touch of handmade charm. Grab your favorite soft yarns and let’s get started!
Materials & Abbreviations
To make this penguin, you will need a few basic supplies. Because amigurumi relies on a tight fabric to keep the stuffing inside, I recommend using a hook size slightly smaller than what is suggested on your yarn label.
What You’ll Need
- Yarn: Medium weight (worsted) yarn in several colors. You will need white, a dark color (black or dark gray) for the penguin’s body, a bright color for the sweater (like pink or blue), and a color for the boots (red or bright blue).
- Crochet Hook: A size appropriate for your yarn (typically 3.5mm or 4mm).
- Knitting Needles: A pair of knitting needles (size 3.5mm or 4mm) for the hat.
- Stuffing: Polyester fiberfill.
- Eyes: Safety eyes (approx. 10mm-12mm) or black embroidery thread.
- Extras: Tapestry needle, scissors, and a stitch marker.
Abbreviations (US Terms)
- MR: Magic Ring
- sc: Single crochet
- inc: Increase (2 sc in one stitch)
- dec: Decrease (sc 2 together)
- ch: Chain
- hdc: Half double crochet
- st(s): Stitch(es)
- sl st: Slip stitch
- BLO: Back loop only
- FLO: Front loop only
Step-by-Step Instructions
Step 1: The Upper Arms
We will work in a continuous spiral. Use a stitch marker to keep track of the start of each round.
- 6 sc in MR (6)
- 6 inc (12)
- (1 sc, 1 inc) repeat 6 times (18)
- 18 sc (18)
- 18 sc (Change color here if you want stripes! Use your main penguin color)
- 18 sc in BLO (18)
- Rounds 7-13: 18 sc (You can change colors every 2-3 rounds to create a striped sleeve)
- 4 sc, 1 dec, repeat until end of round (15)
- 15 sc (15)
- Fold the two pieces together and join them by crocheting 8 sc through both layers. Do not stuff the arms.
- In the next round, work 18 sc in FLO to create a finished edge.
Step 2: The Legs and Body
The body and legs are worked together to create a seamless transition from the feet to the torso.
The Legs
- 8 sc in MR using your “boot” color (8)
- 8 inc (16)
- (1 sc, 1 inc) repeat 8 times (24)
- (2 sc, 1 inc) repeat 8 times (32)
- 32 sc (32)
- 8 sc, 8 dec, 8 sc (24)
- 24 sc (24)
- 6 sc, (1 dec, 1 sc) repeat 4 times, 6 sc (20)
- 20 sc (20)
- 20 sc in FLO using boot color. Switch to your main penguin color (black/gray) and work 20 sc in BLO. Fasten off the first leg.
Joining the Legs and Starting the Body
- Do not cut the yarn on the second leg! Work 15 sc on the second leg, then ch 4. Join to the 6th stitch of the first leg with a sc.
- Work sc across the chains to the first leg and continue around both legs (48)
- 48 sc (48)
- 7 sc, inc repeat to end (54)
- 54 sc (54)
- (1 inc, 2 sc) repeat 3 times, 42 sc, 1 inc, 2 sc (58)
- (1 sc, 1 inc, 2 sc, 1 inc) repeat 1 time, 53 sc (60)
- 60 sc (60)
- Change to your sweater color.
- 60 sc in BLO (60)
- 8 sc, 1 dec repeat to end (54)
- Rounds 12-15: 54 sc (54)
- 7 sc, 1 dec repeat to end (48)
- Rounds 17-20: 48 sc (48)
- 6 sc, 1 dec repeat to end (42)
- Rounds 22-24: 42 sc (42)
- 5 sc, 1 dec repeat to end (36)
- Rounds 26-27: 36 sc. Note: In Round 27, attach the arms. Work 8 sc on one arm, 12 sc for the body, 8 sc on the other arm, and finish with 8 sc (36)
- 4 sc, 1 dec repeat to end (30)
- 30 sc in BLO (30)
The Collar
Working into the front loops of Round 29: In the 14th stitch, ch 3 and work 1 hdc into the same stitch. Continue (2 hdc, 1 inc) to the end of the round.
Step 3: The Head
- 8 sc in MR (8)
- 8 inc (16)
- (1 sc, 1 inc) repeat 8 times (24)
- (2 sc, 1 inc) repeat 8 times (32)
- (3 sc, 1 inc) repeat 8 times (40)
- (4 sc, 1 inc) repeat 8 times (48)
- 48 sc (48)
- 7 sc, 1 inc repeat to end (54)
- Rounds 9-10: 54 sc (54)
- Color Changes (White/Main): Round 11 involves alternating colors. Follow the pattern: 18 sc main, 5 sc white, 8 sc main, 5 sc white, 18 sc main (54).
- Continue following the specific color changes and increases/decreases noted in the pattern for rounds 12-20. This creates the facial markings.
- Around Round 20, the head will begin to decrease. Follow the decrease pattern: (5 sc, 1 dec), (4 sc, 1 dec), etc., until you reach 30 stitches.
- Safety Eyes: If using safety eyes, insert them between Rounds 15 and 16, approximately 14 stitches apart.
- Stuff the head firmly.
Step 4: The Nose
- 4 sc in MR (4)
- (1 sc, 1 inc) repeat 2 times (6)
- 6 sc (6)
Finishing
Assembly
- Sew the head onto the body.
- Sew the small nose onto the face.
- If you didn’t use safety eyes, embroider the eyes and some cute eyelashes for extra personality.
- Stuff the body and head completely with fiberfill.
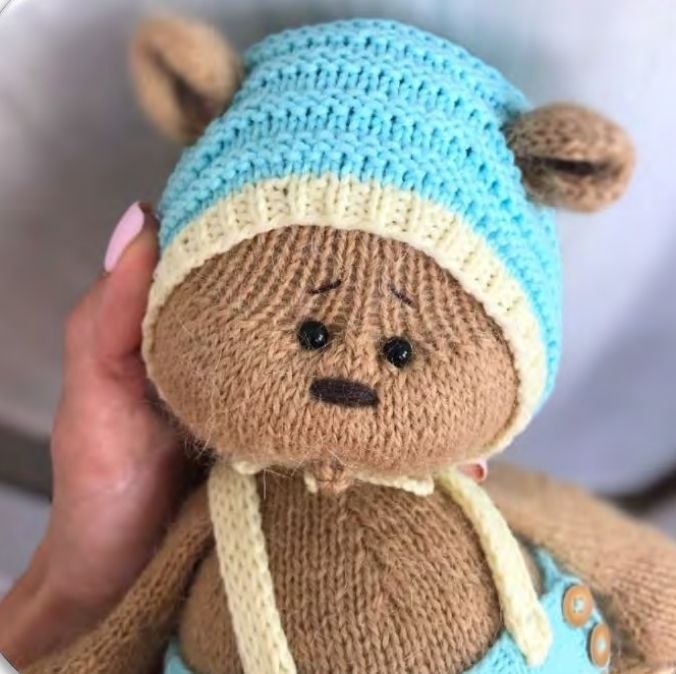
The Knitted Hat
This hat is worked using knitting needles for a textured look.
- Cast on 64 stitches.
- Rounds 1-8: Work in 1×1 ribbing (knit 1, purl 1).
- Rounds 9-14: Work in stockinette stitch (knit all stitches).
- Round 15: (6 k, 1 dec) repeat to end (56).
- Round 16: Knit all stitches (56).
- Round 17: (1 dec, 12 k) repeat to end (52).
- Round 18: Knit all stitches (52).
- Round 19: (1 dec, 5 k, 1 dec, 4 k) repeat to end (44).
- Rounds 20-21: Knit all stitches (44).
- Round 22: (1 dec, 9 k) repeat to end (40).
- Round 23: (1 dec, 8 k) repeat to end (36).
- Round 24: (1 dec, 7 k) repeat to end (32).
- Round 25: (1 dec, 6 k) repeat to end (28).
- Round 26: (1 dec, 5 k) repeat to end (24).
- Round 27: (1 dec, 4 k) repeat to end (20).
- Bind off all stitches and sew the top closed. Attach a fluffy pom-pom to the top!
The Scarf Options
- Classic Long Scarf: Cast on 7 stitches and work in stockinette stitch until it reaches your desired length. Sew it around the neck and attach the ends to the pom-pom.
- Cozy Snood: Cast on 10 stitches. Work in garter stitch (knit every row) until desired length. In the second-to-last row, work: (1 k, ch 1, 1 dec, 1 k, ch 1, 1 k) to create buttonholes. Finish with a final row and bind off.
Tips for Success
- Use Stitch Markers: Working in a spiral can make it very easy to lose your place. Always use a marker at the start of your rounds.
- Tension is Key: Try to keep your stitches even. If you crochet too loosely, the stuffing might peek through the holes.
- Personalize It: Don’t be afraid to get creative! You can add felt decorations like a little bear for the sweater, or use pastel makeup/chalk to add a soft blush to the penguin’s cheeks.
- Color Changes: When changing colors, pull the new color through the last two loops of the previous stitch to ensure a clean transition.