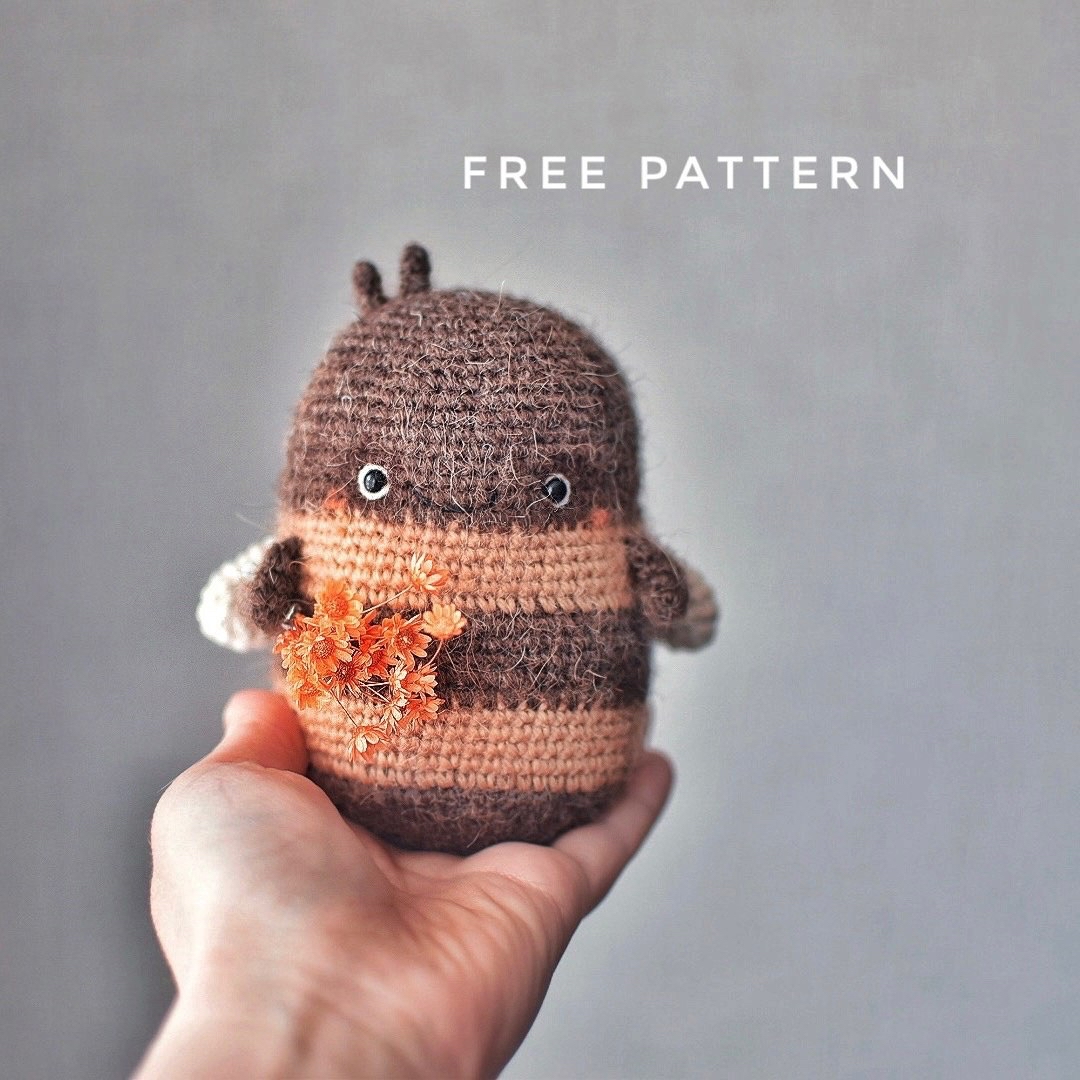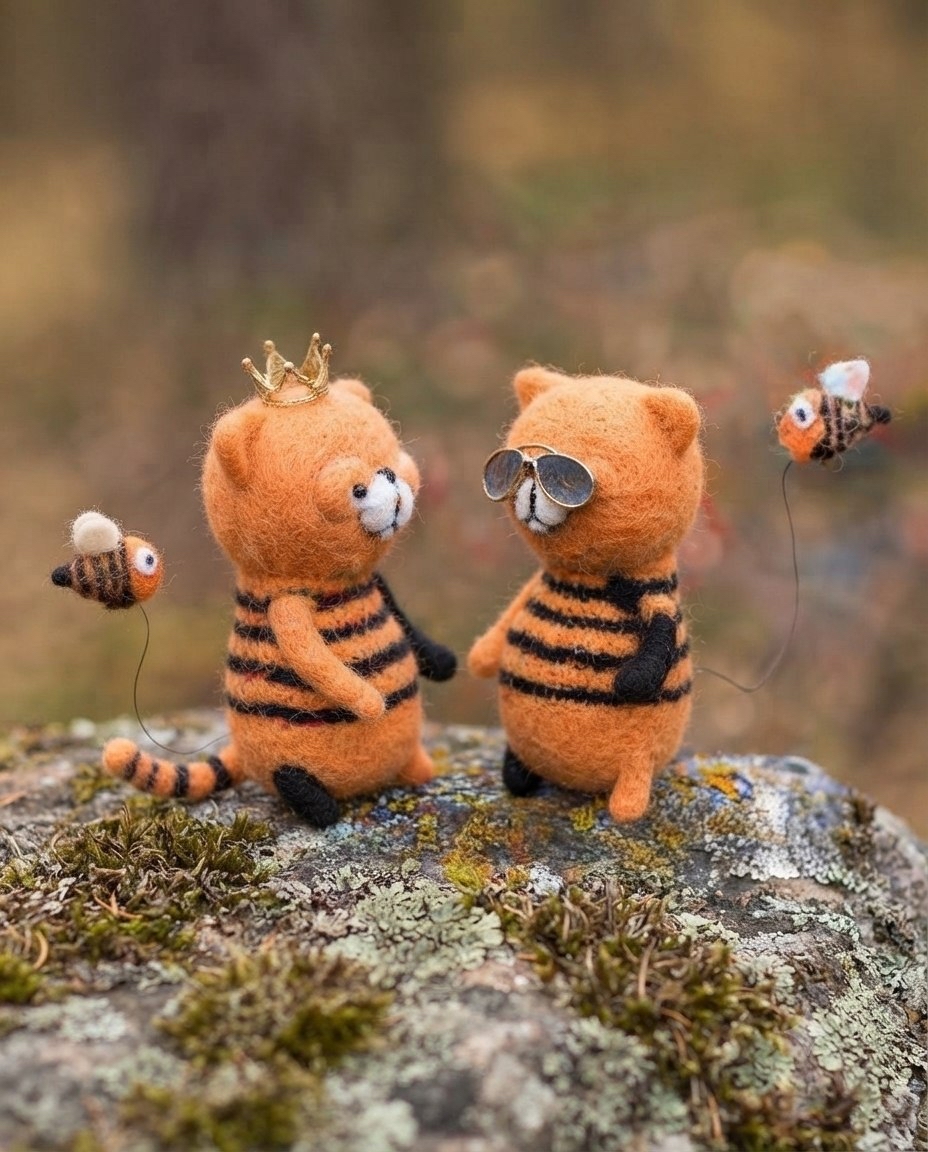
Adorable Striped Amigurumi Cat and Tiny Bee Crochet Pattern
If you are looking for a project that is as charming as it is challenging, look no further! This pattern allows you to create a whimsical, miniature duo: a tiny, striped orange cat and a sweet little bumblebee. This project results in a small, collectible figurine approximately 3 inches tall, making it perfect for desk companions, nursery decor, or even a unique keychain if you omit the internal wire frame.
This is a medium-difficulty pattern. While the individual components are straightforward, the head of the cat requires careful attention to detail to achieve that perfect, expressive face. The inclusion of a wire skeleton allows for wonderful posing, giving your little cat a life of its own!
Materials & Abbreviations
Materials Needed
- Crochet Hook: 1.00 mm (approx. 0.04 in) or a hook appropriate for your chosen yarn to ensure very tight stitches.
- Main Yarn: A moderately fuzzy yarn like wool, mohair, or a polyester “felt” style yarn.
- Colors needed: Orange, Black, and White.
- You will need approximately 0.7 oz (20g) of the main color.
- Eyes: 1-1.5 mm (approx. 1/16 in) safety eyes or small black beads. You will need 2 for the eyes and 1 small bead for the nose.
- Wire/Frame: 0.3 mm nichrome wire or 0.6 mm copper wire (approx. 35 inches long).
- Joints:
- 2 metal discs (approx. 7/8 in diameter).
- 1 T-bar pin (approx. 1 1/8 in long).
- Needle-nose pliers for securing the pin.
- Stuffing: Polyfill or fiberfill.
- Other: Strong sewing thread, a standard sewing needle, and medical tape/plaster to cover wire ends.
Abbreviations (US Terms)
- MR: Magic Ring
- sc: Single crochet
- inc: Increase (2 sc in one stitch)
- dec: Decrease (2 sc together)
- 3-sc dec: Decrease 3 stitches together
- ch: Chain
- sl st: Slip stitch
- st: Stitch
Step-by-Step Instructions
Note: This project is worked in a continuous spiral. Always use a stitch marker to keep track of the beginning of your rows. To maintain symmetry, if you notice your piece is leaning, use a “shift stitch” by adding one extra stitch at the end of the row to realign your marker.
The Cat’s Ears (Make 2)
Use orange yarn. Do not stuff.
- R1: 6 sc in MR = 6 st
- R2: (2 sc, inc) x 2 = 8 st
- R3: (3 sc, inc) x 2 = 10 st
- R4: (4 sc, inc) x 2 = 12 st
- R5: (5 sc, inc) x 2 = 14 st
- R6: (6 sc, inc) x 2 = 16 st
- Fasten off and leave a tail for sewing.
The Striped Tail
Work with orange yarn, then switch to black for the stripes as indicated. Do not stuff.
- R1: 6 sc in MR = 6 st
- R2: (1 sc, inc) x 3 = 9 st
- R3-5: 9 sc (Orange)
- R6-7: 9 sc (Black)
- R8: (dec, 7 sc) = 8 st
- R9-10: 8 sc (Black)
- R11-12: 8 sc (Orange)
- R13-15: 8 sc (Black)
- R16-17: 8 sc (Orange)
- R18-20: 8 sc (Black)
- R21-22: 8 sc (Orange)
- R23-25: 8 sc (Black)
- R26-27: 8 sc (Orange)
- R28-30: 8 sc (Black)
- R31-32: 8 sc (Orange)
- R33-35: 8 sc (Black)
- Fasten off and leave a tail.
The Legs (Make 2 Back, 2 Front)
Do not stuff. Use one orange and one black leg for a striped look.
Back Legs:
- R1: 6 sc in MR = 6 st
- R2-9: 6 sc around = 6 st
Front Legs:
- R1: 6 sc in MR = 6 st
- R2-19: 6 sc around = 6 st
The Main Body
Use orange yarn.
At this stage, ensure you have a flat area for the head connection. The diameter should match your metal joining disc. This part requires precision. Use orange yarn, then black for stripes. Eye Socket Shaping: Use the “inner half stitch” (the loop facing the inside of the head) to create depth. Fasten off and hide the tail inside. Use white yarn for wings and orange/black for the body. First, create the wire skeleton. Insert the wire through the body, legs, and tail. If you want the cat to stand, ensure the tail wire is shaped to provide a stable base. Secure the wire inside the body using the metal discs and T-bar pin. Cover any exposed wire ends with medical tape to prevent poking through the yarn. Stuff the body and head firmly with polyfill. For the head, use a sewing needle to pull the thread through the eye sockets to create a slight indentation (eye pulling). This gives the cat a soulful, expressive look. Sew the eyes into these sockets and add the small black bead for the nose on the white snout patch. Finally, sew the eyelids (orange) over the eyes, ensuring they sit slightly over the top of the eye beads. Embroider a small mouth to complete the character.
The Head (Advanced Shaping)
The Tiny Bee (Shmul)
Finishing
Assembly & Face Decoration
Tips