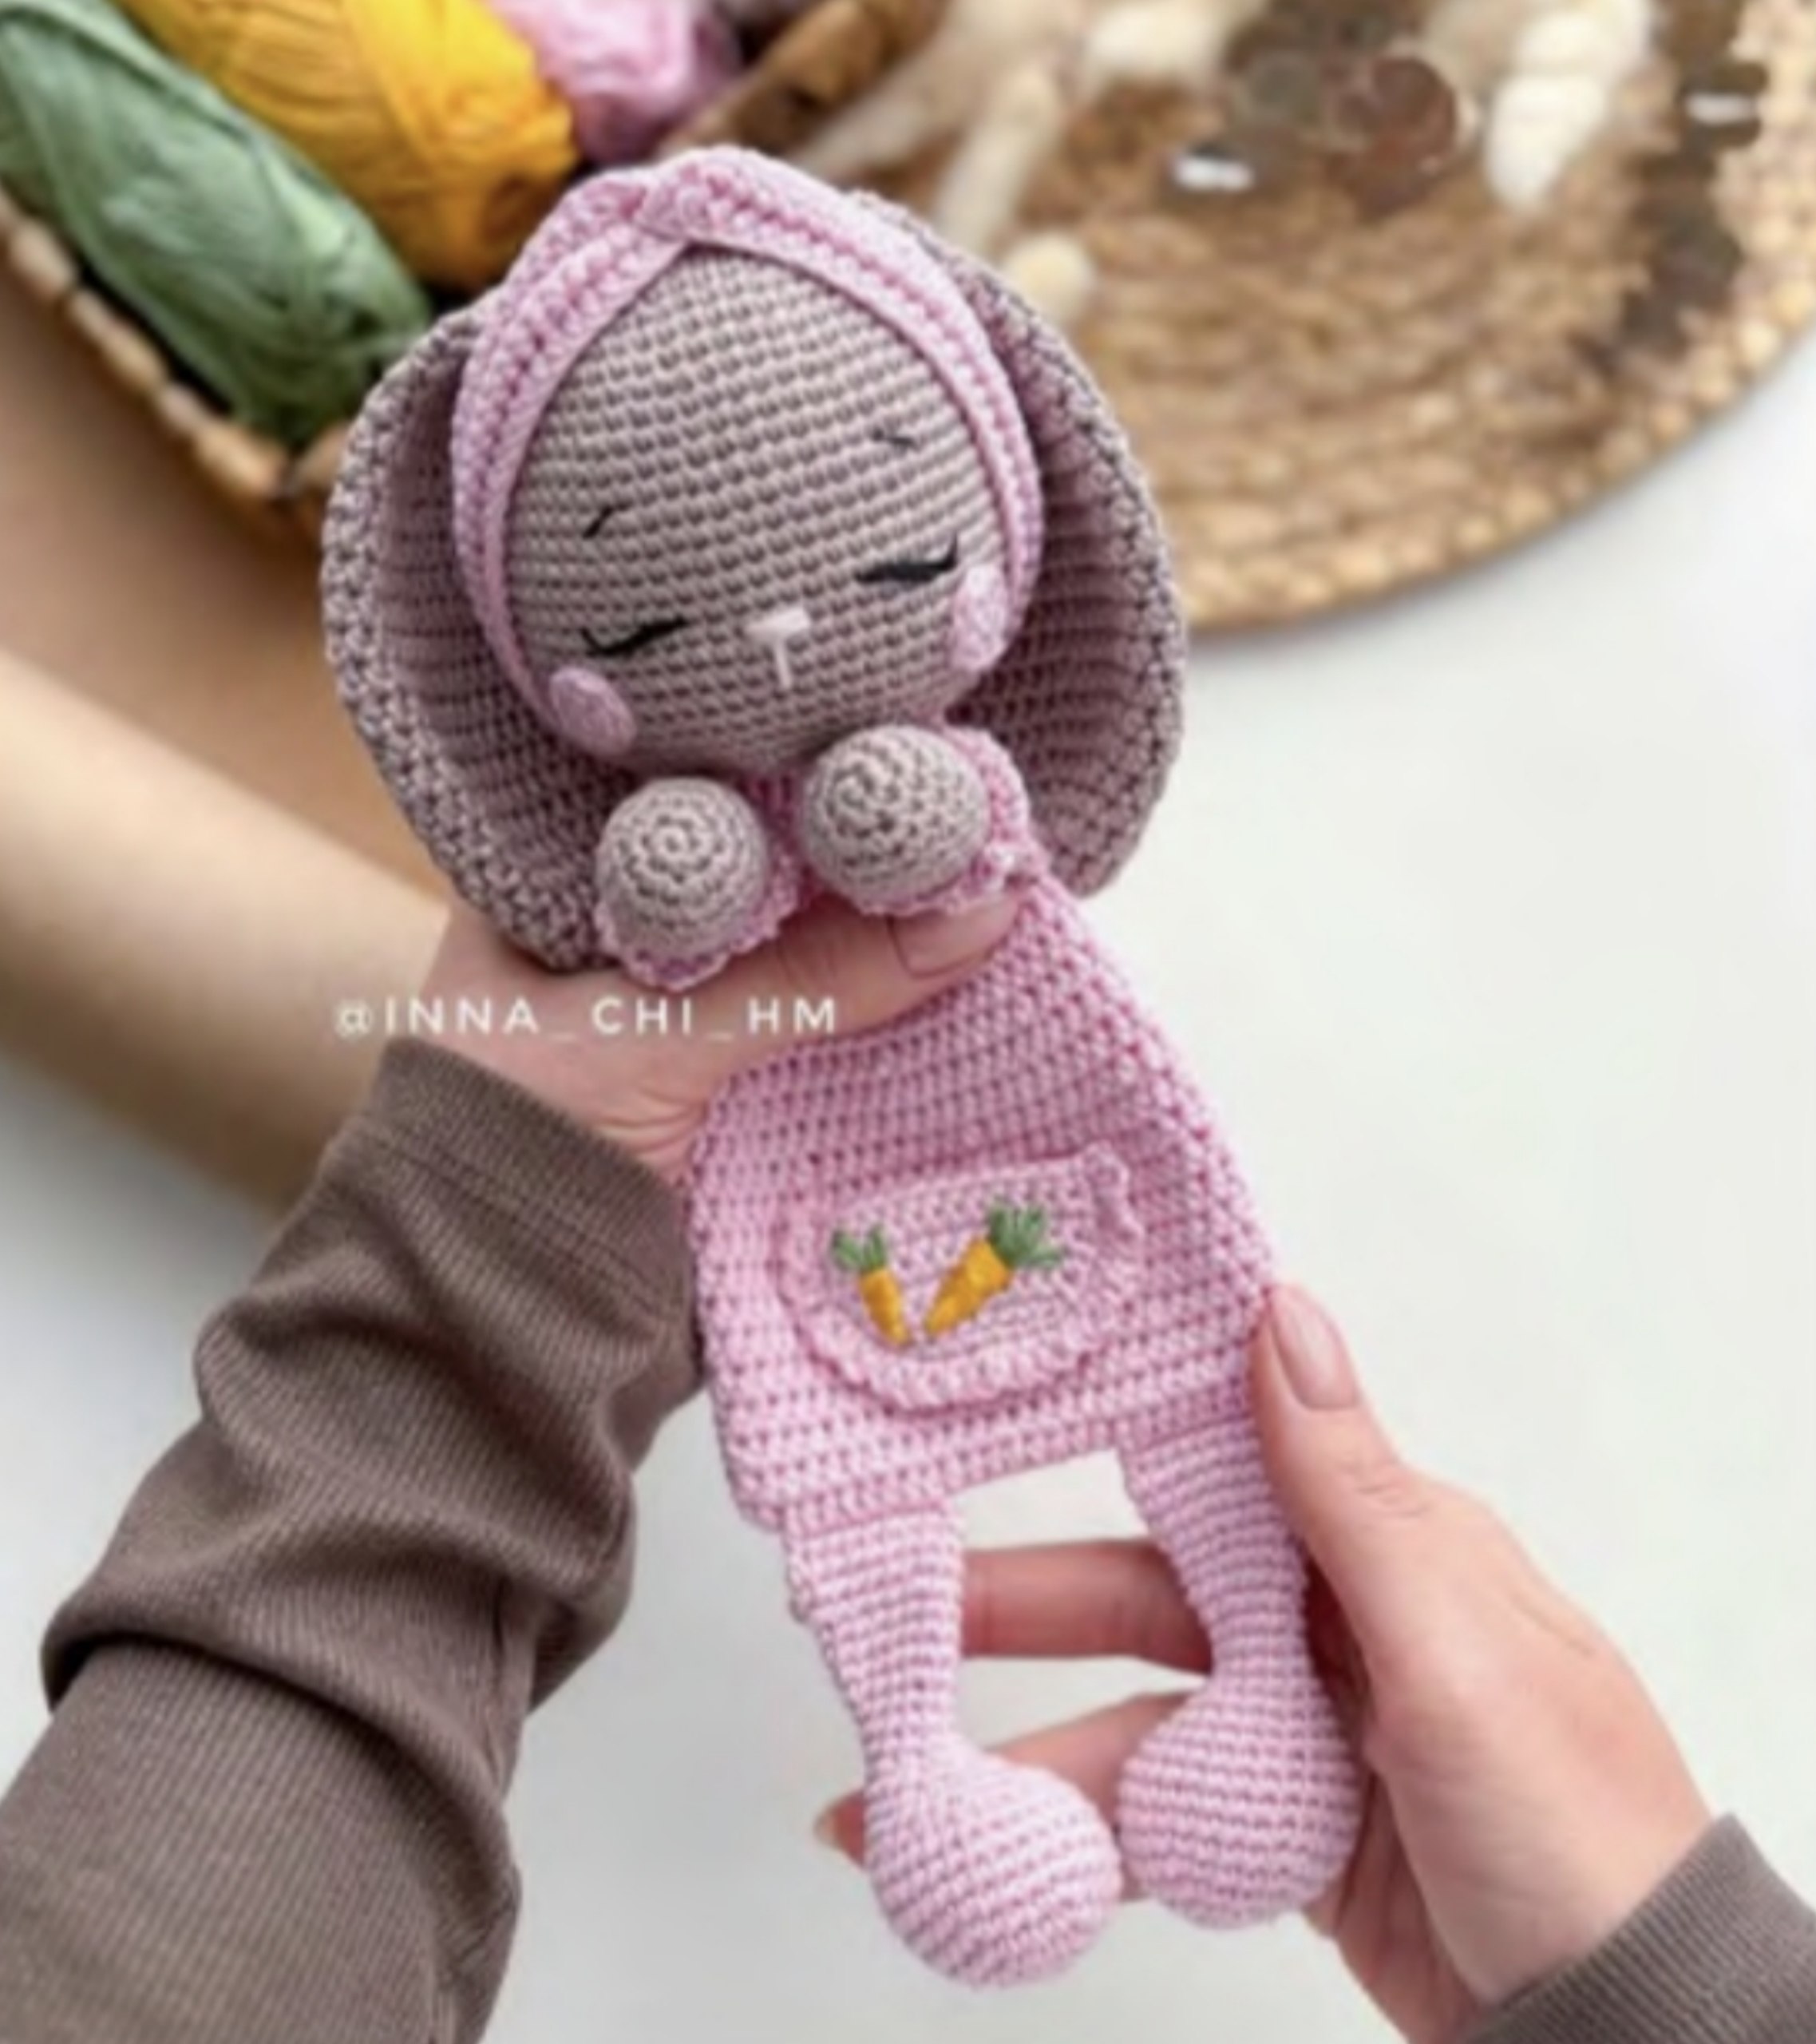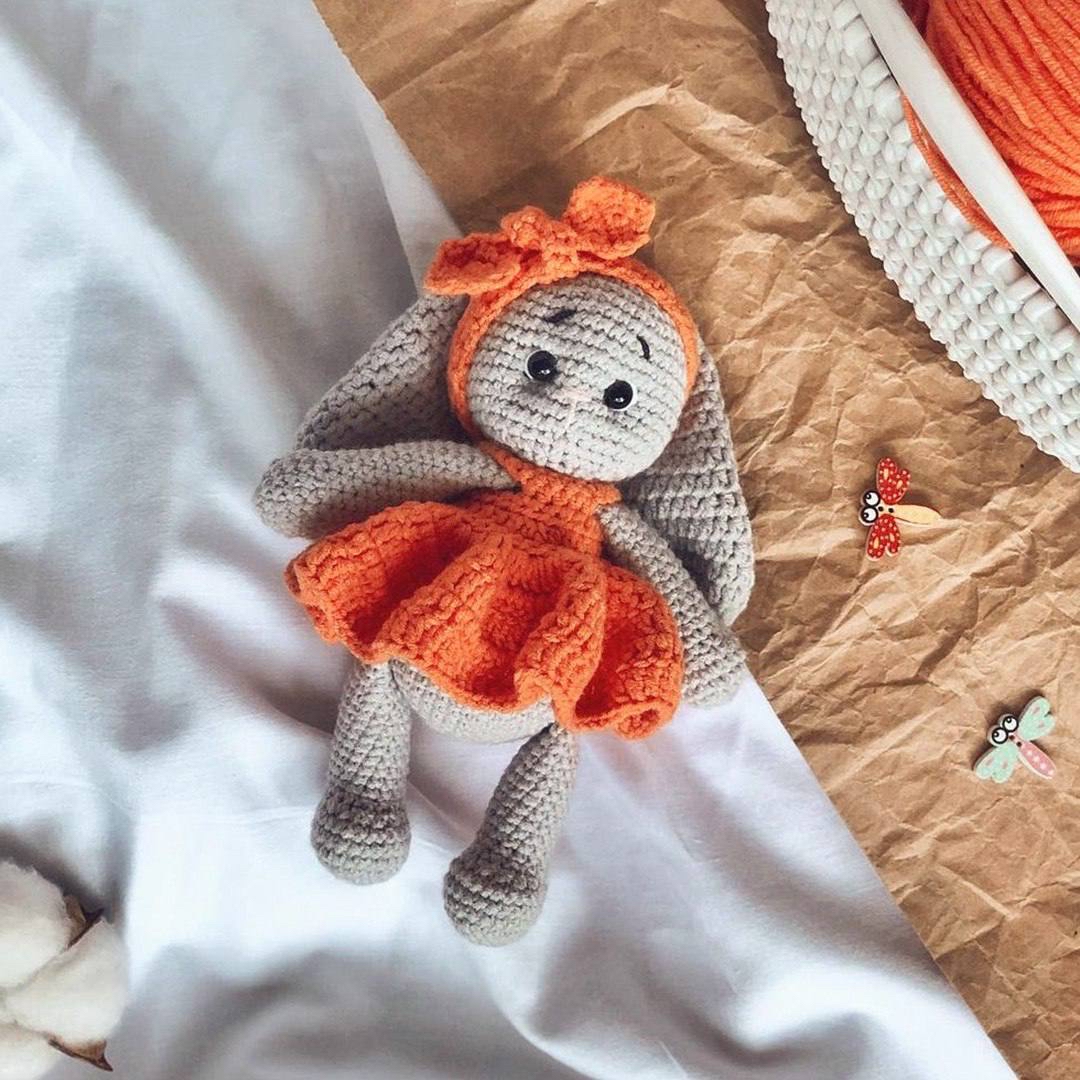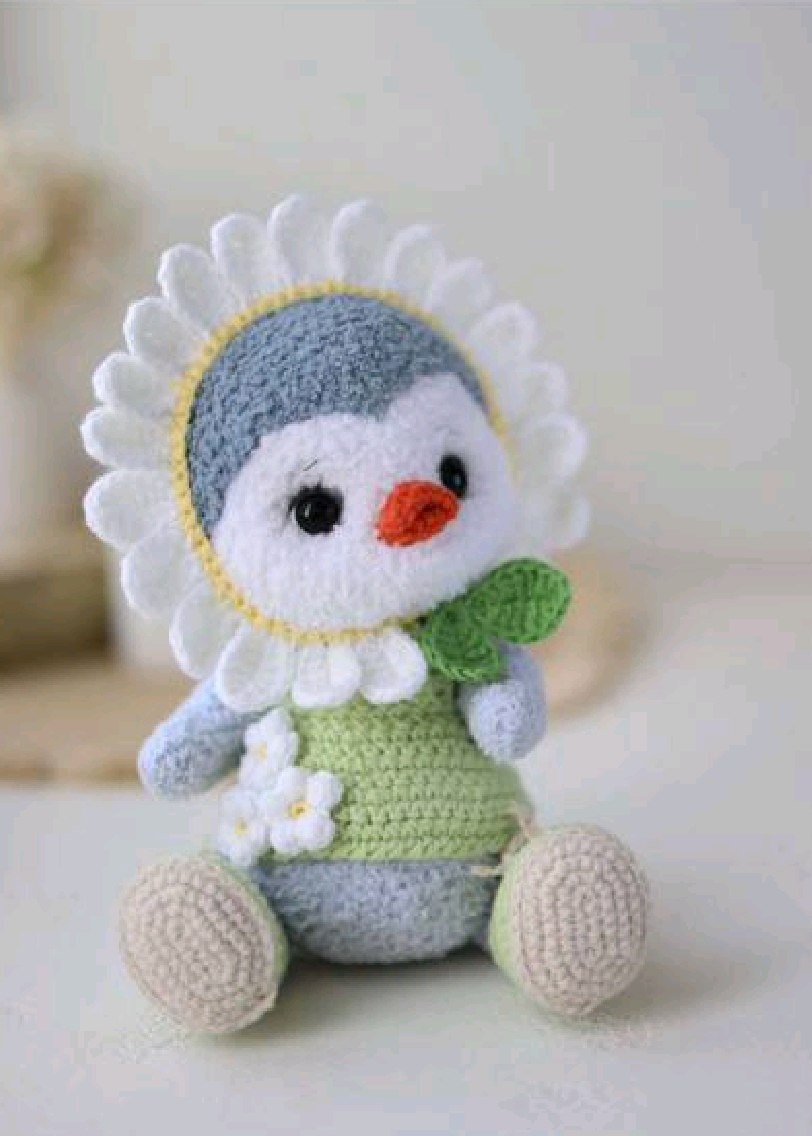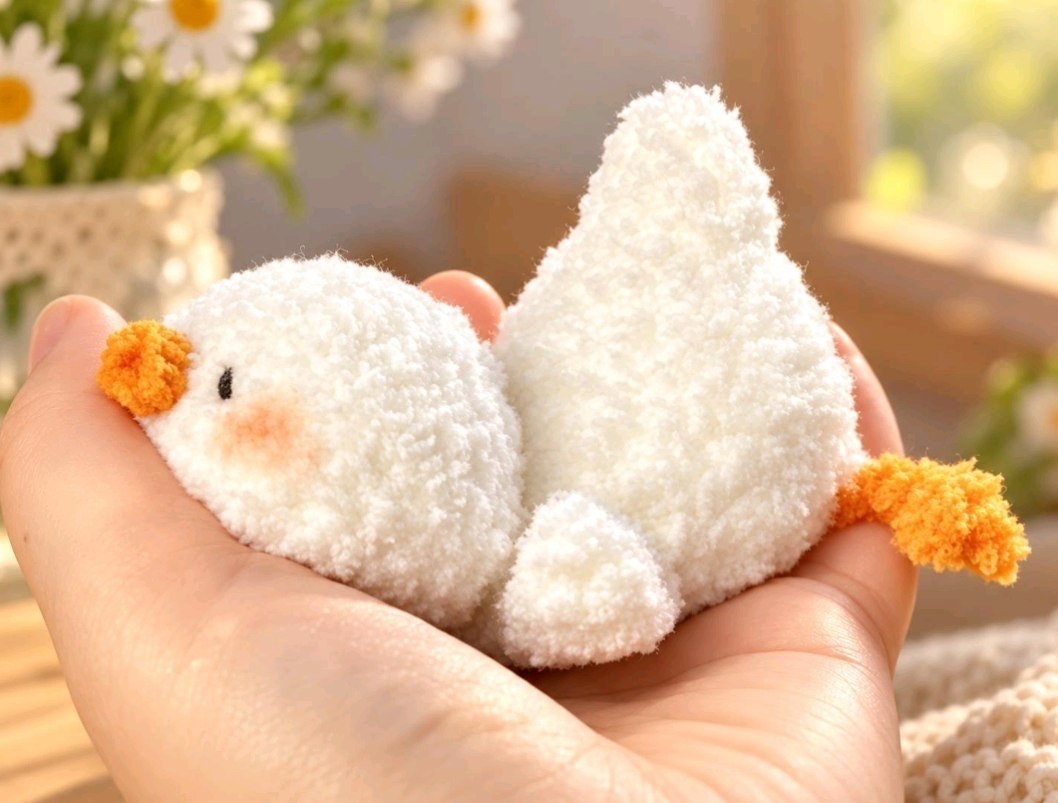
Adorable Crochet Lying Duck Pattern: An Easy Amigurumi Tutorial
There is nothing quite as heartwarming as a tiny, squishy animal to brighten up your crochet basket! If you are looking for your next cozy project, look no further. This adorable Lying Duck is the perfect addition to your amigurumi collection. Whether you want to make a cute nursery decoration, a desk buddy for a friend, or a sweet gift for a little one, this duck is sure to bring a smile to everyone’s face.
This pattern is designed with a beginner-friendly approach in mind. While it uses some standard amigurumi shaping techniques, the construction is straightforward and rewarding. We will be working in continuous spirals, which is the standard for amigurumi to avoid visible seams. Grab your favorite soft yarn and let’s get started on this little duckling!
Materials & Abbreviations
Before you dive into the stitches, let’s make sure you have everything you need on your crochet table. To achieve the super-soft, “plushie” look seen in the photos, I highly recommend using a chenille or velvet-style yarn.
What You Will Need
- Yarn: Medium weight (Size 4) chenille or velvet yarn in white (for the body) and a bright orange or yellow (for the beak, feet, and tail). You may need approximately 50-100 yards depending on your tension.
- Crochet Hook: A hook suitable for your yarn weight. For chenille yarn, a 4.0mm (G) or 4.5mm hook usually works best to keep the stitches tight so the stuffing doesn’t show through.
- Stuffing: High-quality polyester fiberfill.
- Safety Eyes: Small black safety eyes (about 6mm to 8mm) or black embroidery thread if you prefer a safer option for infants.
- Tapestry Needle: A blunt-tipped needle for sewing the pieces together and weaving in ends.
- Stitch Markers: Essential for keeping track of the start of your rounds in amigurumi.
- Scissors: For trimming your yarn.
US Crochet Abbreviations
This pattern uses standard US terminology. Please ensure you are using US terms to avoid confusion!
- MR: Magic Ring
- sc: Single crochet
- inc: Increase (2 single crochets in the same stitch)
- dec: Decrease (Invisible decrease is highly recommended for a cleaner look)
- hdc: Half double crochet
- dc: Double crochet
- ch: Chain
- sl st: Slip stitch
- st(s): Stitch(es)
- ( ): Repeat the instructions inside the parentheses
Step-by-Step Instructions
Remember: In amigurumi, we typically work in a continuous spiral. Do not join the rounds with a slip stitch unless specifically instructed. Use a stitch marker to mark the first stitch of every round.
1. The Head
The head is a simple sphere that will be stuffed firmly to give your duck its cute, rounded expression.
- Round 1: Create a magic ring and work 6 sc into the ring. (6)
- Round 2: 6 inc. (12)
- Round 3: (1 sc, 1 inc) repeat 6 times. (18)
- Round 4: 18 sc. (18)
- Round 5: 4 sc, 3 inc, 4 sc, 3 inc, 4 sc. (24)
- Rounds 6-7: 24 sc. (24)
- Round 8: 4 sc, 3 dec, 4 sc, 3 dec, 4 sc. (18)
- Round 9: (1 sc, 1 dec) repeat 6 times. (12)
- Round 10: 6 dec. (6)
Tip: Before you close the head completely, insert your safety eyes between Rounds 4 and 5, and stuff the head firmly with fiberfill. Fasten off, leaving a long tail for sewing.
2. The Body
The body is slightly larger and elongated to give the duck its “lying down” silhouette. It should be stuffed quite well to hold its shape.
- Round 1: 6 sc in a magic ring. (6)
- Round 2: 6 inc. (12)
- Round 3: (1 sc, 1 inc) repeat 6 times. (18)
- Round 4: (1 sc, 1 inc, 1 sc) repeat 6 times. (24)
- Round 5: 24 sc. (24)
- Round 6: 8 sc, 4 dec, 8 sc. (20)
- Round 7: 20 sc. (20)
- Round 8: 8 sc, 2 dec, 8 sc. (18)
- Round 9: 18 sc. (18)
- Round 10: 2 x (1 sc, 1 dec), 6 hdc, 2 x (1 sc, 1 dec). (14)
- Round 11: 14 sc. (14)
- Round 12: 5 sc, 2 dec, 5 sc. (12)
Fasten off, leaving a long tail for sewing to the head. Stuff the body firmly.
3. The Beak
Using your orange/yellow yarn, we will create a tiny beak.
- Round 1: 3 sc in a magic ring. (3)
- Round 2: 3 inc. (6)
- Round 3: (1 sc, 1 inc) repeat 3 times. (9)
Fasten off, leaving a tail for sewing.
4. The Wings
Make two wings using your white yarn.
- Instructions: Chain 6. Starting in the second chain from your hook, work: 1 sc, 2 hdc, and 2 dc. Fasten off, leaving a tail for sewing.
5. The Tail
Using your orange/yellow yarn, we will create the little nub at the back of the duck.
- Round 1: 5 sc in a magic ring. (5)
- Round 2: 3 inc, then slip stitch to the first stitch to close. (7)
Fasten off, leaving a tail for sewing.
6. The Legs
Make two legs using your orange/yellow yarn.
- Instructions: Chain 5. Starting in the second chain from the hook: chain 2, then in the next chain, chain 2 again. Slip stitch back to the end of the chain to create a tiny loop. Fasten off, leaving a tail for sewing.
Finishing
Now for the most important part: bringing your duck to life! Assembly is where the magic happens.
Assembly Guide
- The Head and Body: Place the head onto the top of the body. Using your tapestry needle and the white yarn tail, sew the head to the body securely. Ensure the head is centered so the duck looks balanced.
- The Beak: Sew the beak to the front of the head, centered between the eyes. You can use a tiny bit of pink blush or even a pink marker to add a little “cheek” color right below the eyes for extra cuteness!
- The Wings: Sew the two wings to the sides of the body. Position them so they look like they are resting against the duck’s sides.
- The Tail: Sew the tail to the very back of the body.
- The Legs: Position the legs at the bottom of the body to support the “lying” position. Sew them firmly so they can hold the weight of the duck.
Tips for Success
To ensure your duck turns out as professional and cute as possible, keep these tips in mind:
Use the Invisible Decrease
When working on amigurumi, standard decreases can leave small gaps in your stitches. To avoid this, use the “invisible decrease” method. Instead of inserting your hook into the top of the next two stitches, insert your hook only into the front loops of the next two stitches, yarn over, and complete the decrease. This creates a much tighter, cleaner look.
Tension is Key
Try to keep your tension consistent. If you crochet too loosely, the white stuffing will peek through the gaps in your stitches, which can look a bit messy. If you find this happening, try switching to a slightly smaller crochet hook.
Stuffing Technique
When stuffing your pieces, don’t just throw the fiberfill in! Break it up into small clumps first. This prevents large lumps from forming inside your duck and ensures a much smoother, more professional shape.
Happy crocheting! Once you finish your first Lying Duck, you might find yourself wanting to make a whole flock of them!