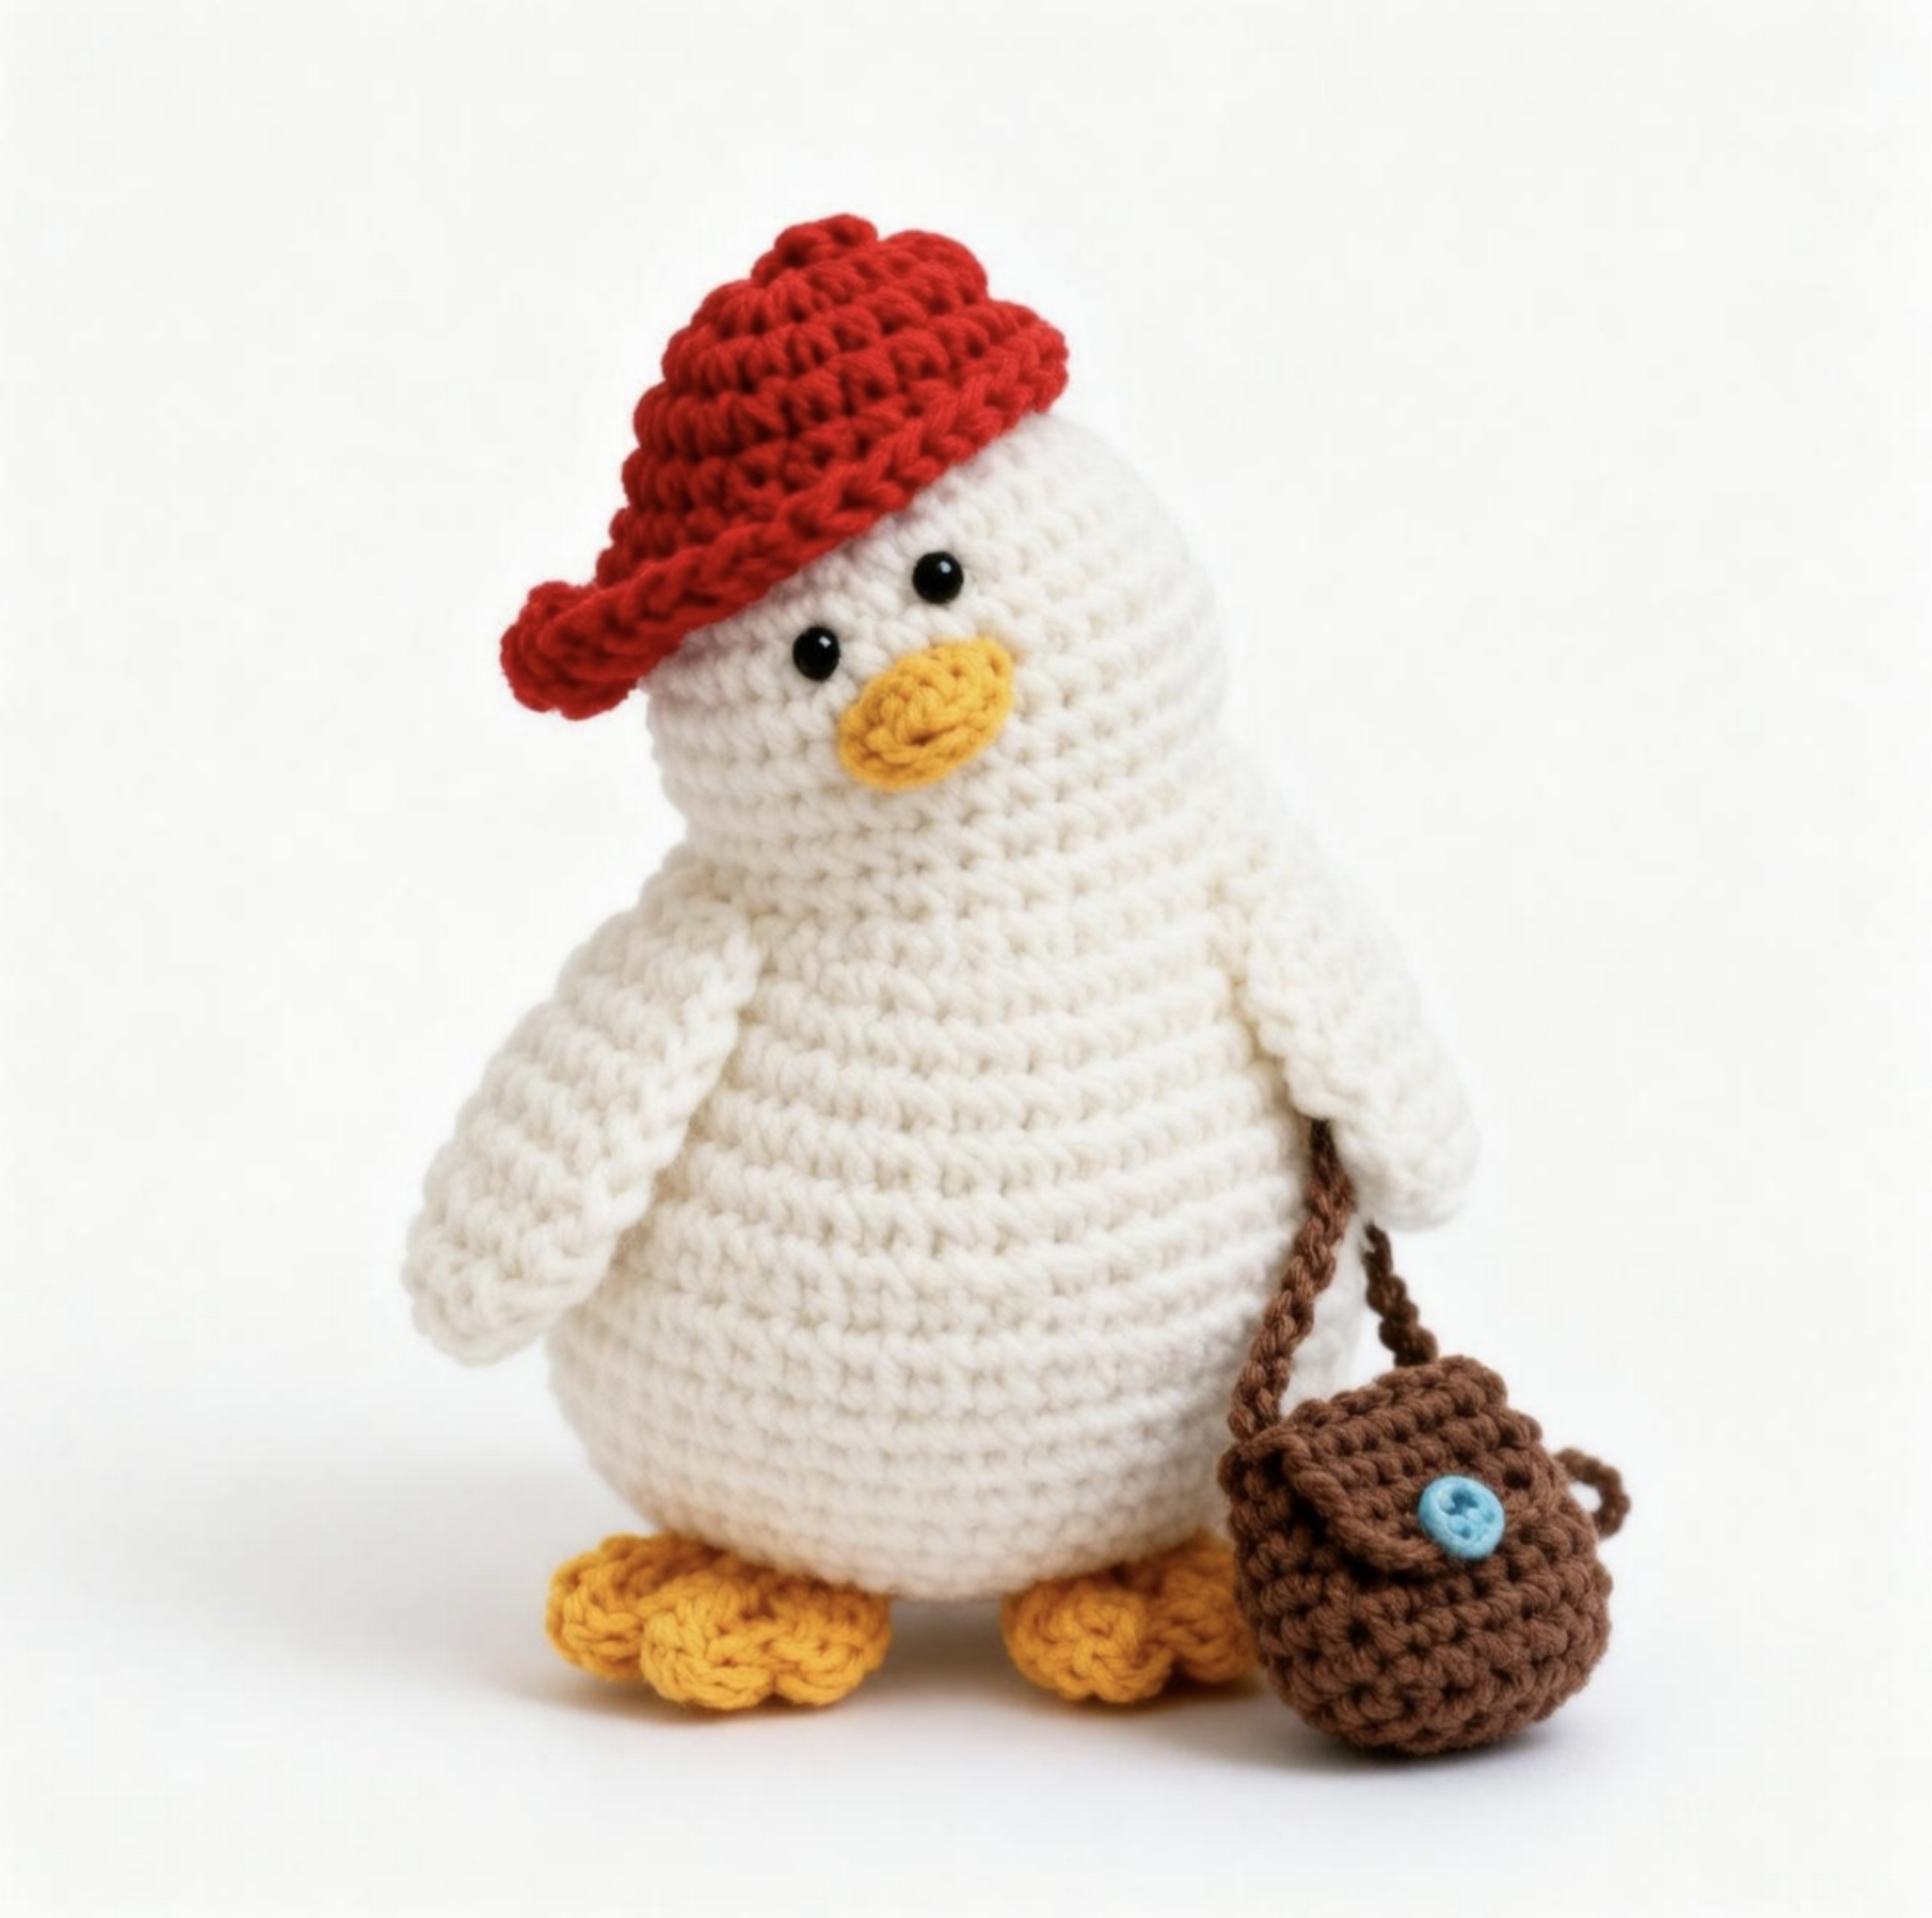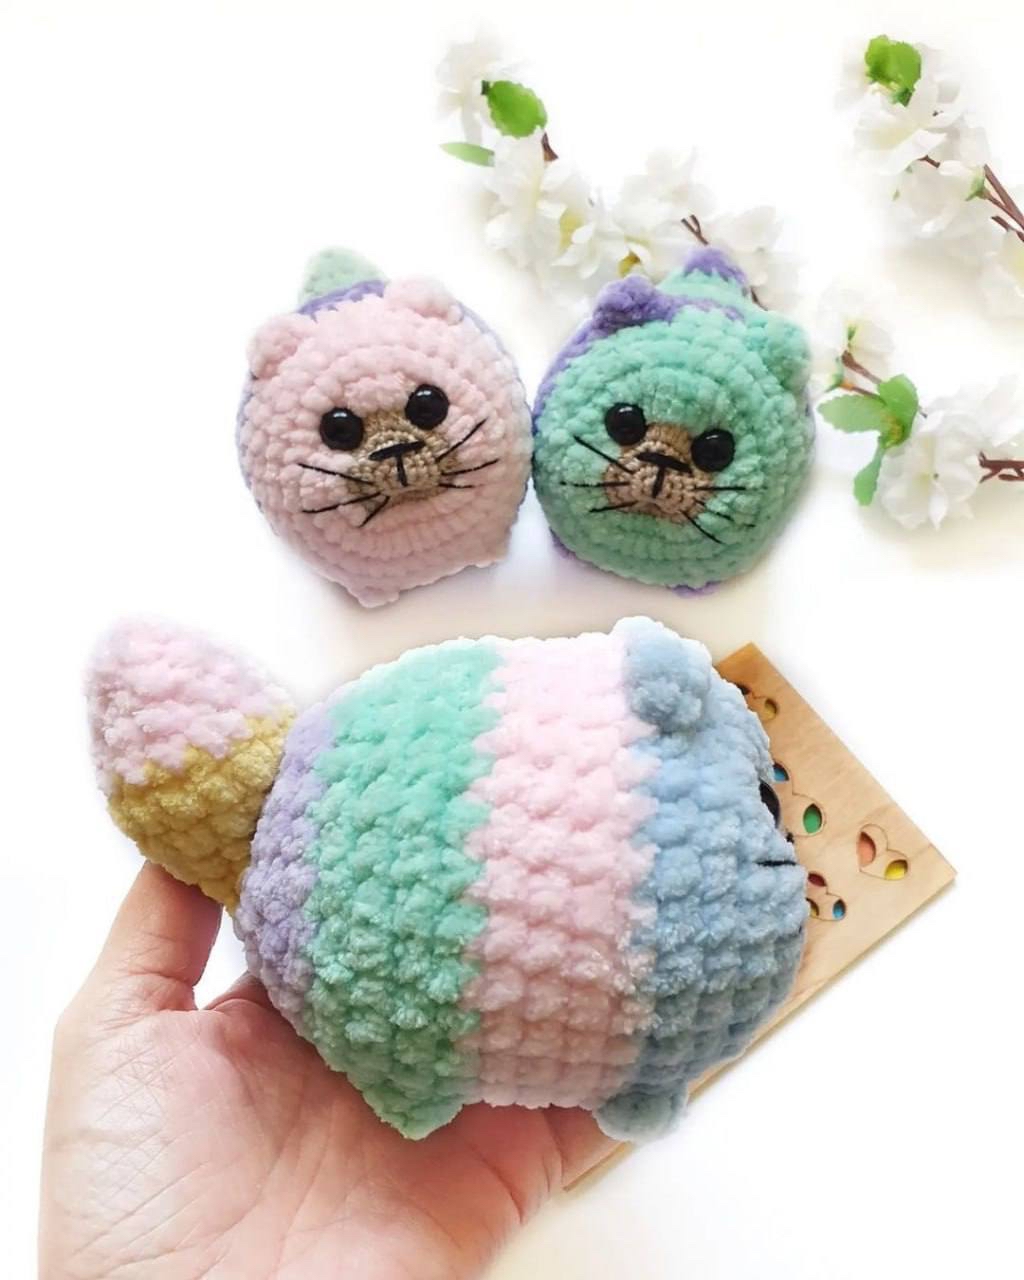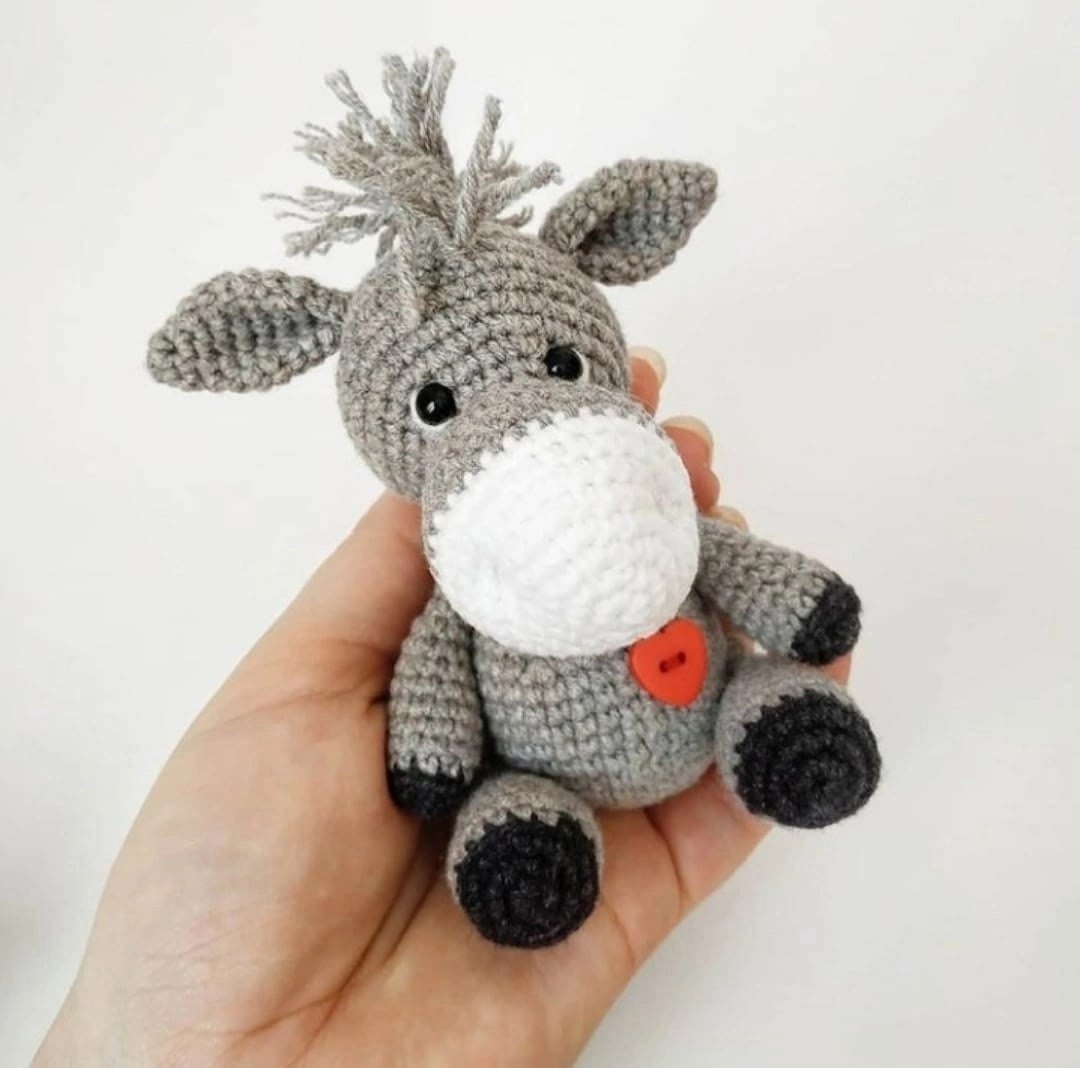
DIY Crochet Baby Goat Pattern: An Adorable Amigurumi Tutorial
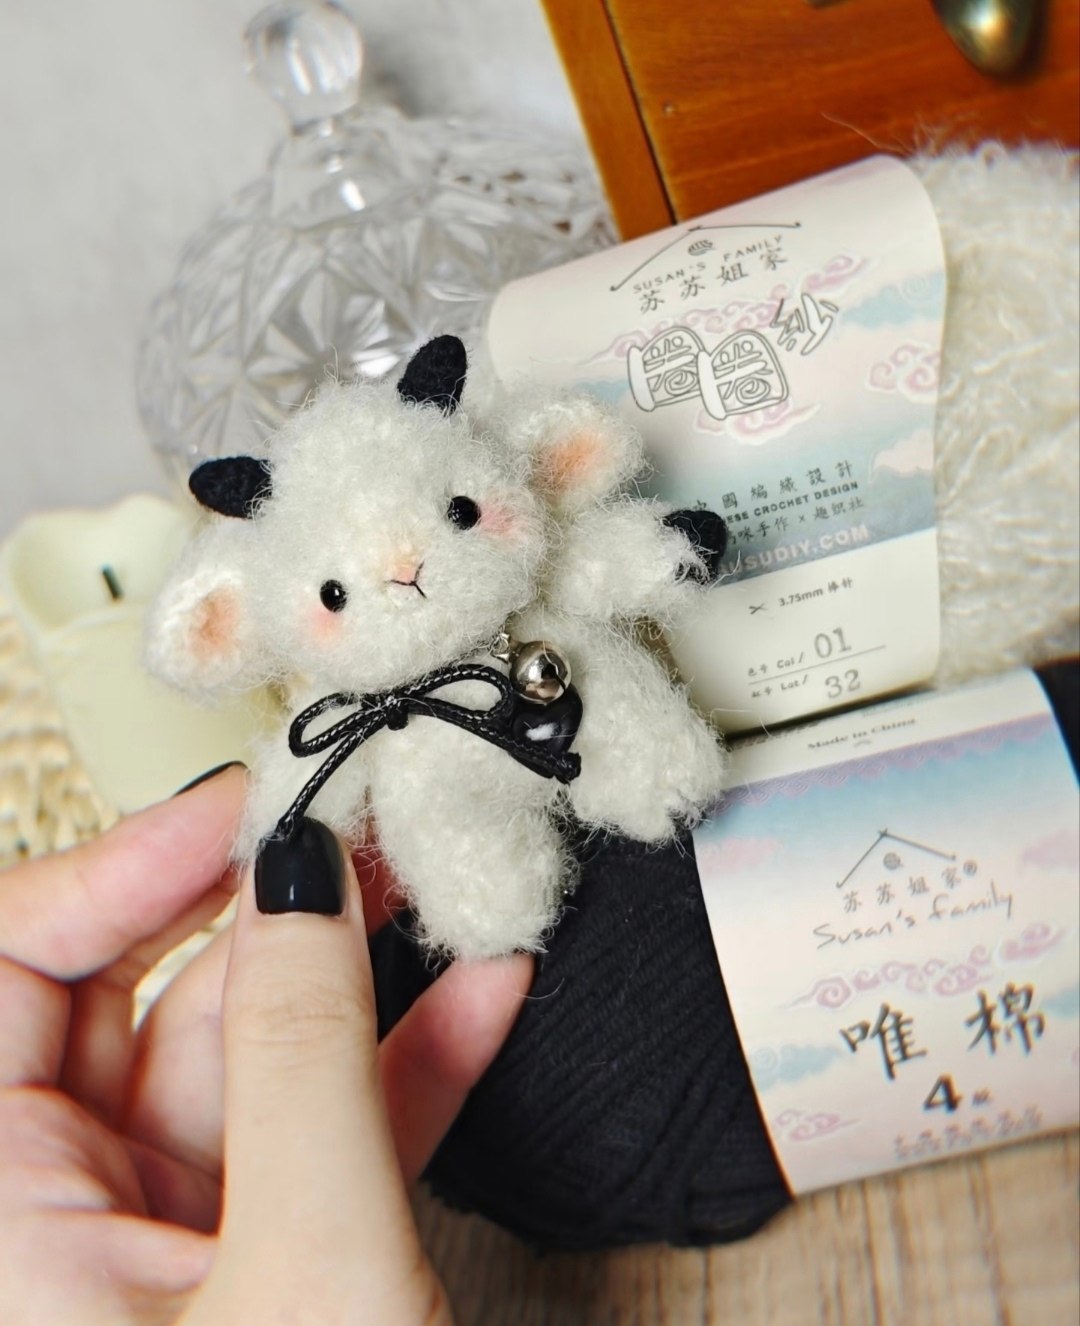
Are you looking for your next adorable amigurumi project? This little fuzzy baby goat is the perfect addition to your crochet collection! Whether you want to create a whimsical keychain, a nursery decoration, or a tiny companion to sit on your desk, this pattern is designed to be as sweet as it is simple. The combination of soft, fuzzy white yarn and contrasting black limbs gives this little goat a unique, high-end look that is sure to impress your friends and family.
This tutorial is written with beginners in mind. We will walk through every step, from crafting the tiny head to assembling the body. By the end of this guide, you will have a charming little goat that is perfect for gifting or keeping for yourself!
Materials & Abbreviations
Before we pick up our hooks, let’s make sure you have everything you need. Because this pattern uses “fuzzy” or “eyelash” yarn for the body, it is important to work carefully so you can see your stitches!
Materials Needed
- Fuzzy/Eyelash Yarn (White): This gives the goat its signature soft, sheep-like texture.
- Cotton or Acrylic Yarn (Black): Use a smooth black yarn for the arms, legs, horns, and bow to provide a nice texture contrast.
- Crochet Hook: A size appropriate for your yarn (typically 2.5mm to 3.5mm for amigurumi).
- Stuffing: Polyester fiberfill to make your goat plump and huggable.
- Safety Eyes: Small black beads or plastic safety eyes (approx. 6mm).
- Embroidery Thread: Black thread for the nose.
- Black Ribbon: A small piece of black ribbon to create the cute neck bow.
- Small Bell: Optional, for extra cuteness!
- Tools: A tapestry needle, scissors, and stitch markers.
Abbreviations (US Terms)
Please ensure you are using US crochet terminology to follow this pattern accurately:
- MR: Magic Ring (or Magic Circle)
- Ch: Chain
- Sc: Single Crochet
- Hdc: Half Double Crochet
- Dc: Double Crochet
- Inc: Increase (2 sc in the same stitch)
- Dec: Decrease (sc 2 stitches together)
- St(s): Stitch(es)
- Sl st: Slip Stitch
Step-by-Step Instructions
The Head
We will start by creating the head using the fuzzy white yarn. Using a stitch marker is highly recommended here!
- Round 1: Create a MR and work 6 sc into the ring (6).
- Round 2: Inc in each st around (12).
- Round 3: (1 sc, inc) repeat 6 times (18).
- Round 4: Sc in each st around (18).
- Round 5: 4 sc, (1 sc, inc) repeat 2 times, 2 inc, (1 sc, inc) repeat 2 times, 4 sc (24).
- Rounds 6-8: Sc in each st around for 3 rounds (24).
- Round 9: (1 sc, dec, 1 sc) repeat 6 times (18).
- Round 10: (1 sc, dec) repeat 6 times (12).
Note: Stuff the head firmly with fiberfill before moving to the next part.
The Ears (Make 2)
These ears add so much character! Use the white fuzzy yarn.
- Step 1: Ch 7.
- Step 2: Starting in the second chain from the hook, work the following: 2 dc, 1 hdc, 3 sc into the next single stitch, 1 hdc, 2 dc.
- Step 3: Now, working along the opposite side of the foundation chain: 3 sc, 3 inc, 3 sc.
Fasten off, leaving a long tail for sewing.
The Arms (Make 2)
Switch to your smooth black yarn for the limbs.
- Round 1: Create a MR and work 6 sc into the ring (6).
- Round 2: Sc in each st around (6).
- Rounds 3-5: Sc in each st around for 3 rounds (6).
Fasten off, leaving a tail for sewing.
The Legs (Make 2)
Use the smooth black yarn.
- Round 1: Create a MR and work 6 sc into the ring (6).
- Round 2: Sc in each st around (6).
- Round 3: (1 sc, inc) repeat 3 times (9).
- Rounds 4-6: Sc in each st around for 3 rounds (9).
Important: For the first leg, fasten off completely. For the second leg, do not fasten off. Instead, join the two legs together by crocheting a ch 3 between them. This will create the base for the body.
The Body
Continue working with the black yarn, attaching it to the legs.
- Round 7: 9 sc, 3 sc into the ch-3 space, 9 sc, 3 sc into the ch-3 space (24).
- Rounds 8-9: Sc in each st around for 2 rounds (24).
- Round 10: (1 sc, dec, 1 sc) repeat 6 times (18).
- Round 11: Sc in each st around (18).
- Round 12: (1 sc, dec) repeat 6 times (12).
Stuff the body firmly. If you are making a larger version, you may need more stuffing!
The Horns (Make 2)
Use the smooth black yarn.
- Round 1: Create a MR and work 4 sc into the ring (4).
- Round 2: (1 sc, inc) repeat 2 times (6).
- Rounds 3-4: Sc in each st around for 2 rounds (6).
Fasten off, leaving a tail for sewing.
Finishing
Now comes the magical part—assembly! This is where your little goat truly comes to life.
Assembly Steps
- Attach the Head: Using a tapestry needle and the white yarn, sew the head onto the body. Ensure it is centered and stable.
- Attach the Ears: Sew the ears to the top of the head, slightly to the sides.
- Attach the Limbs: Sew the arms to the sides of the body and the legs to the bottom.
- Attach the Horns: Sew the horns to the top of the head, between the ears.
- Face Details: Use black embroidery thread to stitch a small, cute nose. If you are using safety eyes, insert them into the head before you finish stuffing completely to ensure they are secure.
- The Finishing Touches: To give your goat a “blushed” look, you can use a tiny bit of pink makeup or fabric pigment to tone the ears and the area around the nose. Finally, tie a black ribbon around the neck and attach your small bell if desired.
Tips for Success
Crocheting with specialty yarns like eyelash yarn can be tricky. Here are a few tips to ensure your project turns out perfectly:
Managing Fuzzy Yarn
Fuzzy yarn can hide your stitches, making it hard to see where to insert your hook. If you struggle with this, try using a larger hook than recommended to create more defined gaps, or use a stitch marker religiously. You can also try to “feel” for the holes rather than relying solely on sight.
Tension Control
When making amigurumi, you want your stitches to be tight so that the stuffing doesn’t peek through the gaps. If you find your stitches are too loose, try going down a half-size in hook size. This is especially important when working with the smooth black yarn for the limbs.
Seamless Joins
To make your toy look professional, try to hide your ends. When you fasten off, weave the yarn tails through the stitches of the round you just finished. This secures the thread and keeps the “seams” invisible.
Happy crocheting! We can’t wait to see your adorable little goats!